


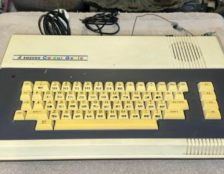

Back in 2019 I was a bit of a retro rookie but I managed to nab myself a pretty cheap Sinclair QL which I repaired and managed to get working. So I had this perfectly working machine but discovered the 128k was very limiting and most of the microdrive cartridges I had wouldn’t work so I decided to look at interface and expansion options.
I could have just bought a tetroid card or a vDrive but that would have been expensive and too easy and I was keen to develop my retro skills with a DIY project. Eventually I stumbled upon a bare PCB on ebay.
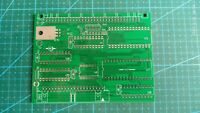
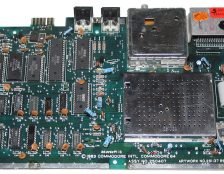
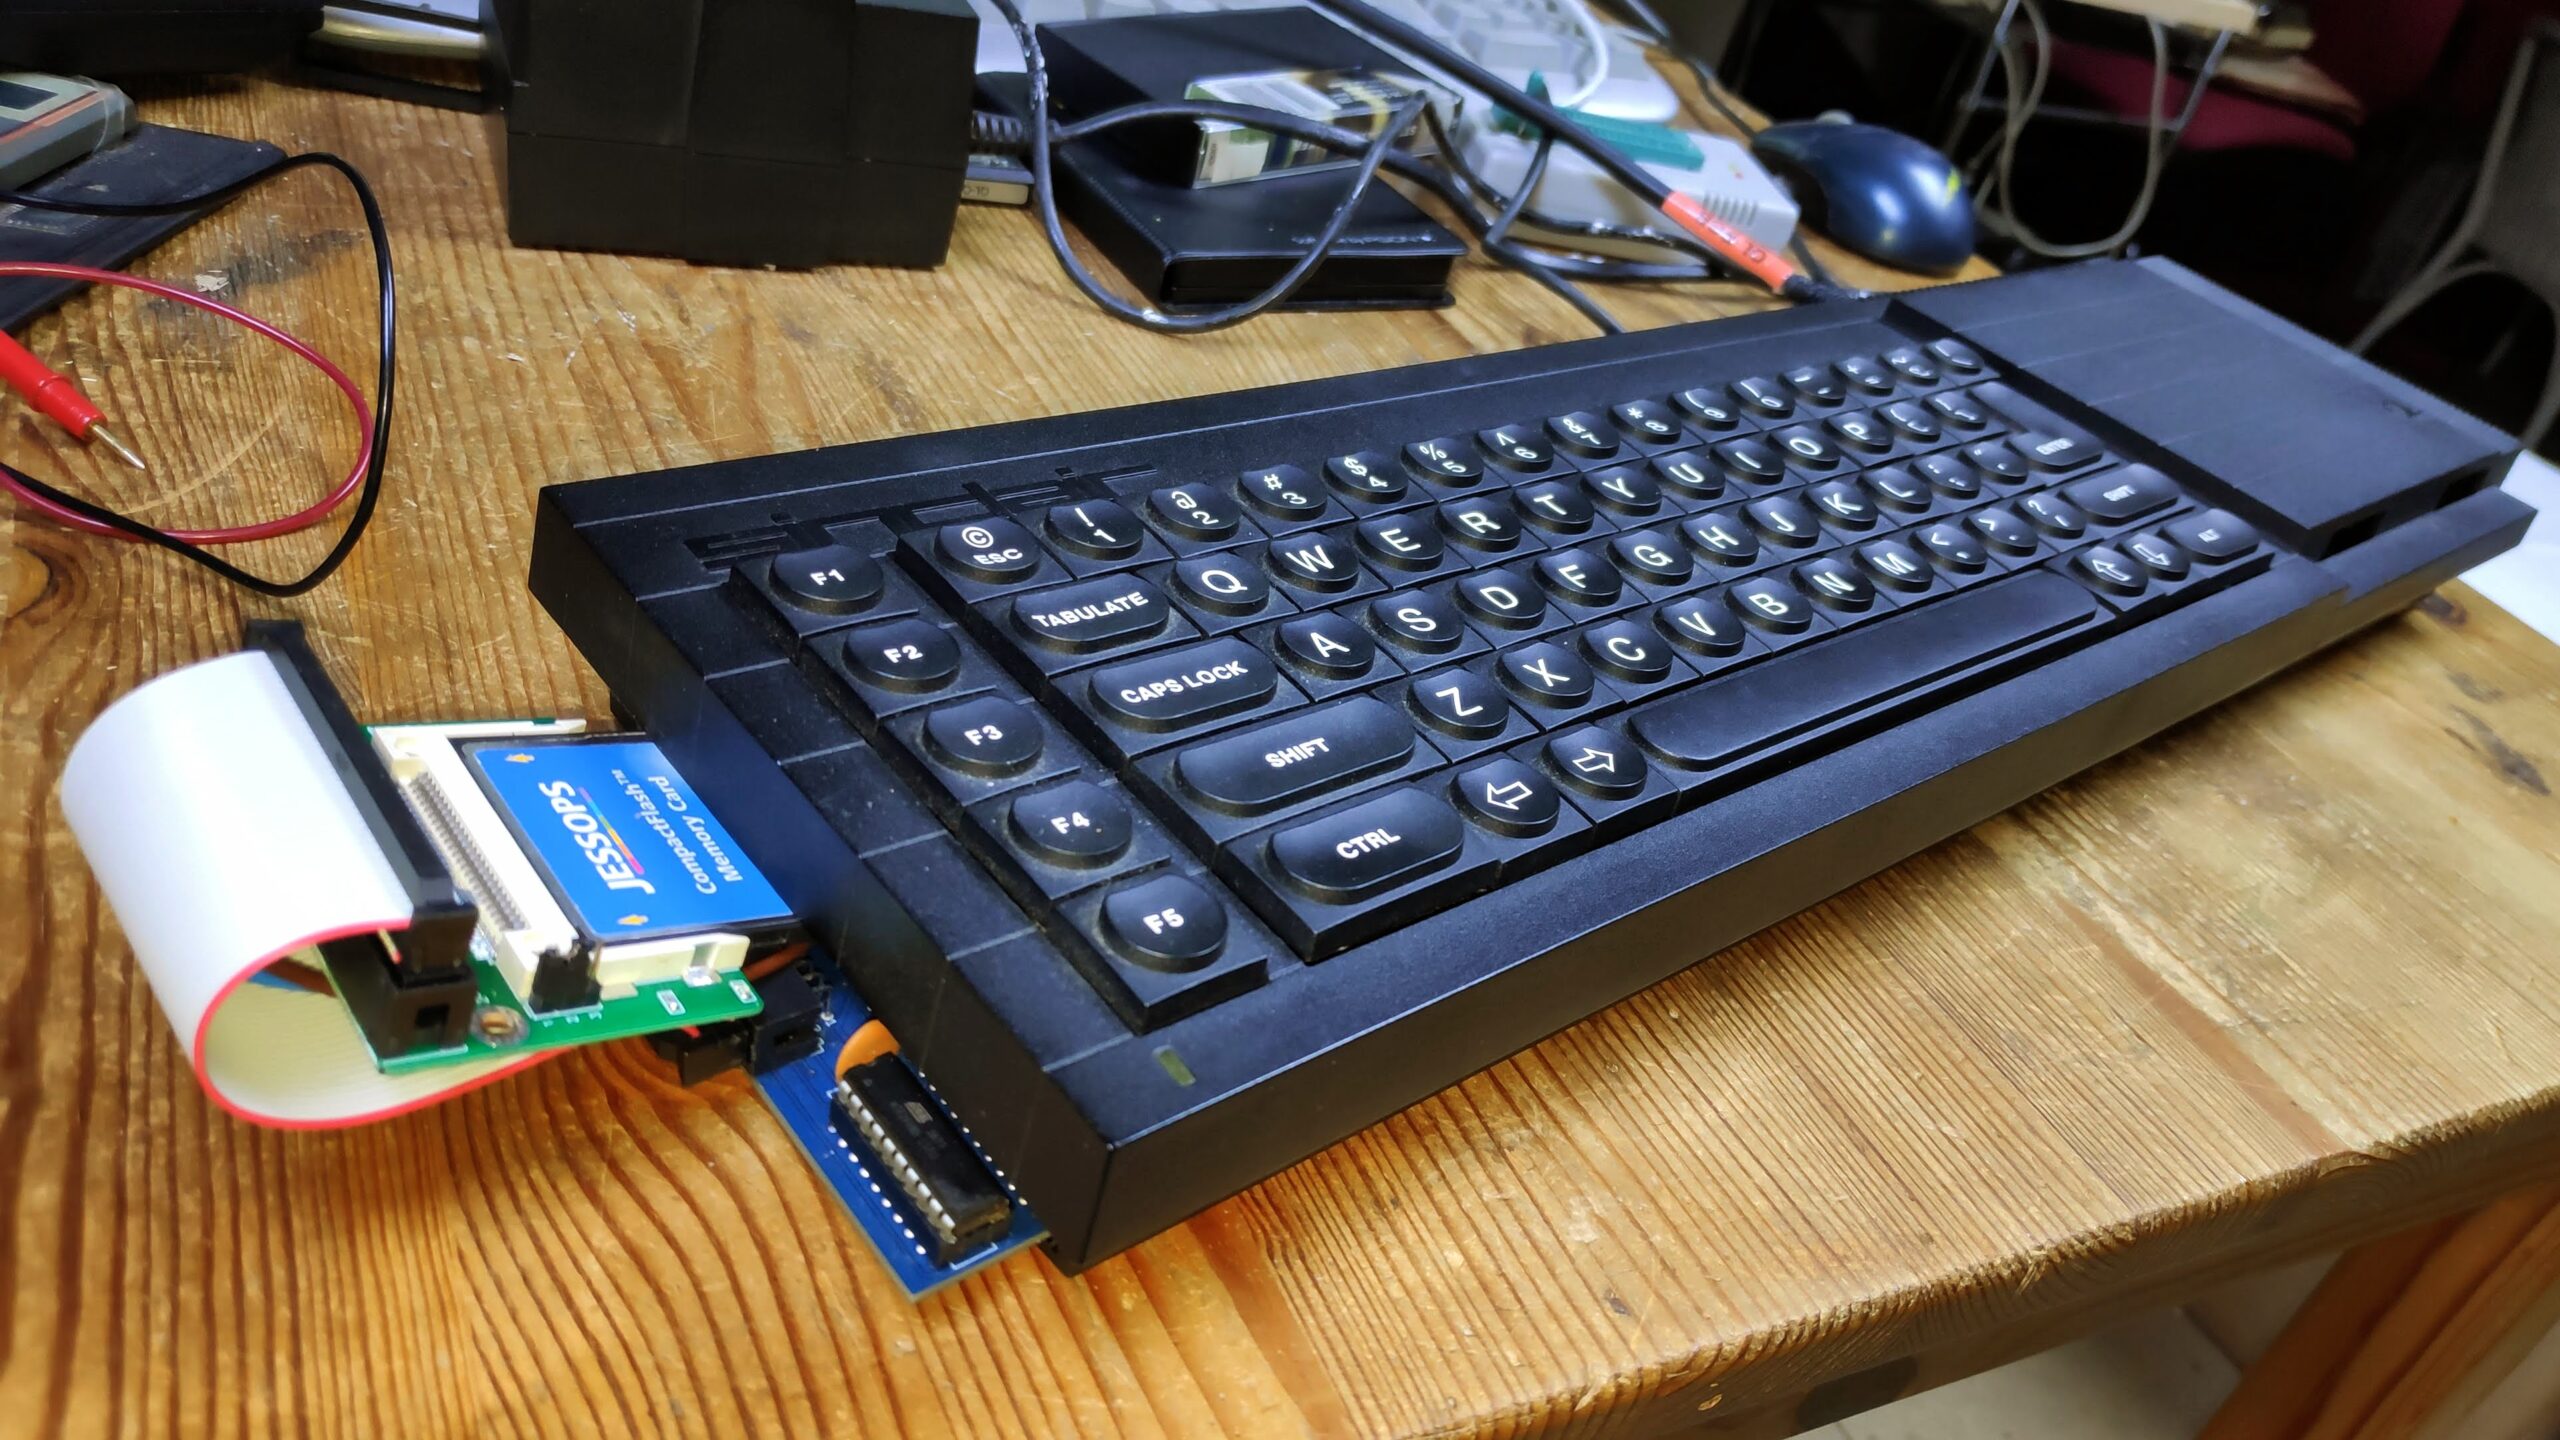
Its a QubIDE PCB. This board proposes to give an extra 512Kb of RAM and provide a IDE port which allows for connecting a hard drive or hard drive adapter.
A few weeks later after waiting for parts, I finally finish the build. I then managed to find the necessary Eprom file version Q1.56 and the corresponding GAL jed files to program the GAL chips.
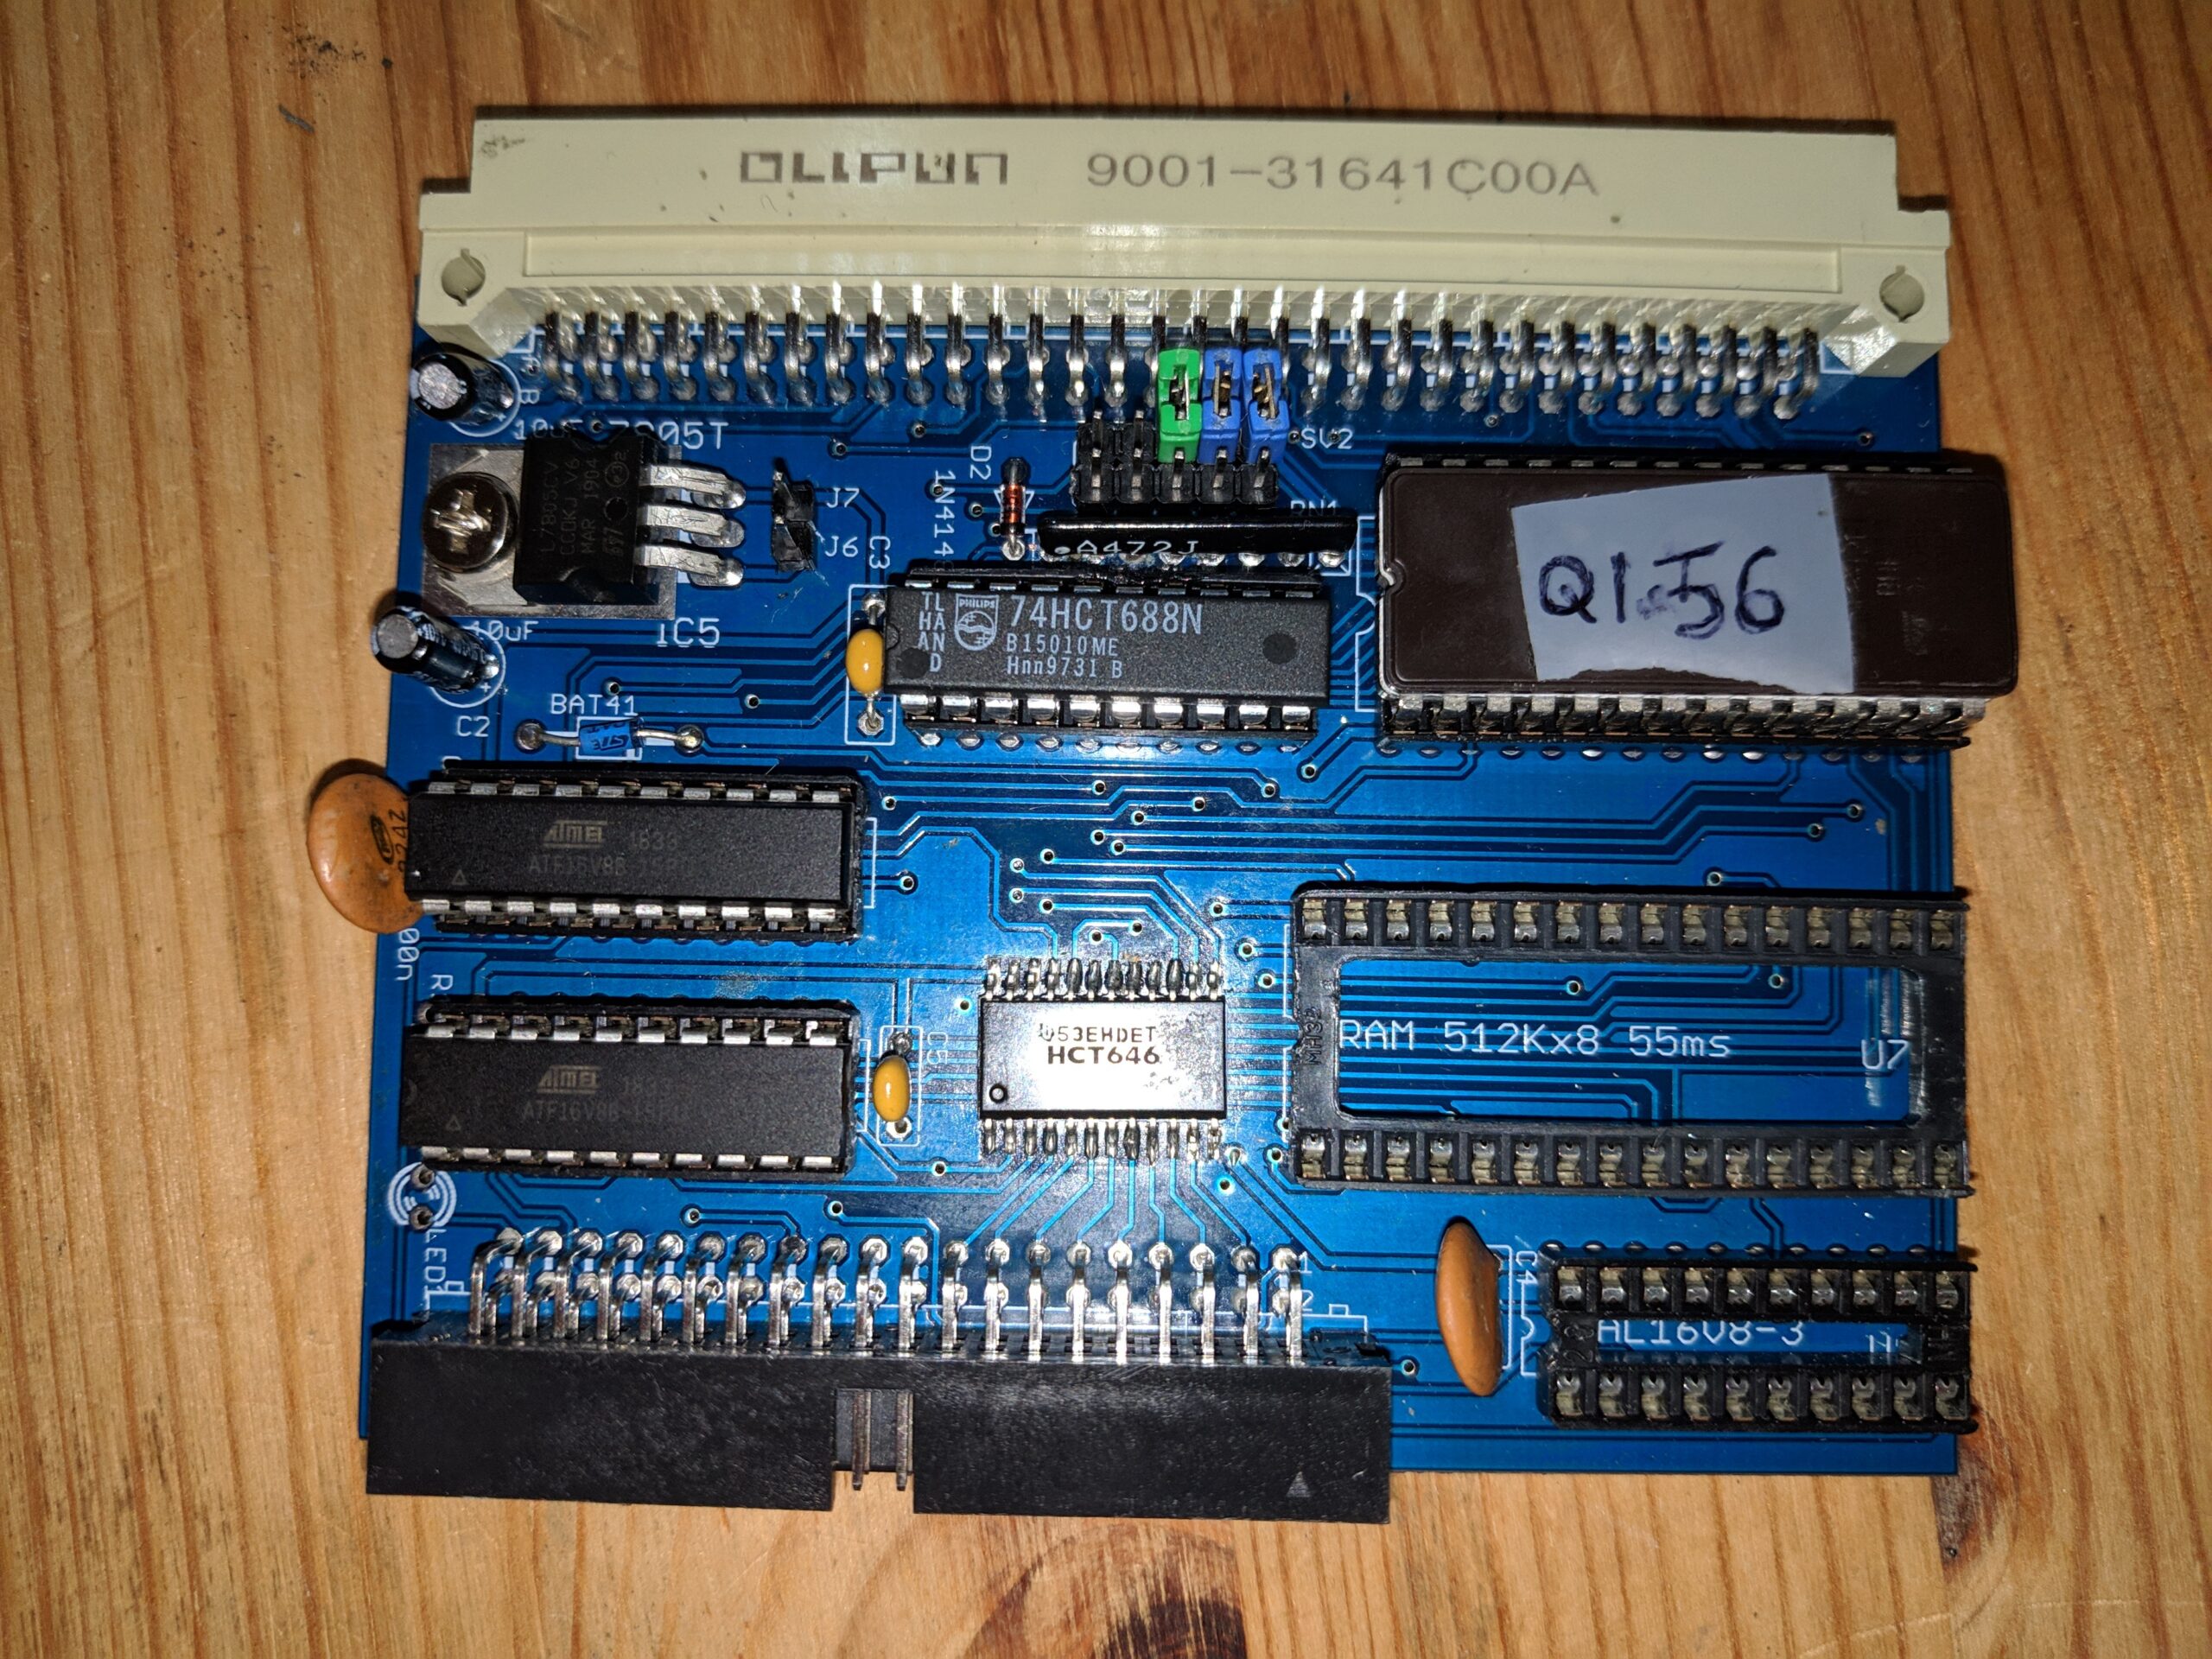
The bottom right 2 sockets are for the Ram and the GAL V8 for the ram and are not necessary as wanted to simplify things for the first test.
Time to plug it in and turn it on.
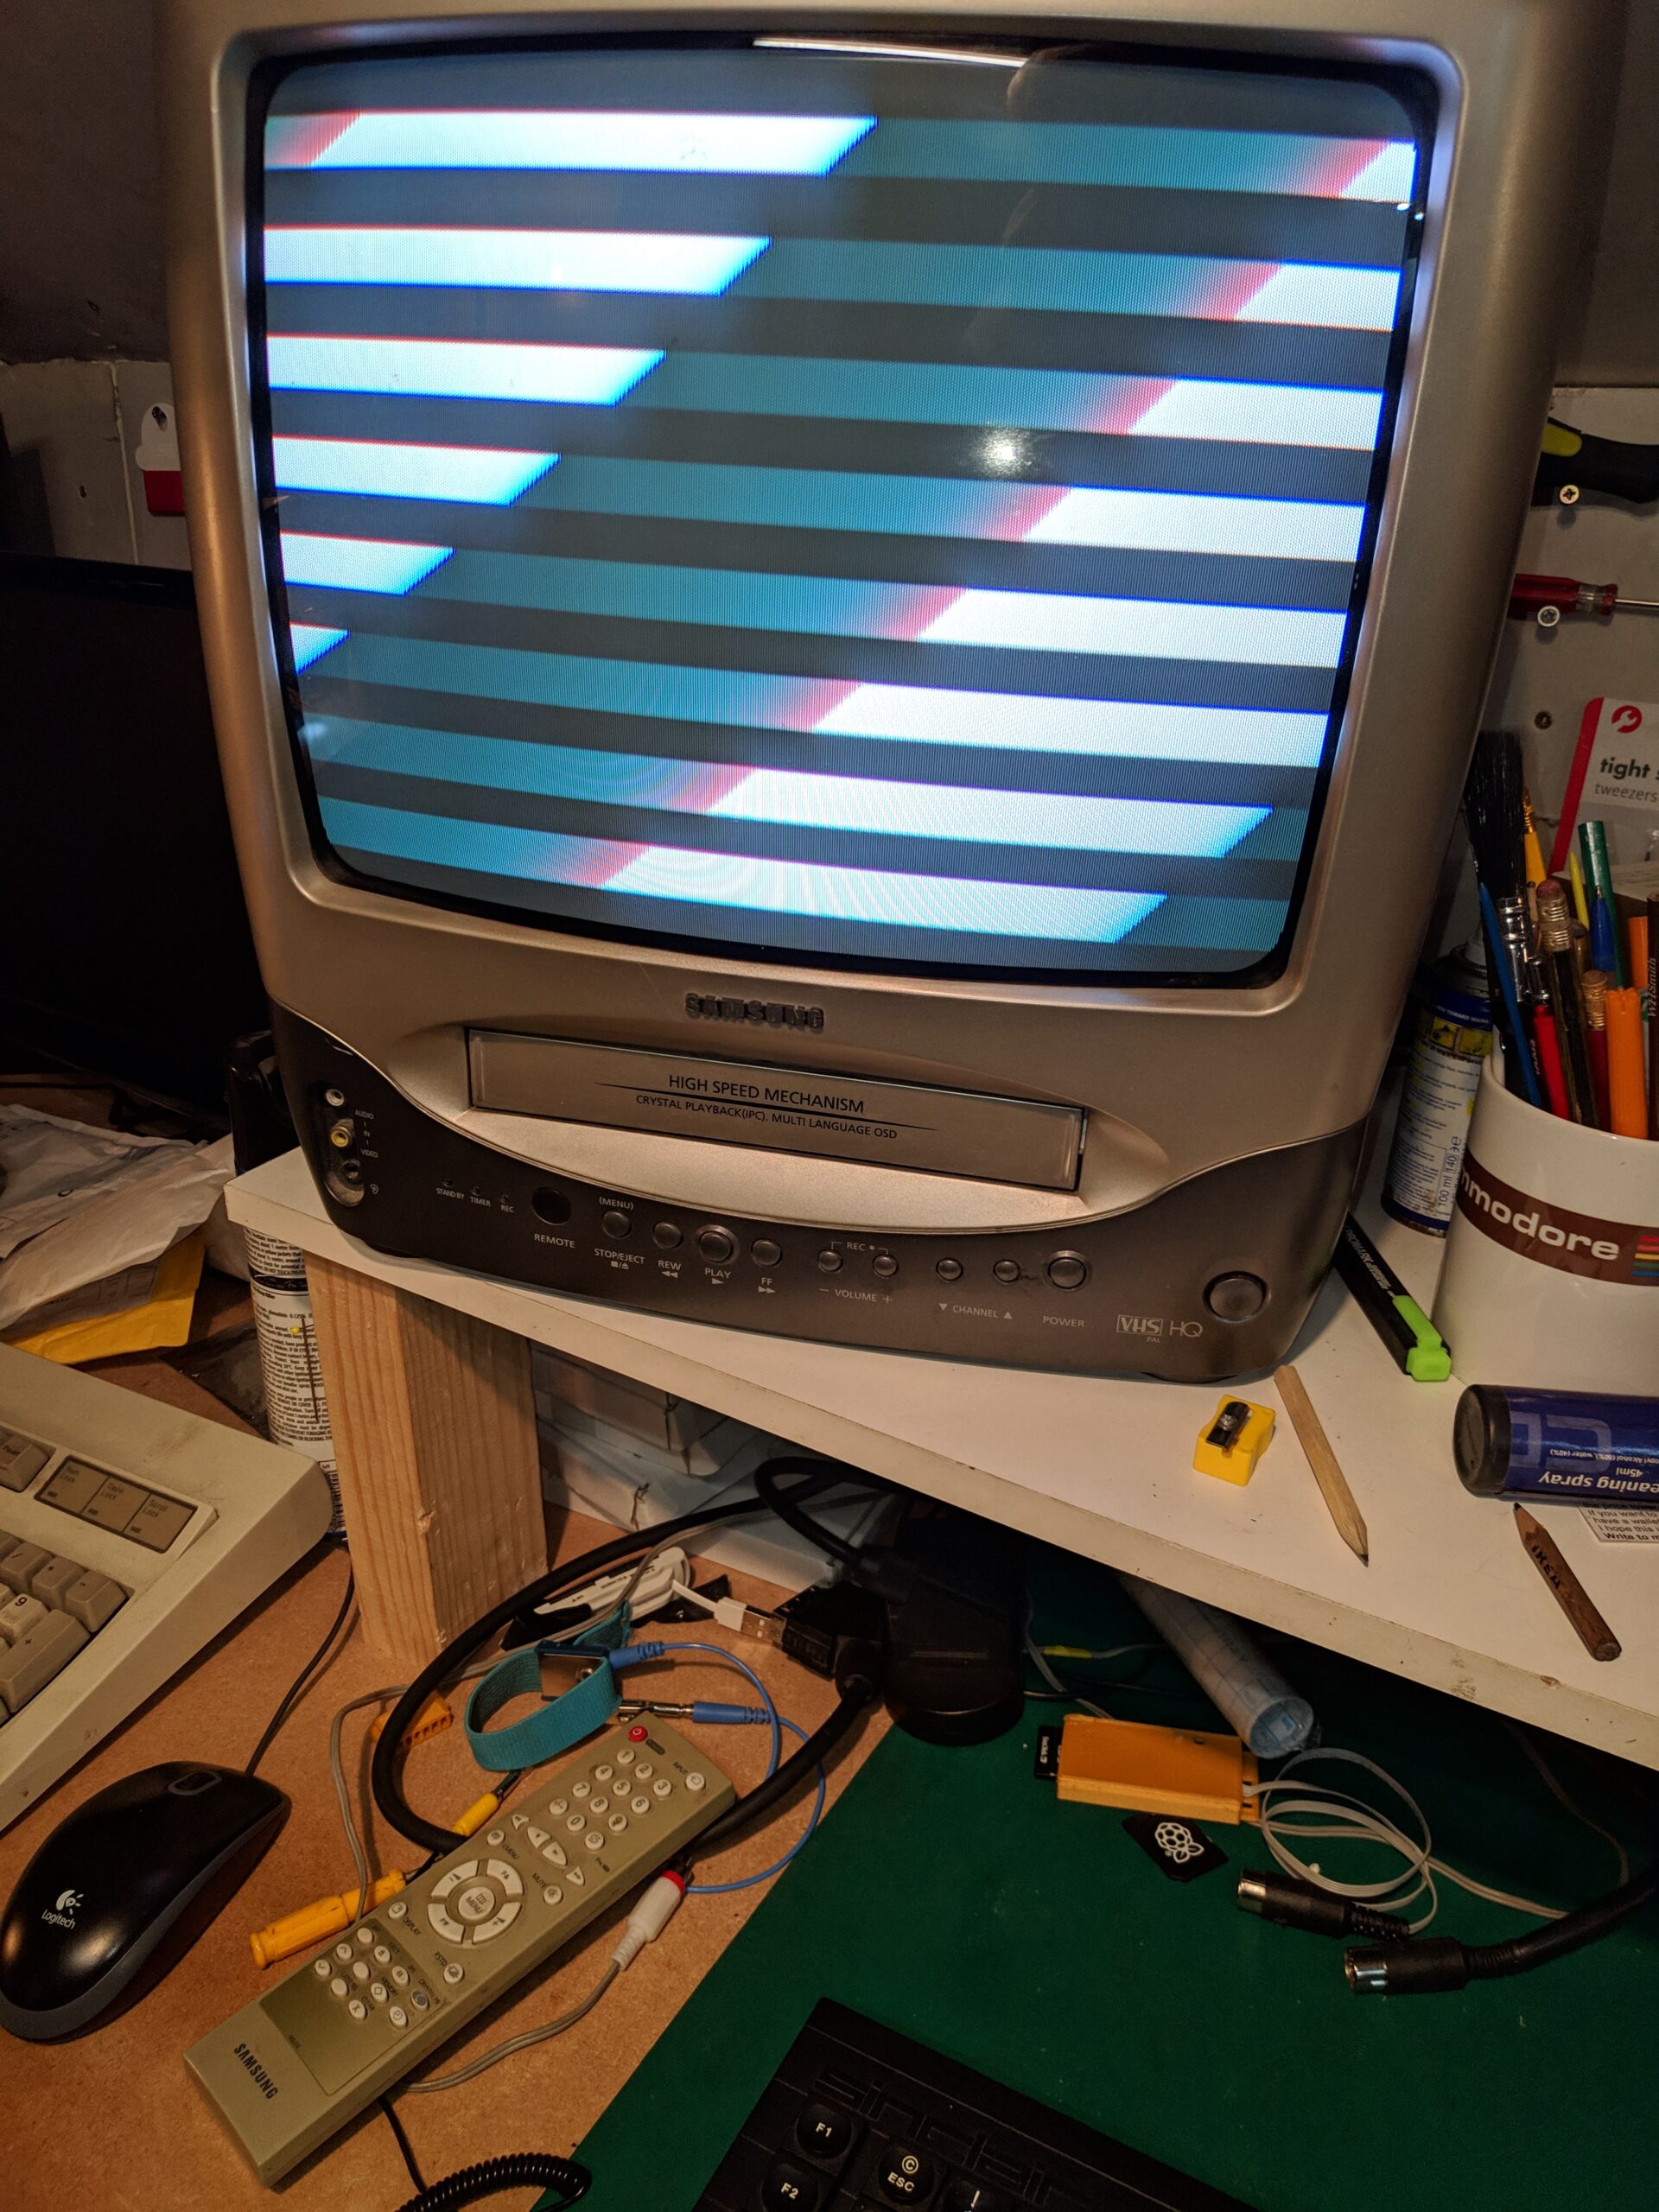
Not the result I was hoping for. Time to troubleshoot.
First rookie mistake was the resistor array was the wrong way around so desoldered , refit and…
Blankscreen.
So what could be wrong. Looking around the board some of the solder joints looked a little suspect so reflowed a few and still blank screen.
I tried reprogamming the Eprom and GALS but no change, tried replacing the Eprom but still a blank screen. Tried replacing the GALS but still a blank screen.
There are five jumpers which determine where the Eprom sits in memory and I tried every combination but still drew a blank. Spoke with the guys on the QLForums who had many suggestions. I did numerous voltage checks and continuity checks which all looks fine but still the card refused to respond.
Sadly with many other Retro computers purchased and therefore many retro projects piling up I decided to shelve this one.
Four years later and another QL arrives. Thats another story available here
With that repair done my enthuisiasm for the Sinclair QL was rekindled and I decied to dust off the old QubIDE board once more and see if what I’d learned in the last 4 years amounted to anything.
There were some improvements to the Eprom over the last few years so I got the lastest version V3.10 and programmed it in. Plugging the board into the new QL, hoping things would improve with the new rom. It was a slightly different result, the normal QL F1/F2 boot screen. So what had changed in 4 years?
Well it was a newer rom and different GALS but I think the RAM chip may have been populated last time. More on that later. Also ensuring the jumpers where set to the default of ::III which is the right most 3 jumpers set which means use memory position 0C000h.
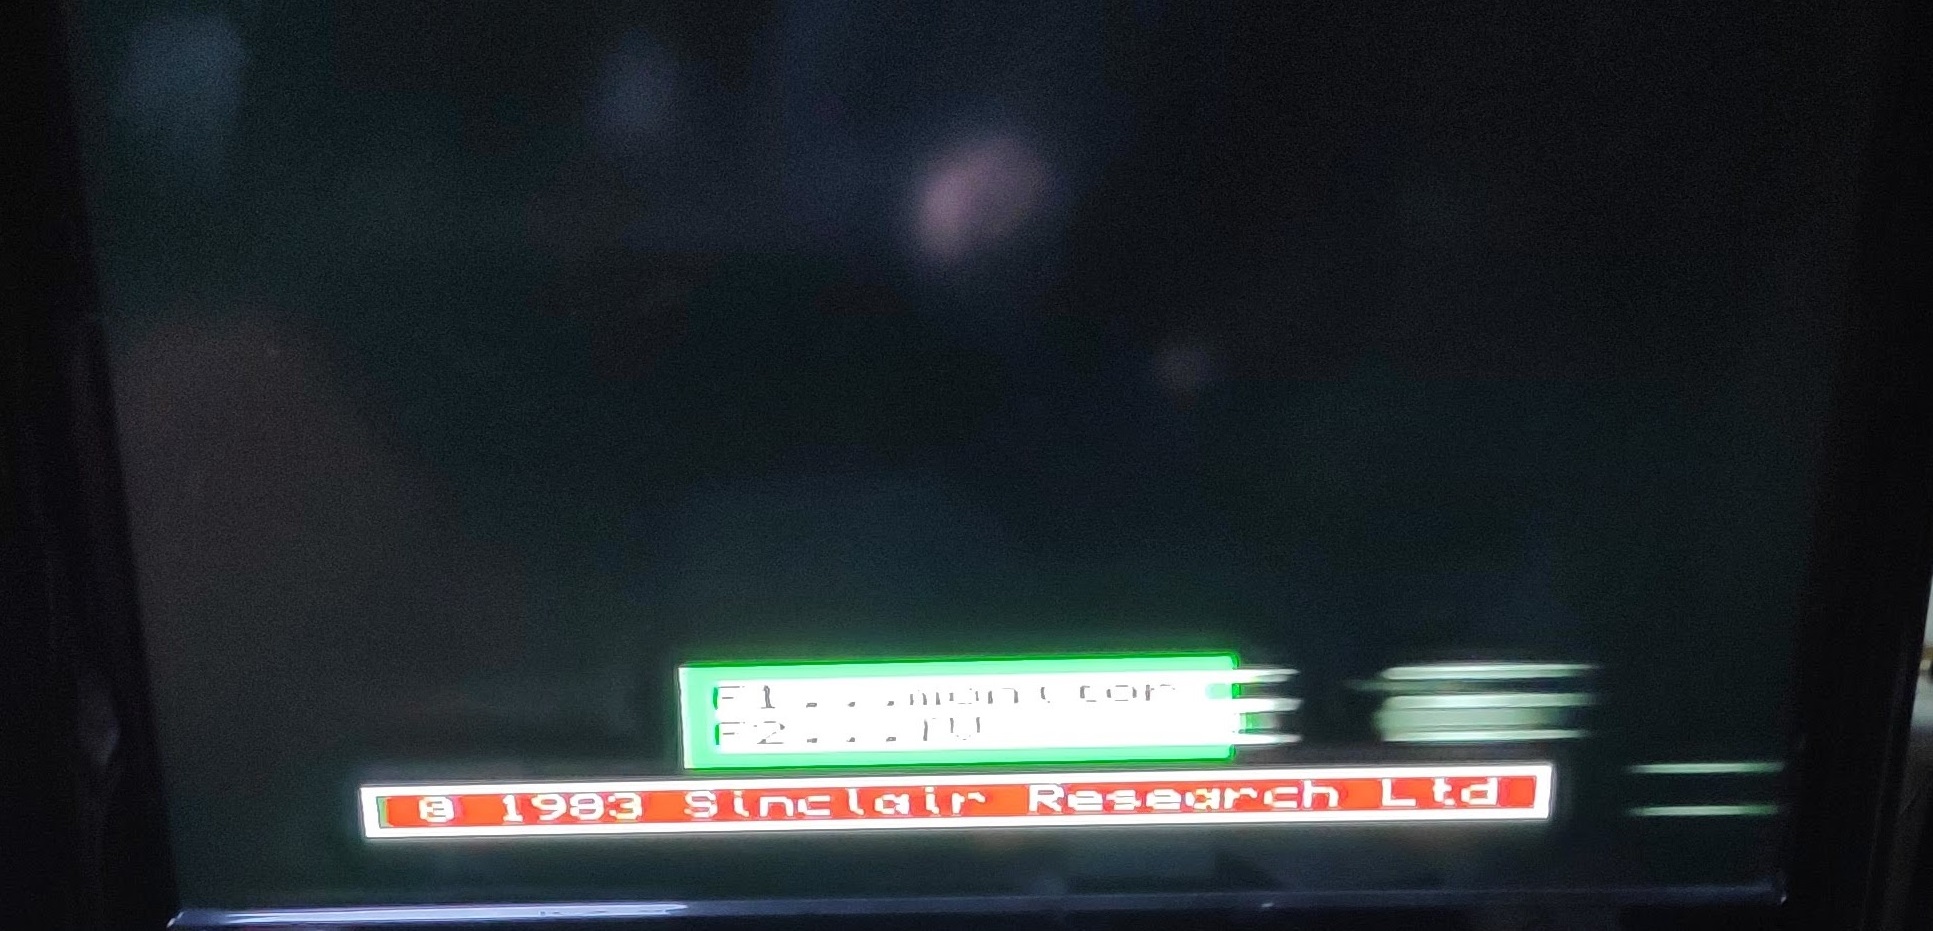
I discovered that there should be some messages displayed before the usual F1/F2. However at least the card wasn’t crashing the machine anymore. Here is what the boot looks like at this point, ignore the blurred screen as this was through the RF cable which is renowned for being poor.
At this point I made a RGB cable but later realised I’d wired up red and green the wrong way round..
I decided to do some courtesy continuity checks on the eprom and noticed pin 27(a14) eprom was not connecting to a14 on the RAM or 74HTC688 chips and I couldn’t see a trace which matched this either. Speaking with the guys on QLForum it was noted that a14 is tied high. Eureka! that must be it. I had programmed the eprom with the supplied 16k eprom file but the eprom was 32k. Therefore only the high 16k of the eprom was being accessed and unwittingly I had always just programmed the eprom starting at 0000hex which is standard. I reprogrammed the ROM with a new v3.10 16k rom file loaded to both low and high 16k of the eprom and ….
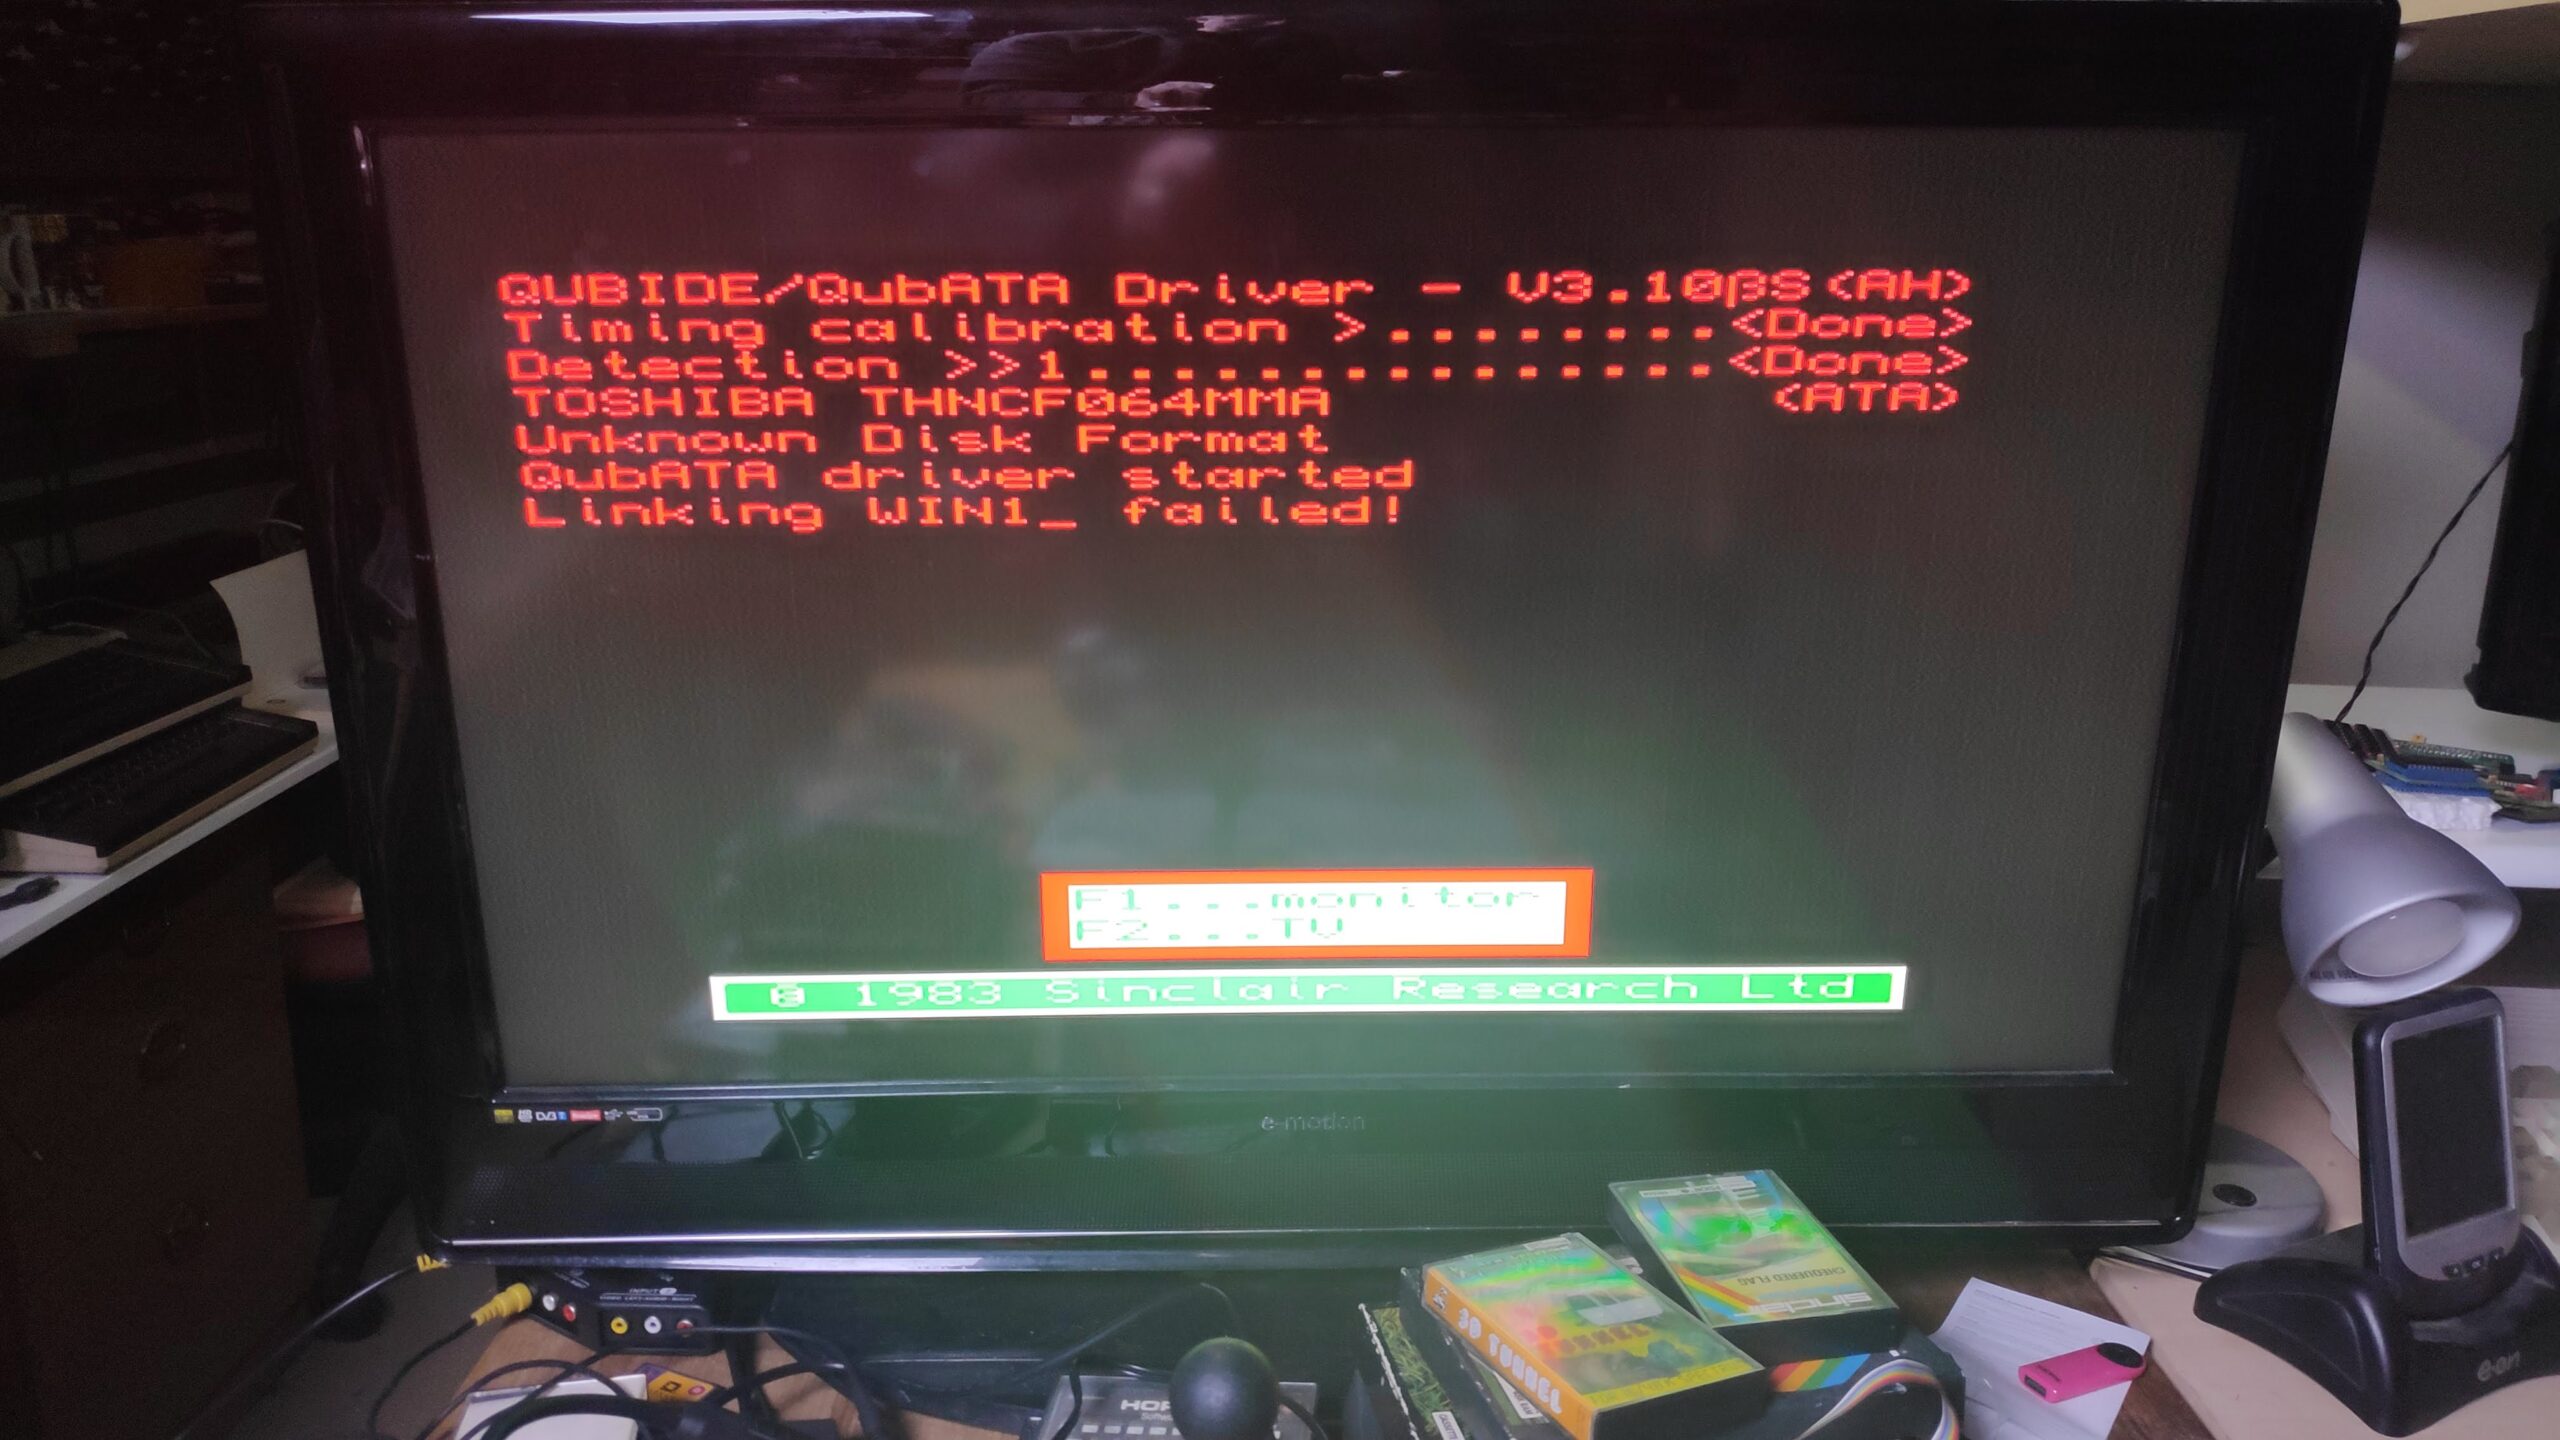
Finally after 4 years it was working or giving messages at least. Not perfect but it was a milestone and progress.
I decided to fit the RAM chips and test if the RAM upgrade was working using this piece of basic
PRINT (PEEK_L(163872)/1024 – 128)
result
128
So this part of the card wasn’t working now. Luckily trying a different AS6C4008 chip resolved the issue.
result
640
That was better.
It looks like all that’s now needed is for the CF card to be formatted so selecting F2 for TV I tried to format the card with command “format win1_” and the result was “read only”. Researching revealed this is normal protection to prevent accidentally wiping the card. To disable this its
WIN_FORMAT1
Then the card needs to be initialised with
WIN_DISK “INIT”,1
result
Not found
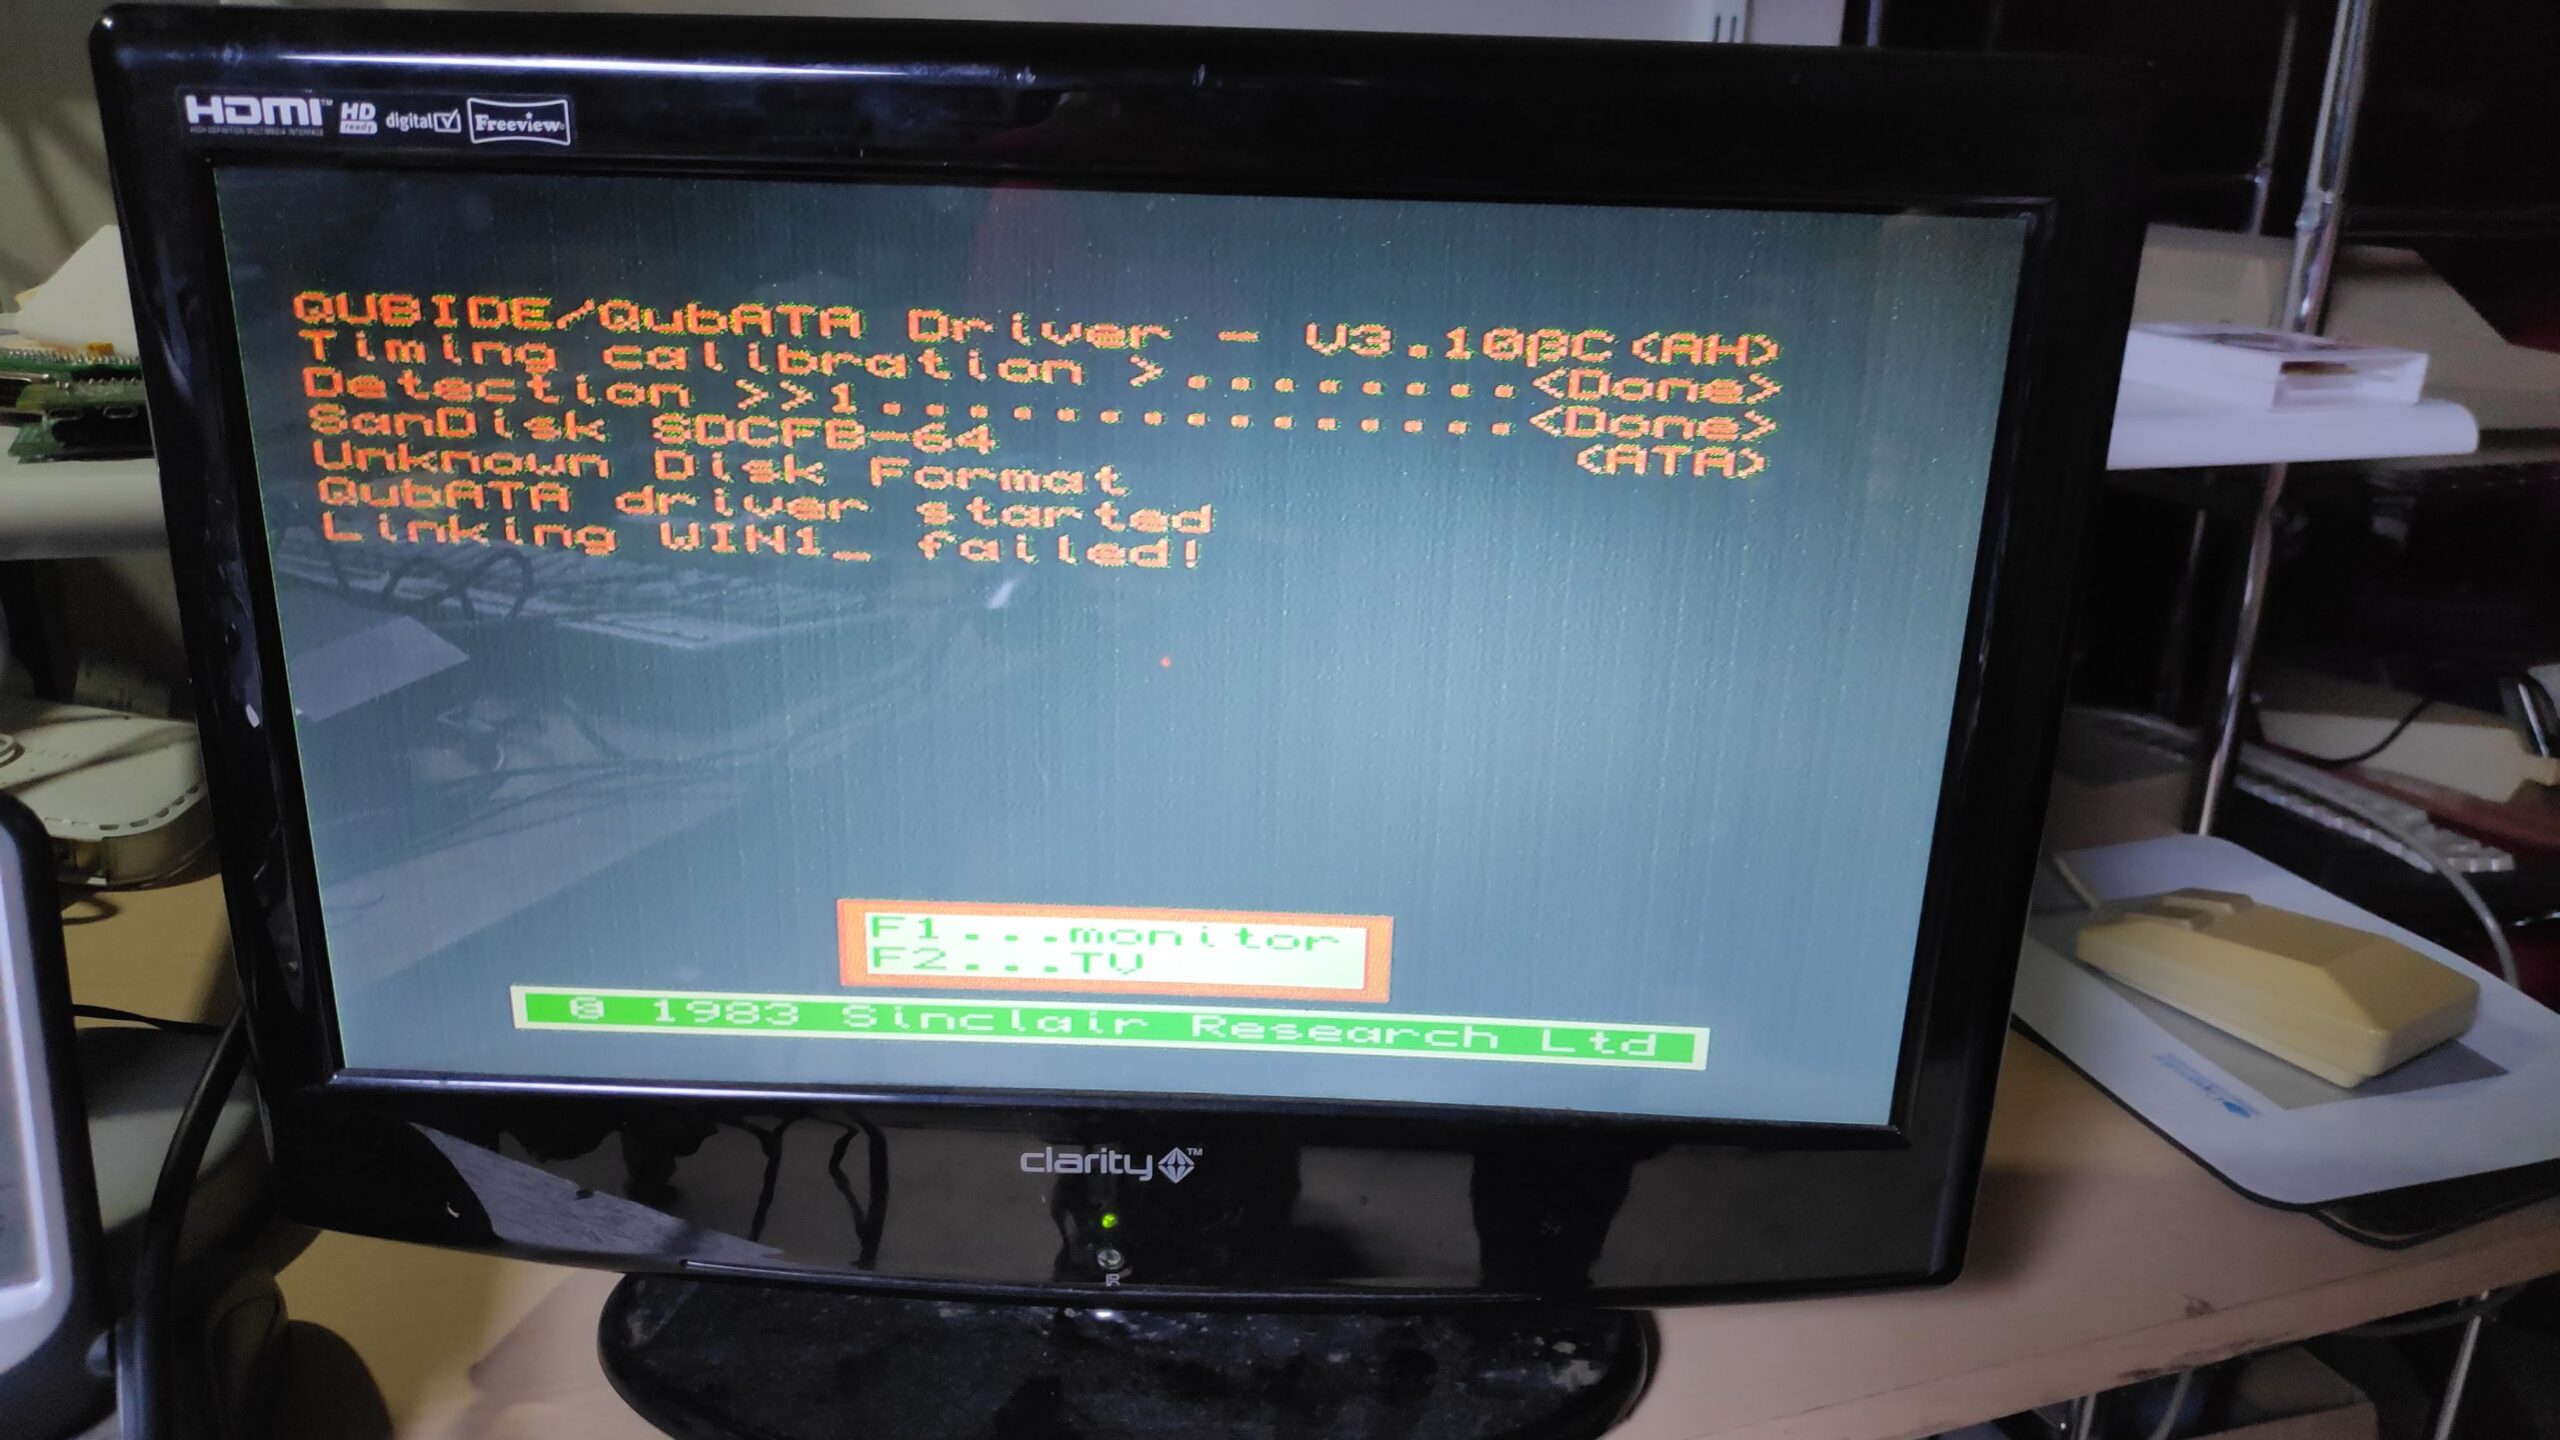
Whats wrong now!. I thought maybe the Jessops 64Mb CF card had failed so tried a known working Sandisk 64MB but got the same result “not found”
After many reboots and power cycles I noticed something different. Normally the red LED on the CF adapter board was on when powering the QL but on occasion it was off. When off the red led would quickly flash during detection shortly after power on.
With the card detected I was able to initialise and format the card with the following
WIN_FORMAT 1 – Allow format of win drives
WIN_DISK “INIT”, 1 – initialise drive and destroy all data
WIN_DISK “CREATE”, 1,1,60 – create 60Mb partition 1 on dev 1 . with 64mb. Tried 1,1,64 got Disk full but works with 1,1,60
WIN_DRIVE 1,1,1 – link in WIN1_ from first partition on first master device
FORMAT win1_
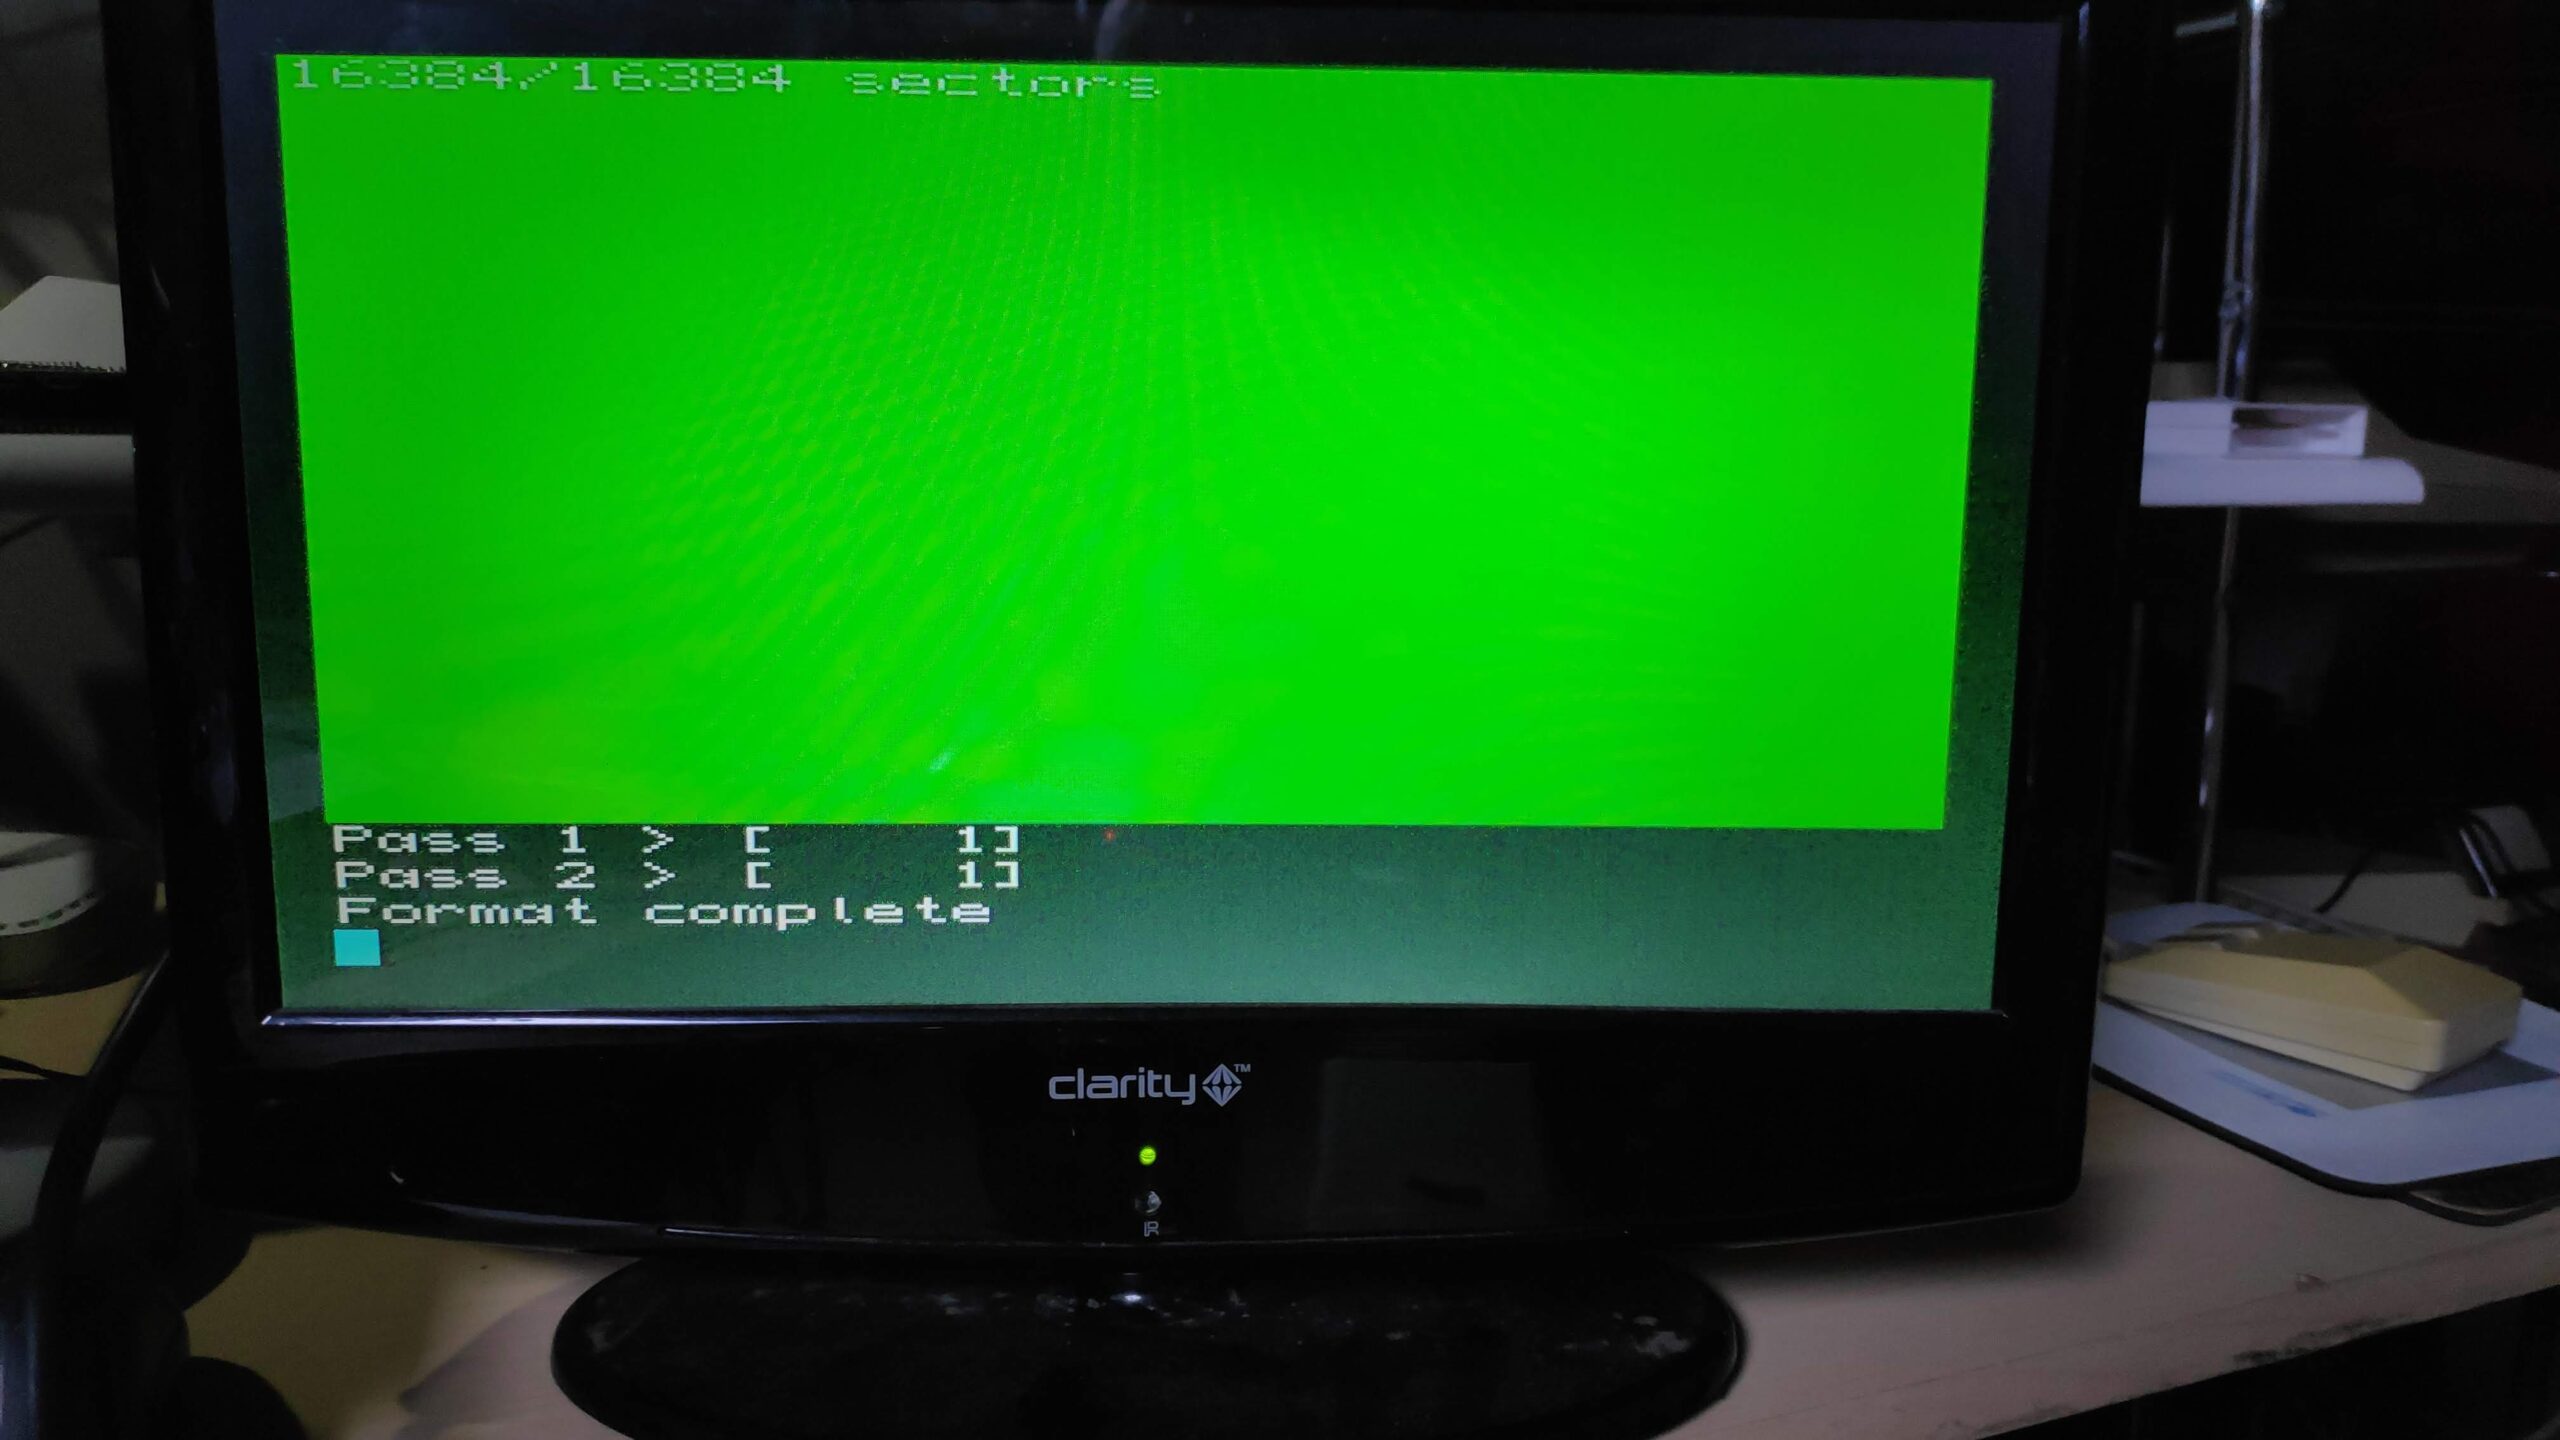
Success!
However after a power cycle the card was no longer detected so what was going on?
Checking the IDE cable I happened the knock off the master / slave jumper on the CF adapter card.
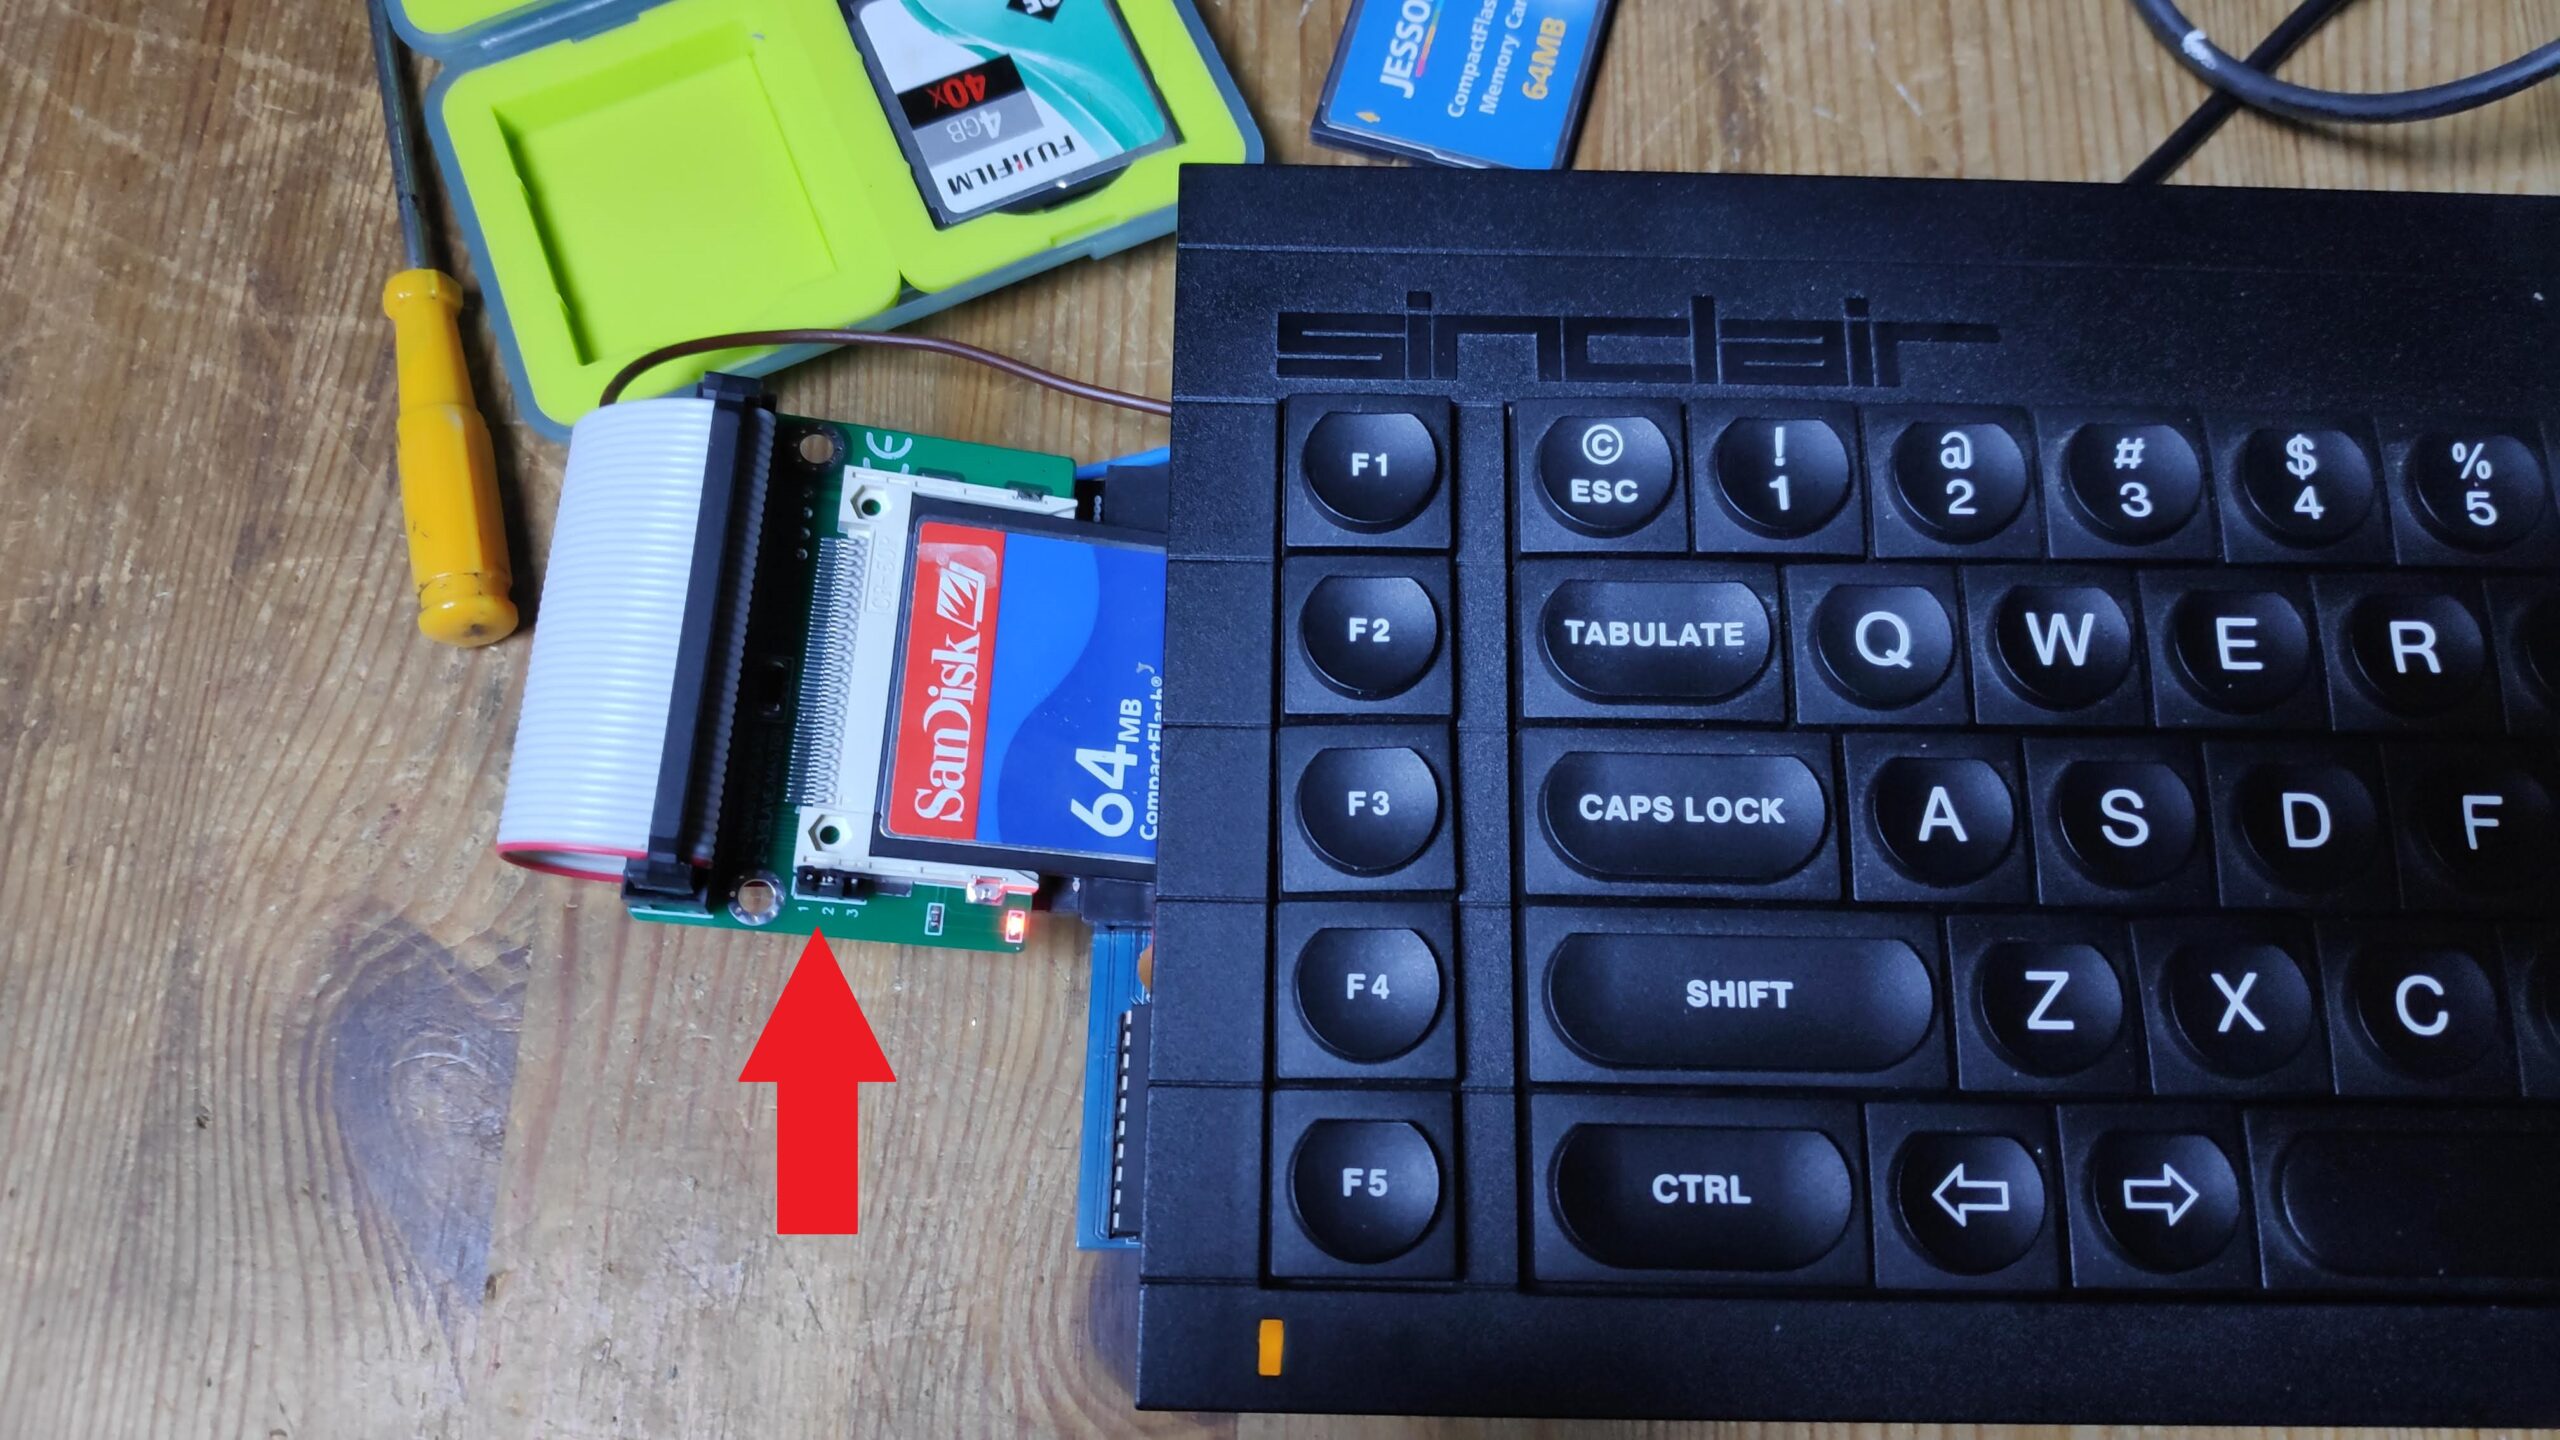
It was loose. So a slight bend on the master / slave jumper pins and the jumper was now a tight fit. Low and behold power cycling the QL and the CF card was detected every time so problem solved!
What a relief. Its been a long 4 year journey but a rewarding one. Now to figure out how to use the CF card.