


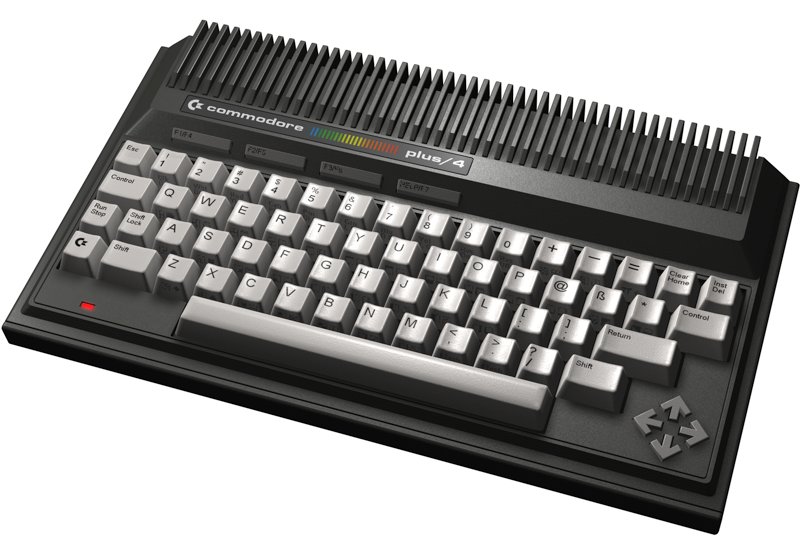


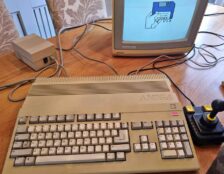


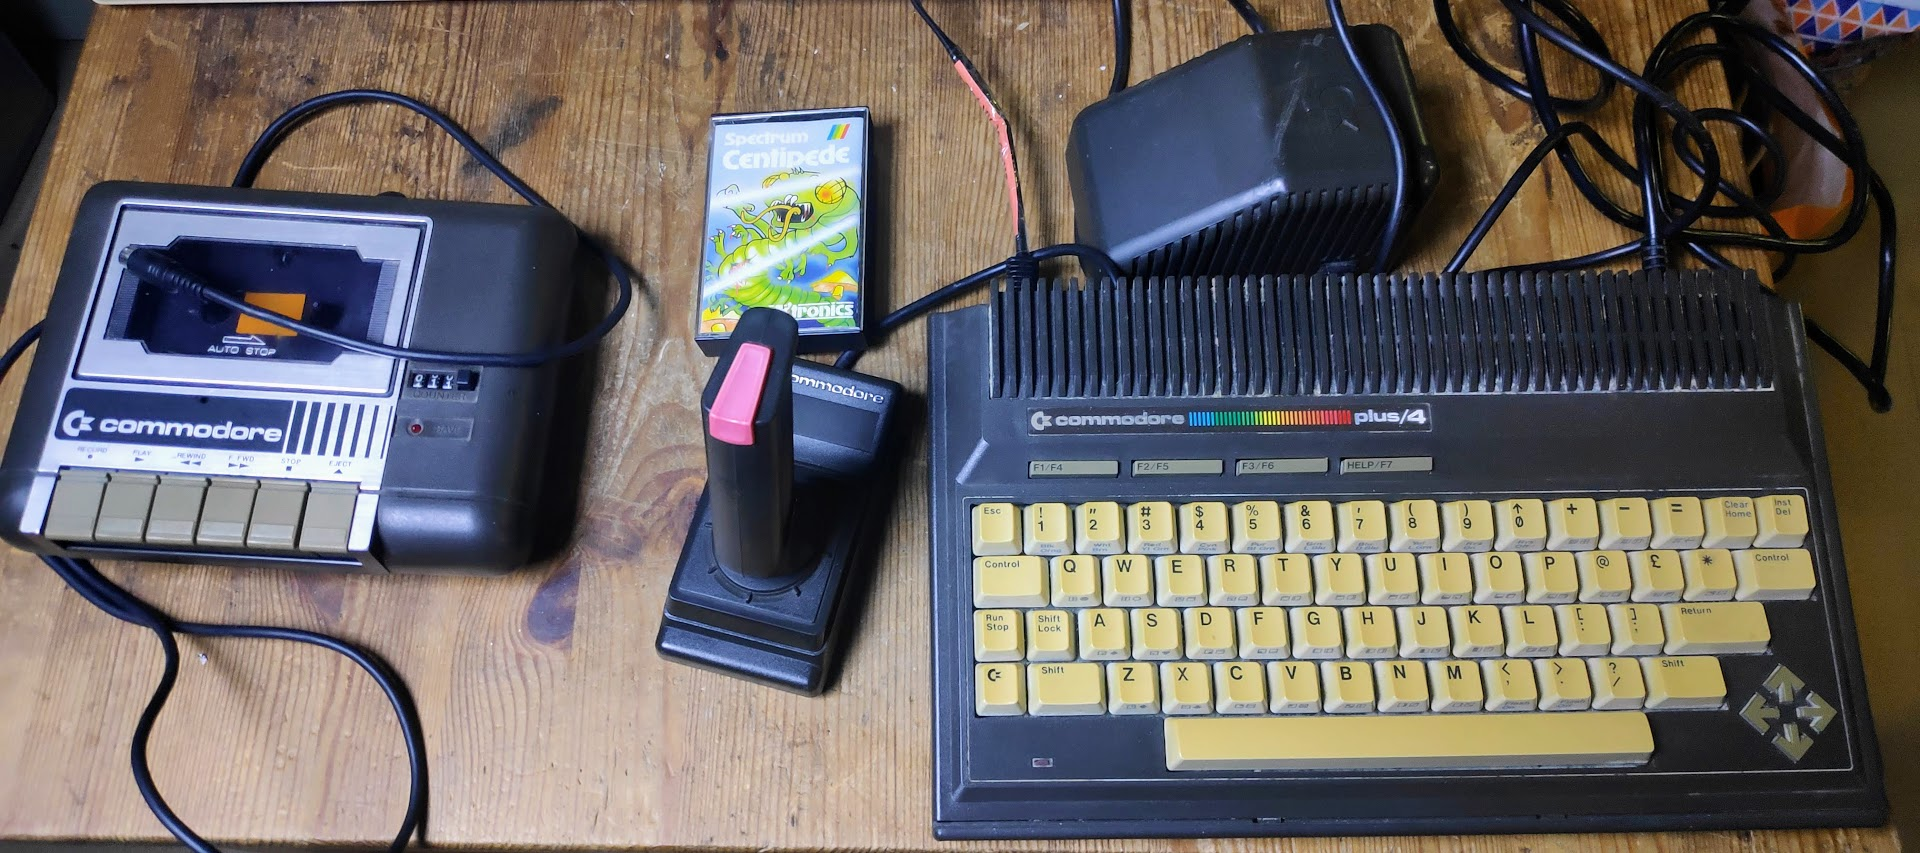
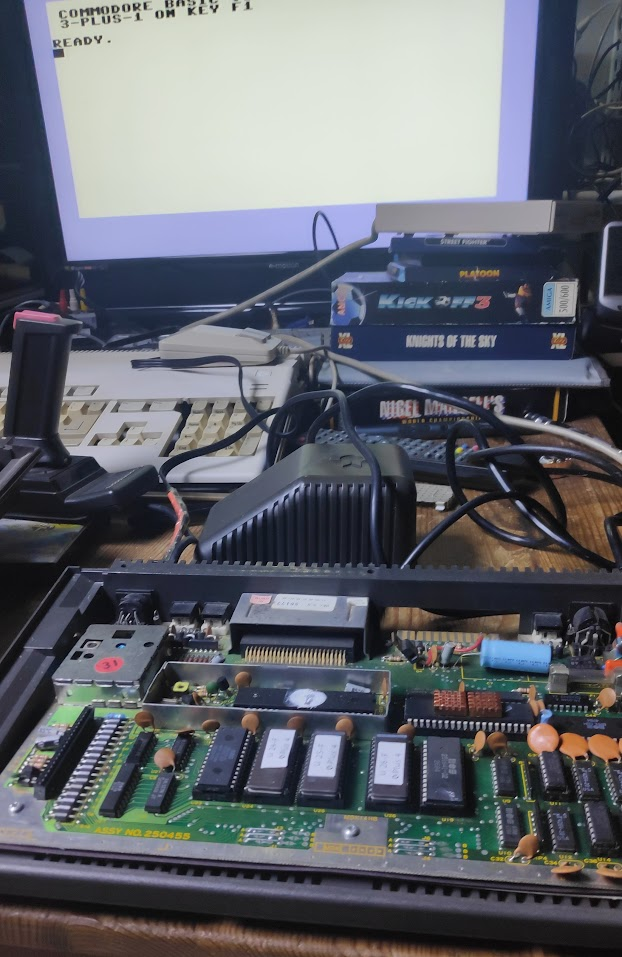
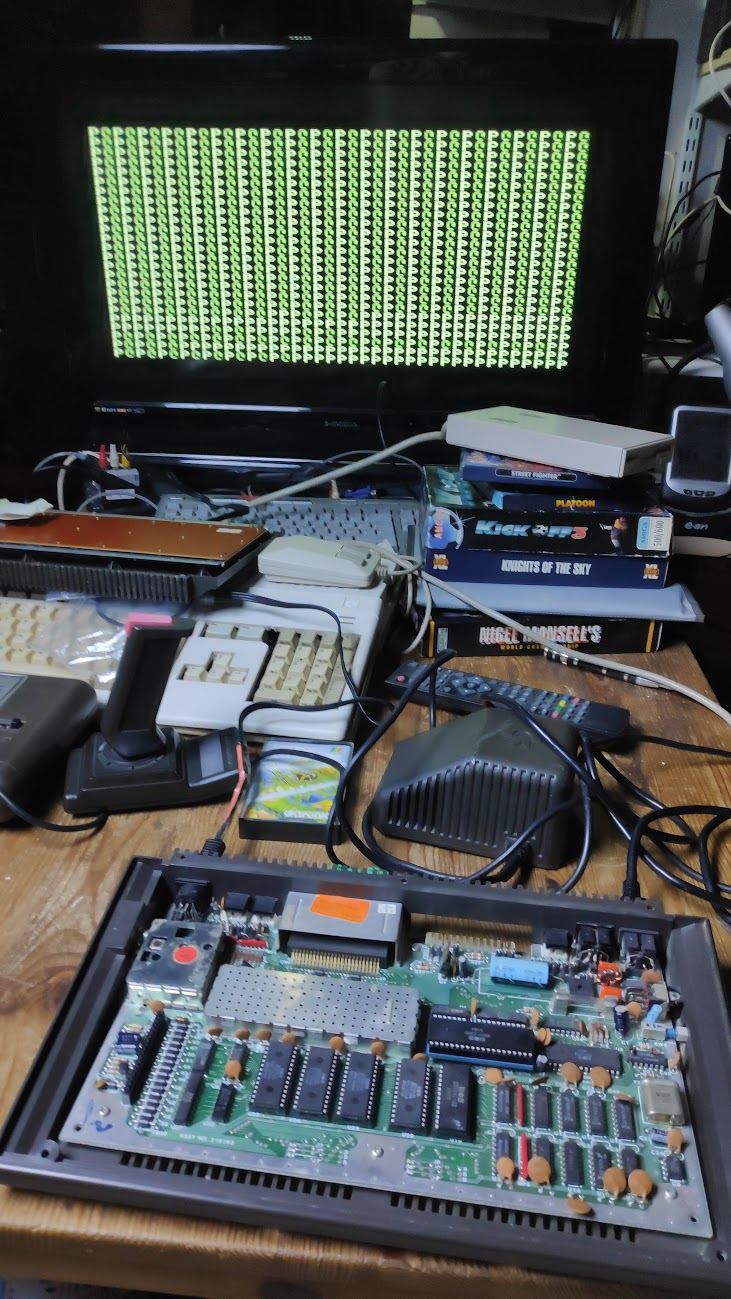
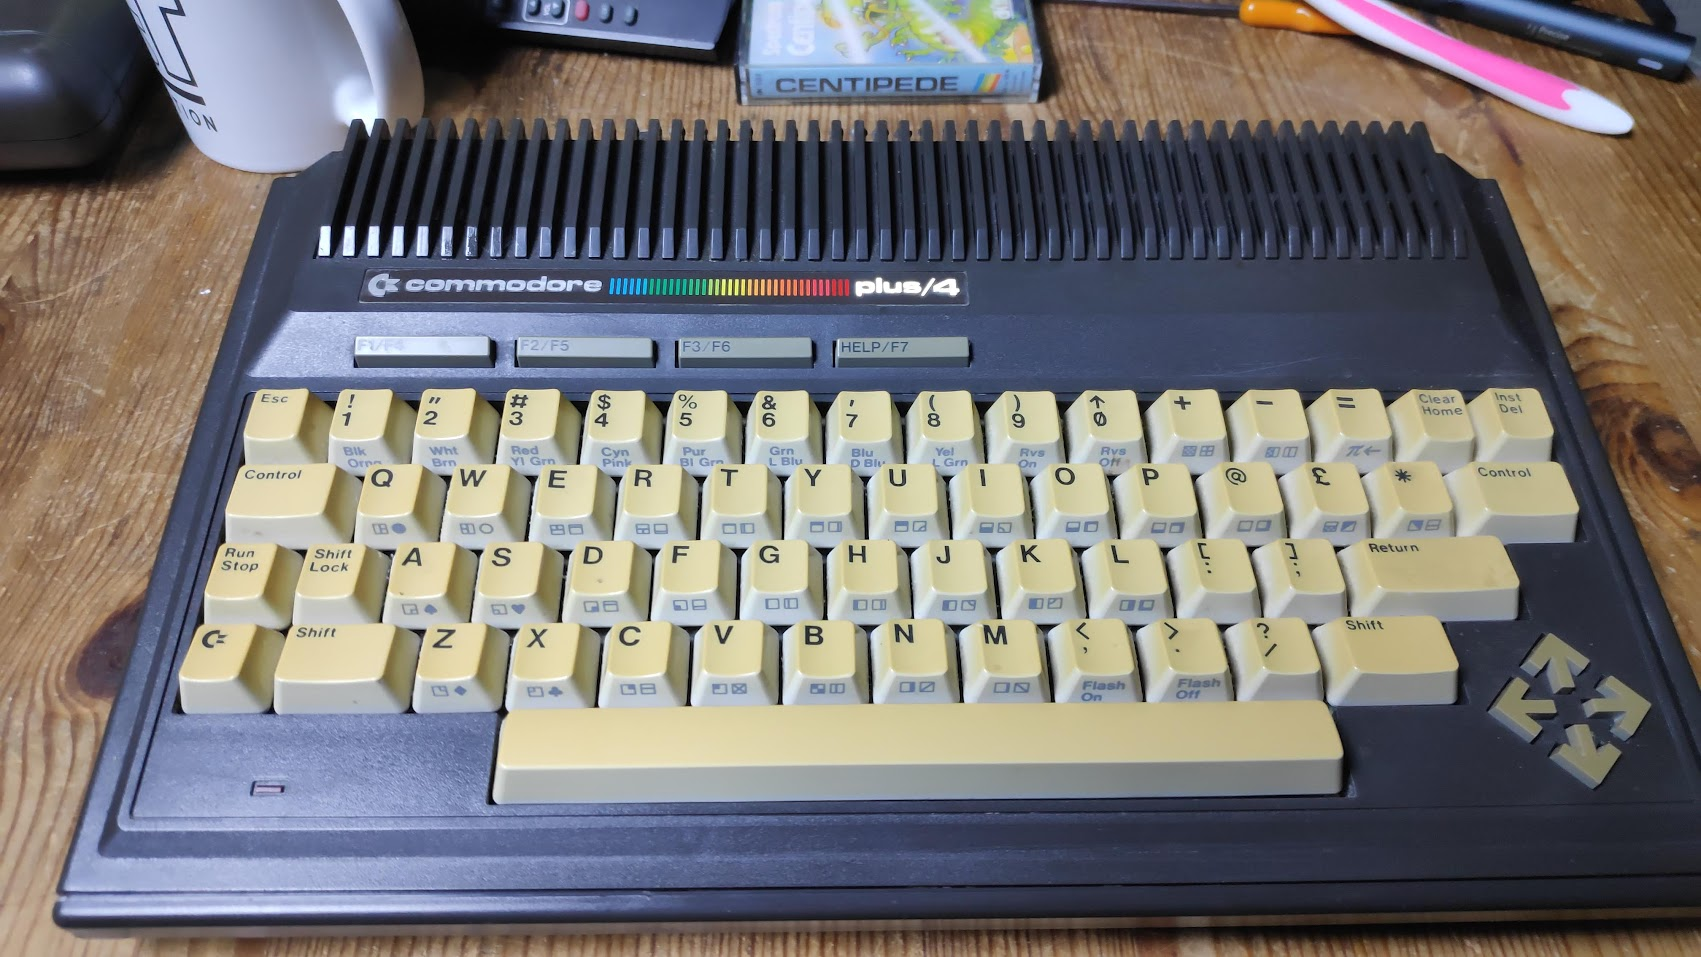
Commodore Plus 4 Repair following another untested purchase. A Commodore Plus 4 with Centipede game, Tape unit, Joystick and PSU.
First impressions are, at least it has all its teeth I mean keys. The Joystick has a good feel with no rattles and as does the plus 4. All the keys press down ok and don’t fall off. Belive me I’ve bought a few items which look perfect until you turn them upside down. The computer looks a little dusty so I’d better have a look inside.
Okay so at some point it had a fight with a talcum poweder bottle and lost. It does smell nice though. Best give it a brush down.
Diagnosis
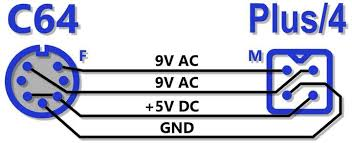
First checking the voltages on the PSU revealed good 9vAC and Good 5v DC. The power connector is square as opposed to the C64 round connector however they have the same power requirements.
A quick clean of the board and check the fuse is is ok.
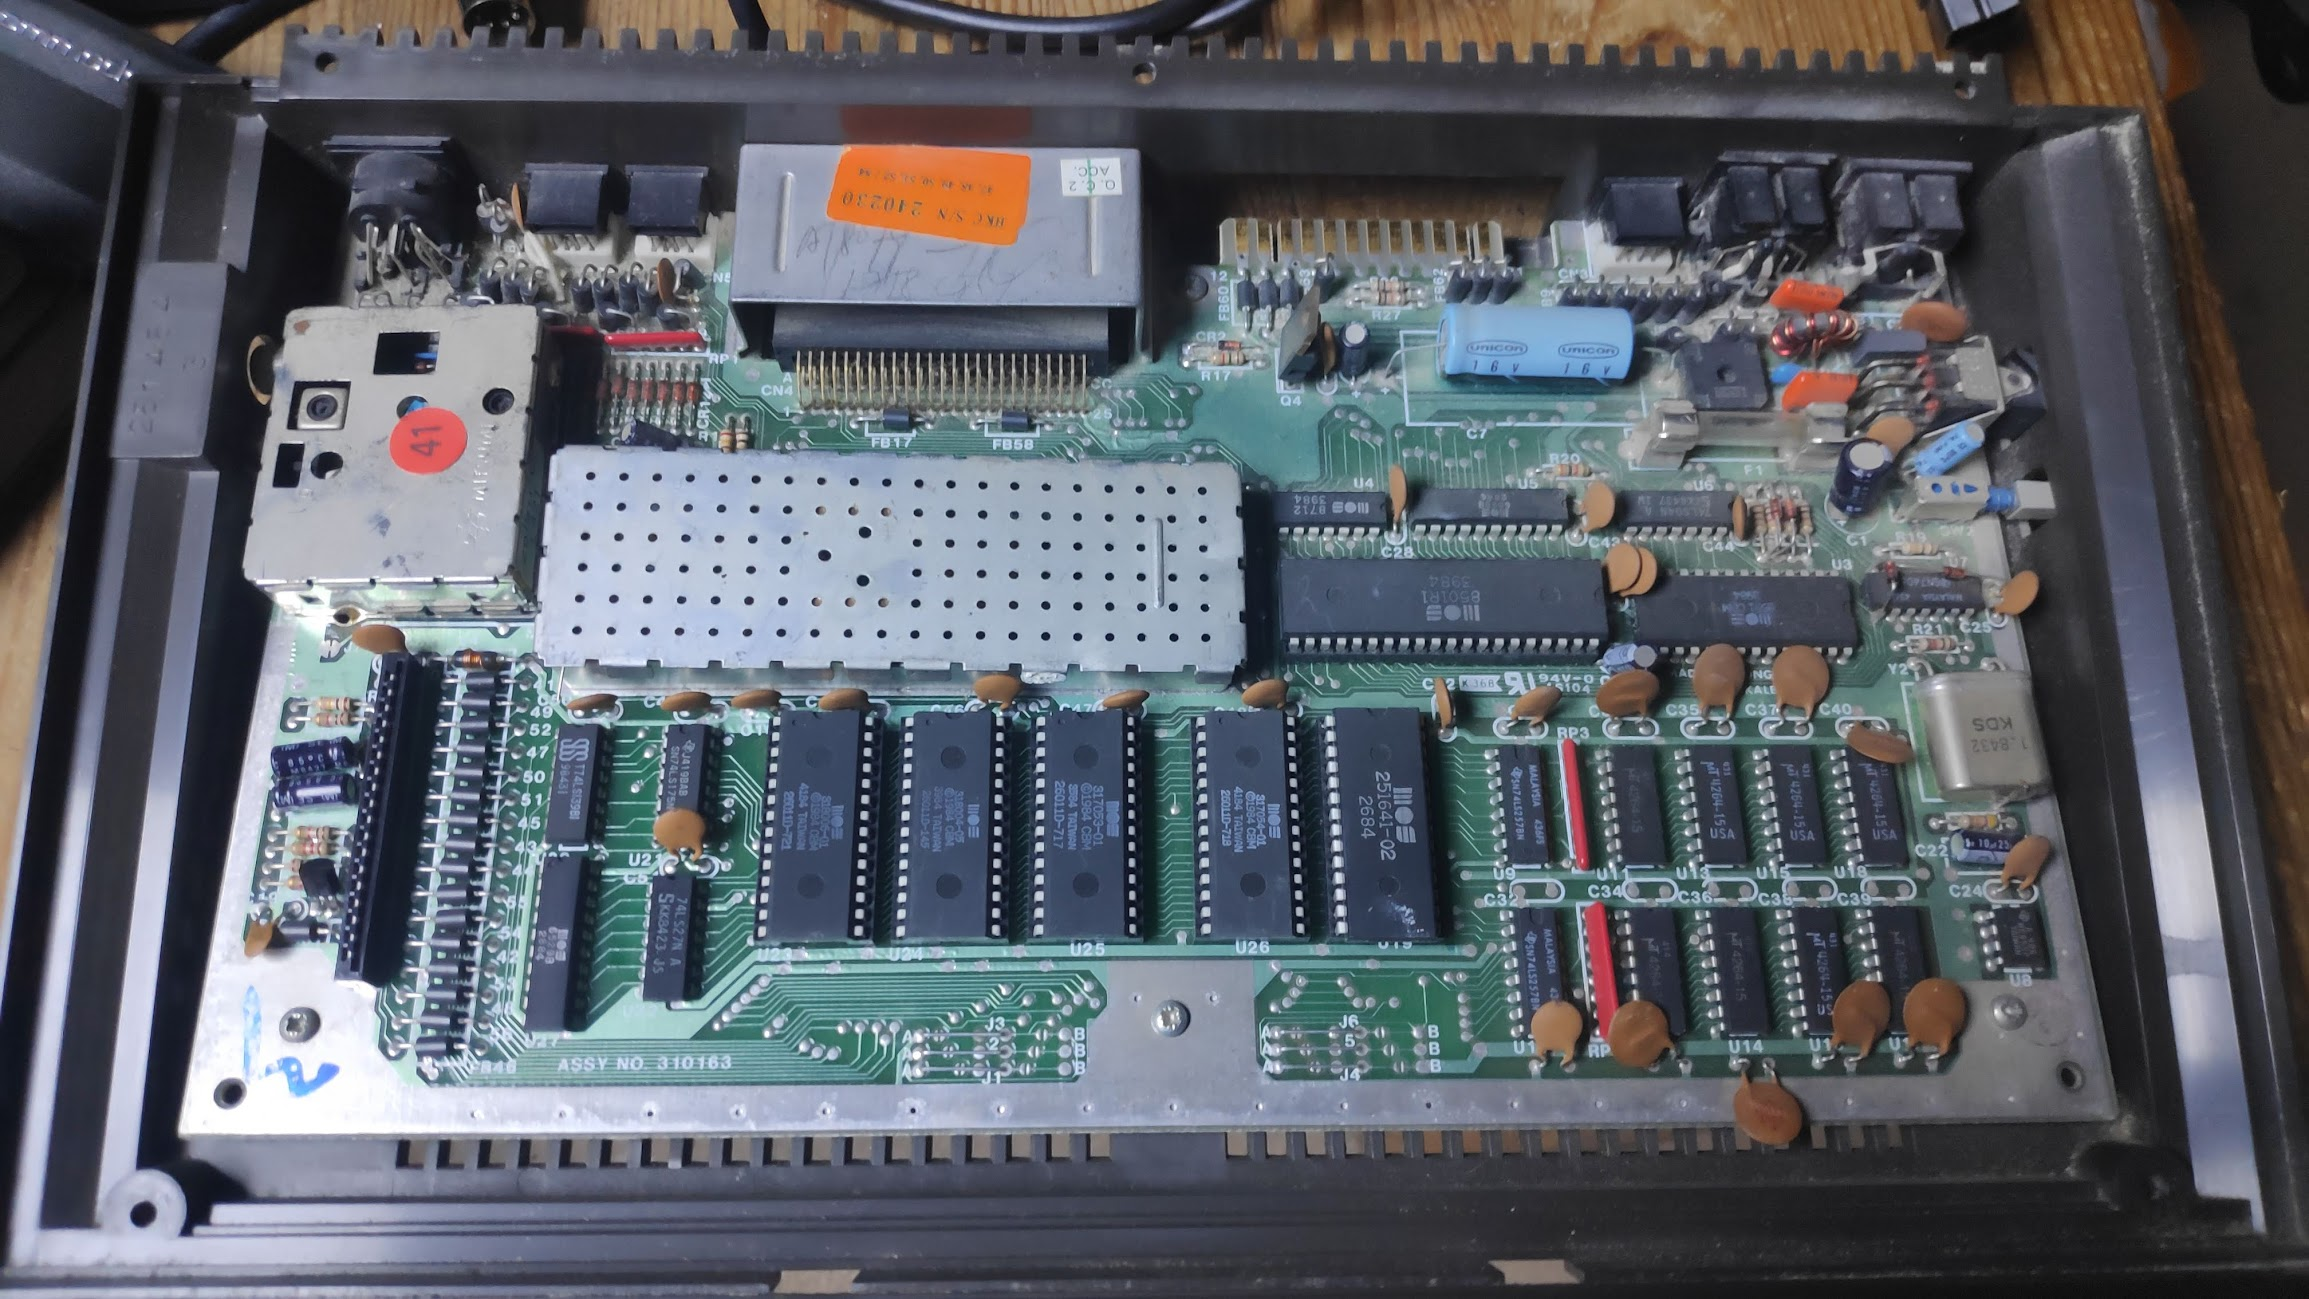
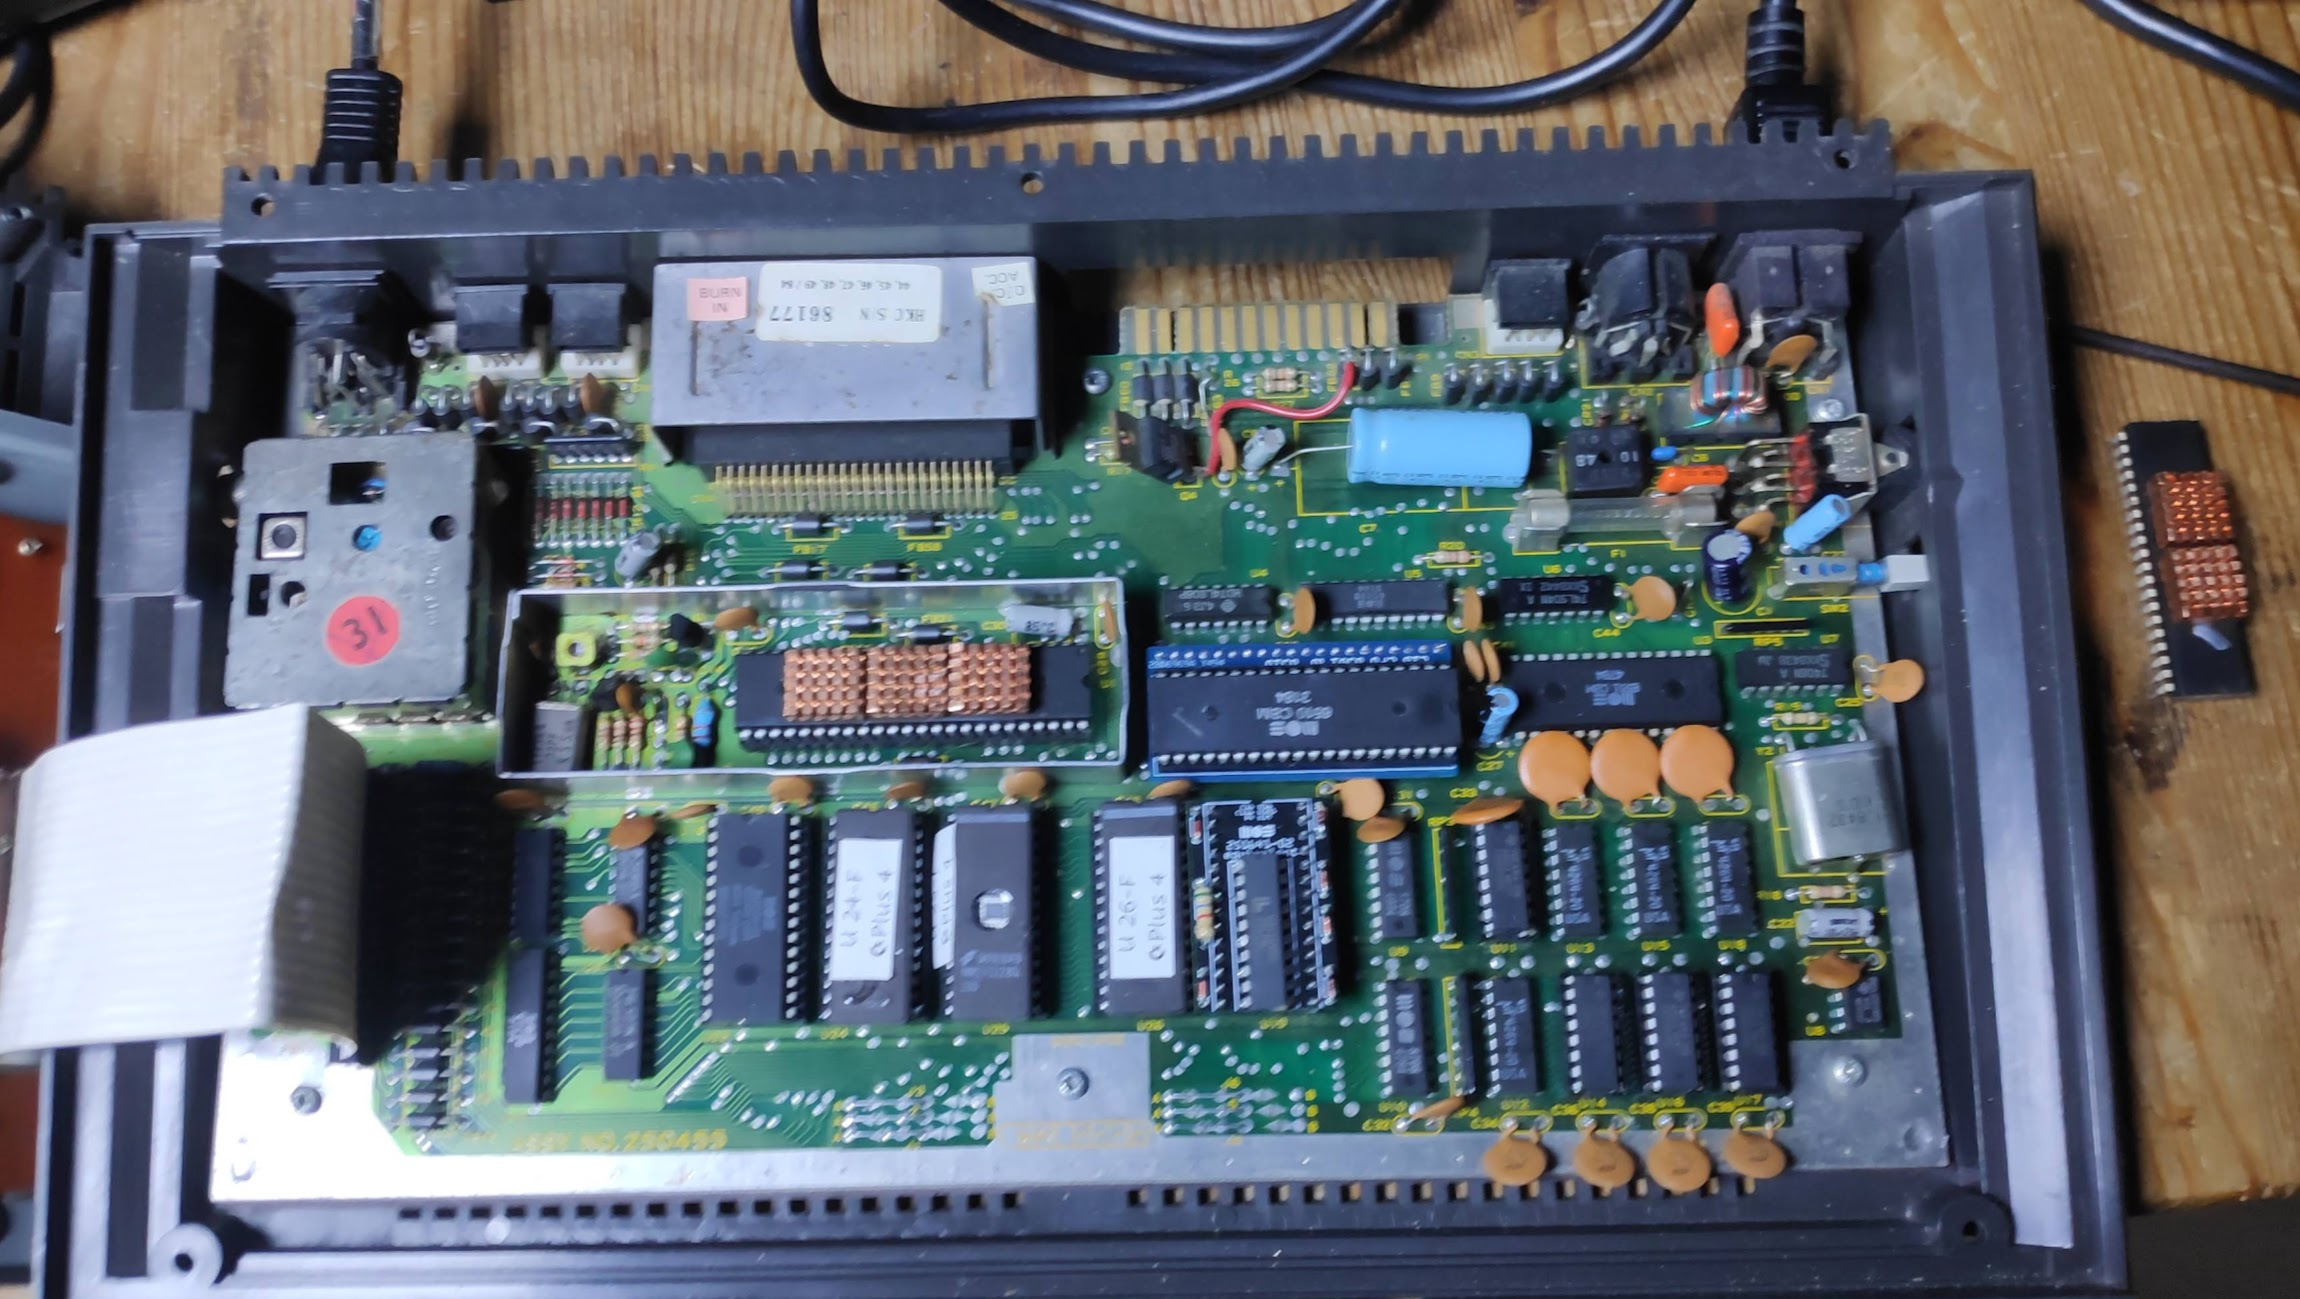
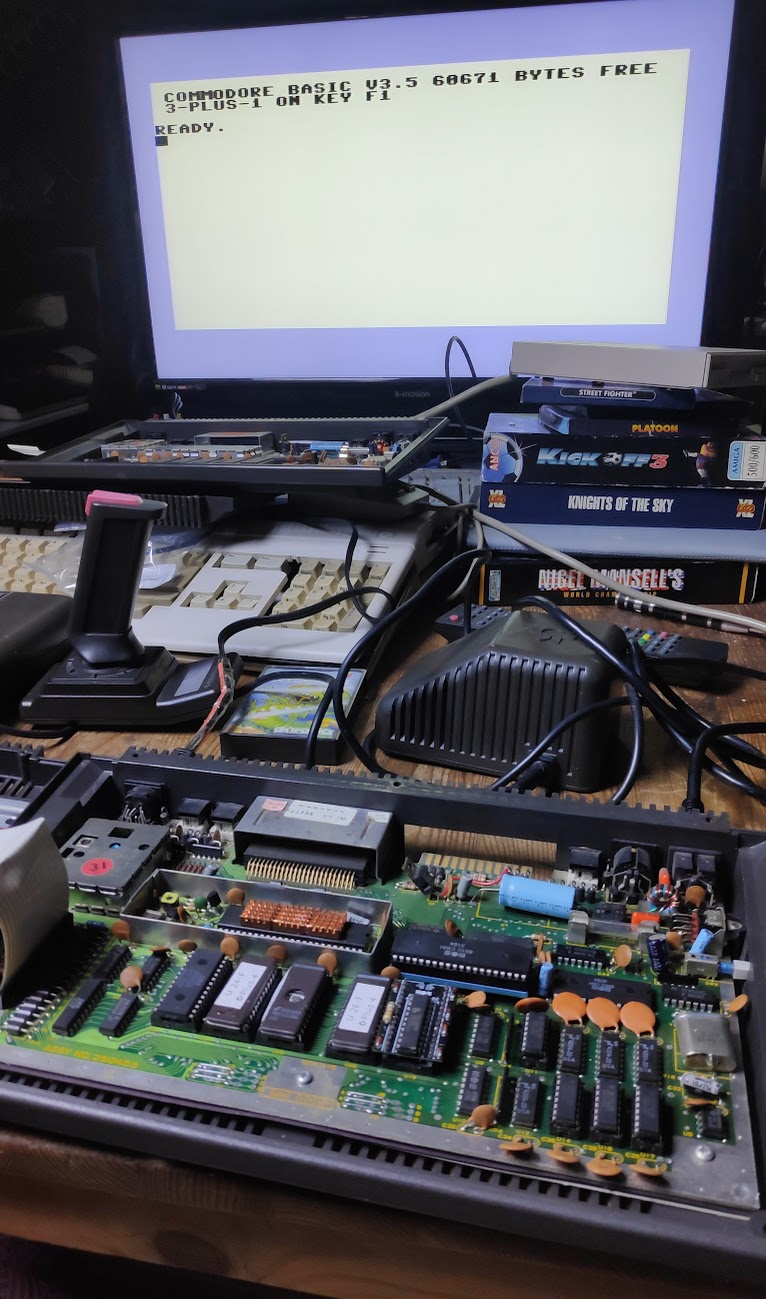
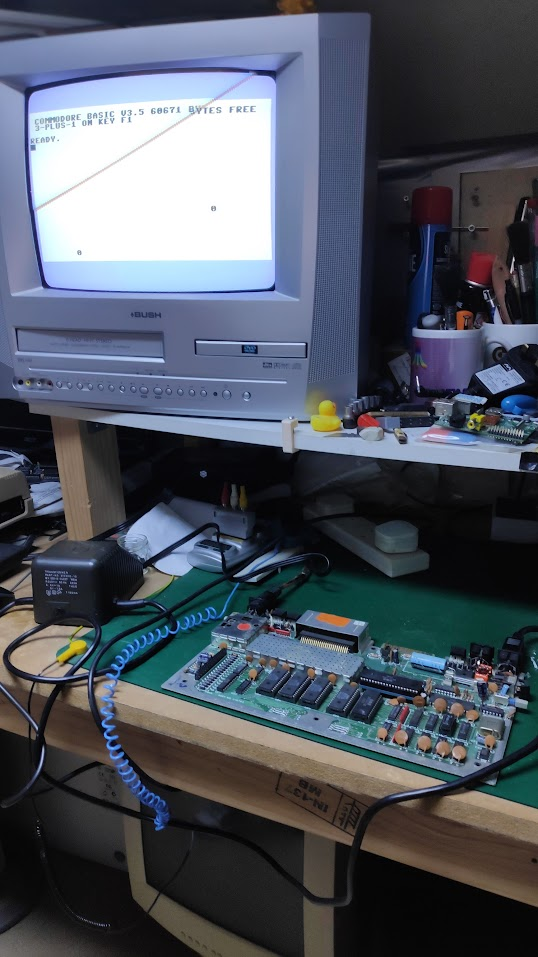
A quick power on test gives an unsurprising black screen.
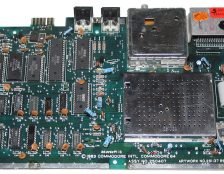
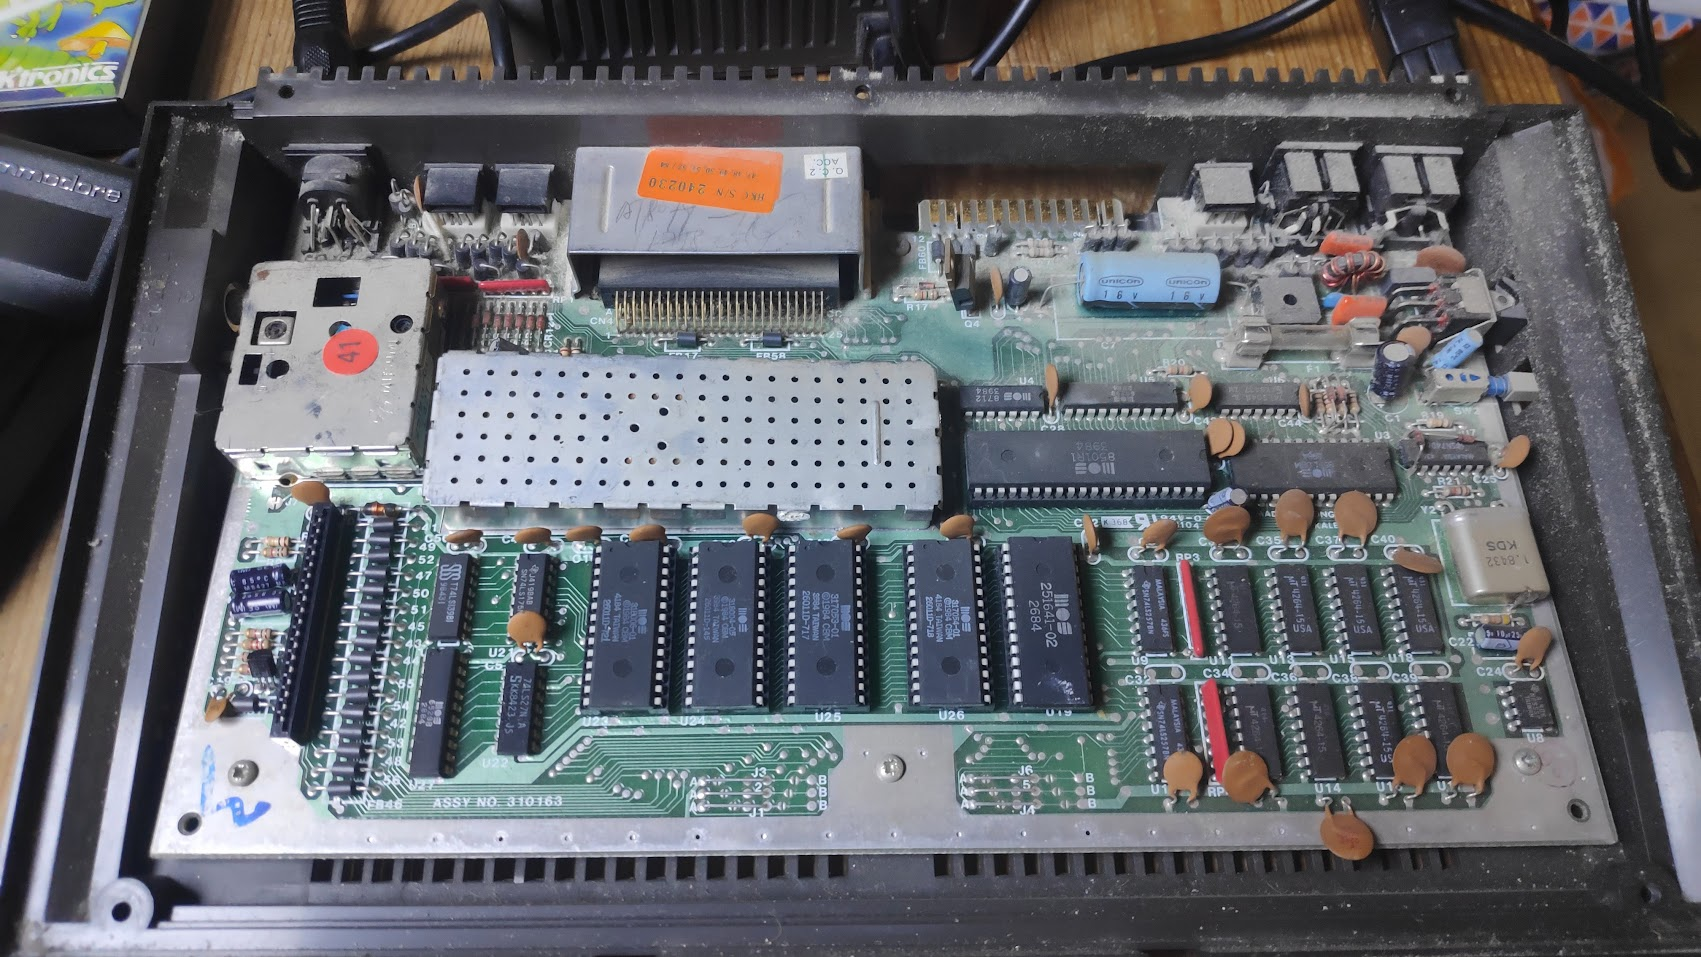
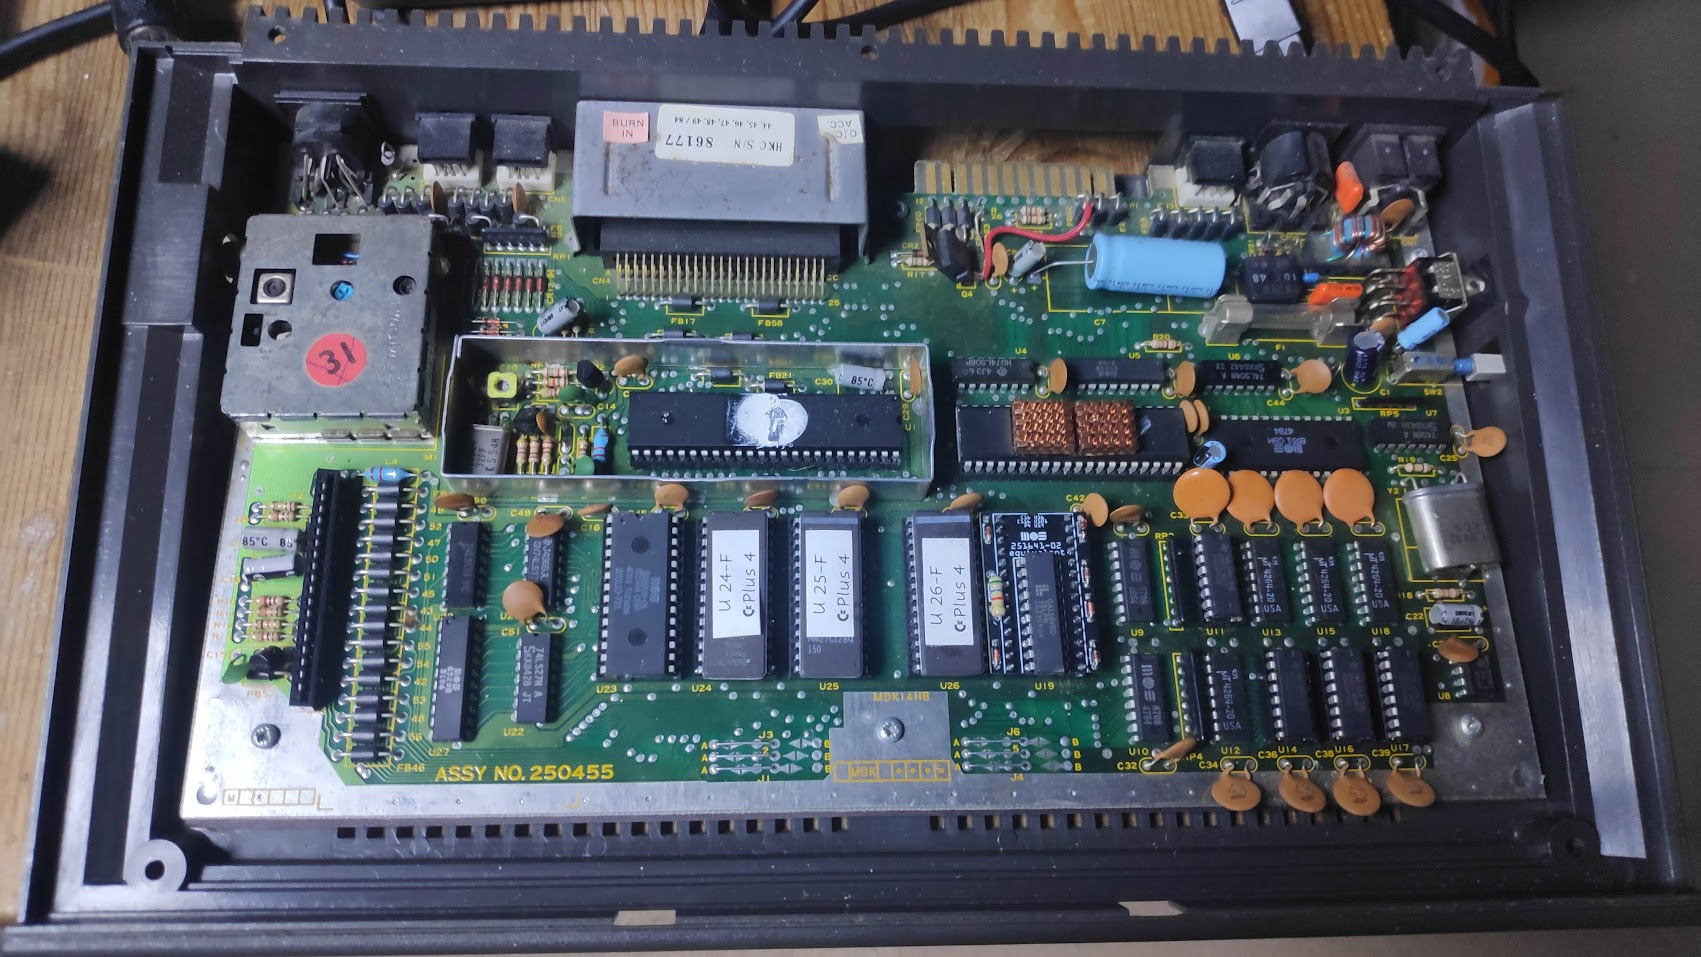
I have a working Plus4 which will come in handy to test faulty chips. Chips are identified as follows
| PCB Identifier | Chip Number | Remarks | Memory Location/bit |
|---|---|---|---|
| U1 | 7360/8360 | TED | |
| U2 | 7501 | CPU | |
| U3 | 6551A | ACIA | |
| U4 | 74LS08 | ||
| U5 | 6529B | SPI | |
| U6 | 74LS04 | ||
| U7 | 7406 | ||
| U8 | 555 | ||
| U9 | 74LS257 | ||
| U10 | 74LS257 | ||
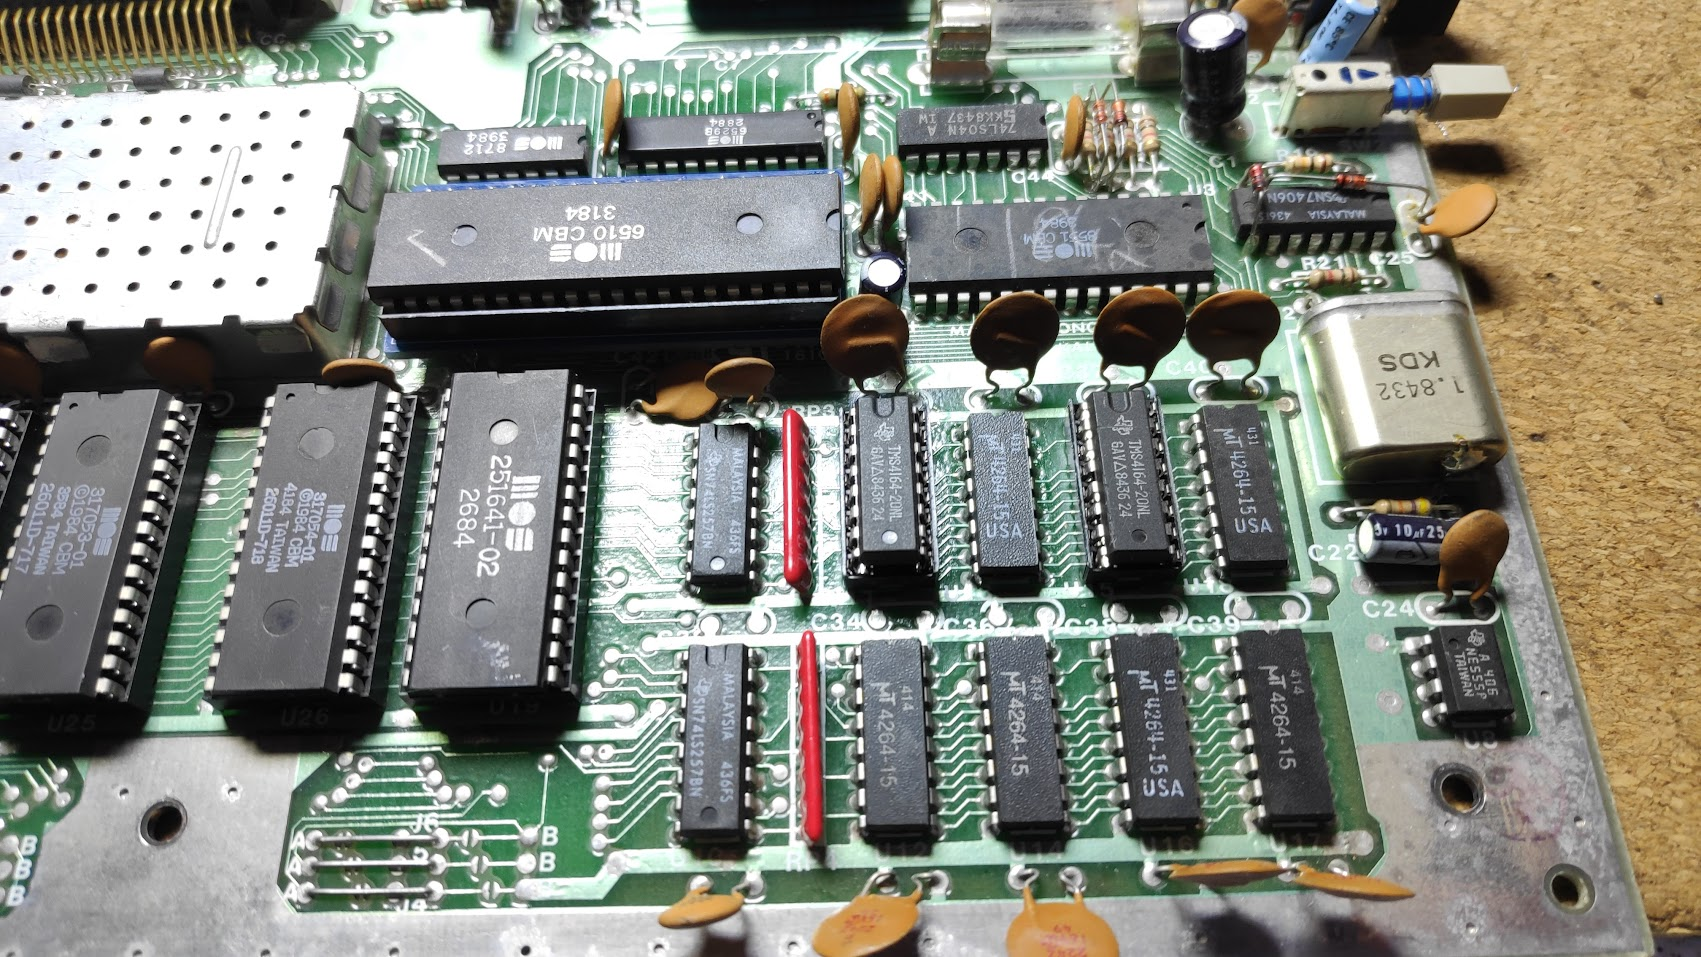
| U11 | 4164-2 | DRAM | D0 |
| U12 | 4164-2 | DRAM | D1 |
| U13 | 4164-2 | DRAM | D2 |
| U14 | 4164-2 | DRAM | D3 |
| U15 | 4164-2 | DRAM | D4 |
| U16 | 4164-2 | DRAM | D5 |
| U17 | 4164-2 | DRAM | D6 |
| U18 | 4164-2 | DRAM | D7 |
| U19 | 7700 | PLA | |
| U20 | 74LS139 | ||
| U21 | 74LS175 | ||
| U22 | 74LS27 | ||
| U23 | 23128 | ROM TED Basic | |
| U24 | 23128 | ROM TED Kernal | |
| U25 | 23128 | Function ROM 3+1 LOW | |
| U26 | 23128 | Function ROM 3+1 HIGH | |
| U27 | 6529B | SPI |
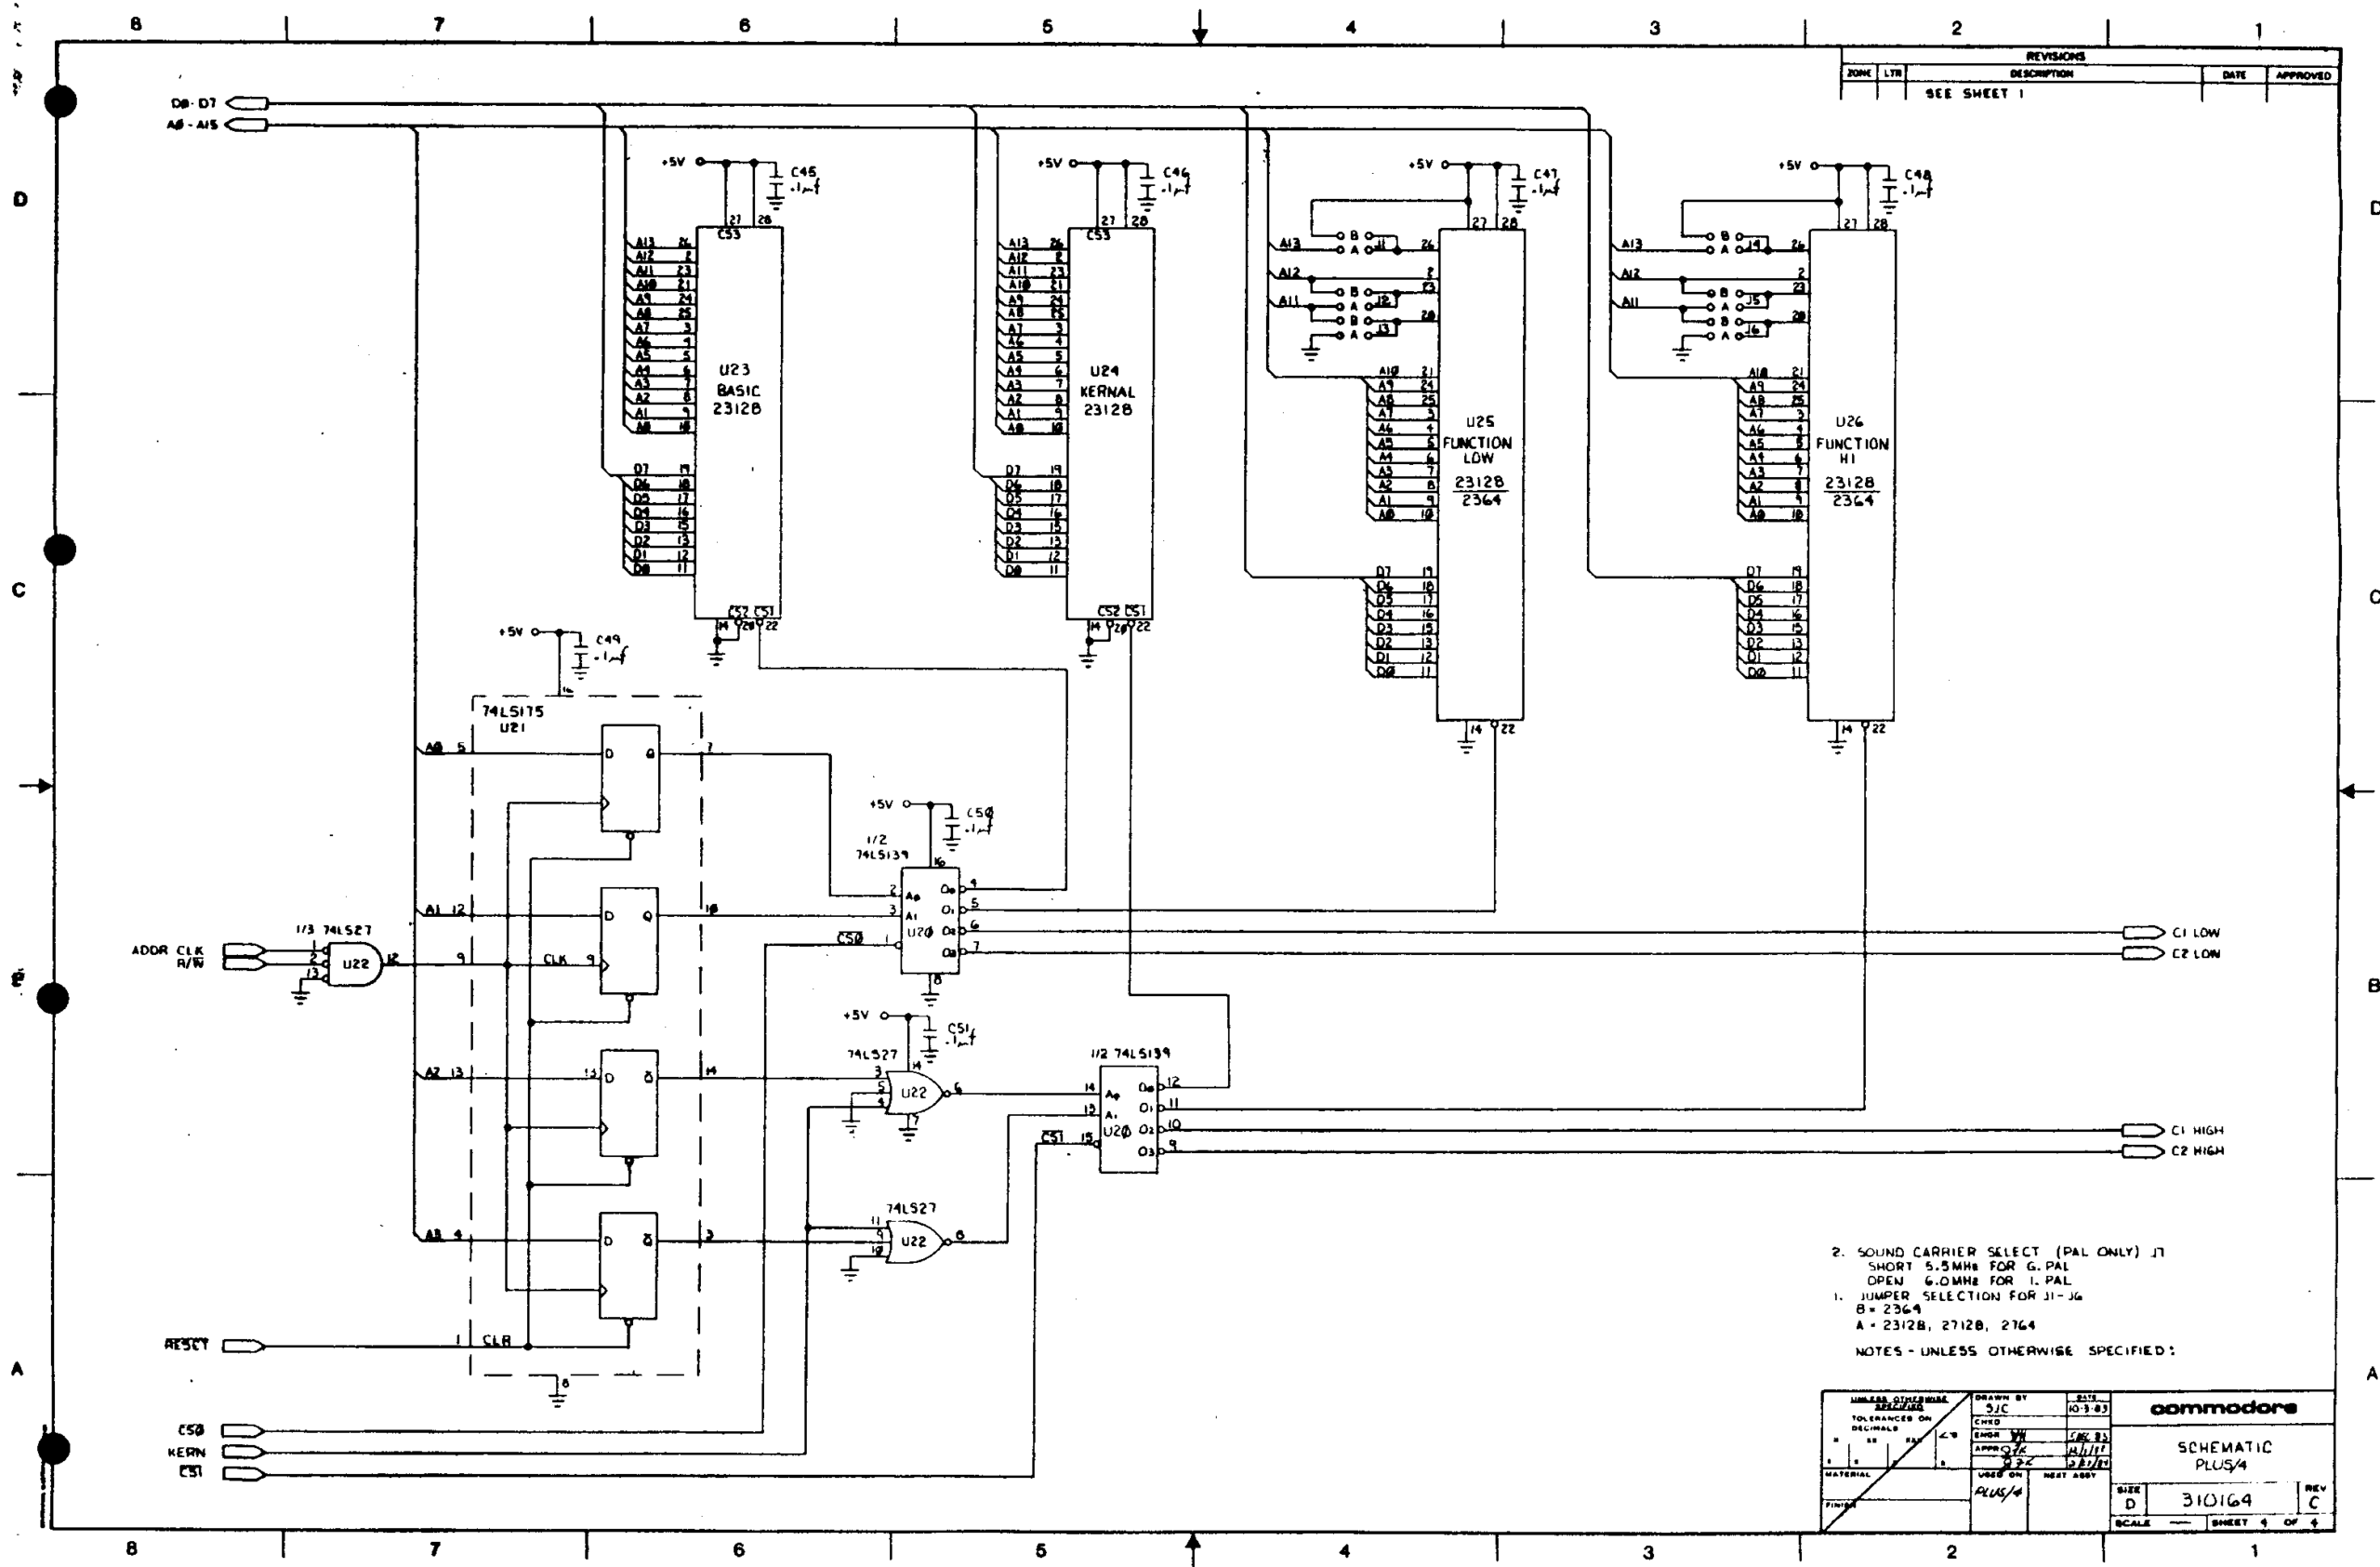
Schematics
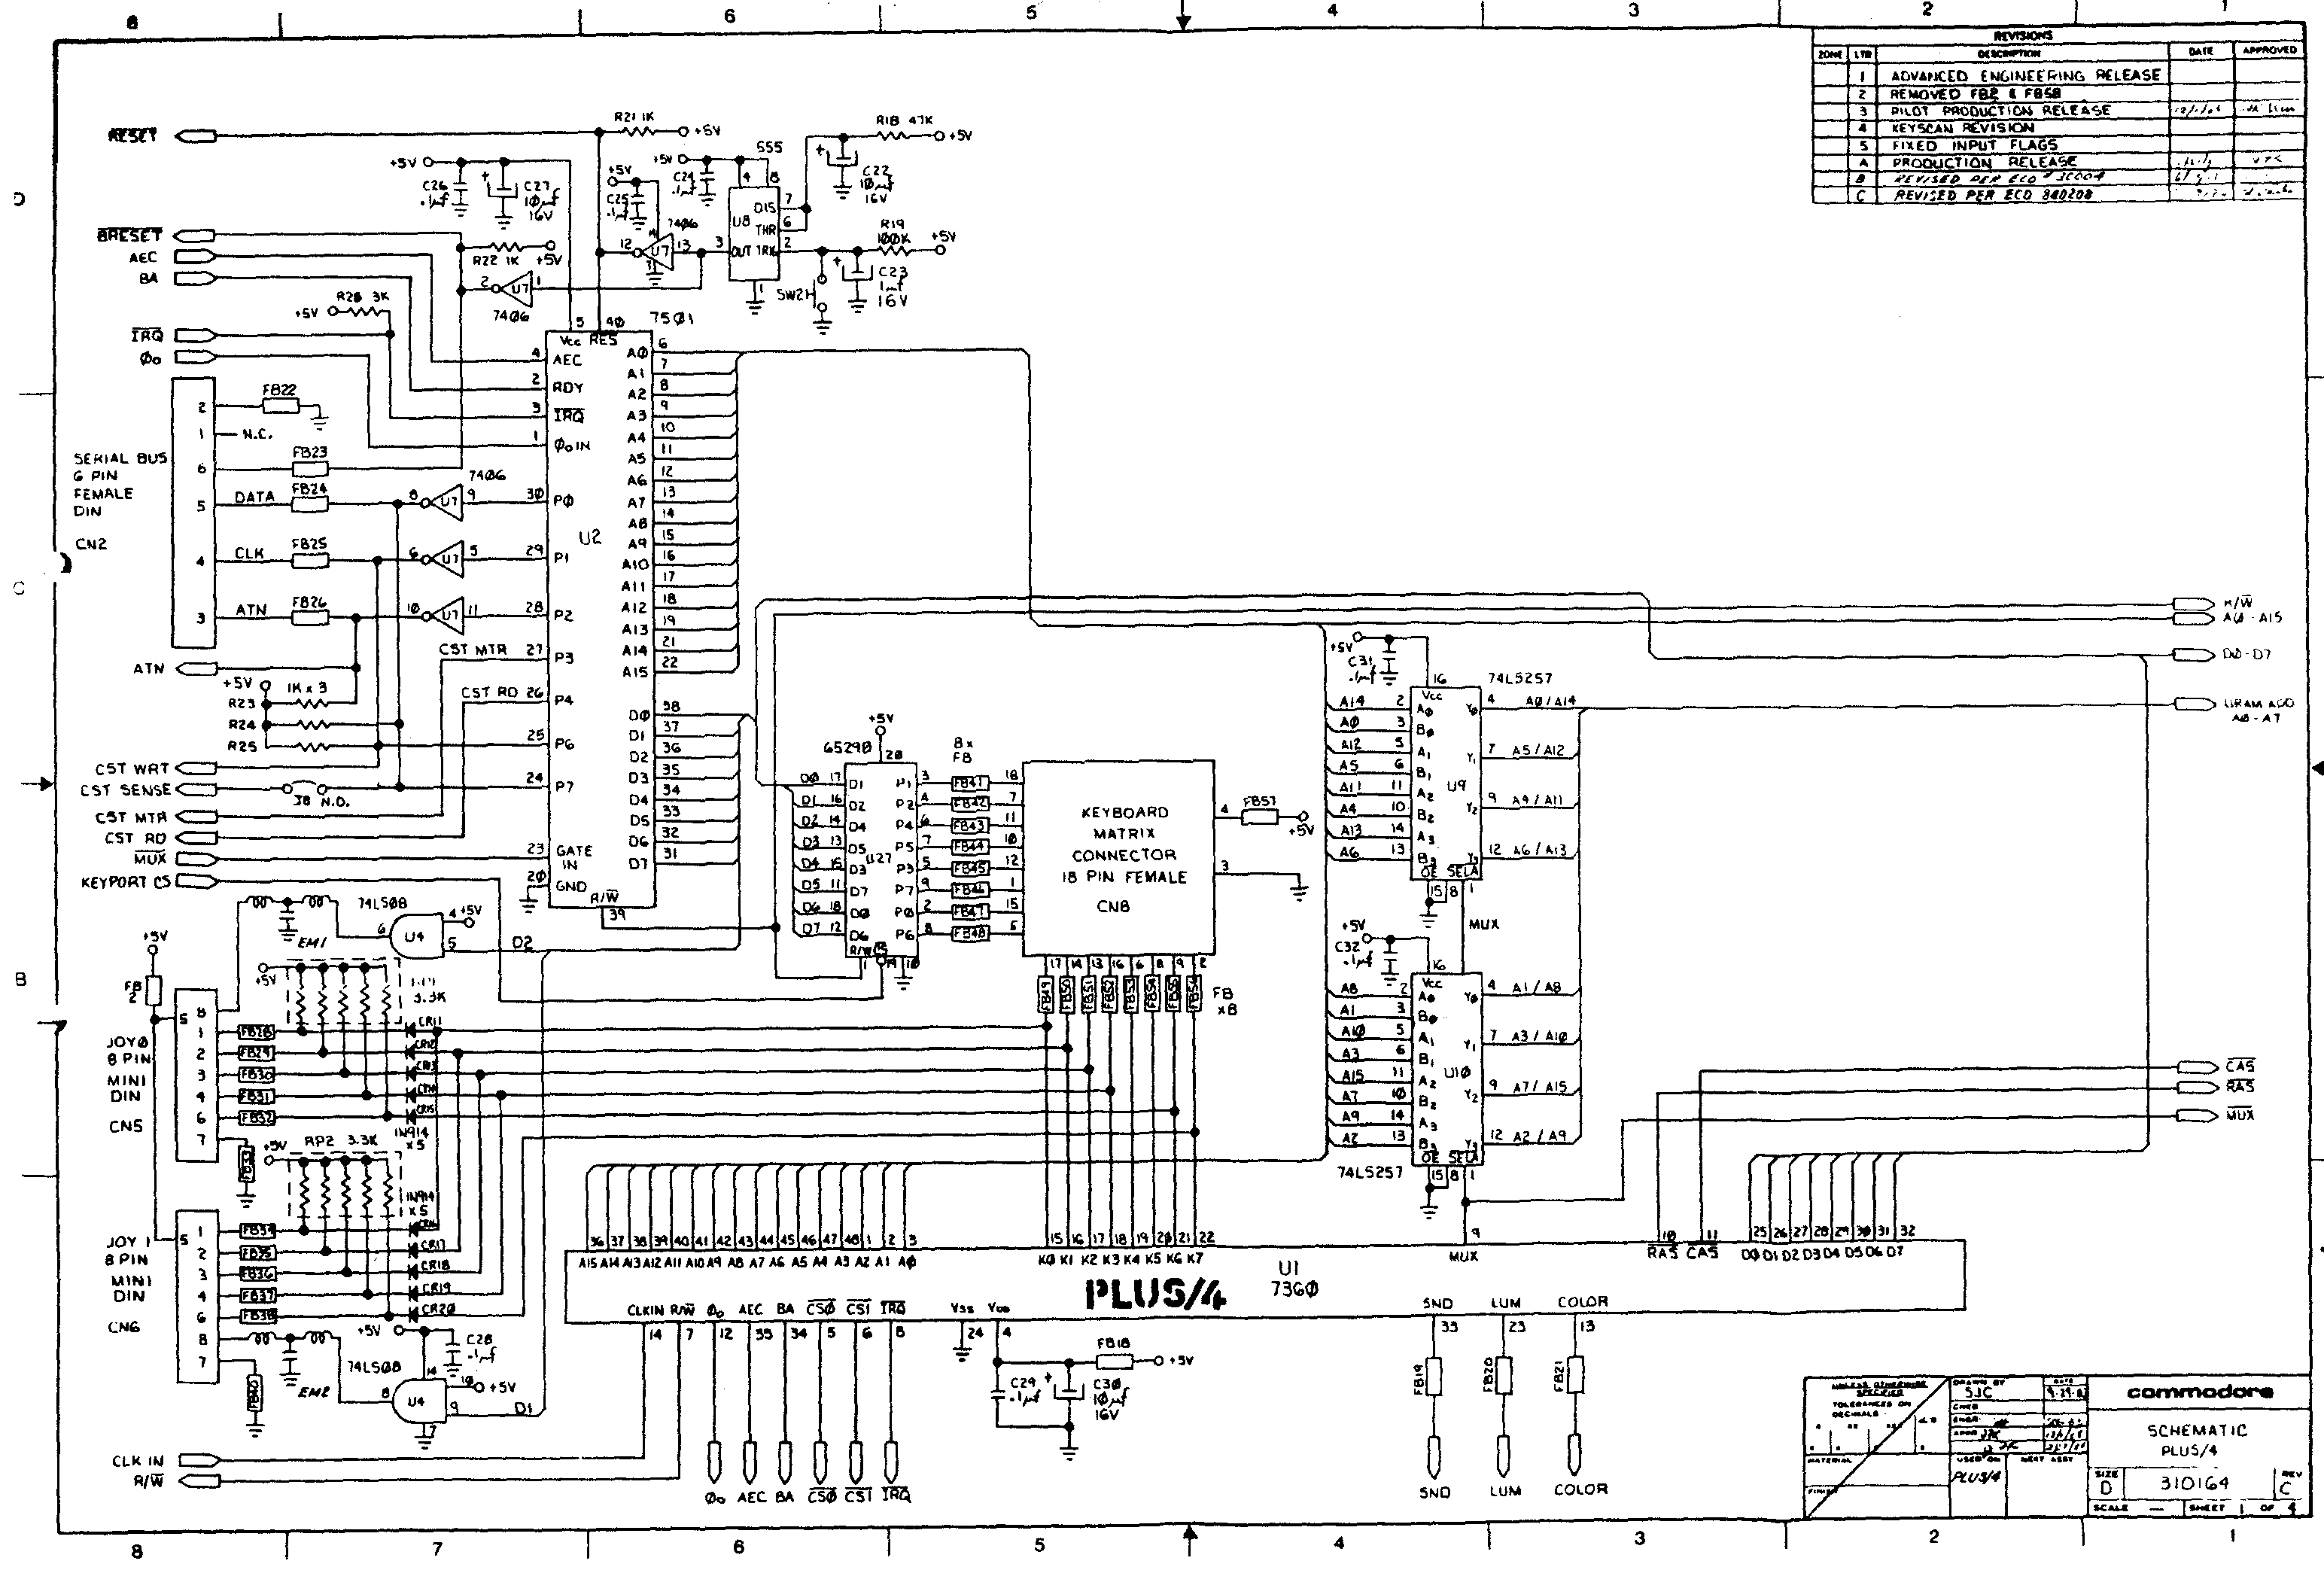
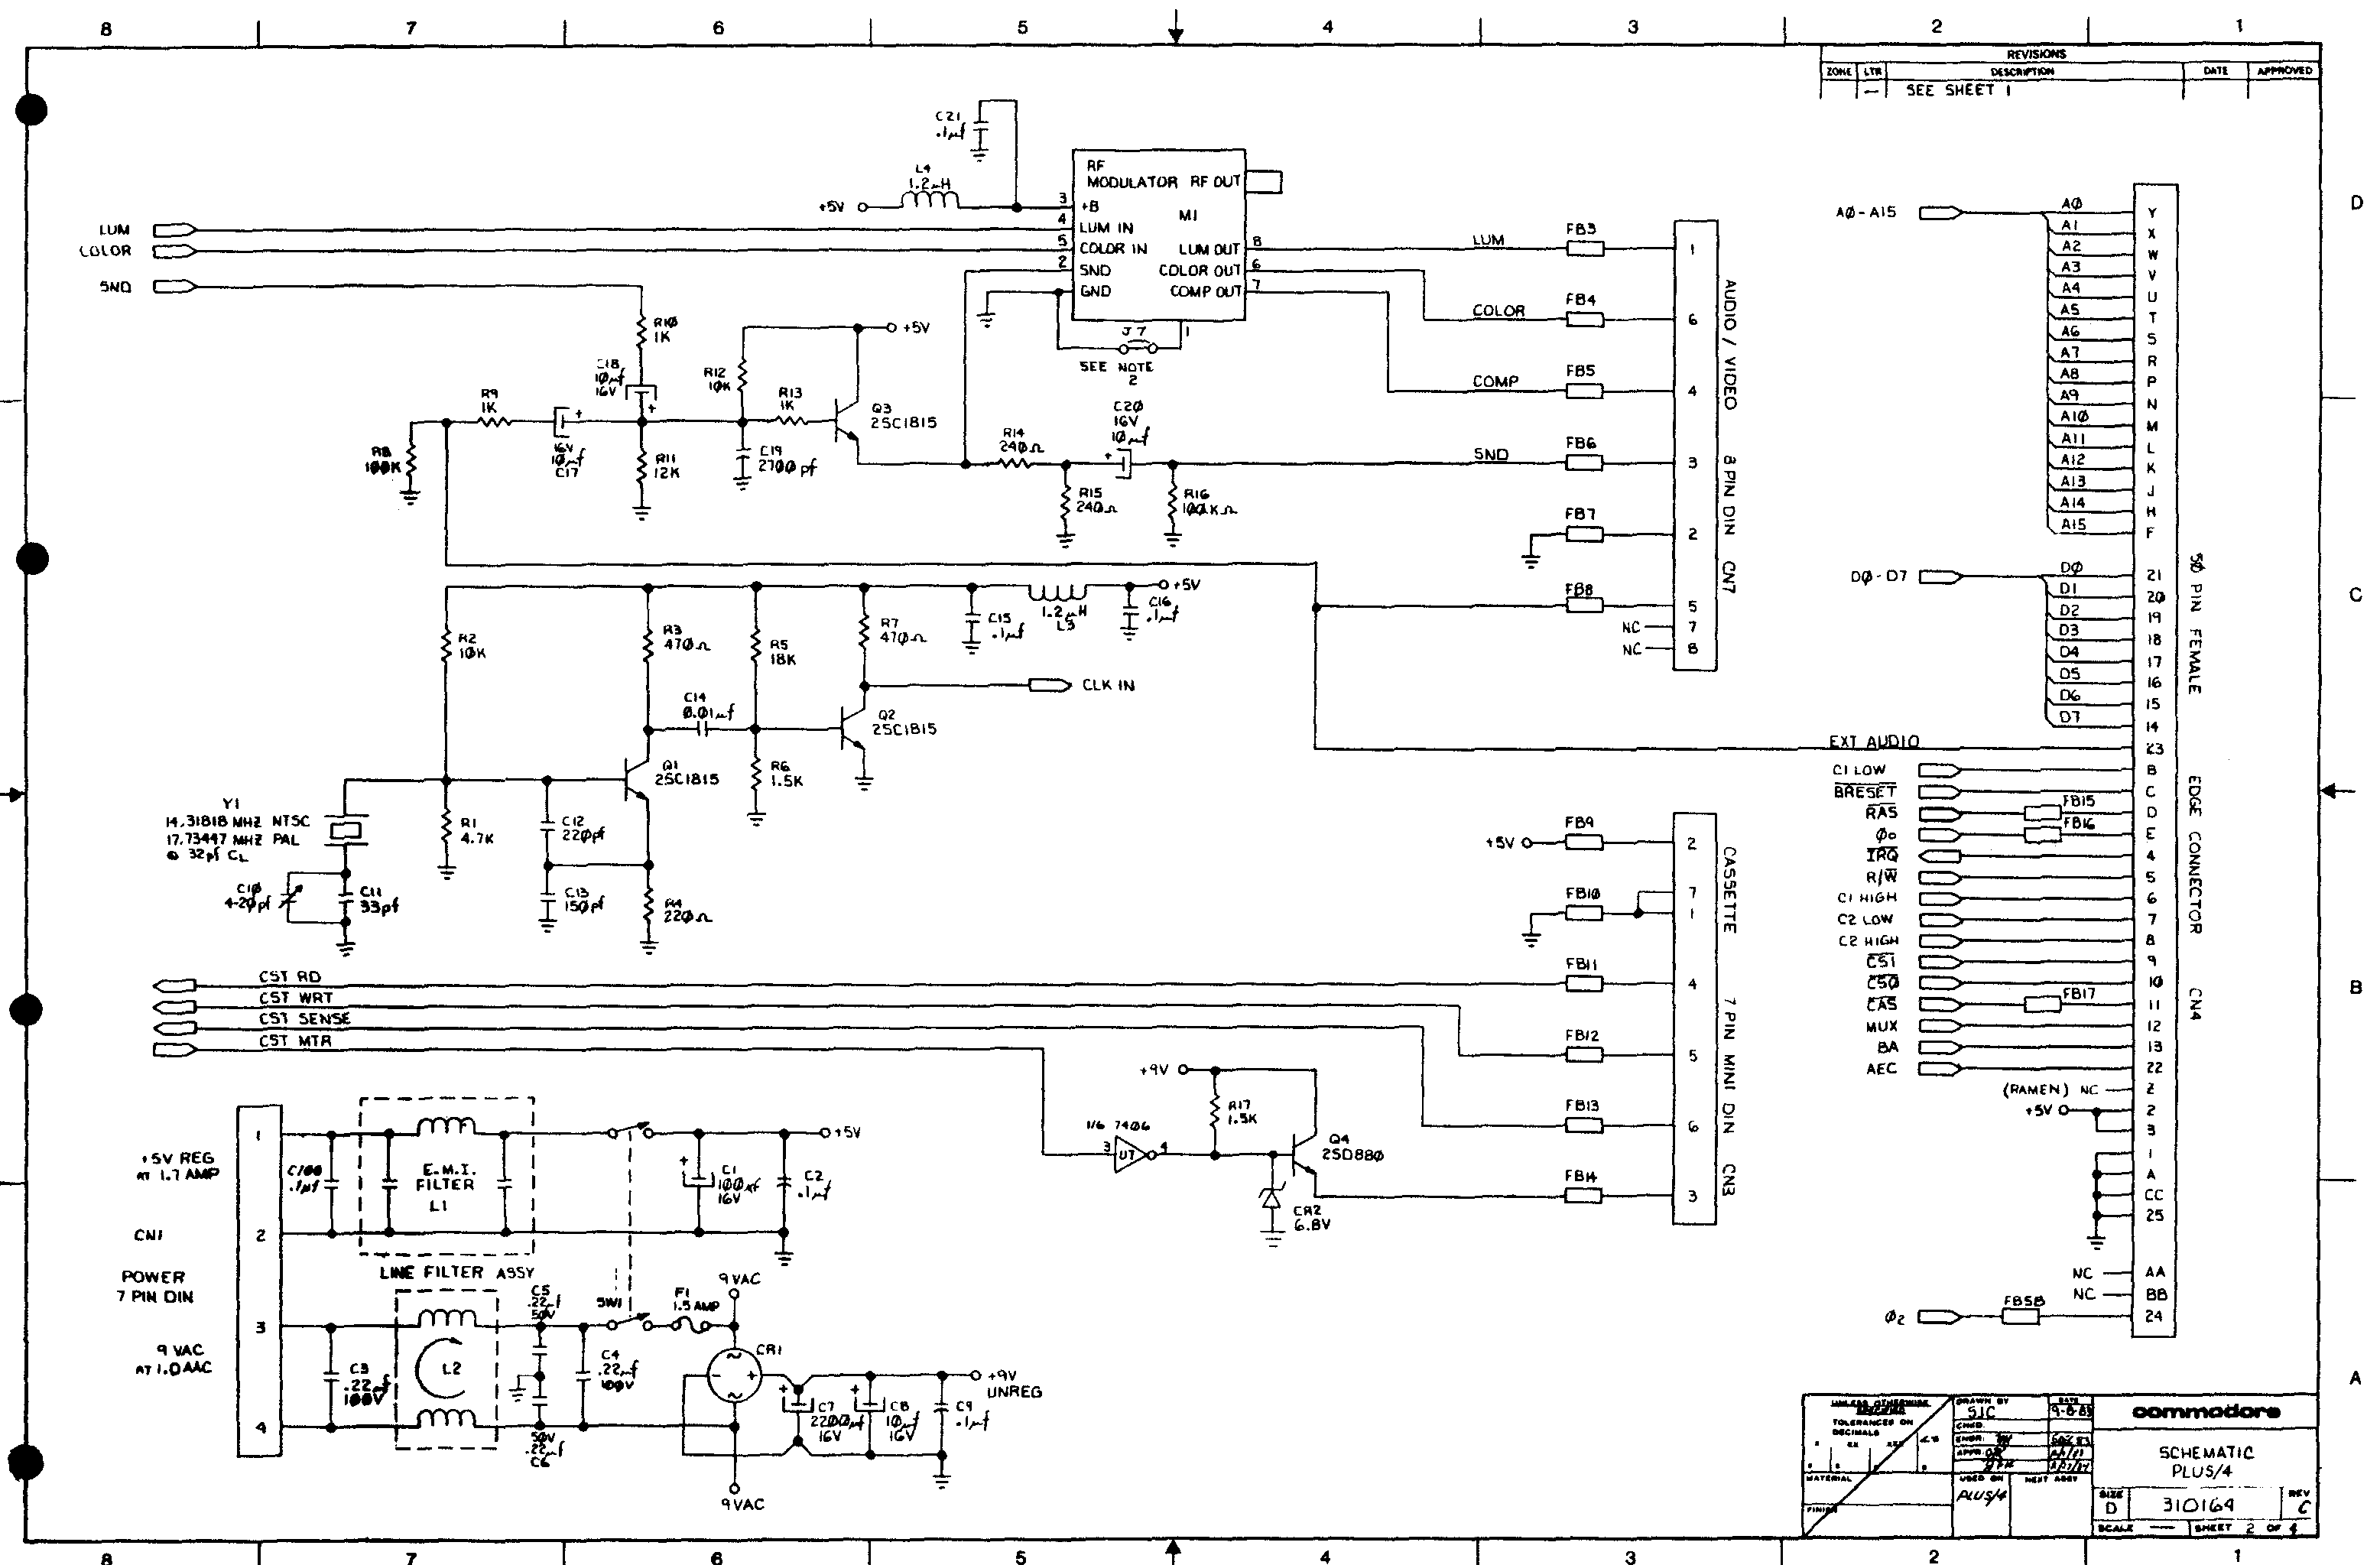

A check around the board shows good 5v voltages at the chips. Pin 5 of U2(CPU), Pin4 of U1(TED), Pin 8 of the Ram (U11-U18).
So lets swap some chips. Best to never plug known good chips into a faulty board always plug the suspected bad chip into a good board if you have a spare that is.
Just check my working machine still works
Looks good. So lets swap some chips.
First the TED. Swapped in the suspect TED chip.
And the result is
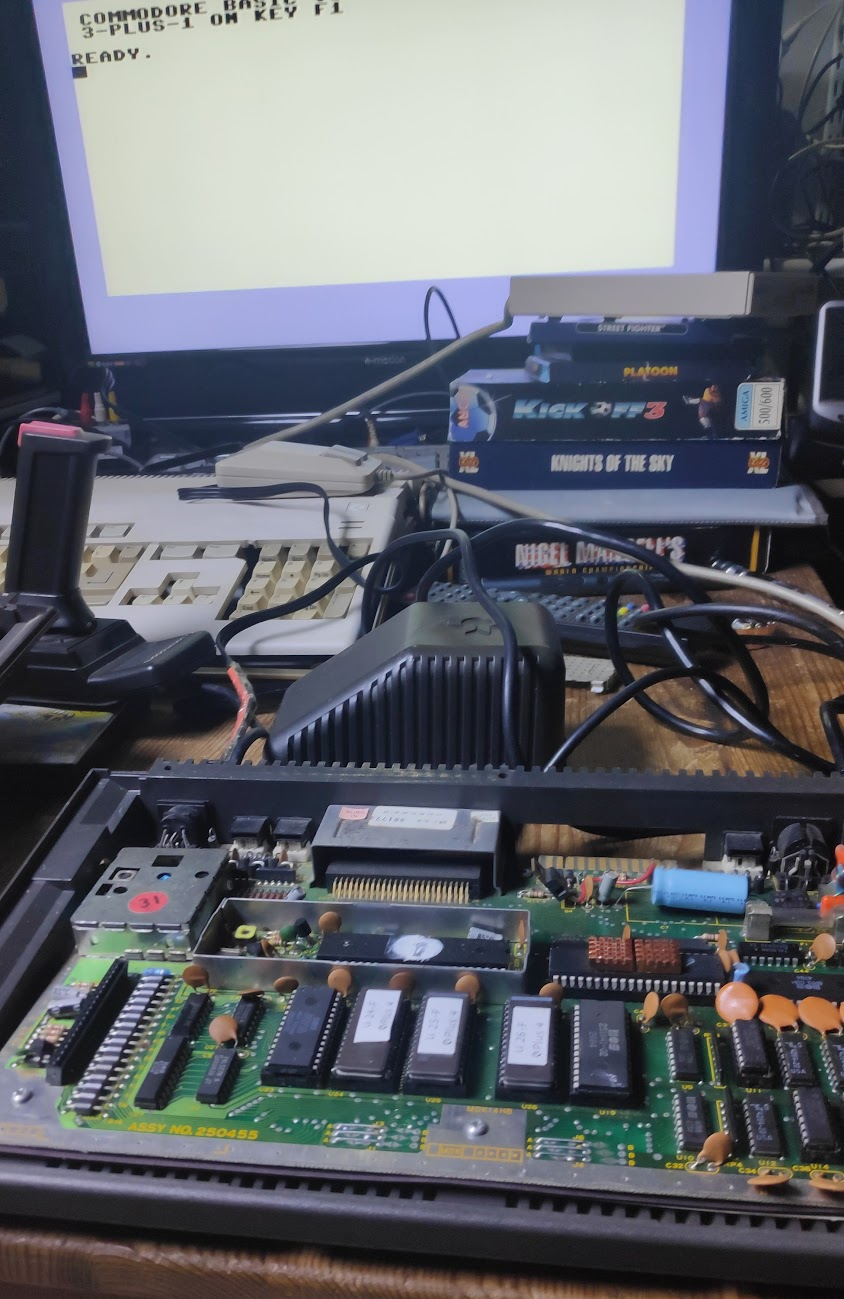
So the TED chip is working. Next the processor.
Black screen so the processor was faulty.
I thought I would also check the PLA. So my working board is on the right with the faulty on the left. I’ve swapped in the TED and the PLA.
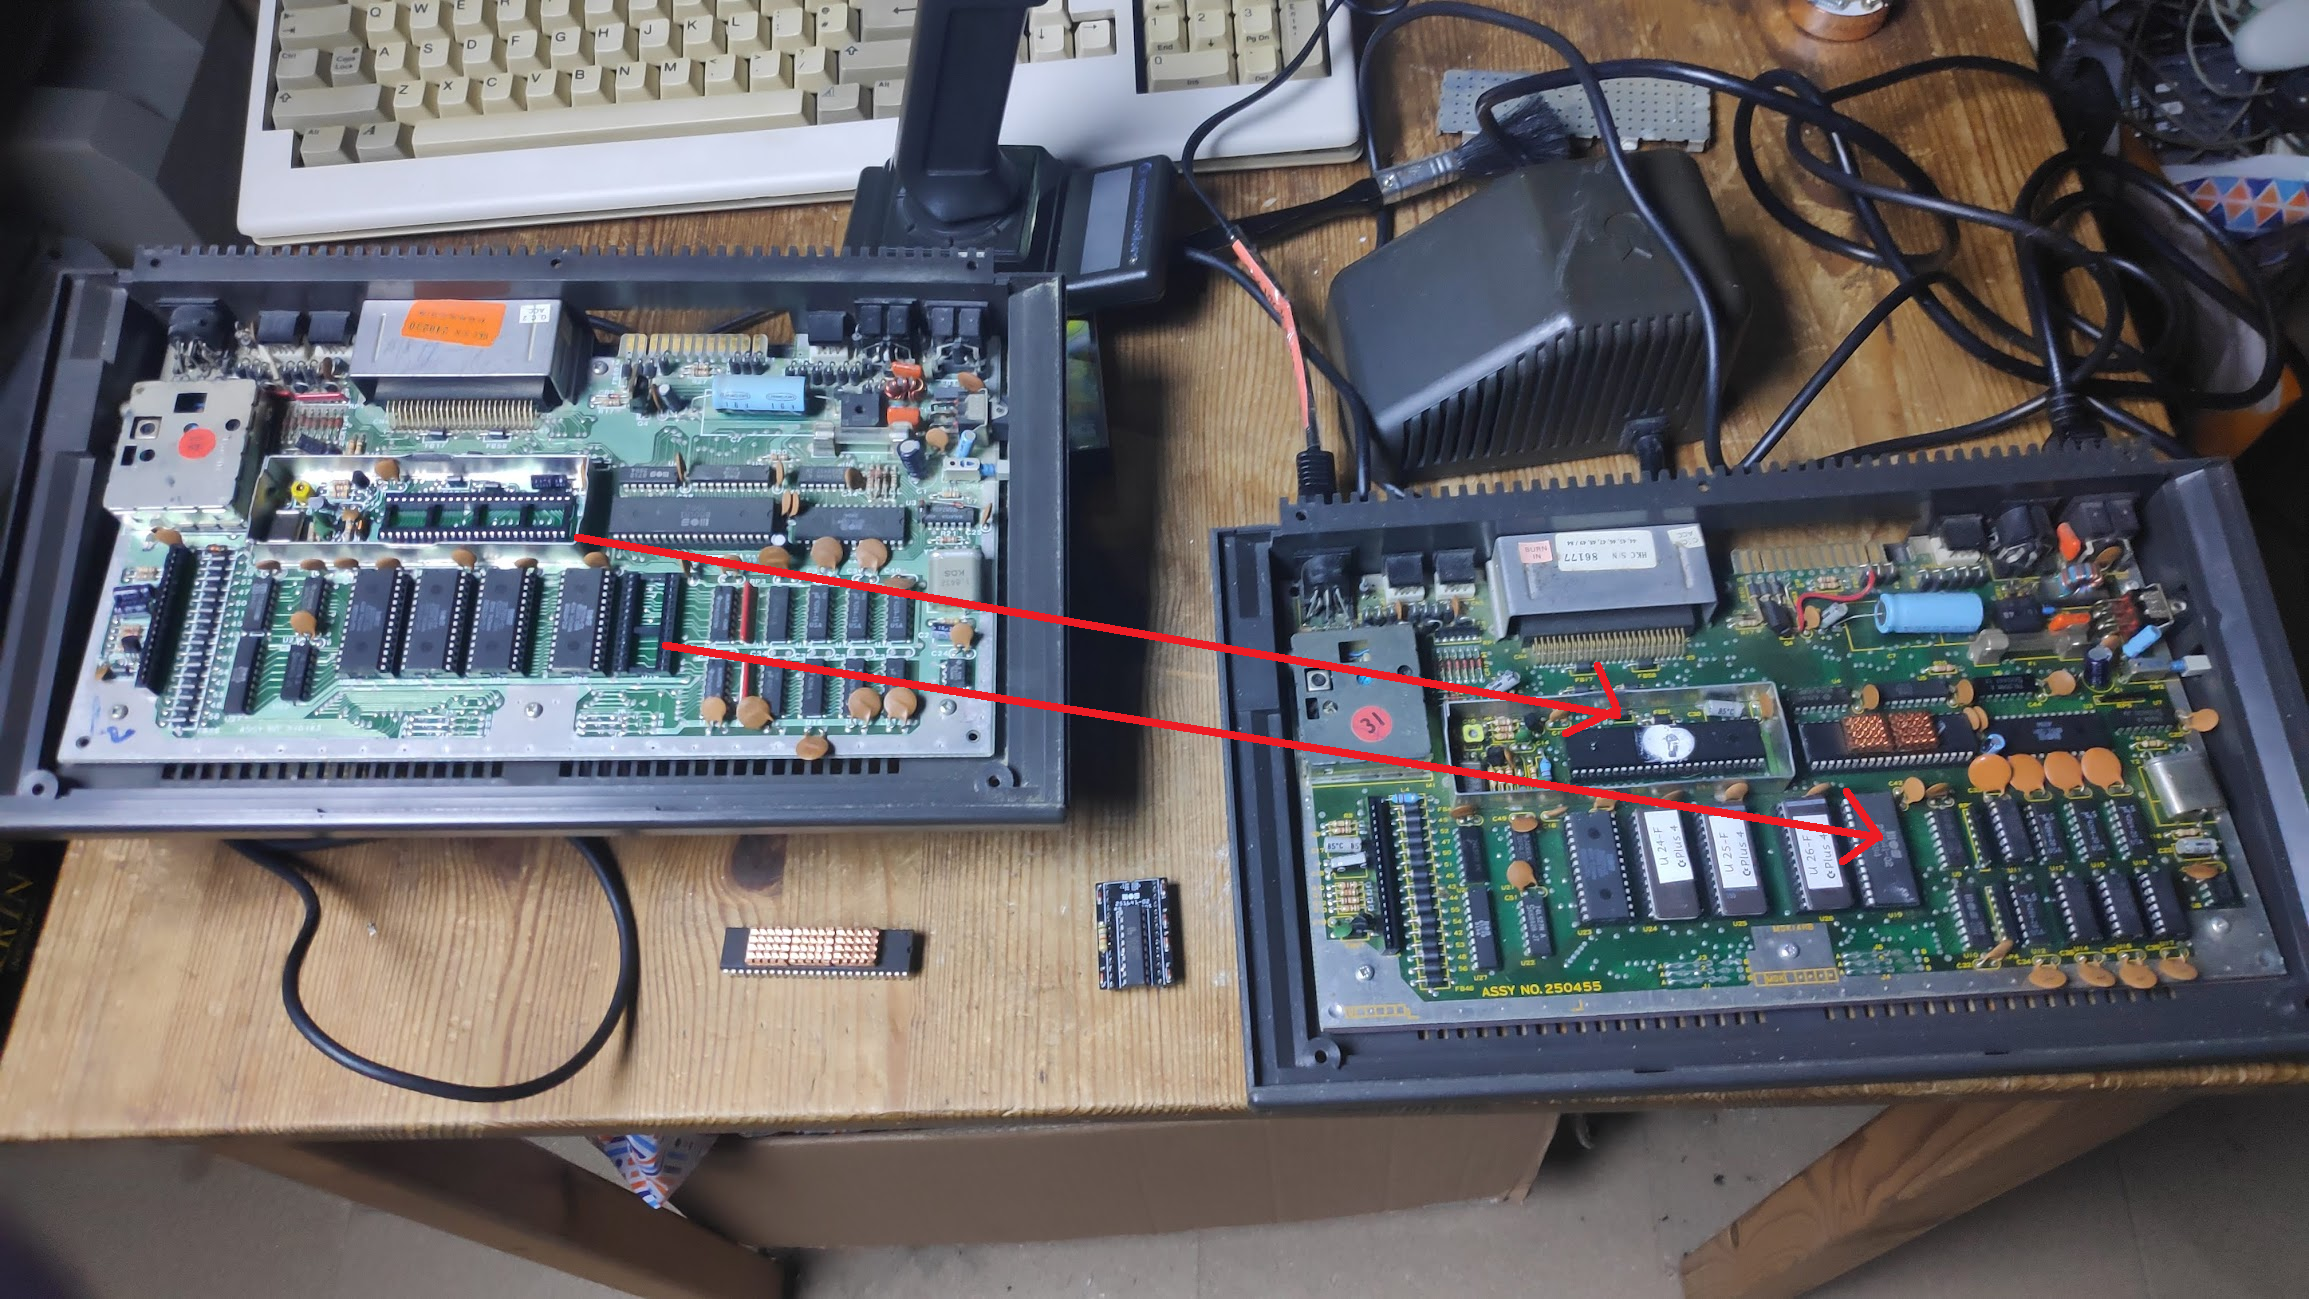
So TED, and PLA are good.
So thought I would look into getting a replacement cpu (8501) and err no they are around £70. So thats that then.
But maybe not this Commodore Plus 4 Repair isn’t quite finished. A bit of research and its possible to use and adapter board for a 6510 or 6502. This came up on ebay for a couple of pounds so I bought it.
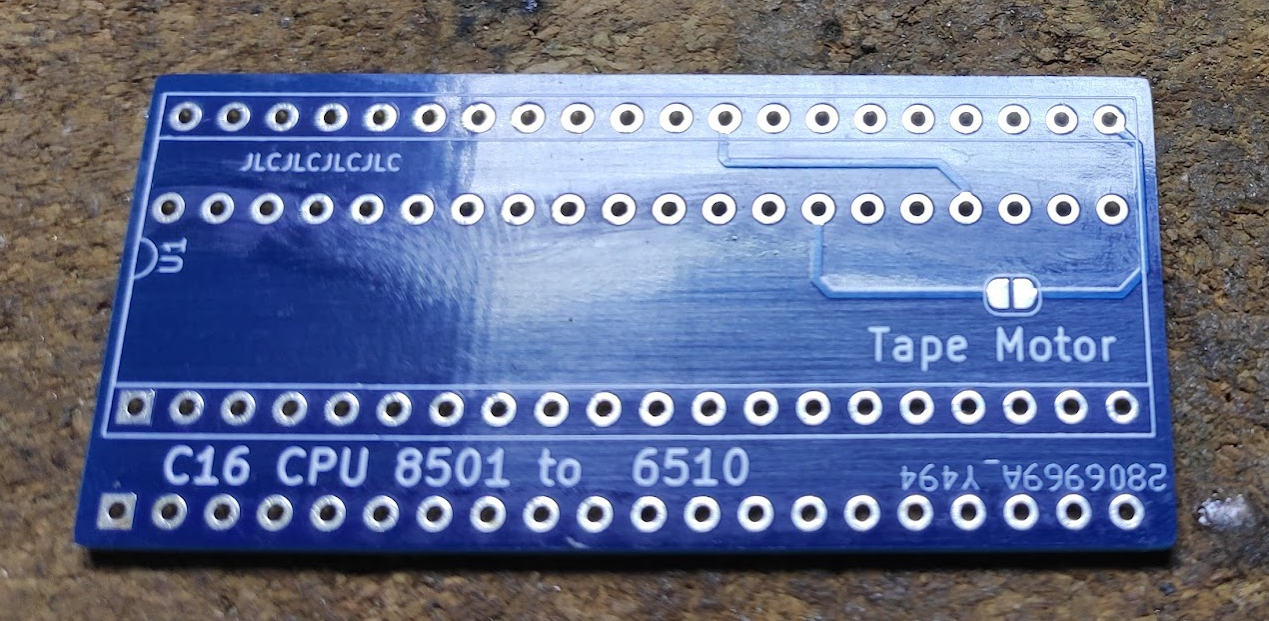
Now it is for a C16 but since it uses the same CPU as a plus 4 I thought what the hell. Slight mistake as there isn’t much room in a plus 4 height wise as the keyboard lays very close to the CPU when the case is closed. But I had a plan. Also beware that the tape unit will not stop as before when loading games and the serial interface doesn’t work anymore unless a replacement rom is inserted. More on this later.
I did a eprom repair on a Oric 1 which also has similar space limitations and something which helps is using 1.27mm pitch headers such as these.
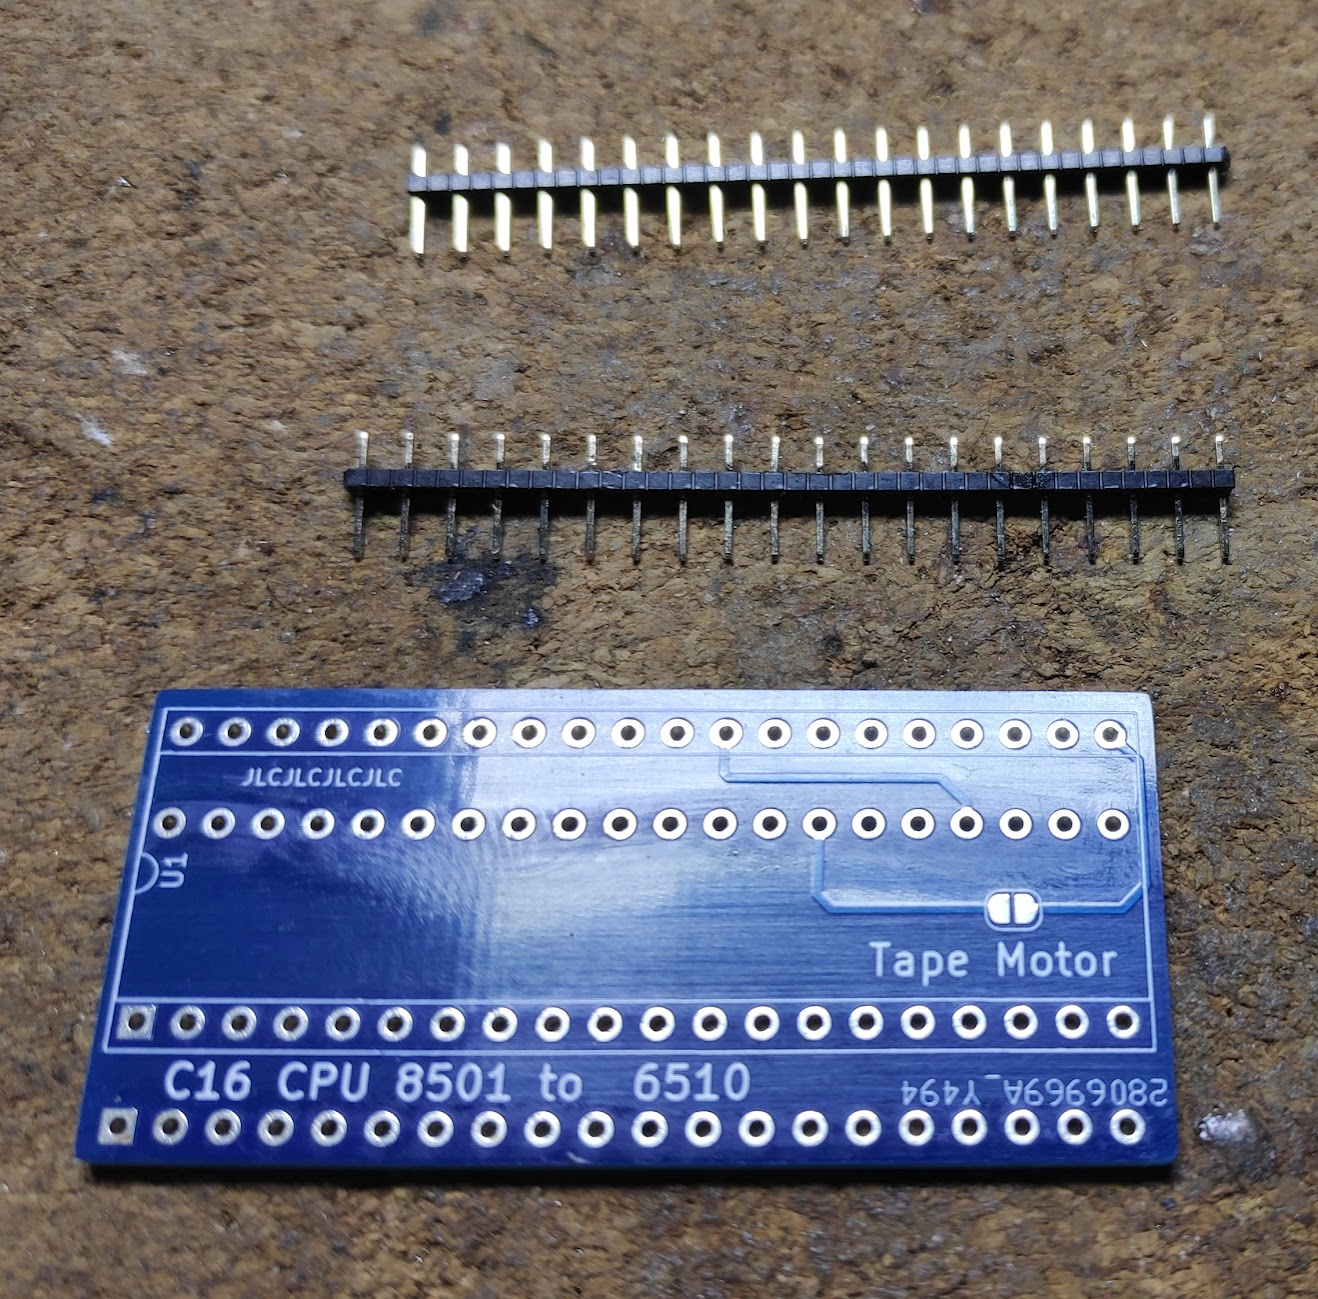
Note that I’ve removed half the pins from the headers above so that they slot in perfectly. You can see the holes here
This shows the height saving compared with a standard header

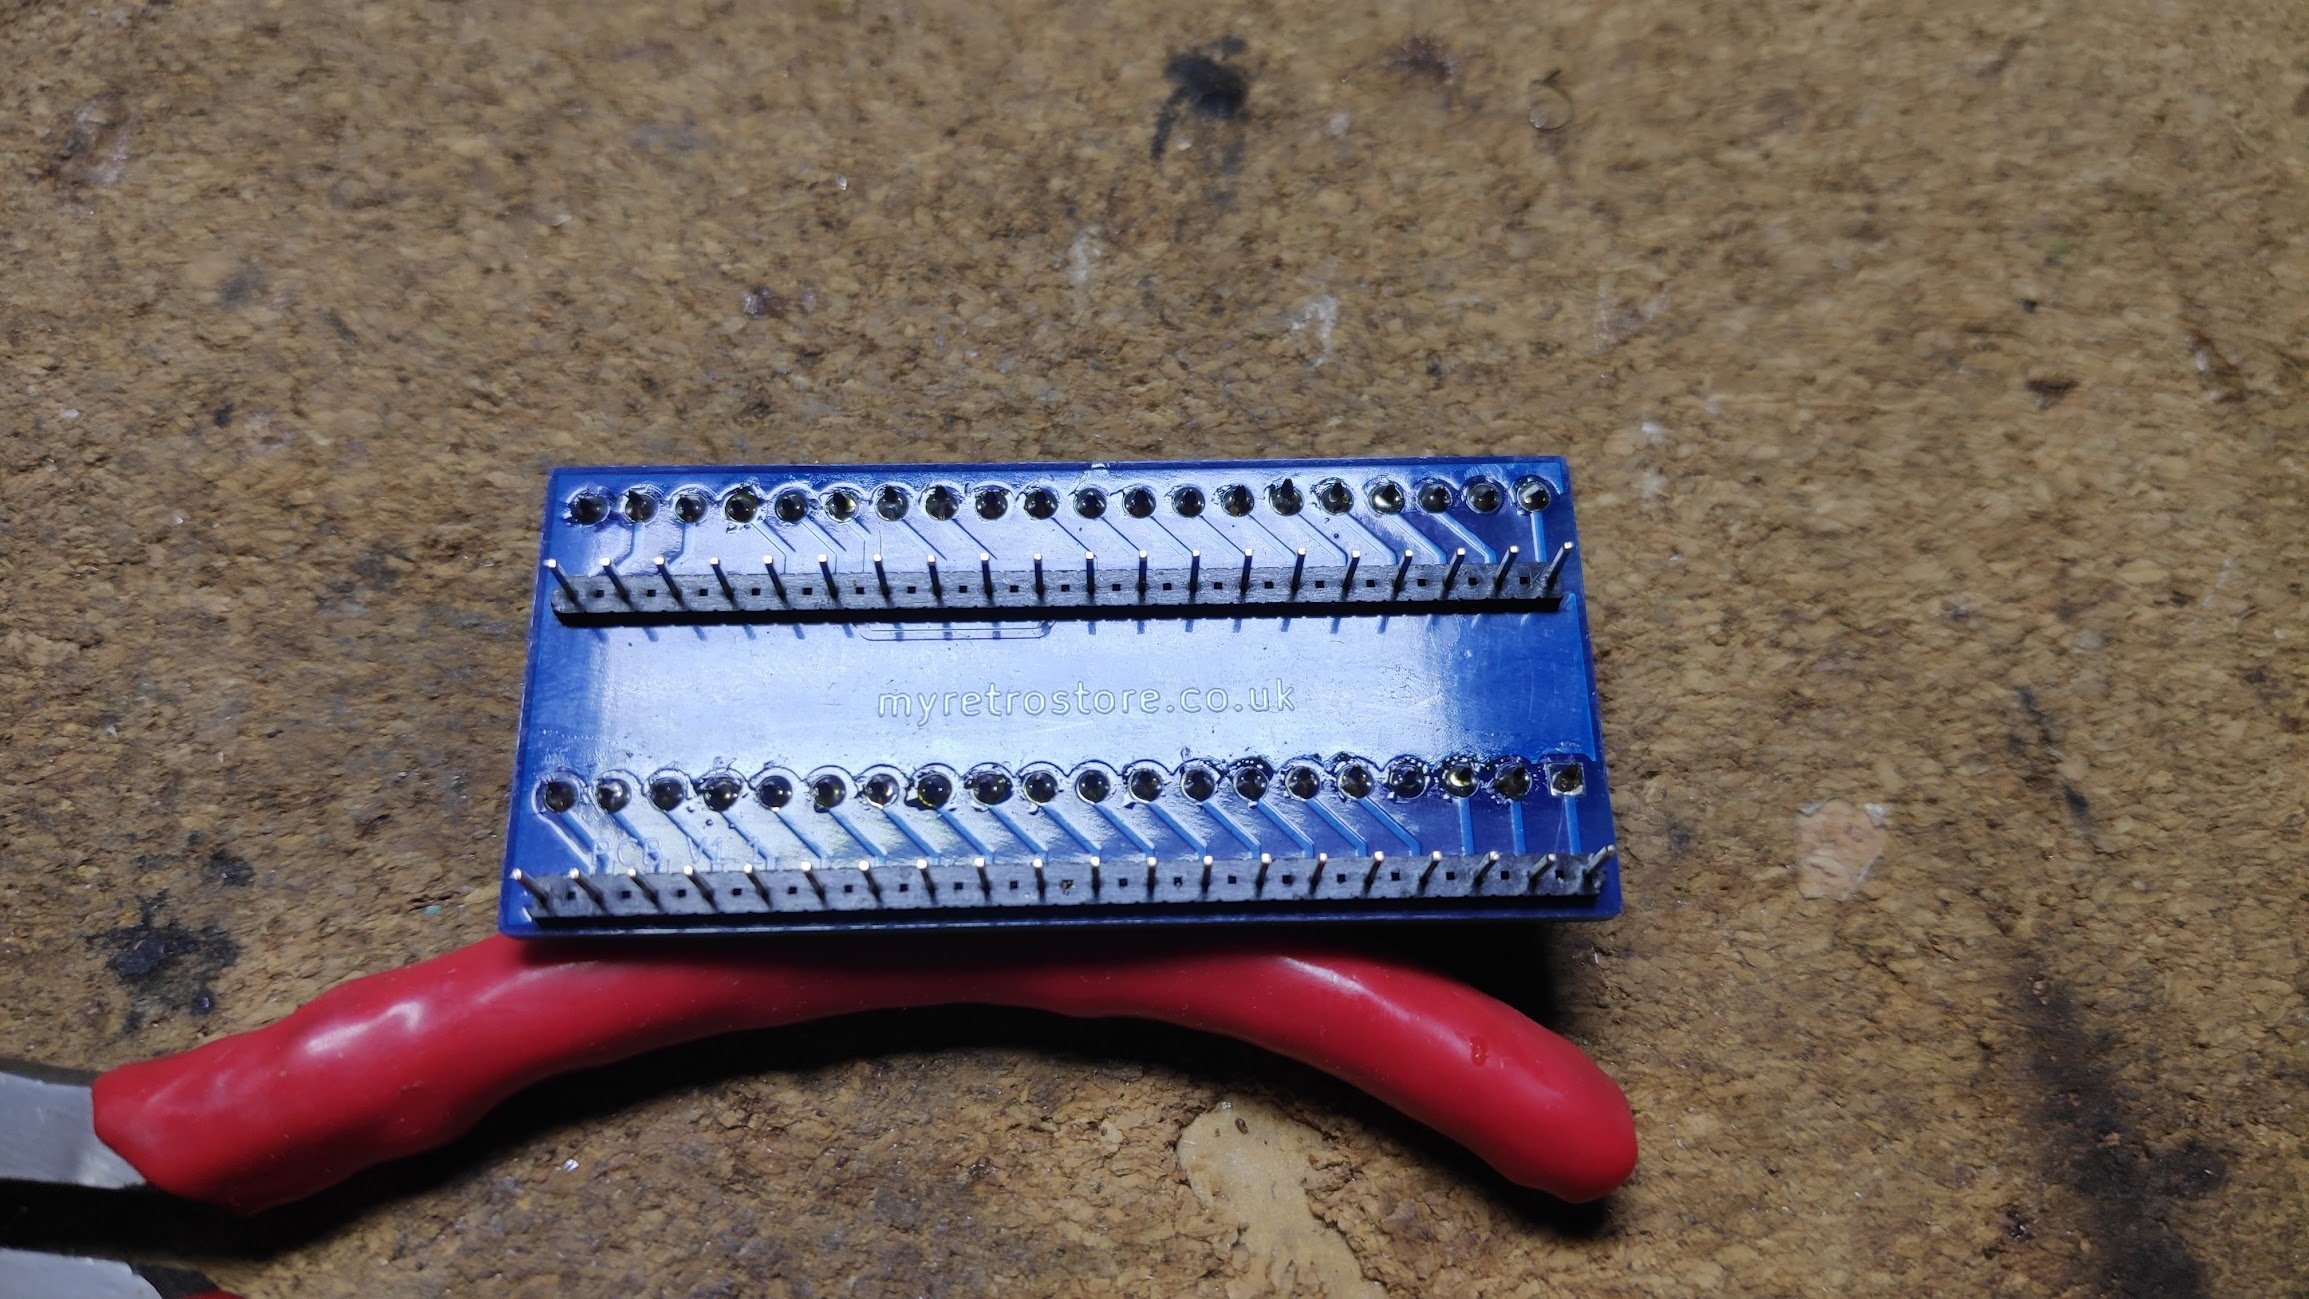
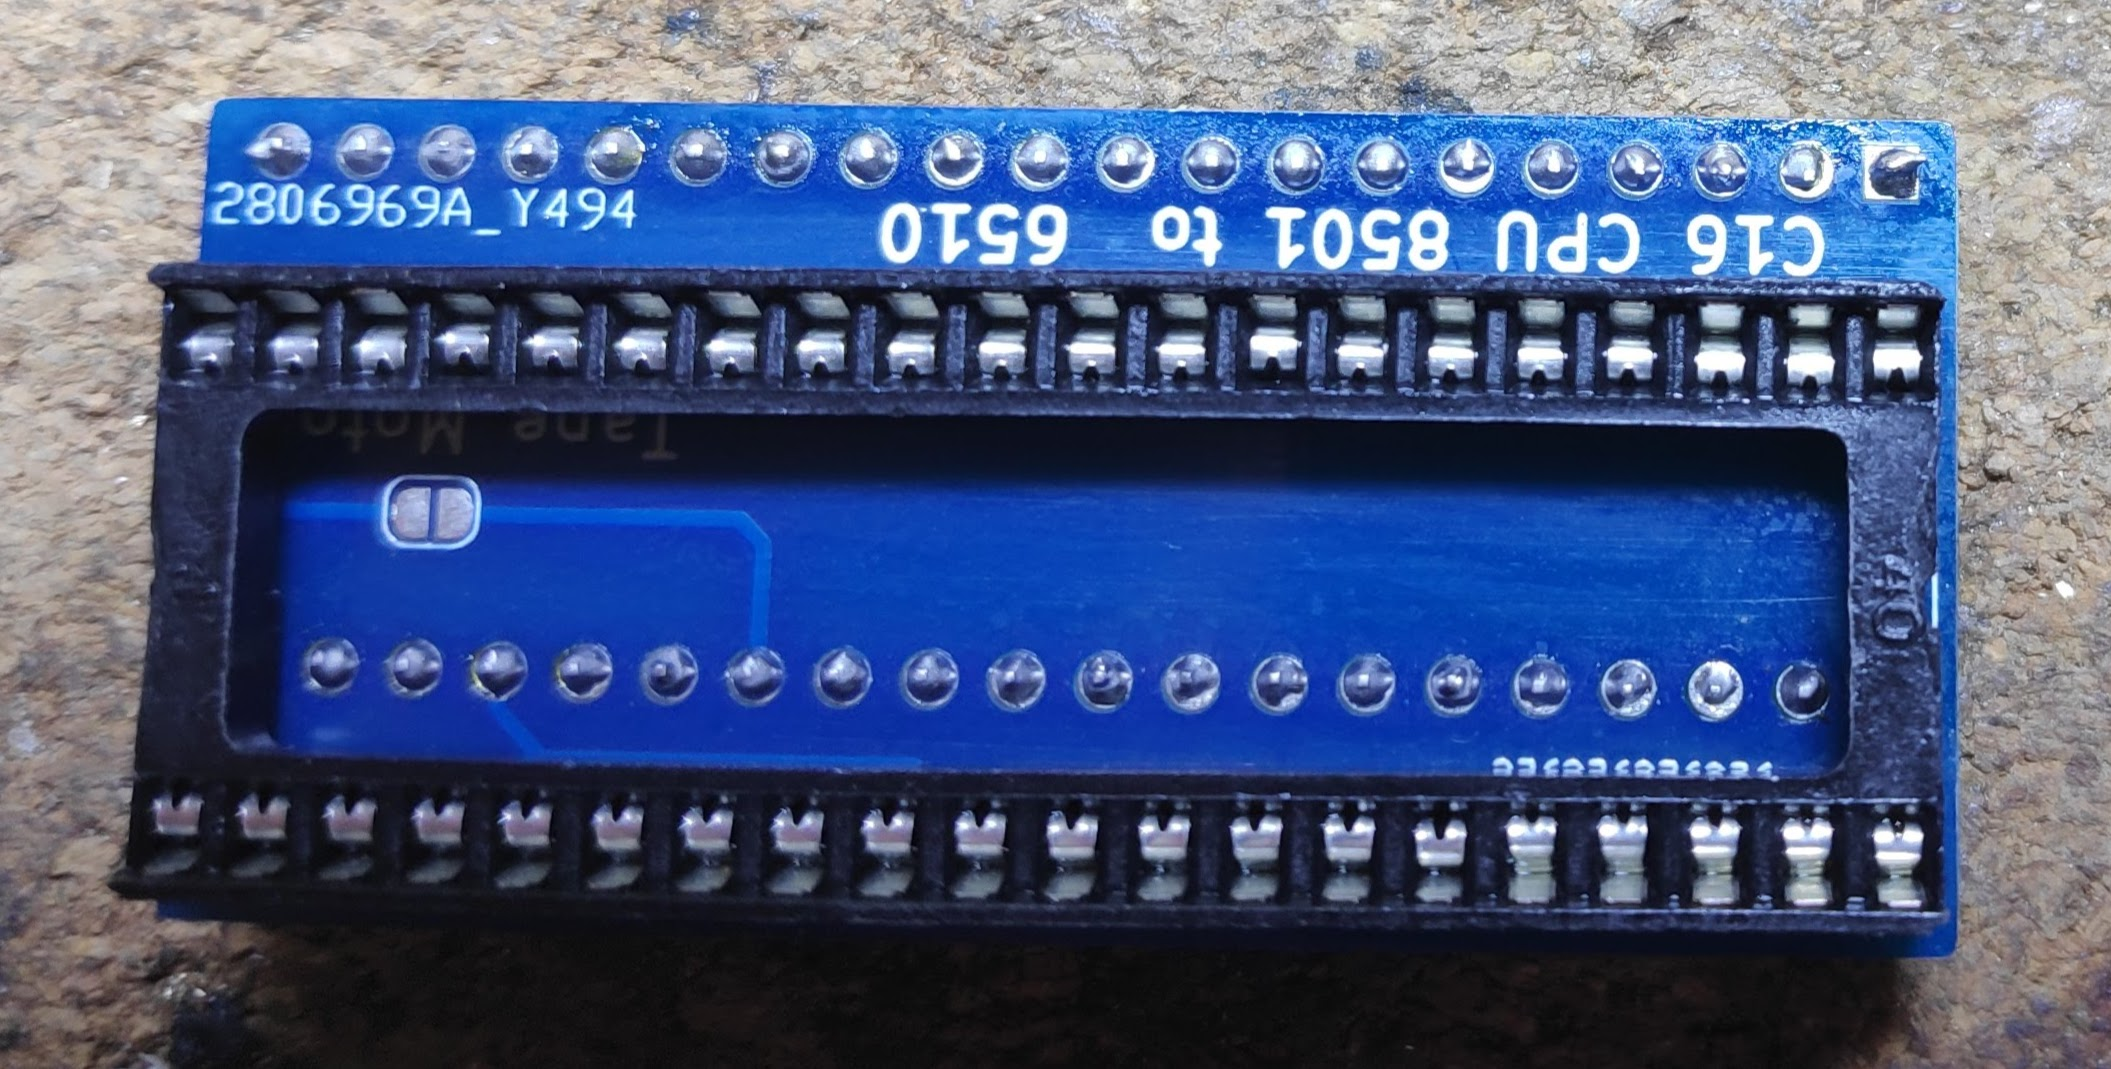
All built and ready to go.
Just needed a DIP40 socket. I did look into using a round hole socket but these actually are slightly more raised so used a standard square hole.
Repairs
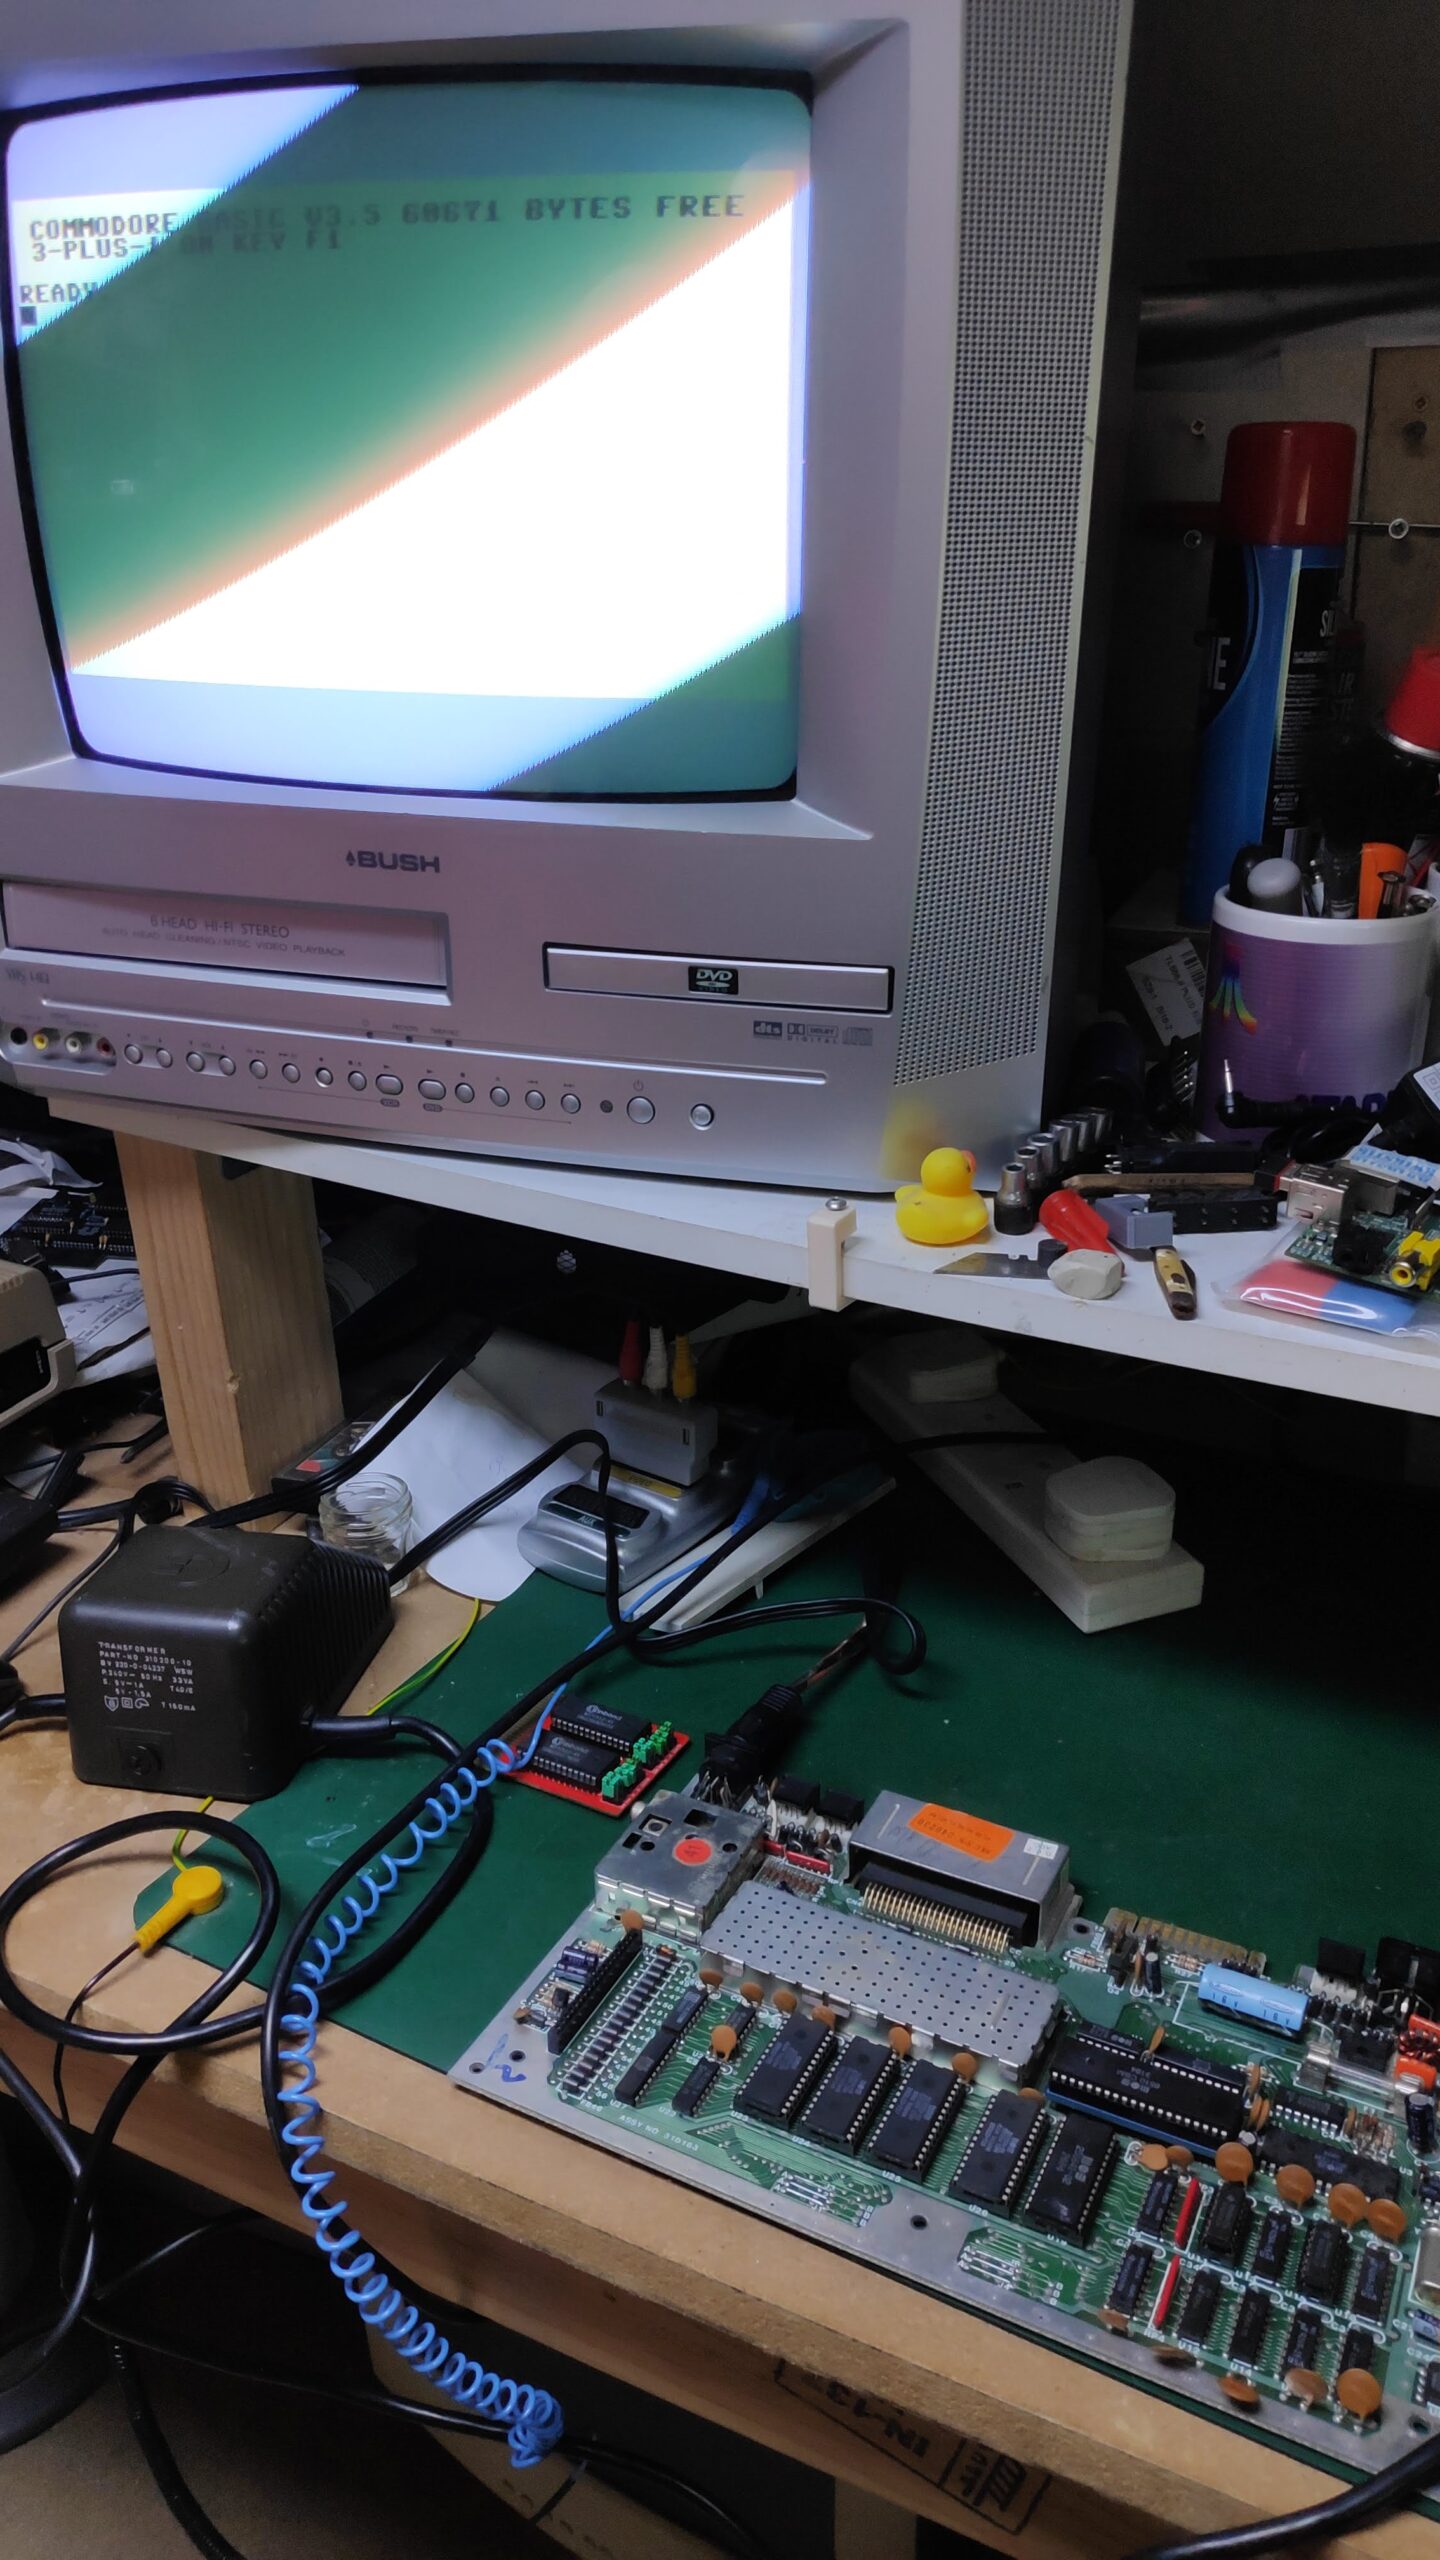
There is a 6510 on order but because I’m impatient I opened up my C64 and dug the 6510 out of it. So this is the test of the adapter board in my working plus4. Please don’t break.
It works. So now to test it in the faulty board. And…
It doesn’t work but it is progress as I’m getting something other than the original black screen.
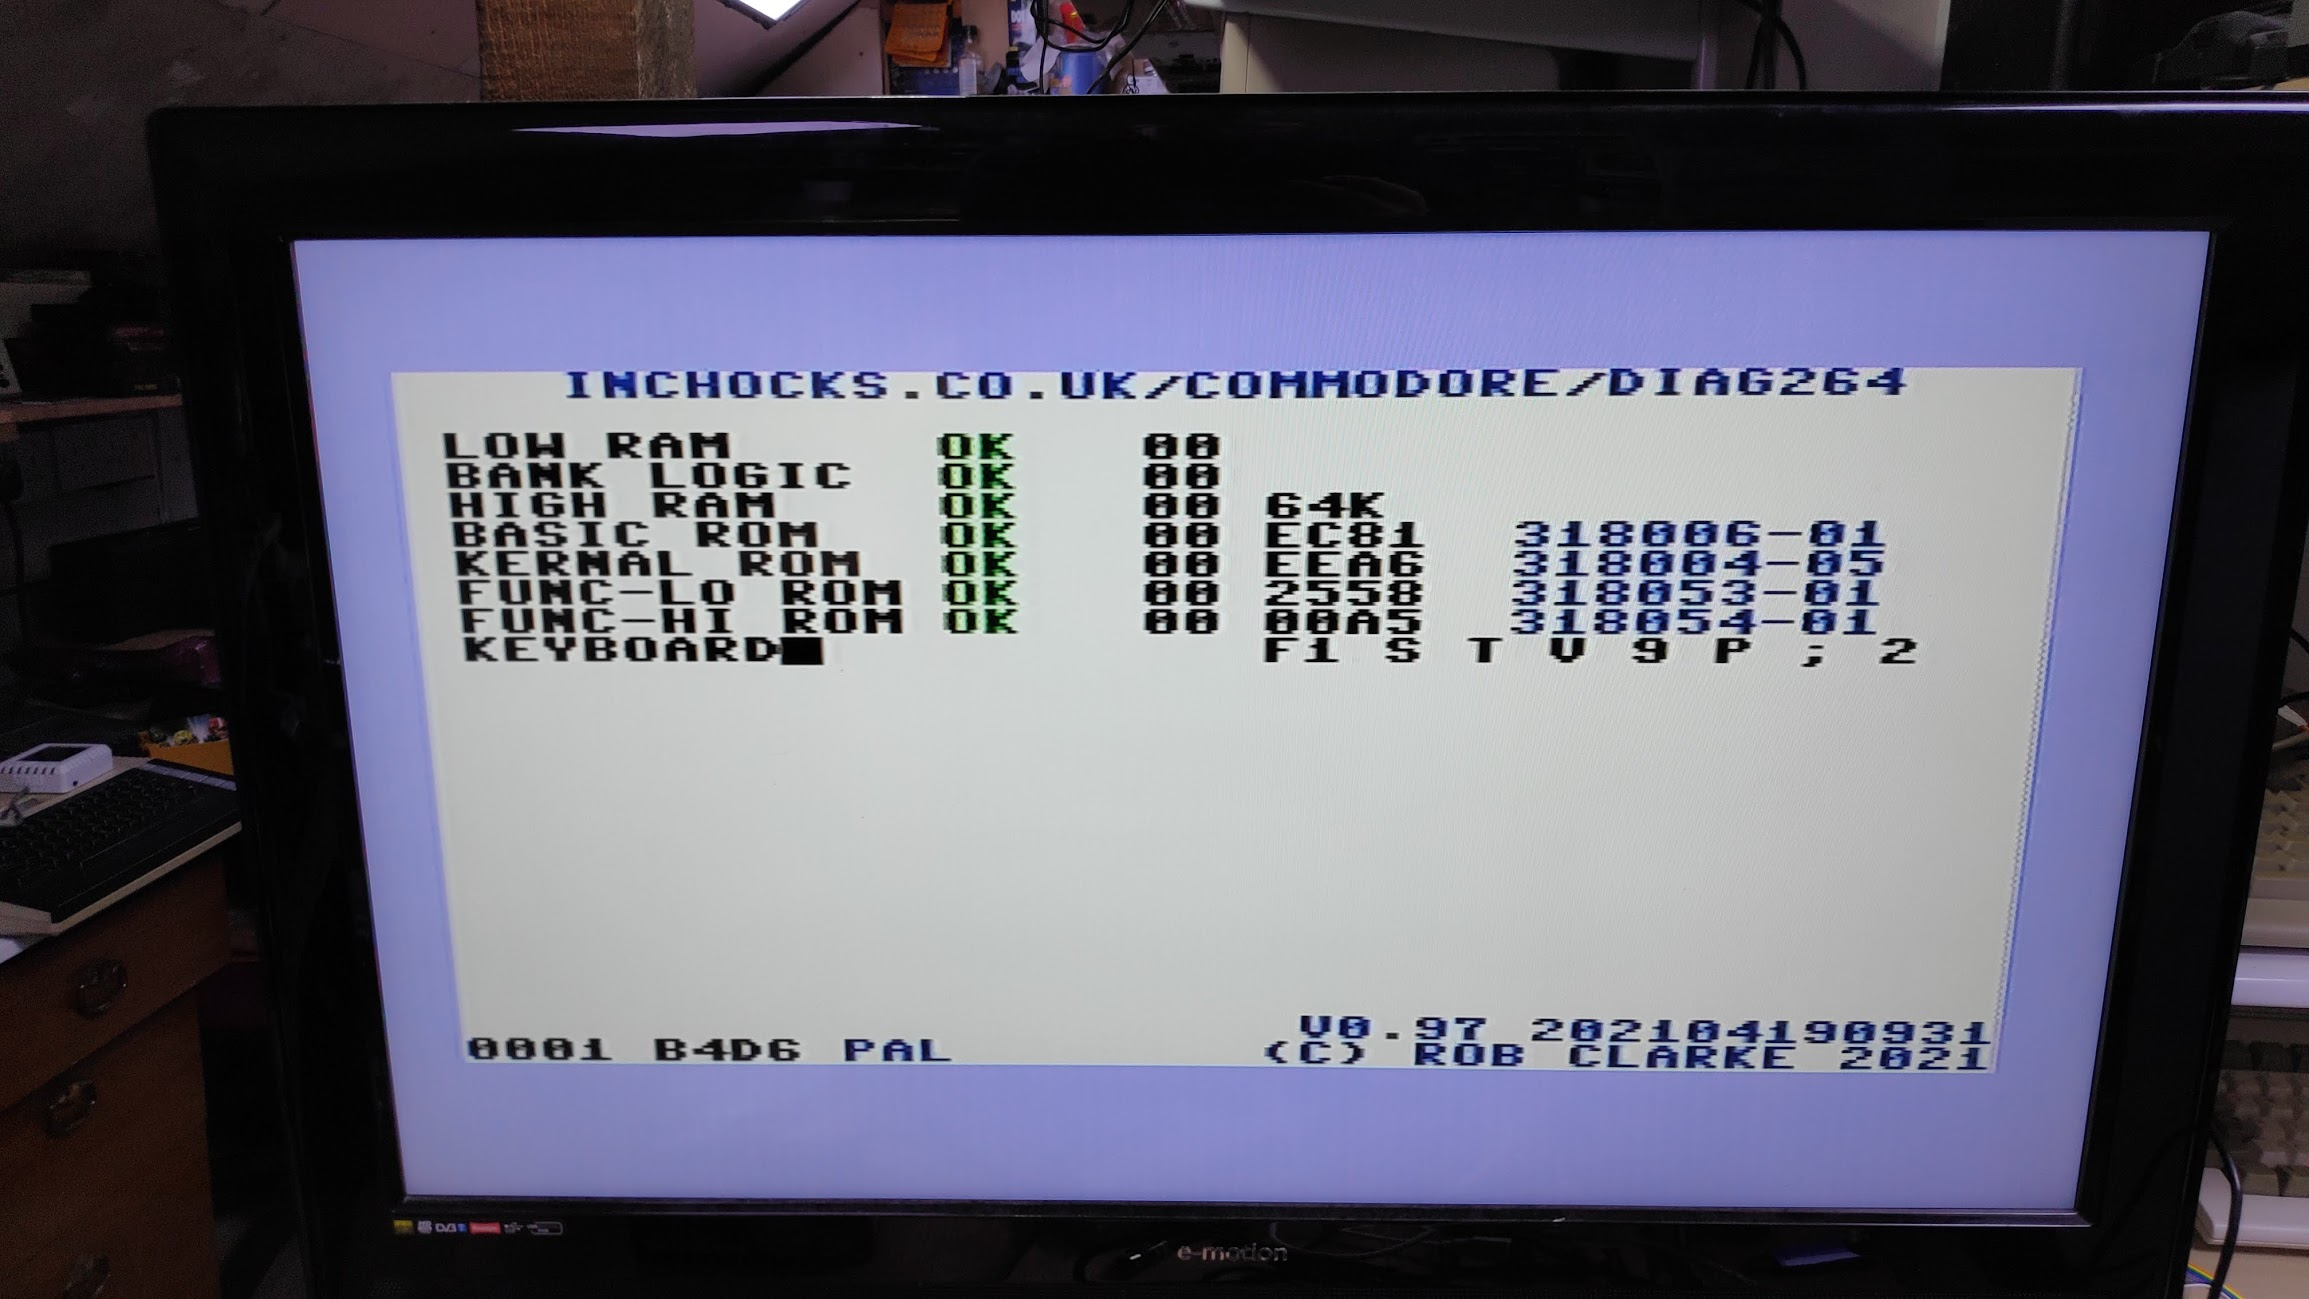
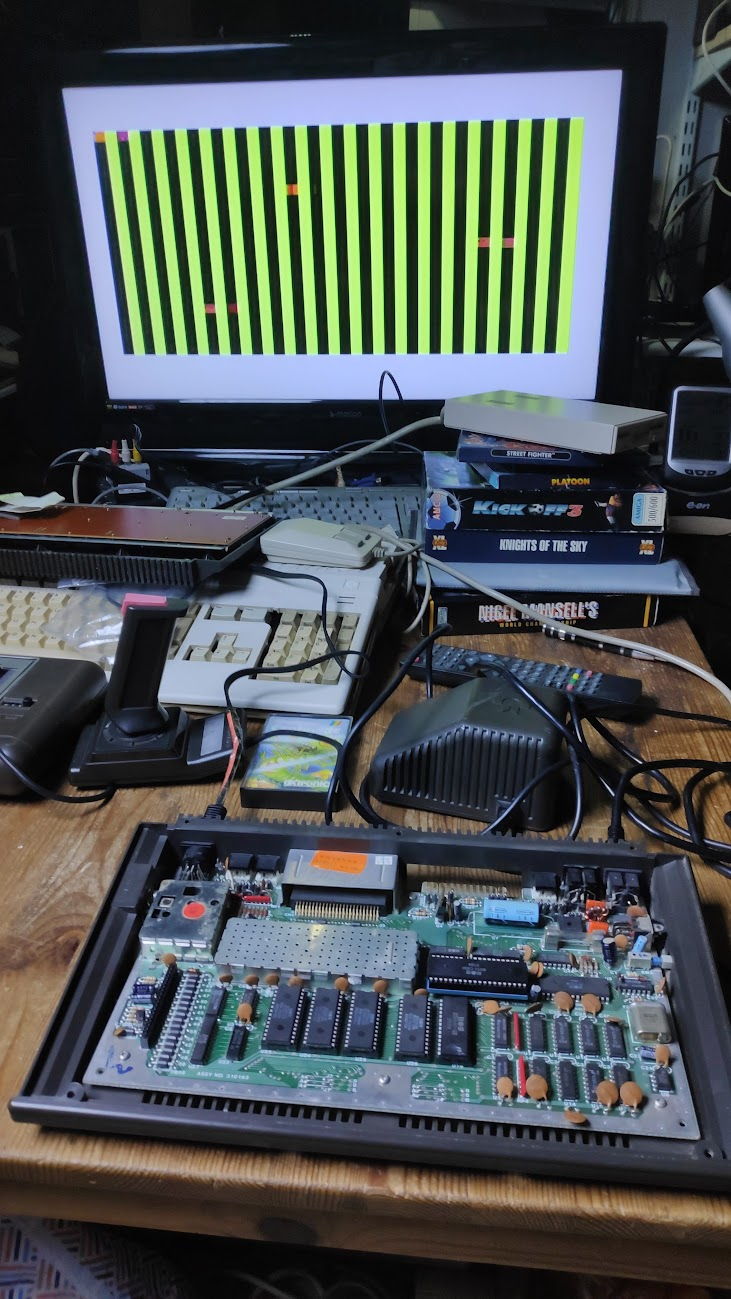
Diagnostic Cartridge
Ok its in with the diagnostic cart I made a few years back.
And the result is
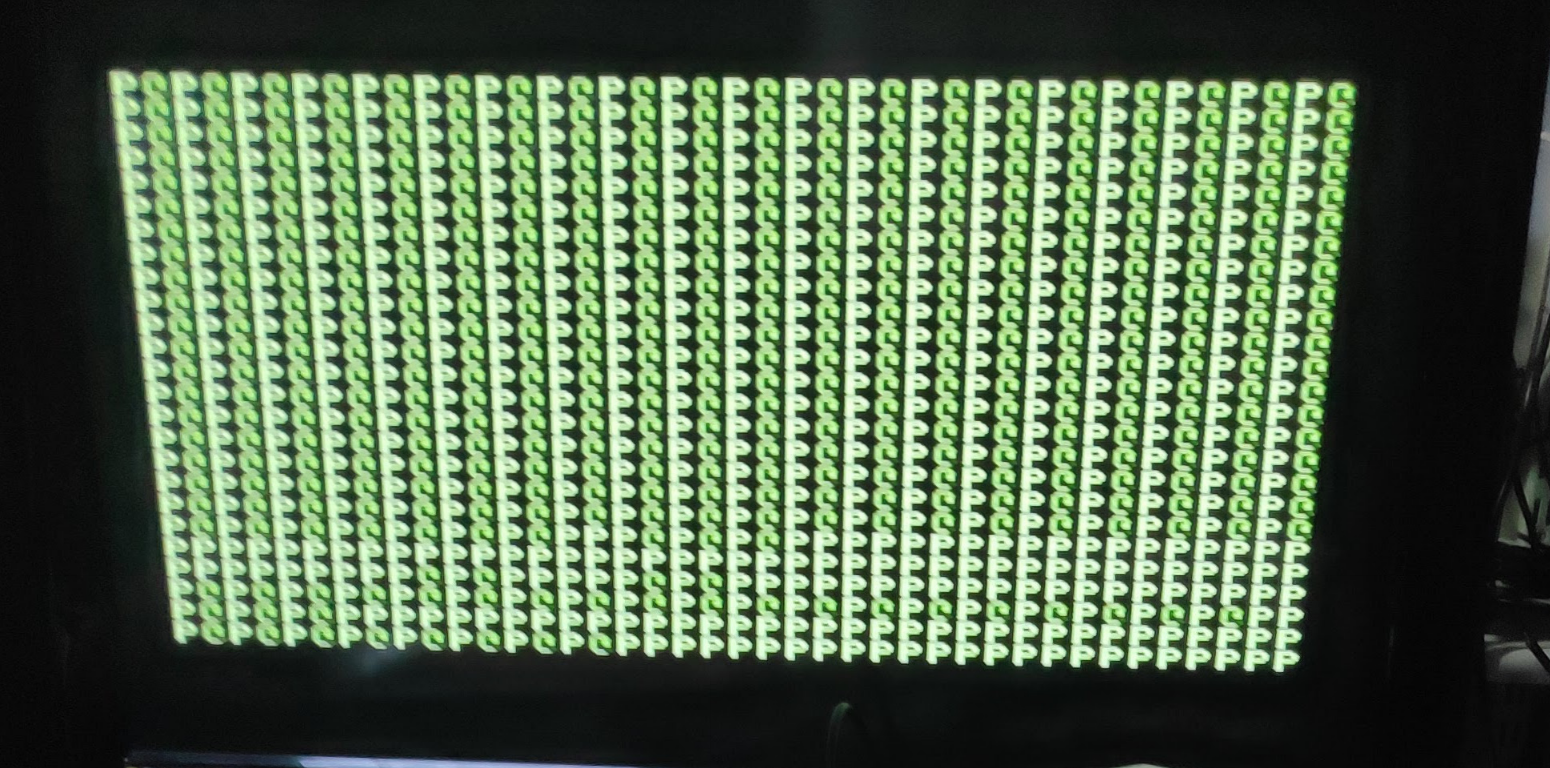
What does that mean? Better look up some instructions as I haven’t used this for a couple years. Notice the ‘P’s
Ok so I should be getting this.
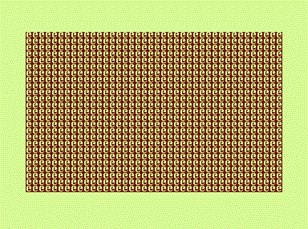
This is the low ram test screen
Looking for differences with the above two images identifies issues with the table below.
Symptom | Cause | Symptom | Cause | Plus/4 IC | C16/C116 IC |
| A instead of @ | D0 stuck high | instead of | D0 stuck low | U11 | U5 |
| B instead of @ | D1 stuck high | instead of | D1 stuck low | U12 | U5 |
| D instead of @ | D2 stuck high | instead of | D2 stuck low | U13 | U5 |
| H instead of @ | D3 stuck high | instead of | D3 stuck low | U14 | U5 |
| P instead of @ | D4 stuck high | instead of | D4 stuck low | U15 | U6 |
| (space) instead of @ | D5 stuck high | instead of | D5 stuck low | U16 | U6 |
| instead of @ | D6 stuck high | instead of | D6 stuck low | U17 | U6 |
| instead of @ | D7 stuck high | instead of | D7 stuck low | U18 | U6 |
We have ‘P’ instead of of ‘@’ which equates to D4 stuck high. Looks like a faulty U15 ram chip. A bit more desoldering to do. I think firstly I’ll just look on the scope.
Scoping
From the schematics above the ram chips have the data signal on pin 2 and 14. These pins are connected together so testing either will do. The scope showed the following for chip U15 pin 2
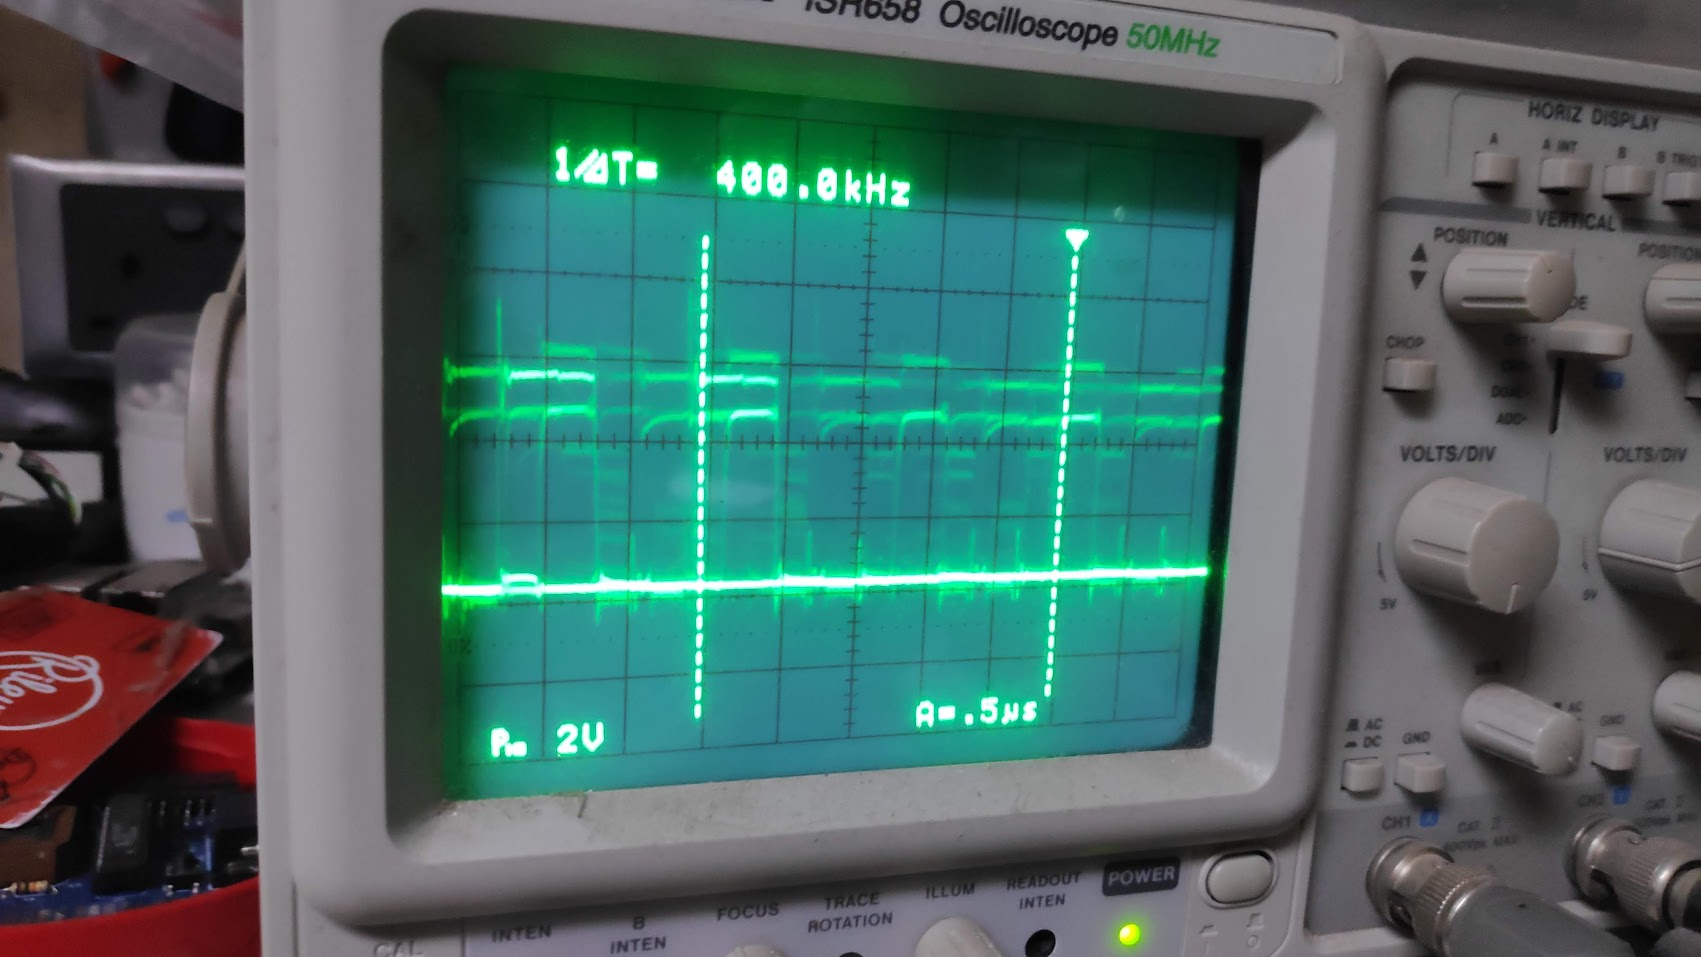
The signal is very noisy but we can see the prominent line at the bottom indicating the data signal is stuck low.
So its time to remove ram chip U15.
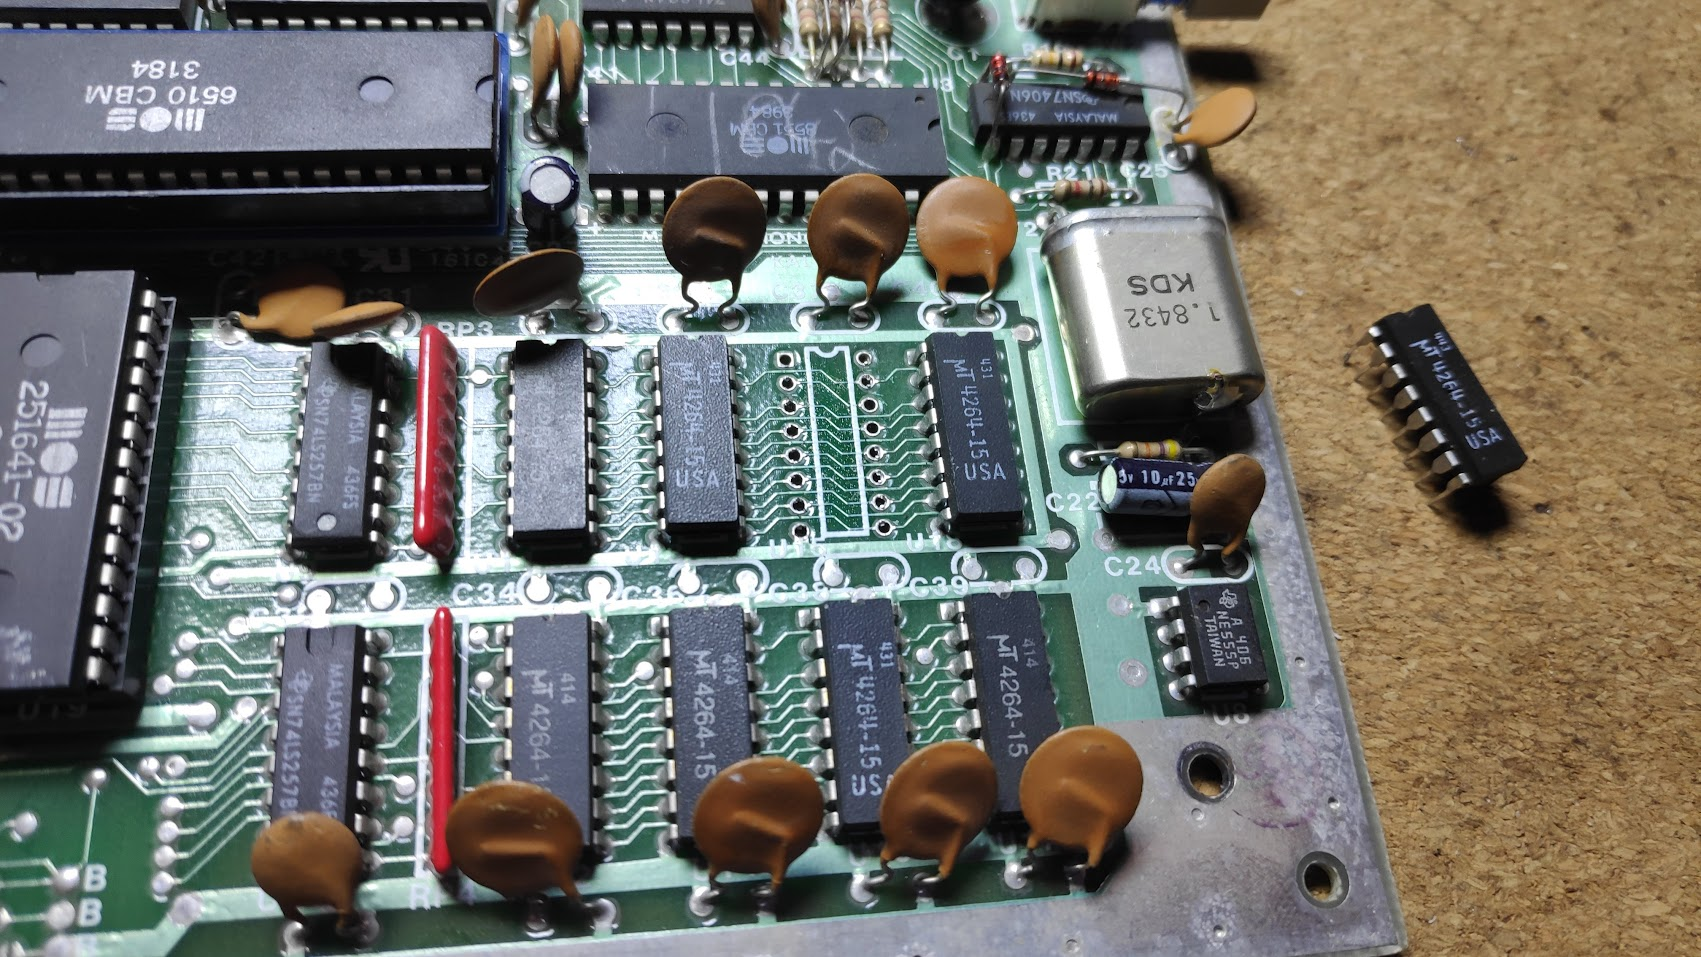
By the way, mT ram is commonly known as dog poo and will fail if you just look at it funny. If I had the spare chips I would rip all of this ram out and replace it with something decent.
In with a socket.
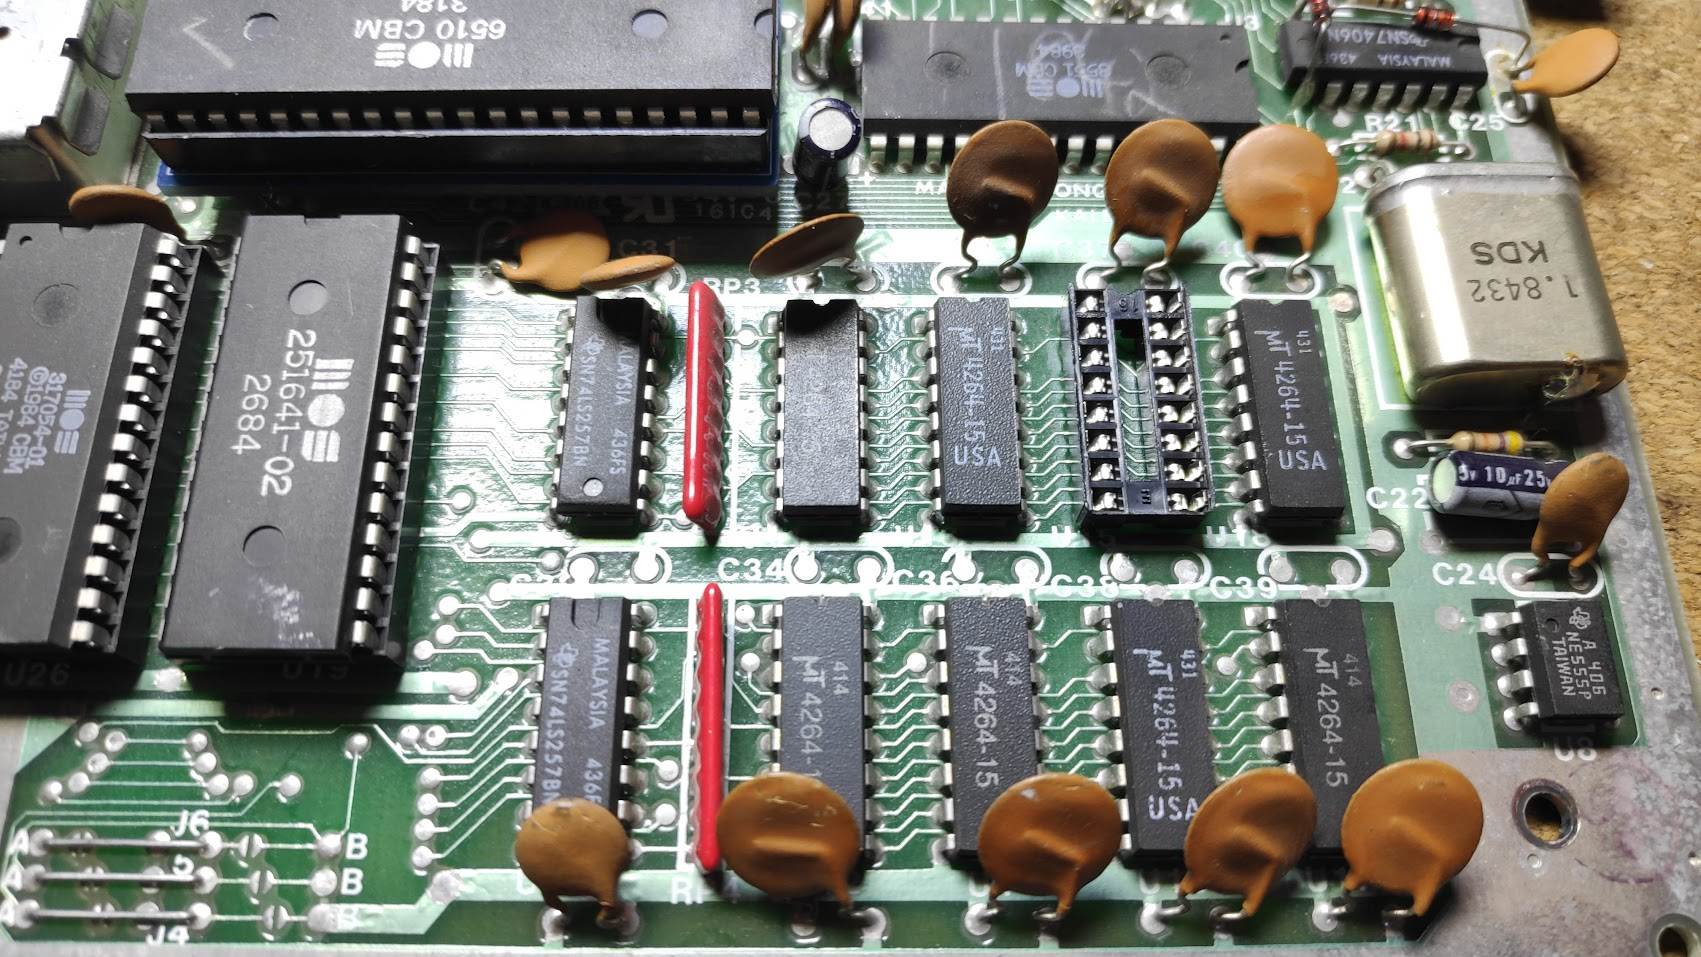
The original ram is mT4264 but all I have is TMS4164 but it should work.
Well thats a massive improvement but there is still something not quite right. The diagonal line is not there and is generated by the camera. The two extra characters are the real issue.
Another test with the diagnostic card. It now gets passed the low ram test and the high ram gives an issue.
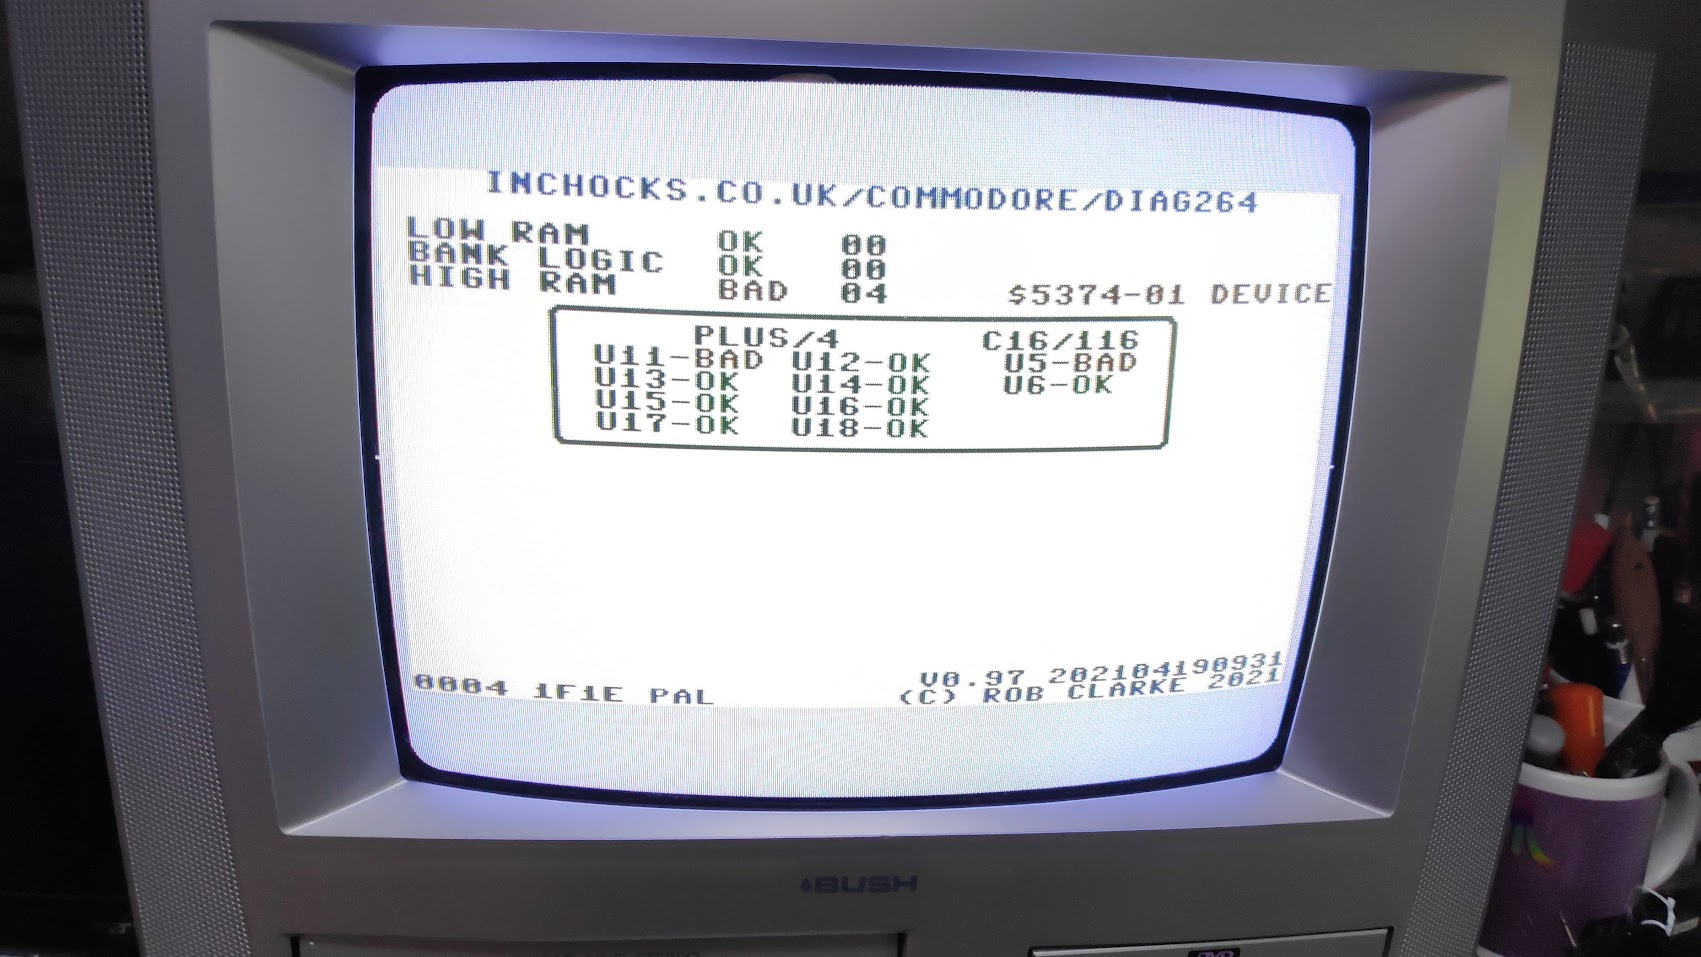
This shows that the high Ram has an error and is advising that U11,U5 are either both bad or one of them is bad. U11 is a ram chip so I’ll replace that first.
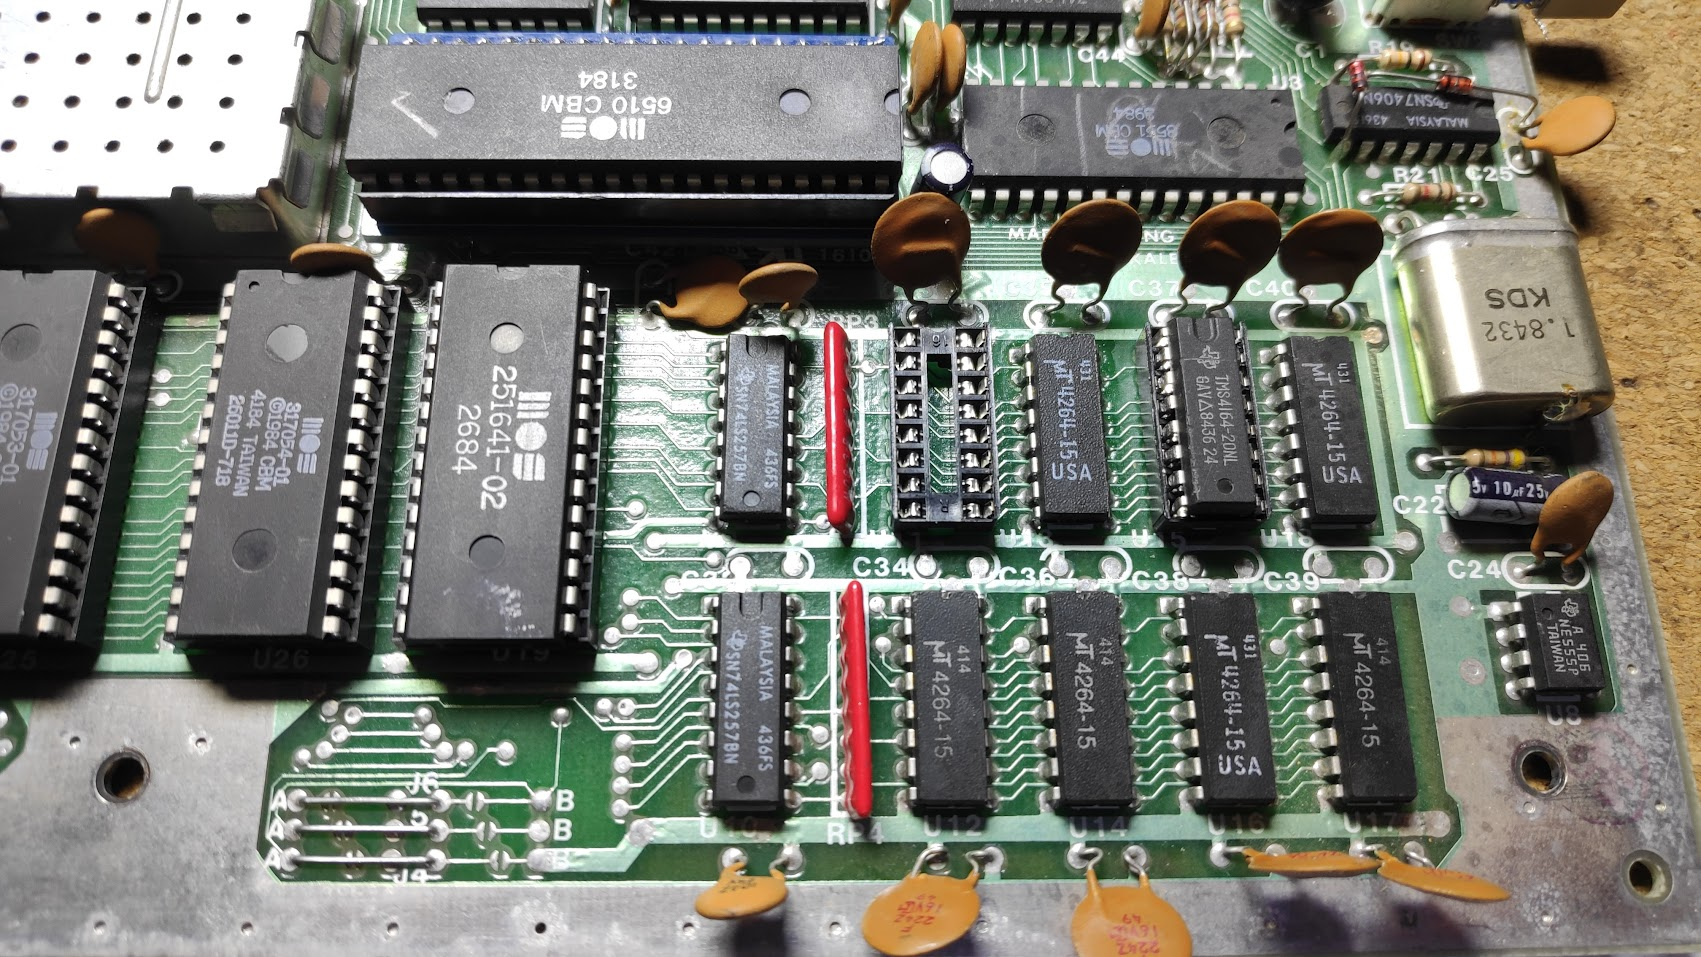
New socket in so lets try another TMS4164.
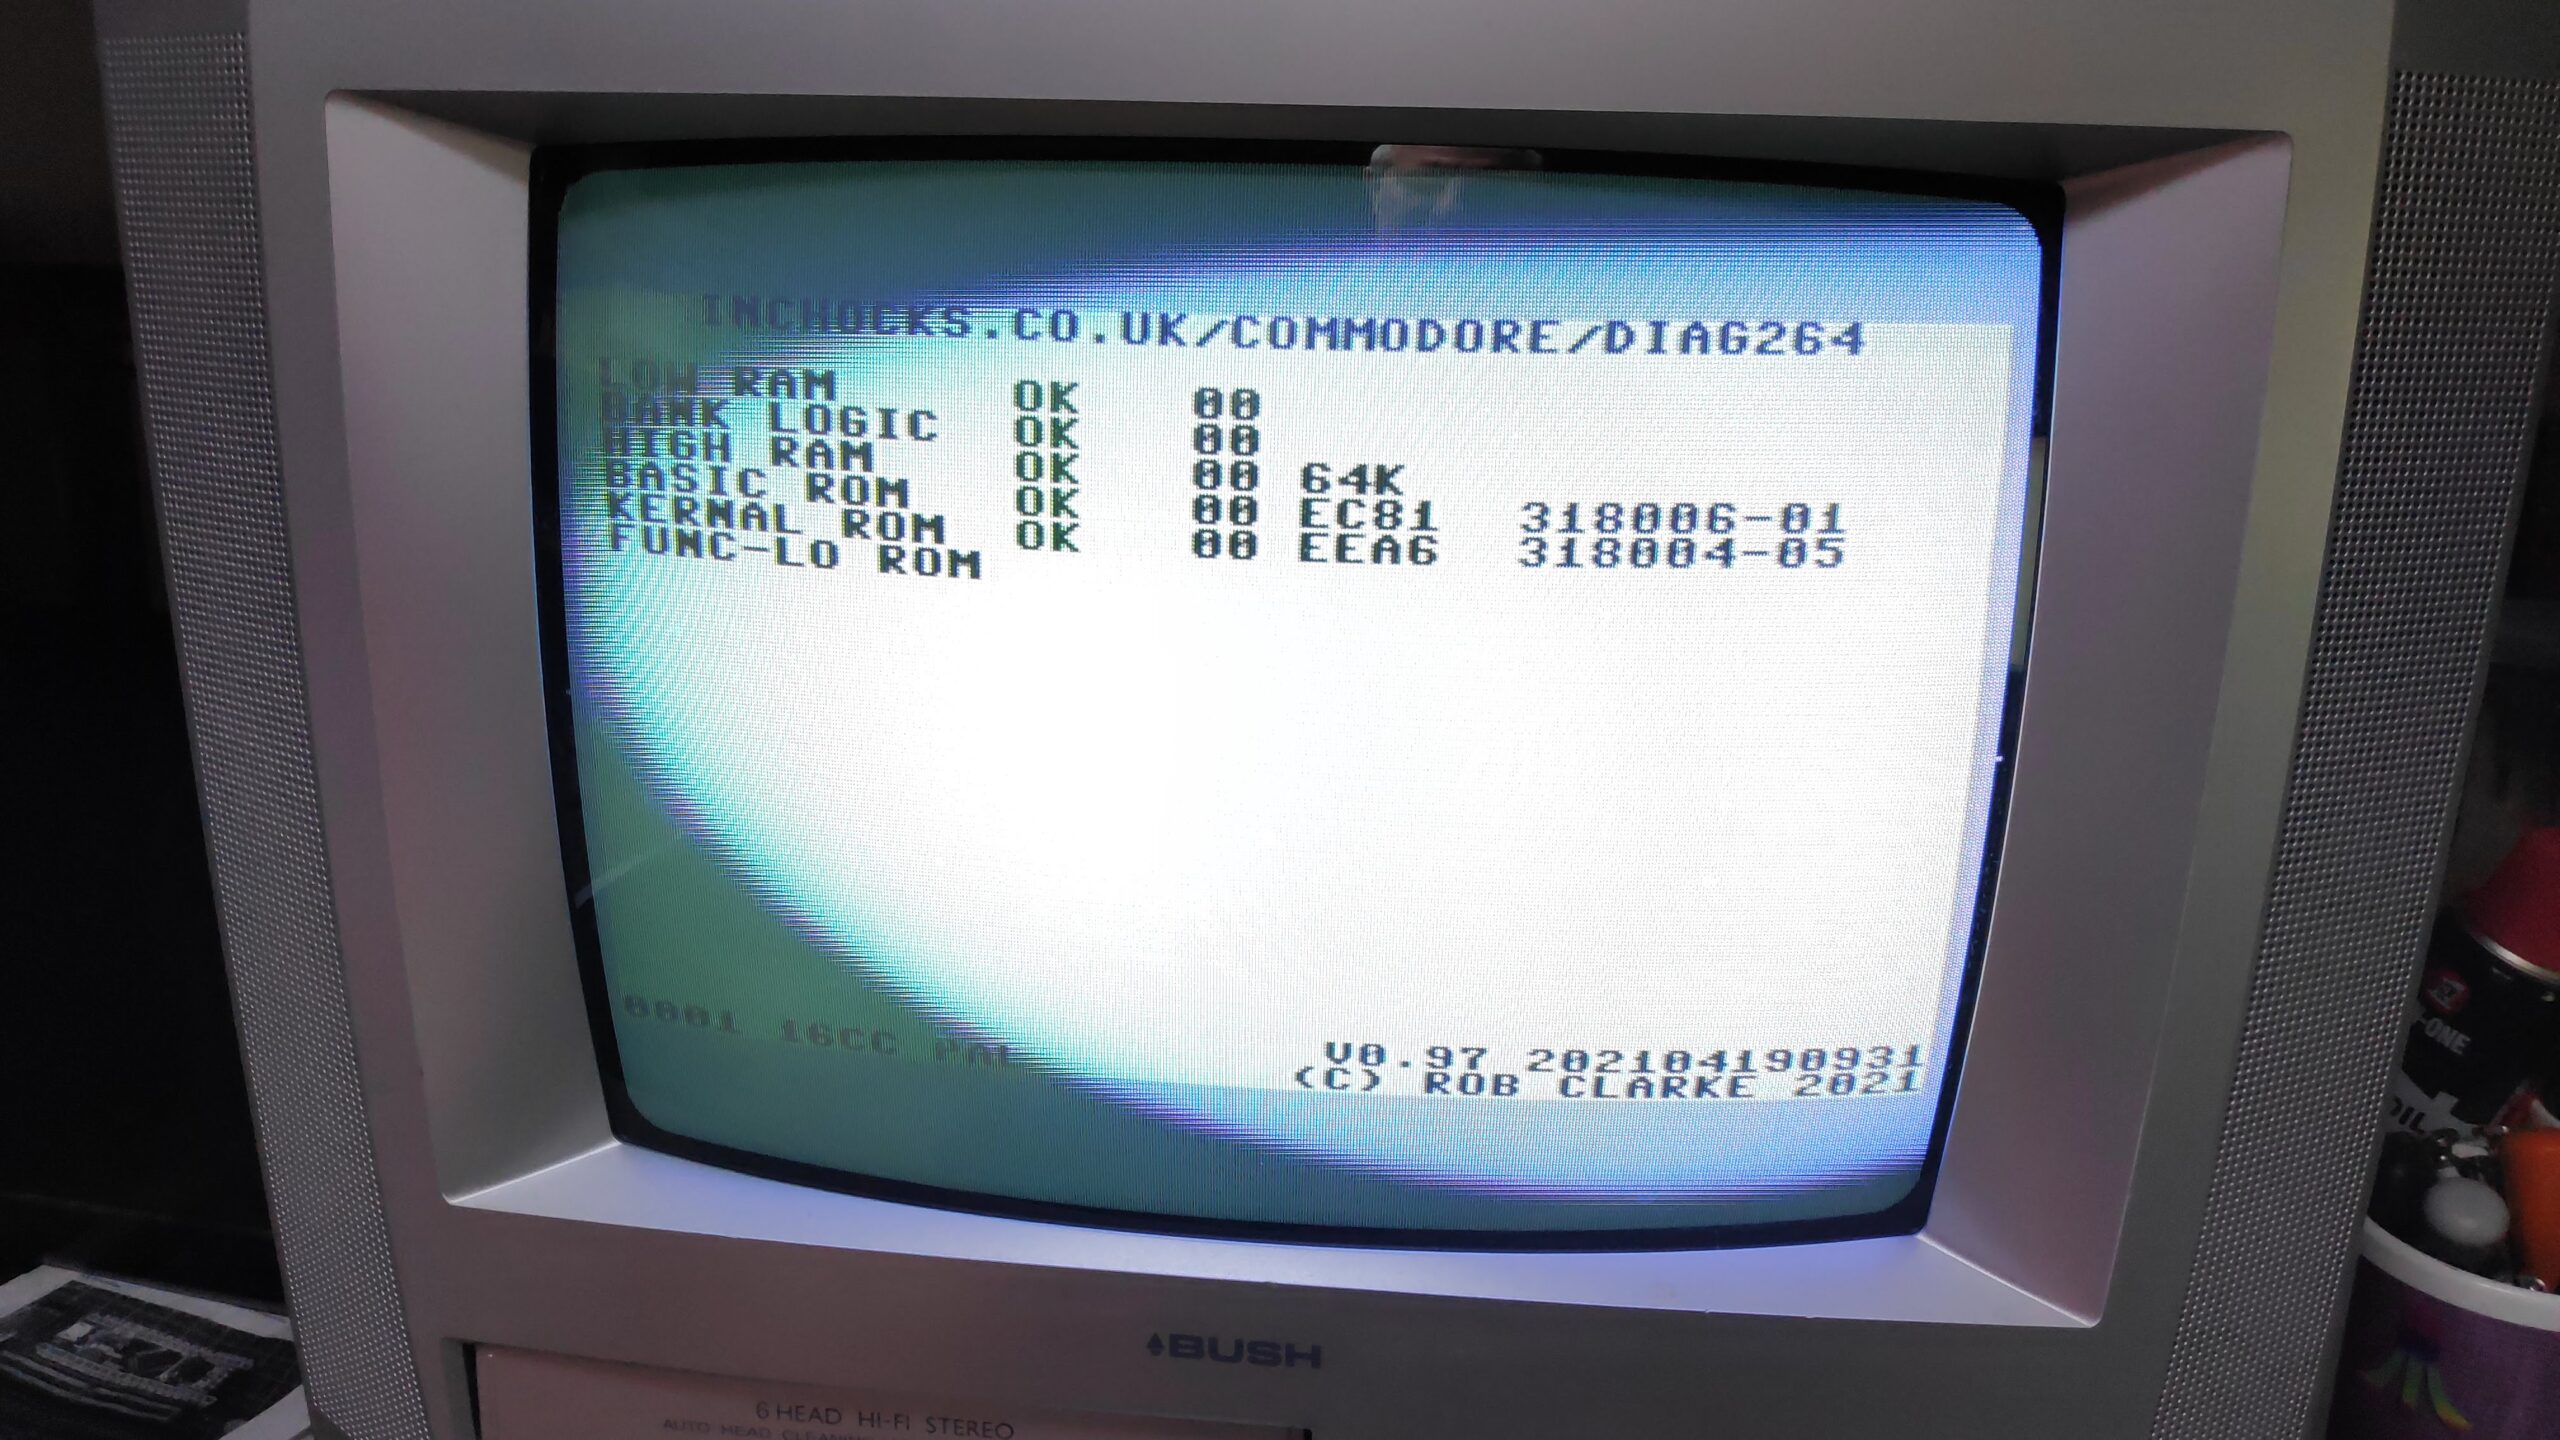
Excuse the images as my camera gets upset with the old CRT, again!. The screen corruption is now gone and the full 64k passes the diagnostic. This Commodore Plus 4 Repair is getting close but there is still a bit to do.
Bit of a cleanup on the case. It also closes easily due to the low profile header on the CPU adapter.
Oh and btw it looks like the game doesn’t belong with this computer. However I will show if it works on a real Spectrum.
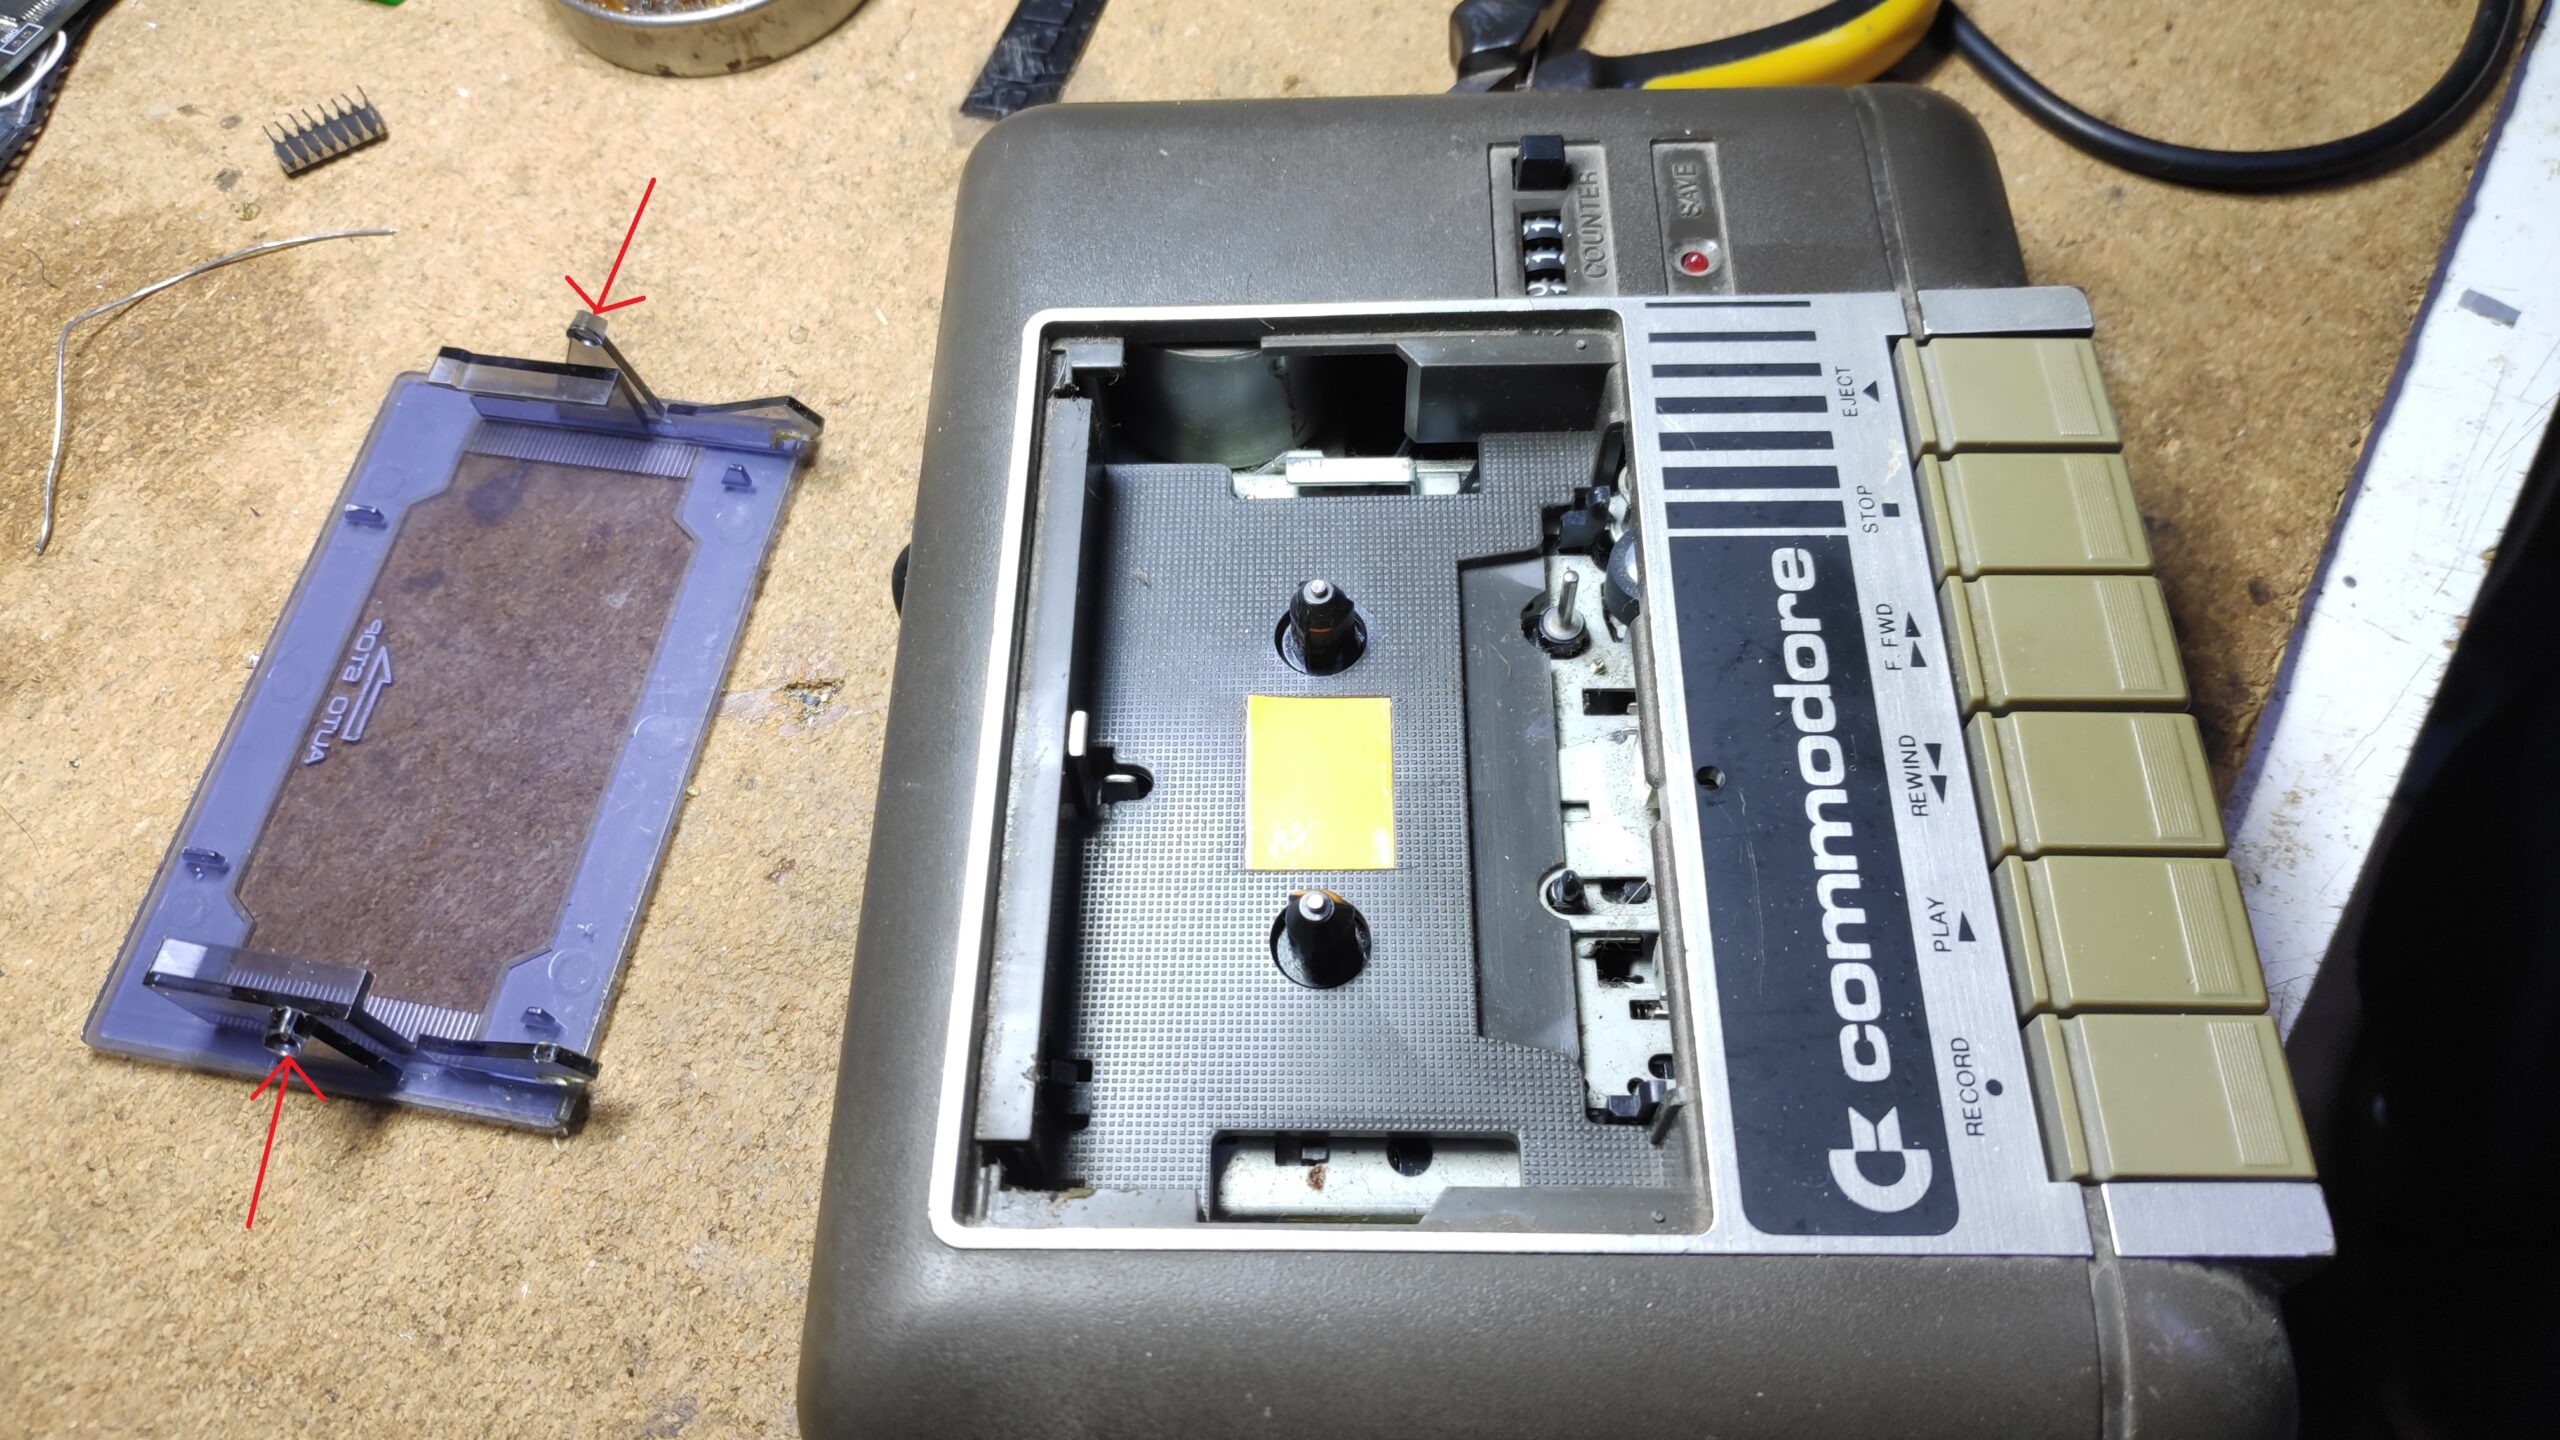
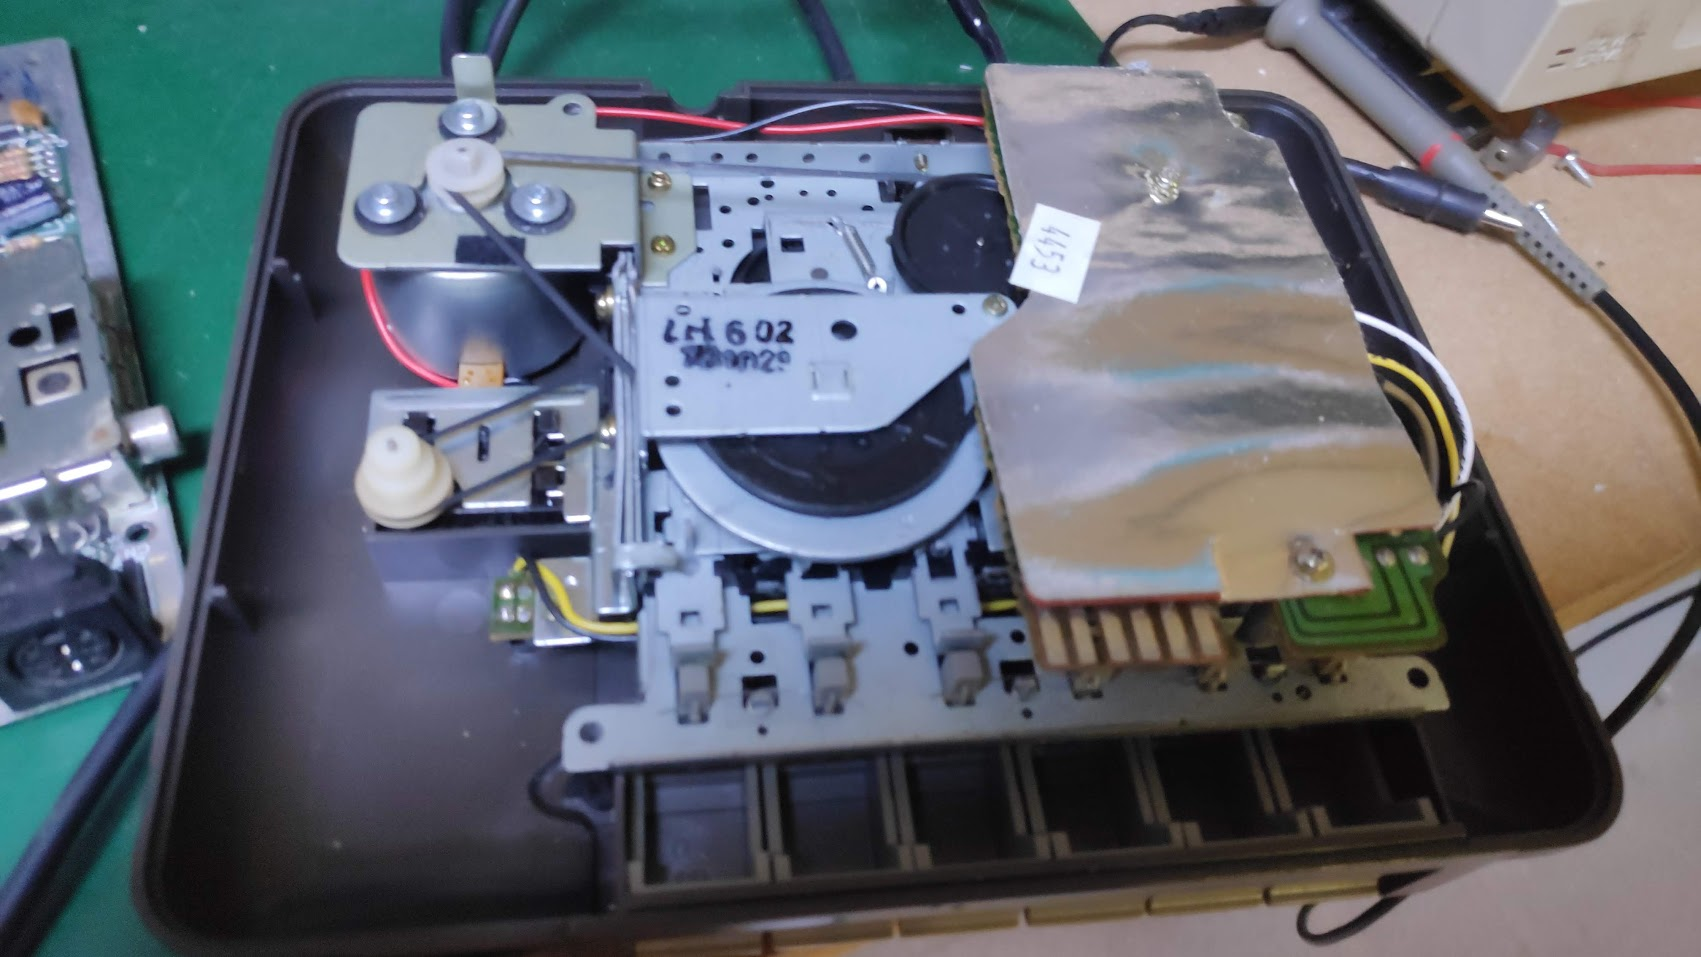
Tape Drive
Whilst cleaning I may as well clean the heads on the tape drive. The cassette holder just pulls out by pressing the tabs in with forefinger and thumb and tilting out.
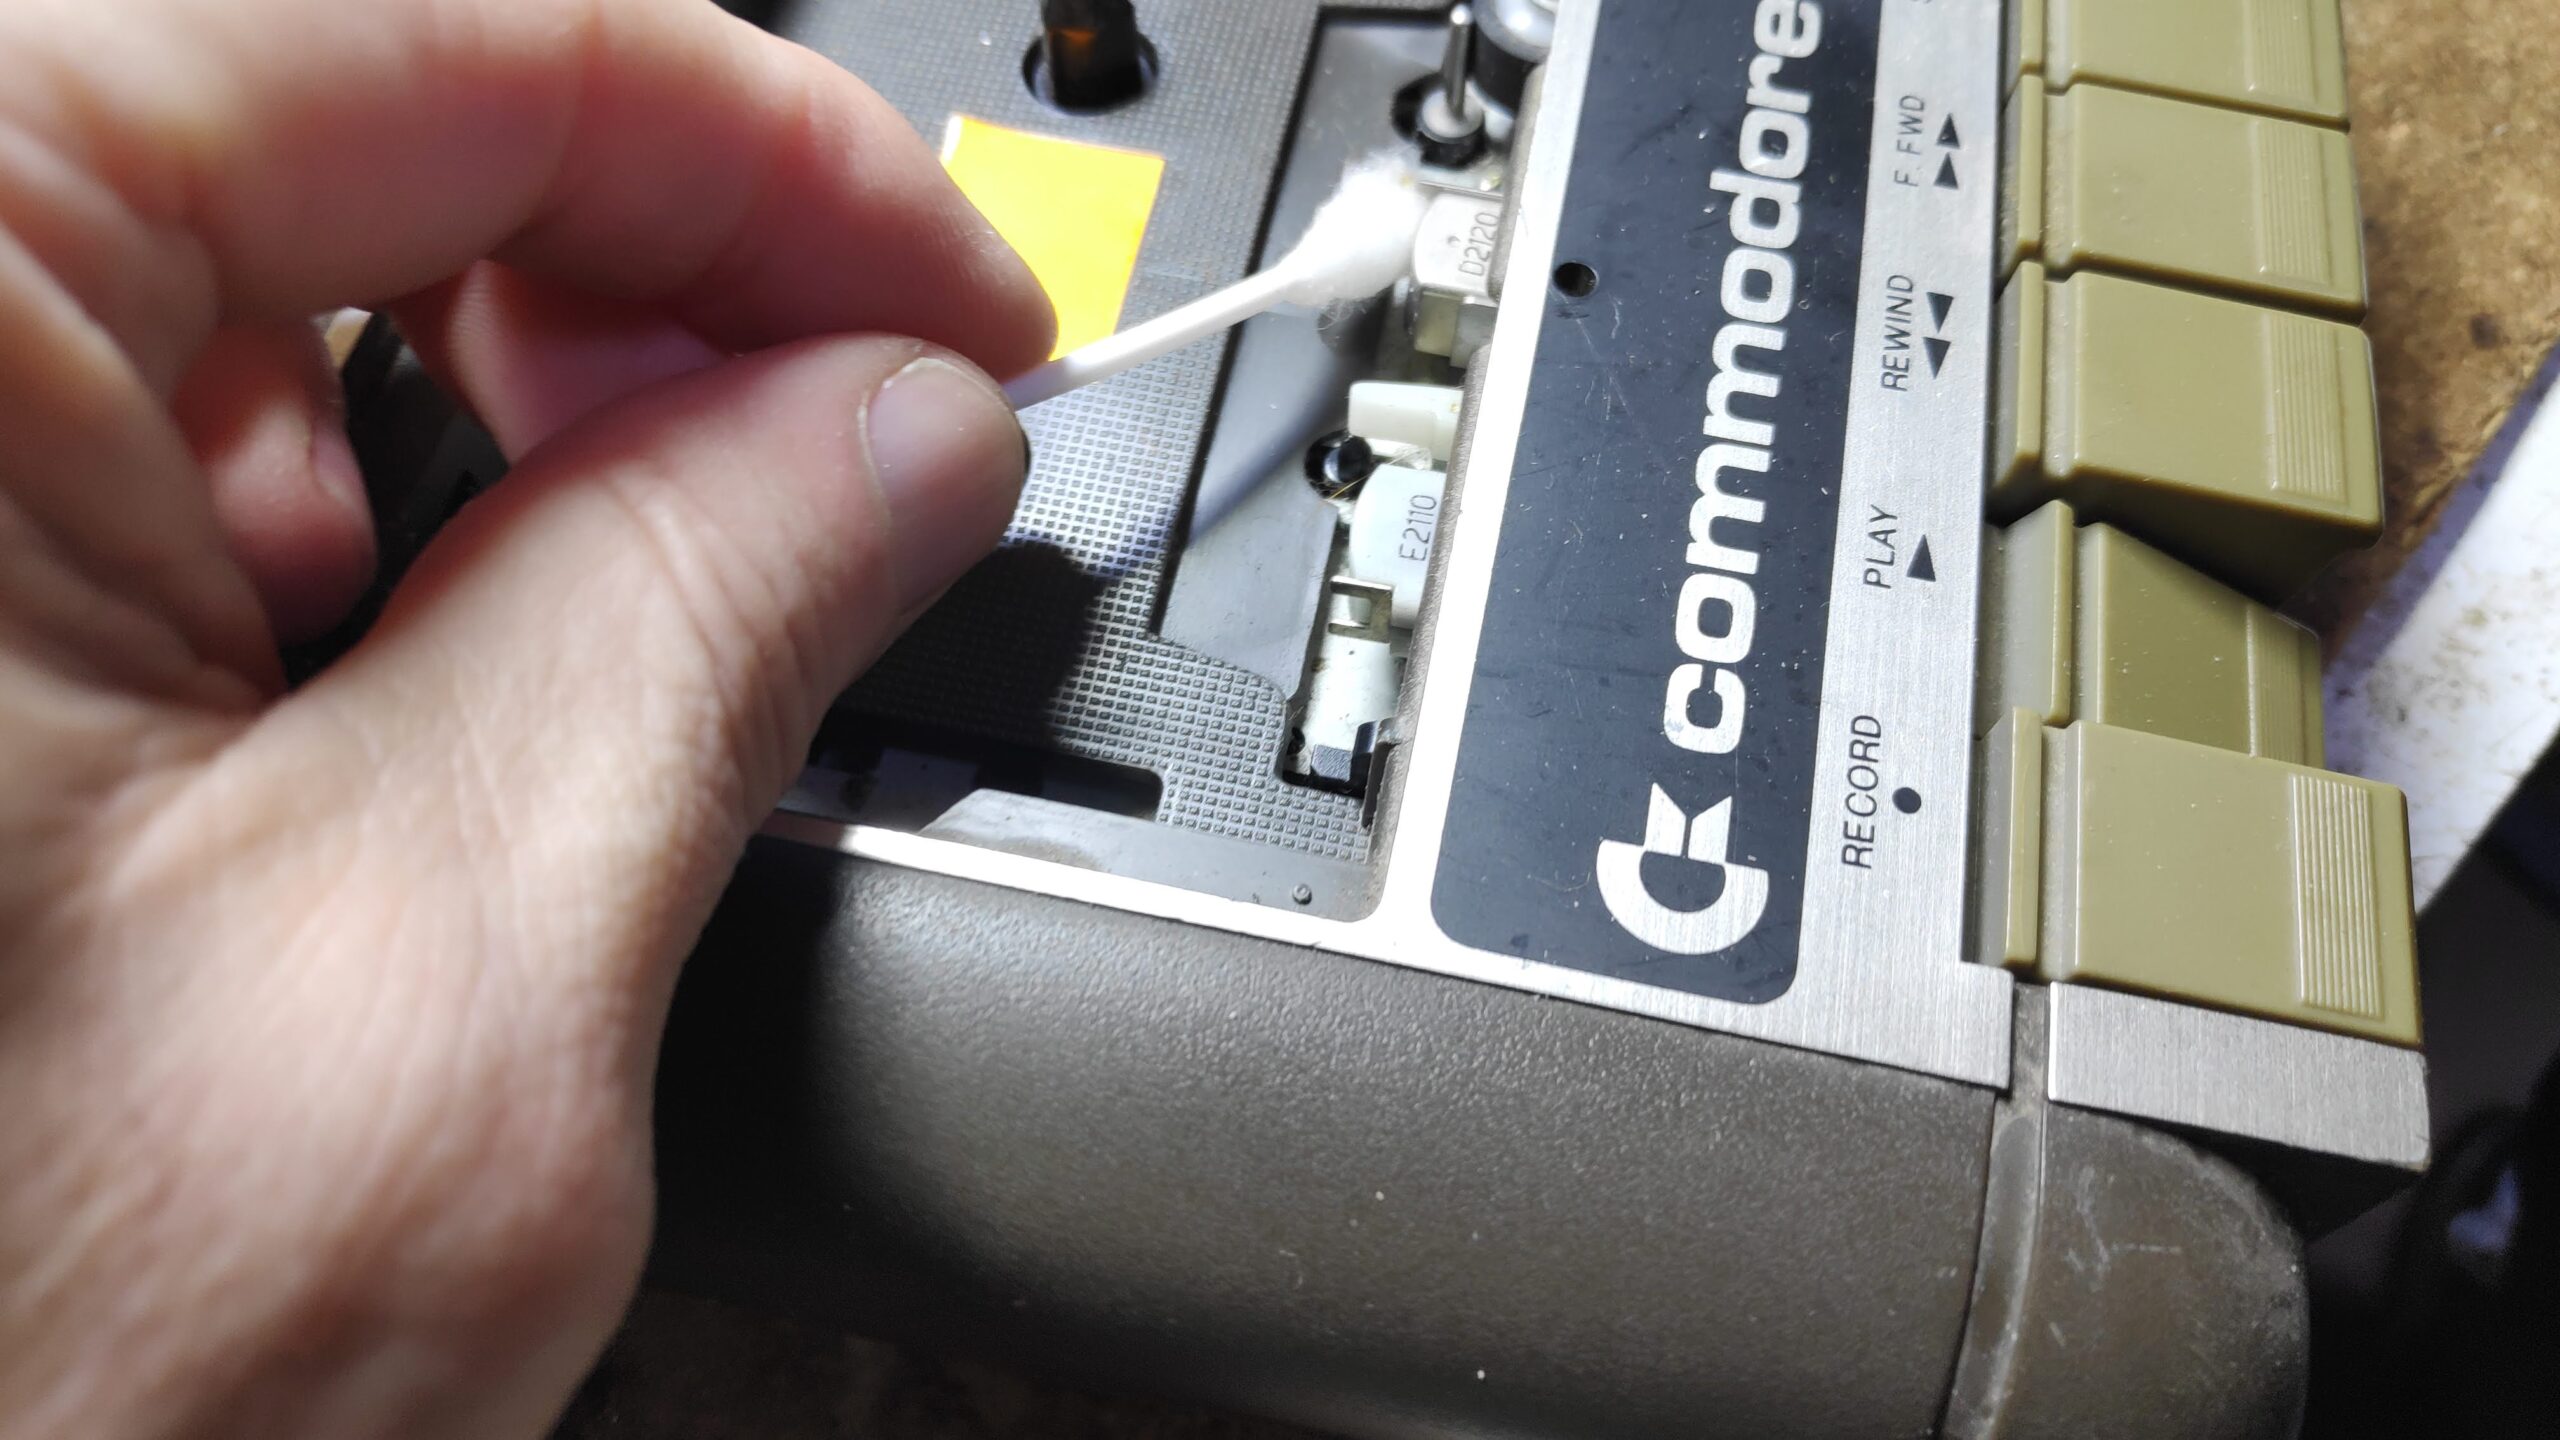
Cotton but and some isopropyl and just a gentle clean of the read write head, the erase head and the pinch roller.
Ready for loading a game.
However I discovered the tape drive wasn’t working and remembered a contact on the cpu adapter board.
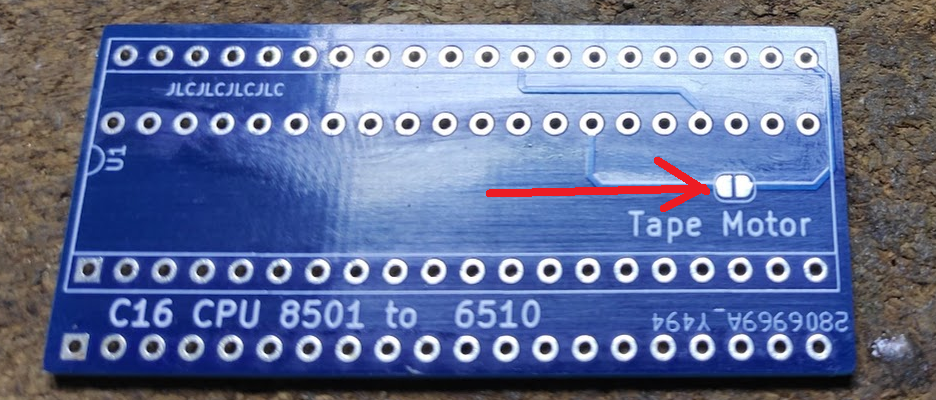
A blob of solder and the tape drive was now working.
But wait!!
The tape motor is on constantly. Not happy about that as these old tape drives have had a long hard life already without having the motor on constatntly. There is a solution.
Just solder in a 1N4001 diode to the underside of the motherboard.
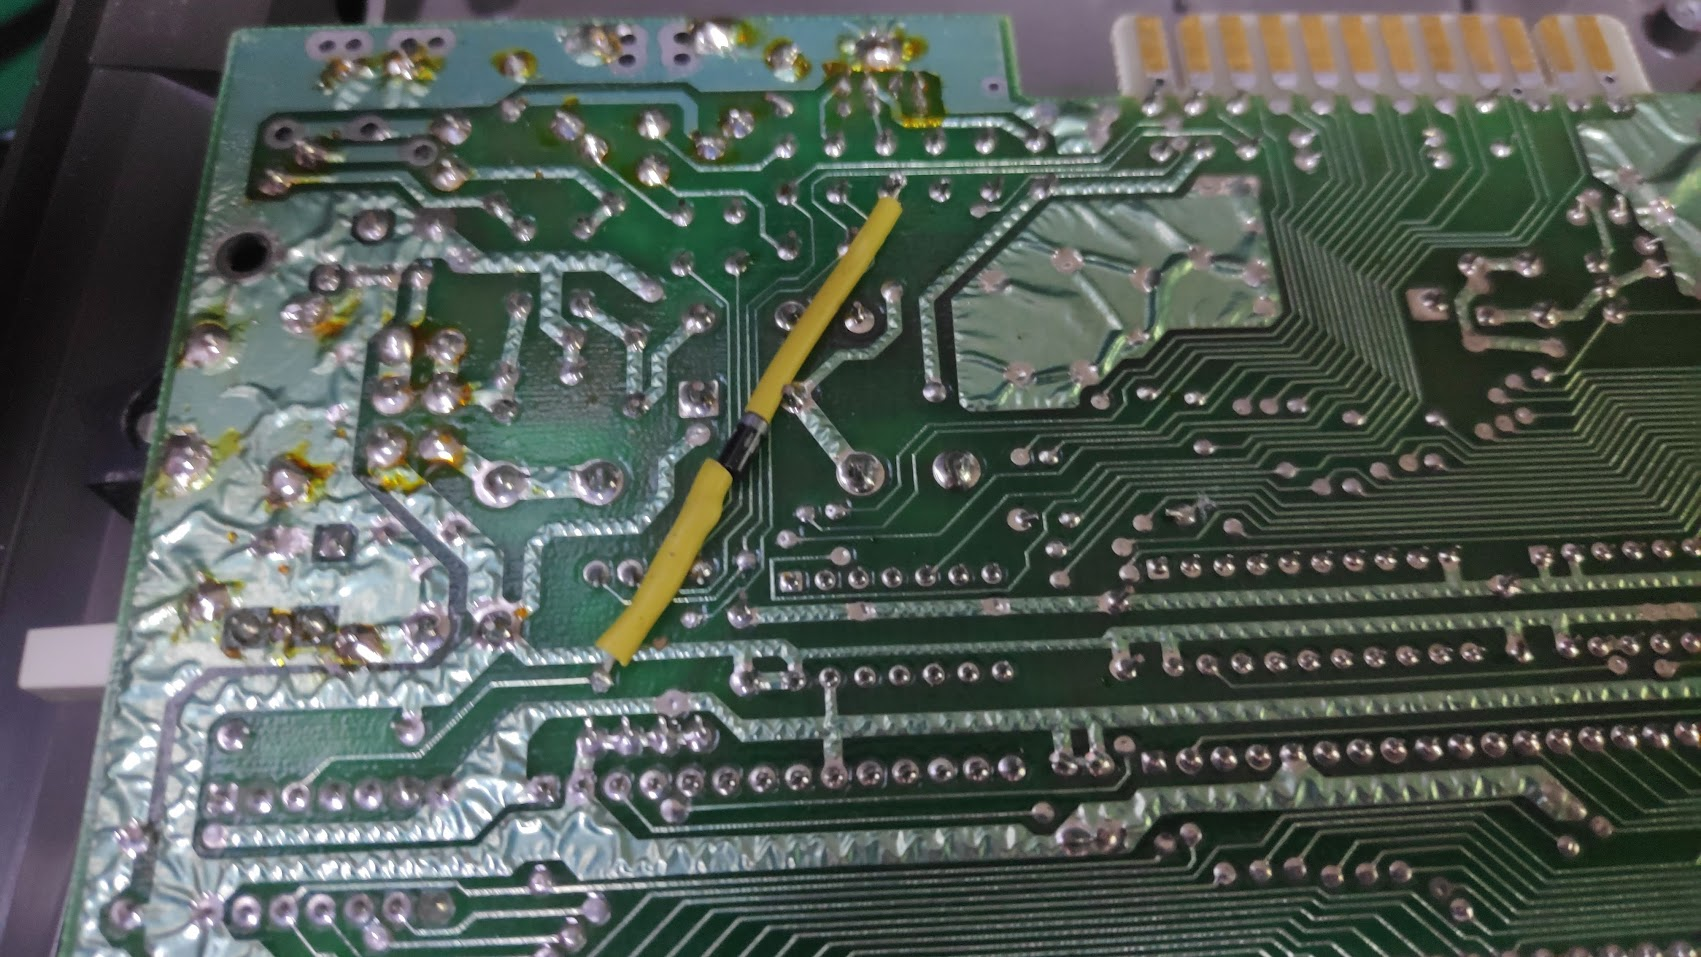
The tape motor is still running constantly so I removed the tape motor contact on the cpu adapter and now the the tape unit only runs the motor when play,rewind or fast forward is pressed.
Time to load a game ?
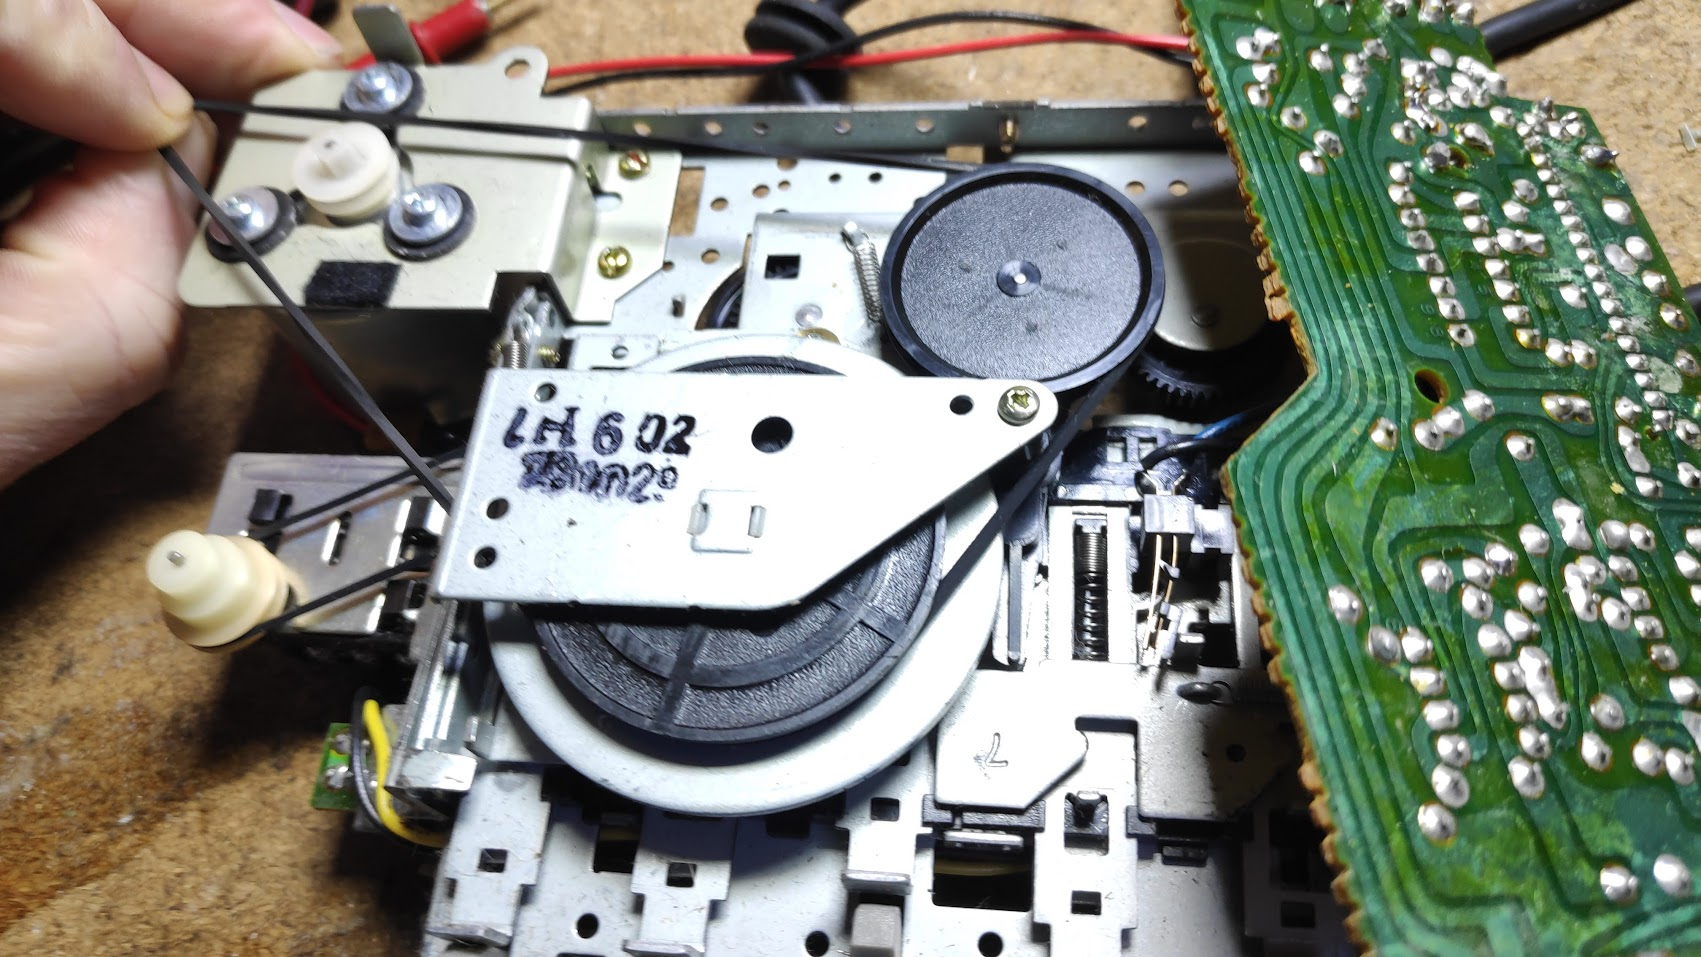
Sadly no. Unfortunately loading a game was interrupted by my discovery that the rewind wasn’t working. Strangely the fast forward and play was working. So lets have a look
Nothing looks out of place. I expected the belt to have issues but there is a little bit of tension.
Everything looks ok on the other side too??
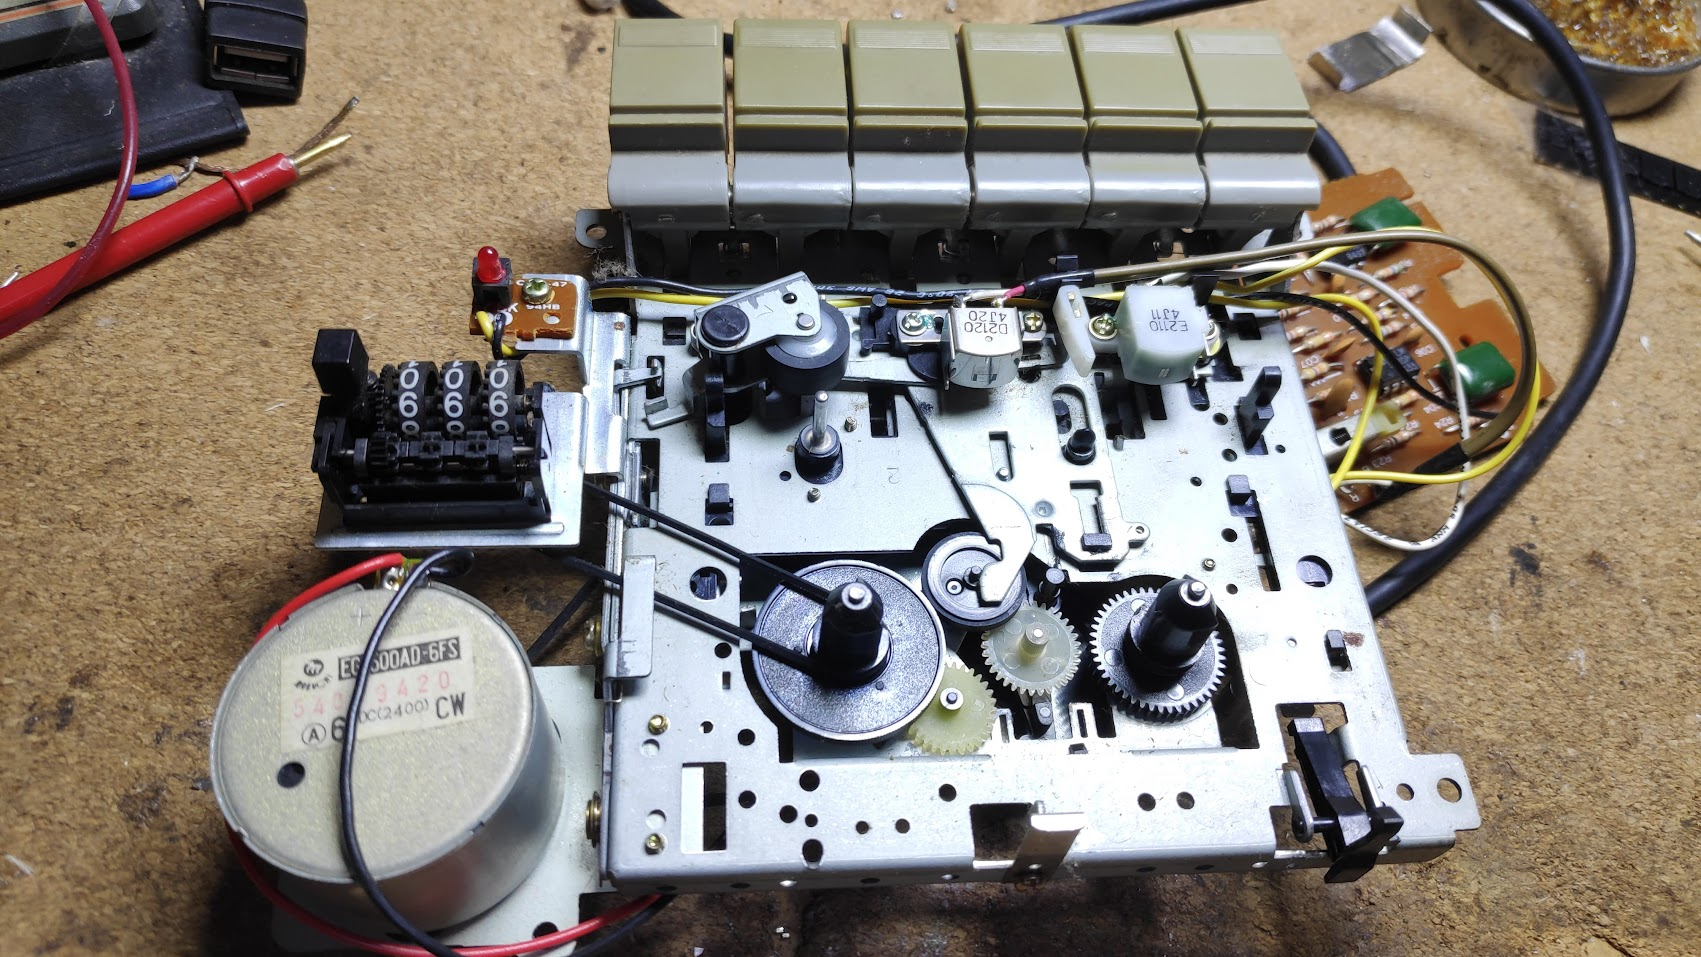
Ok. So looking at a spare unit I have this cog is moving when rewind is pressed. I’ve marked in red the movement when rewind is pressed and then stop is pressed.
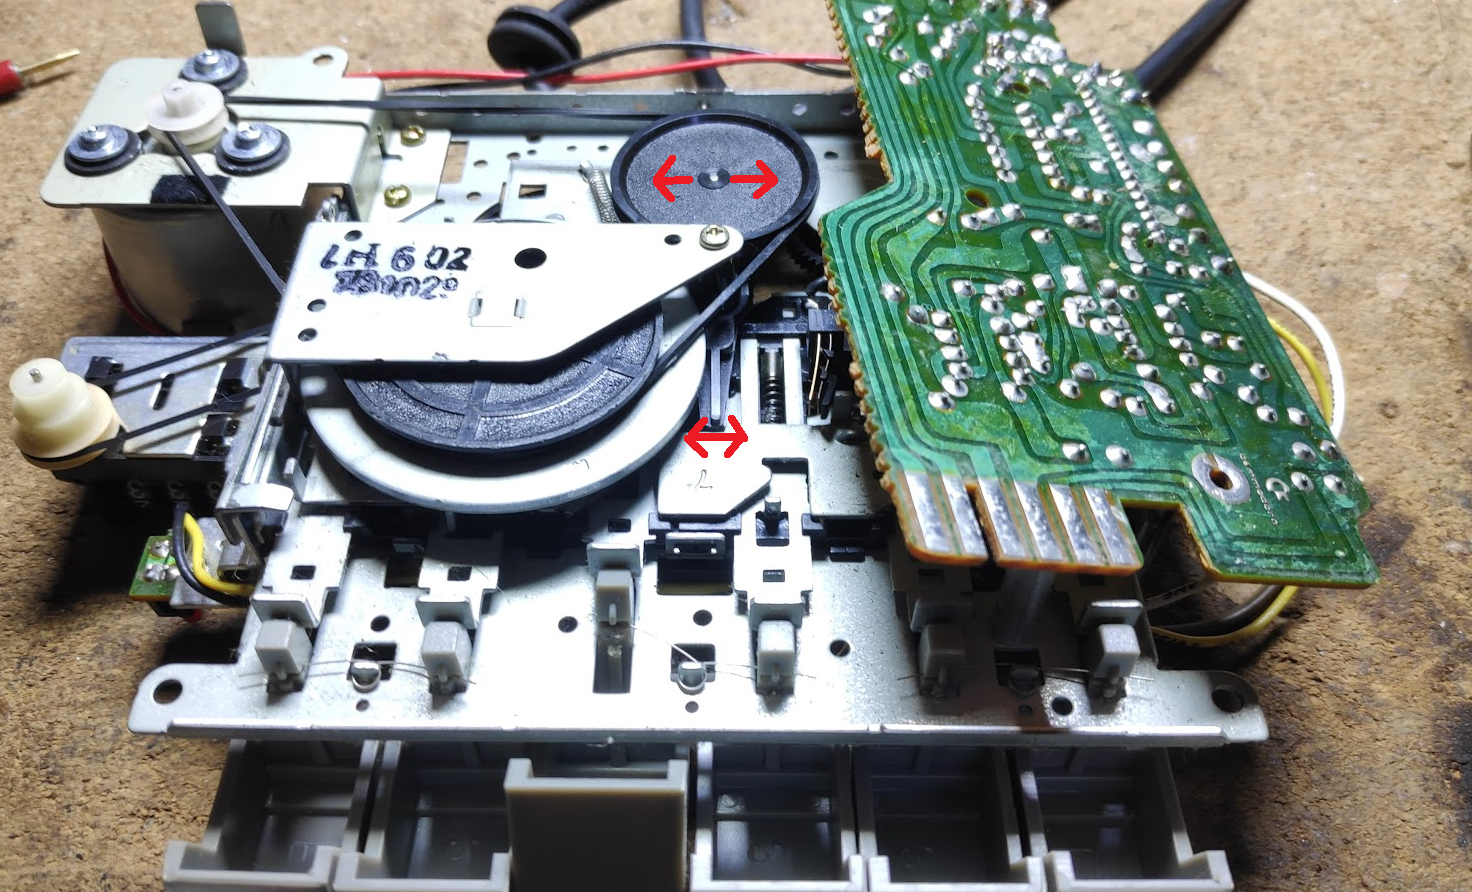
This movement is not happening however I can make it happen by stretching the belt first then pressing rewind.
So on with a new belt
To replace the belt just remove the two screws as shown below and the belt can be removed and a new one installed.
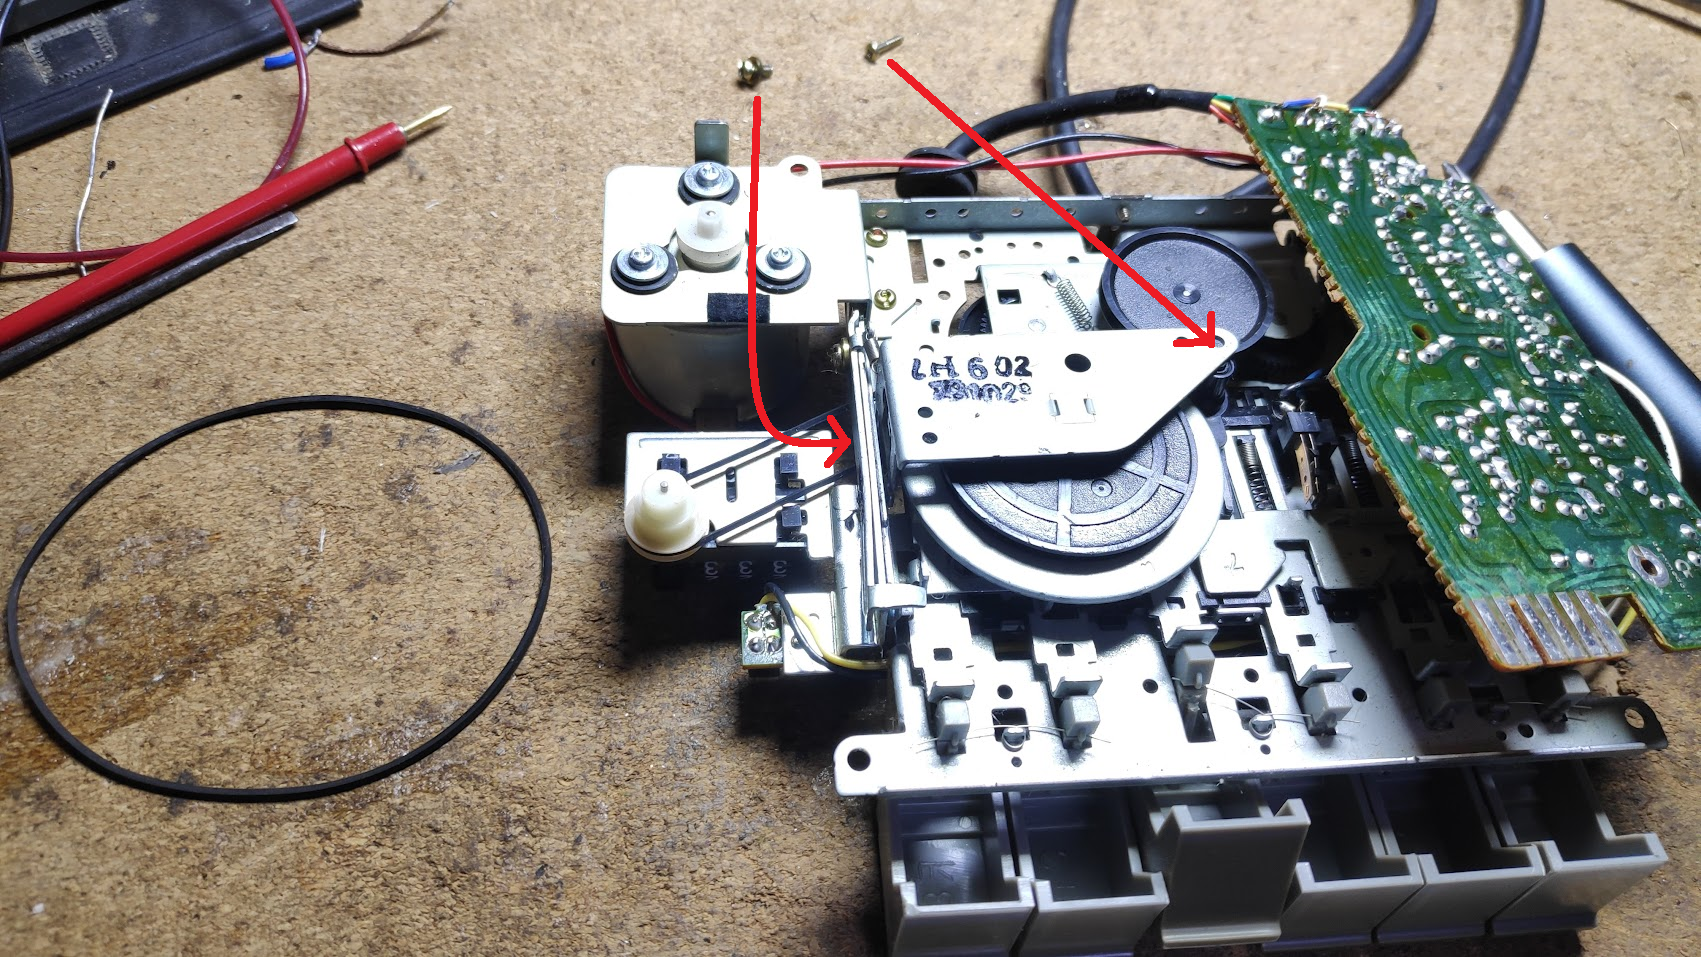
Rewind is now working properly.
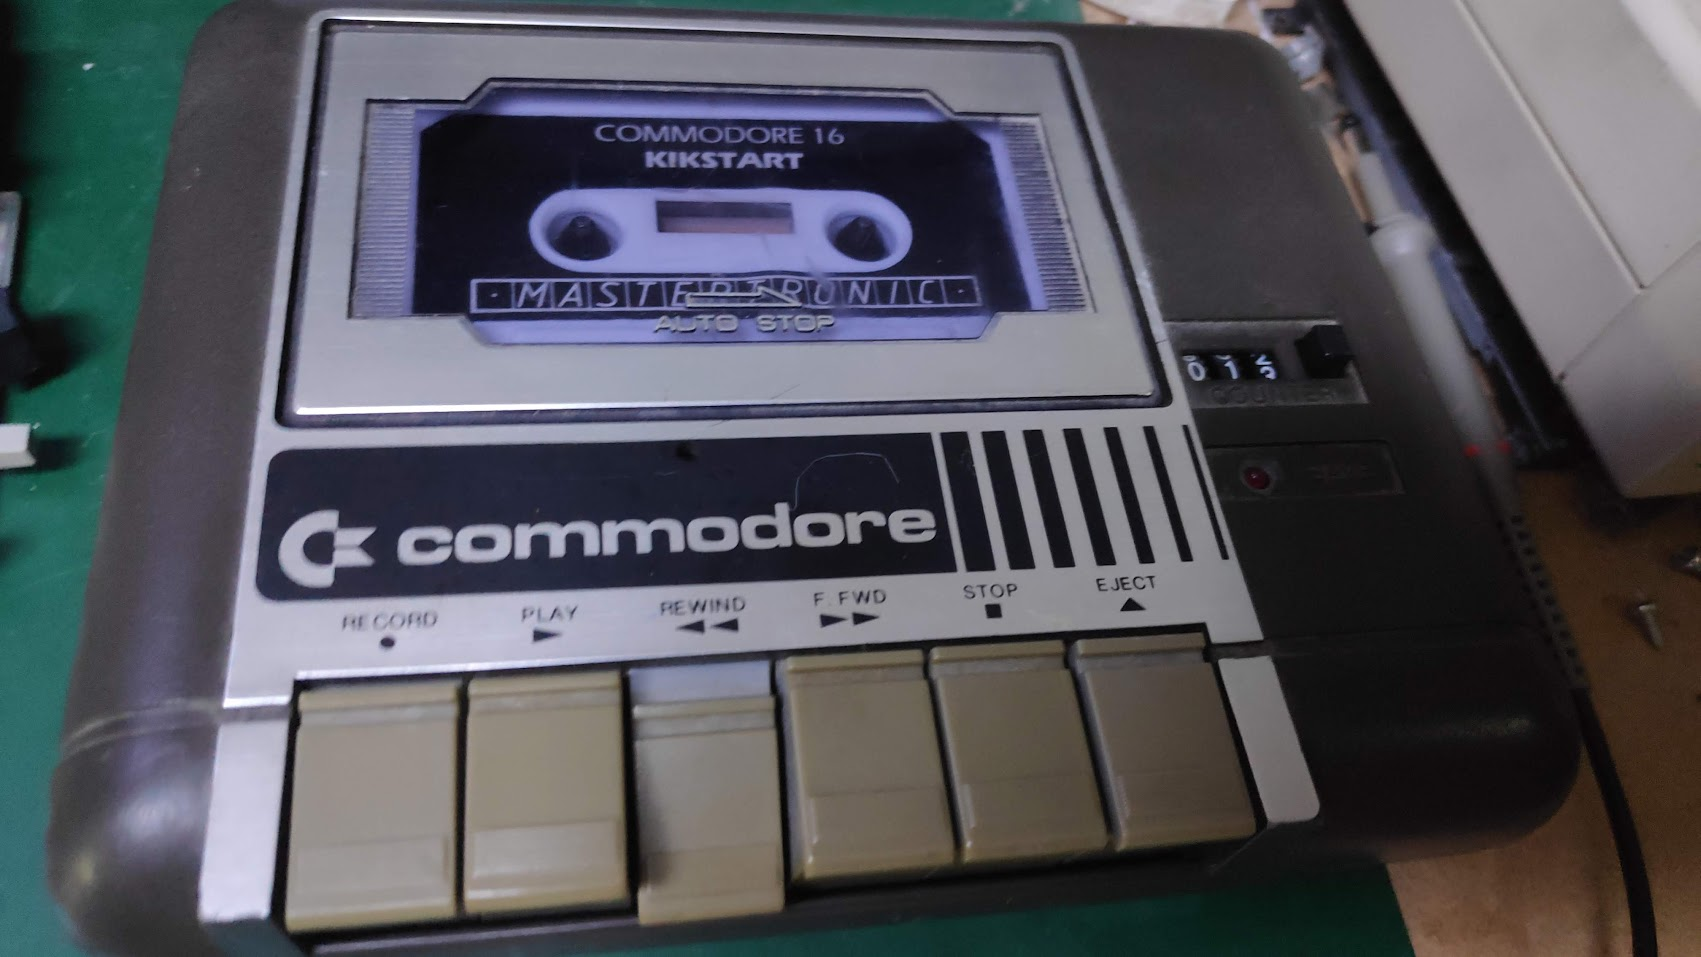
Time to load a game but wait! I just remembered that for this adapter to work properly it needs a new kernal rom.
The kernel rom lives here
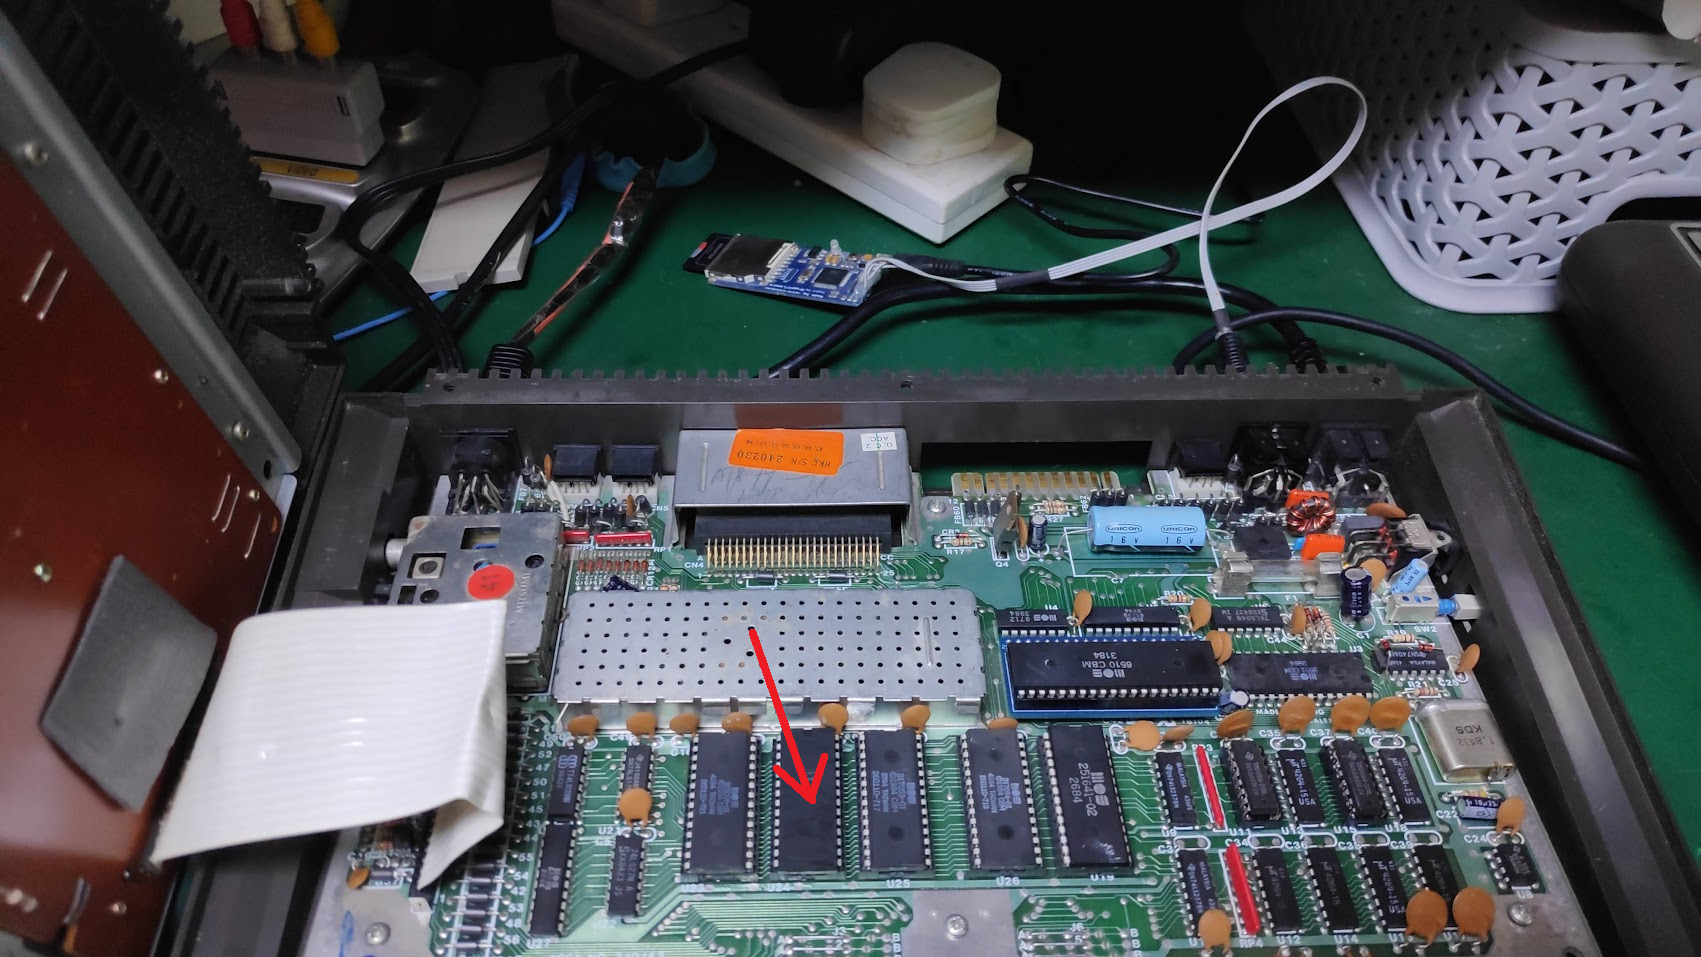
The kernel requires a 16k eprom/eeprom but all I had was a sst 27SF256 eeprom. It does work however I had to program the lower and upper 16k with the same custom kernel rom.
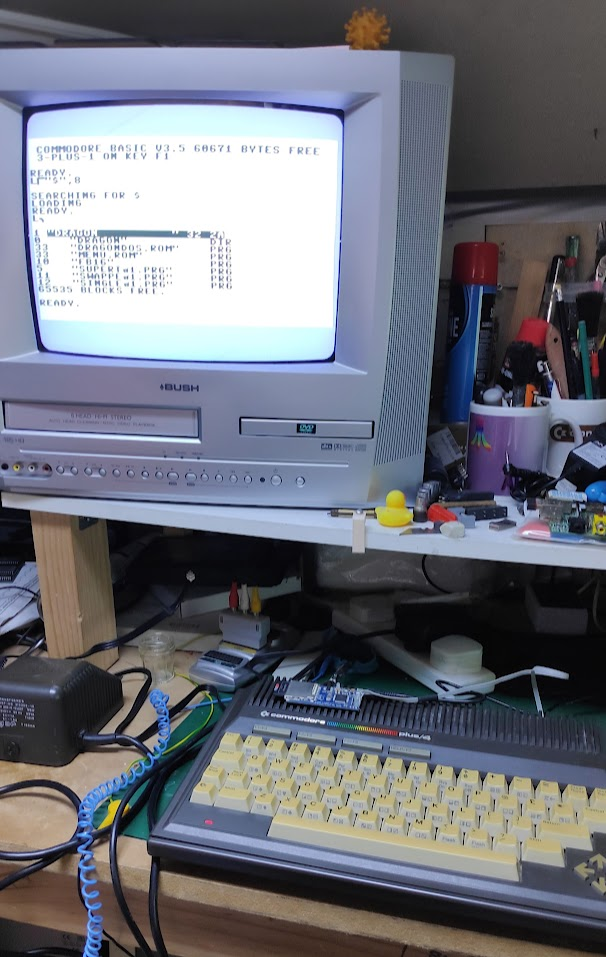
So loading from the serial port using a SD2IEC now works. Again ignore the diagonal line its just a result of the camera and crt frequency. Anyone remember the film “The Omen”. I hope my CRT survives!.
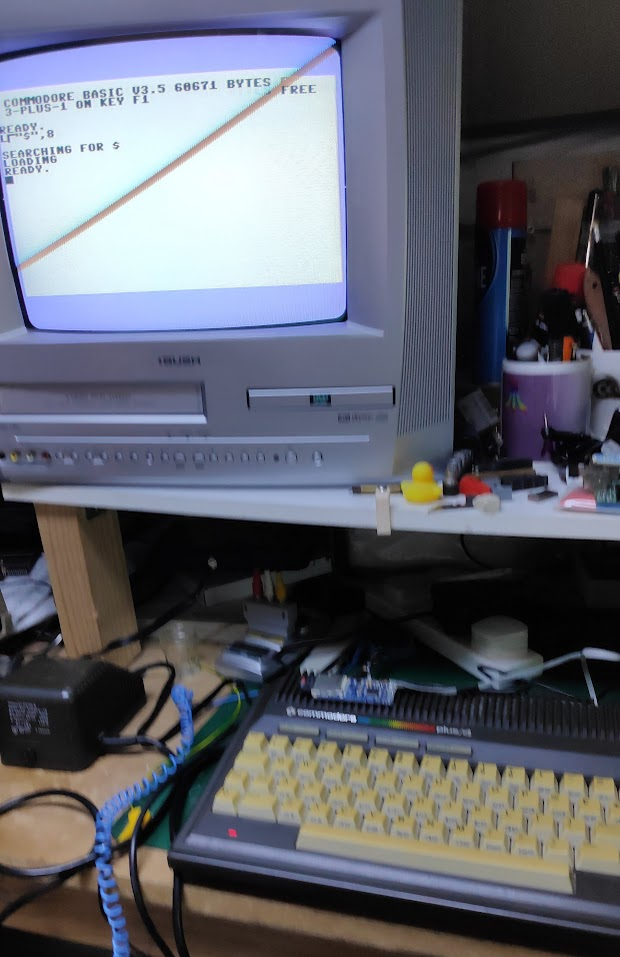
There, thats better. SD2IEC now works and with no Omen lines!.
I wanted to load a game from tape but my kickstart tape wasn’t working on two tape drives. I wanted to create a working tape copy of Kickstart and spent a day trying numerous disk to tape utils but nothing has worked so far. Anywho I thought I would just load it from SD2IEC for now.
Commodore Plus 4 Repair Conclusion
I’ve not yet finished with this Commodore Plus 4 repair as I plan to make and install a new cpu adapter which doesn’t require a custom kernel eeprom and which uses the more abundant 6502 cpu.
I also want to create a working process of disk to tape as I have many original tapes some of which don’t load anymore.
Another issue is there is a pin missing from the joystick plug so sadly it needs a new plug. A way forward maybe to get a joystick adapter which converts from a plus 4 to a atari 9pin D type socket and then chop the end off the joystick cable and reattach a atari plug.
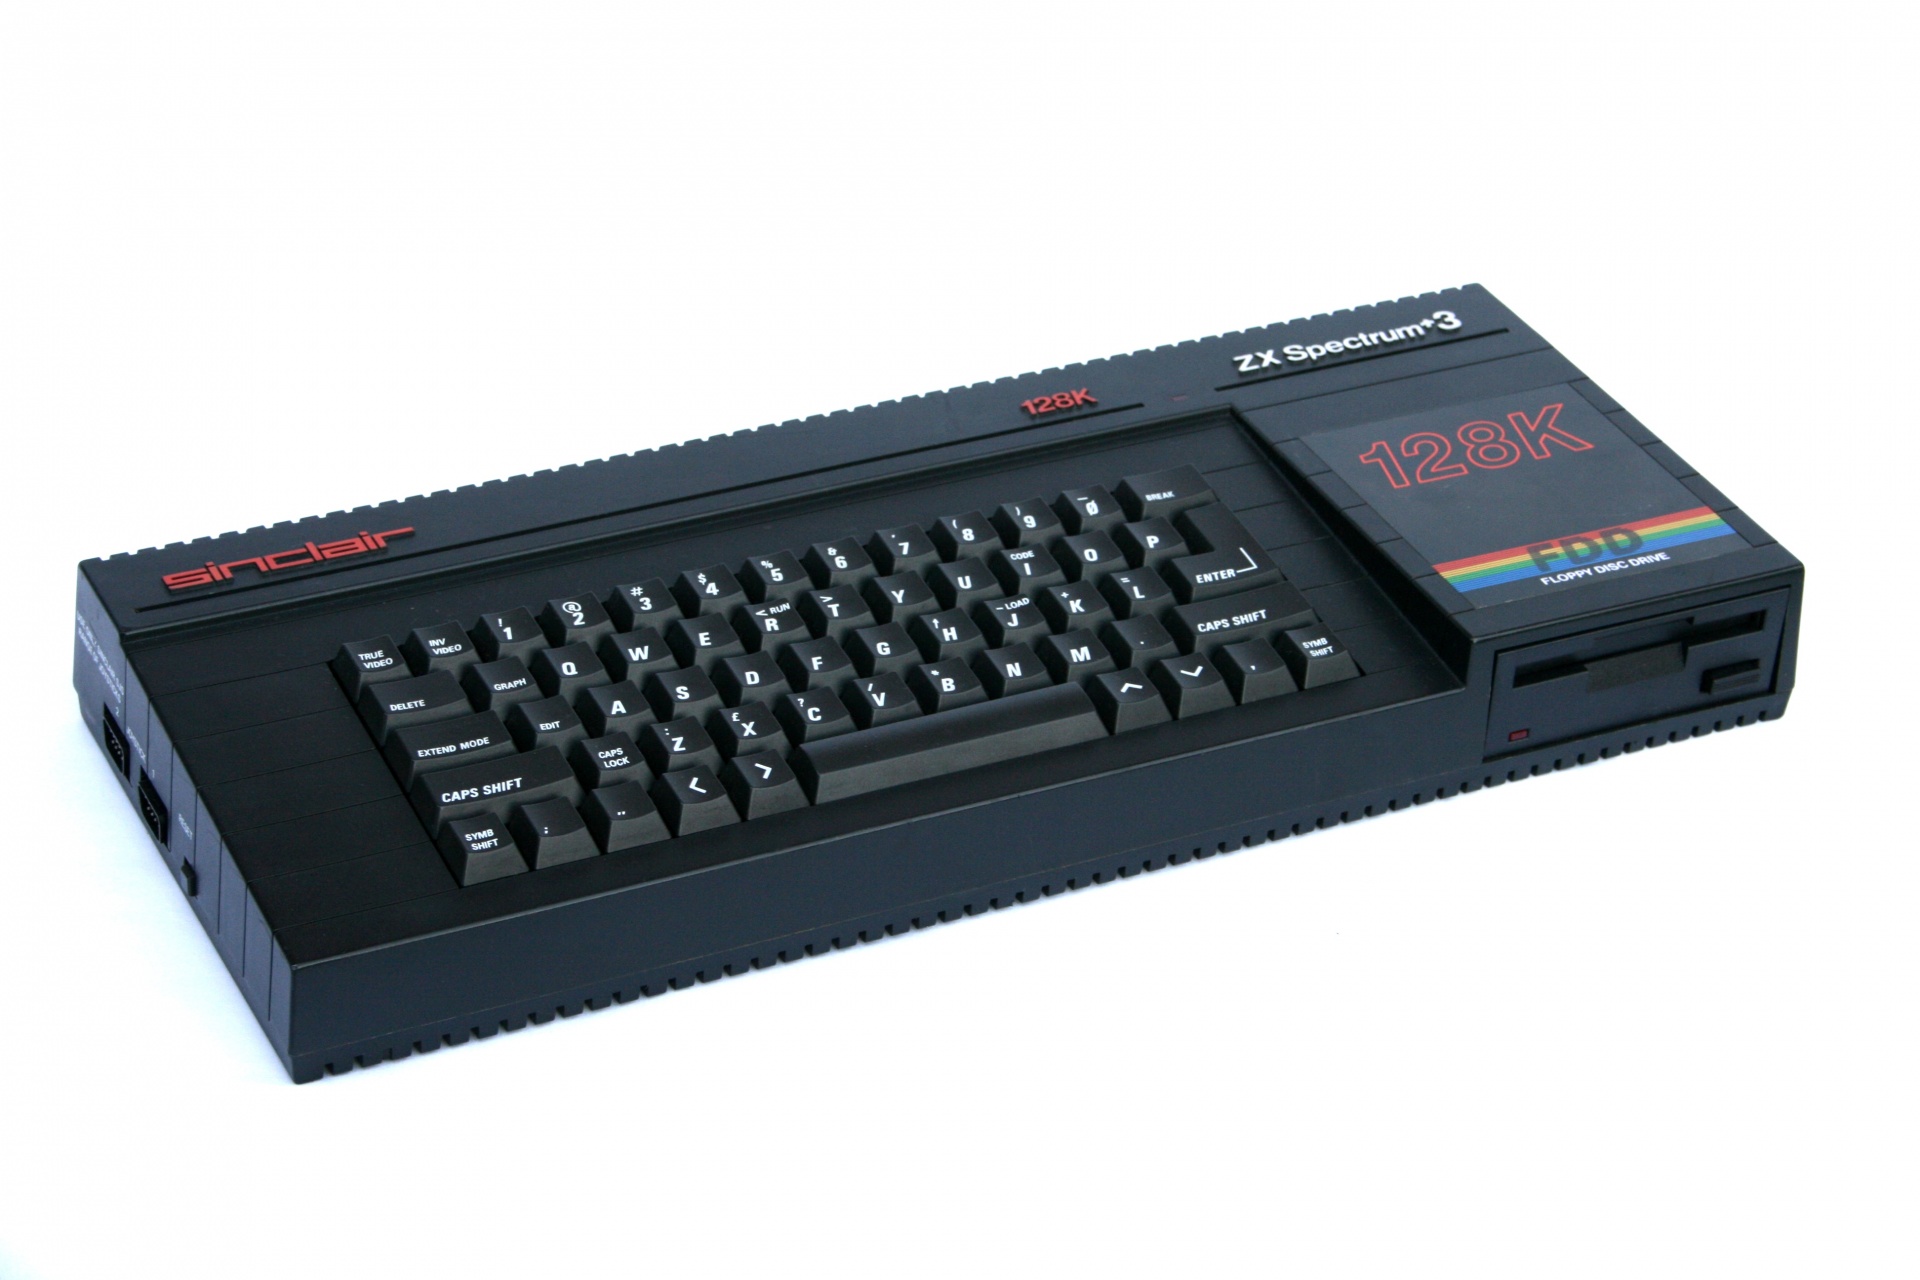
Finally, I’m going to load that Spectrum Centipede tape.
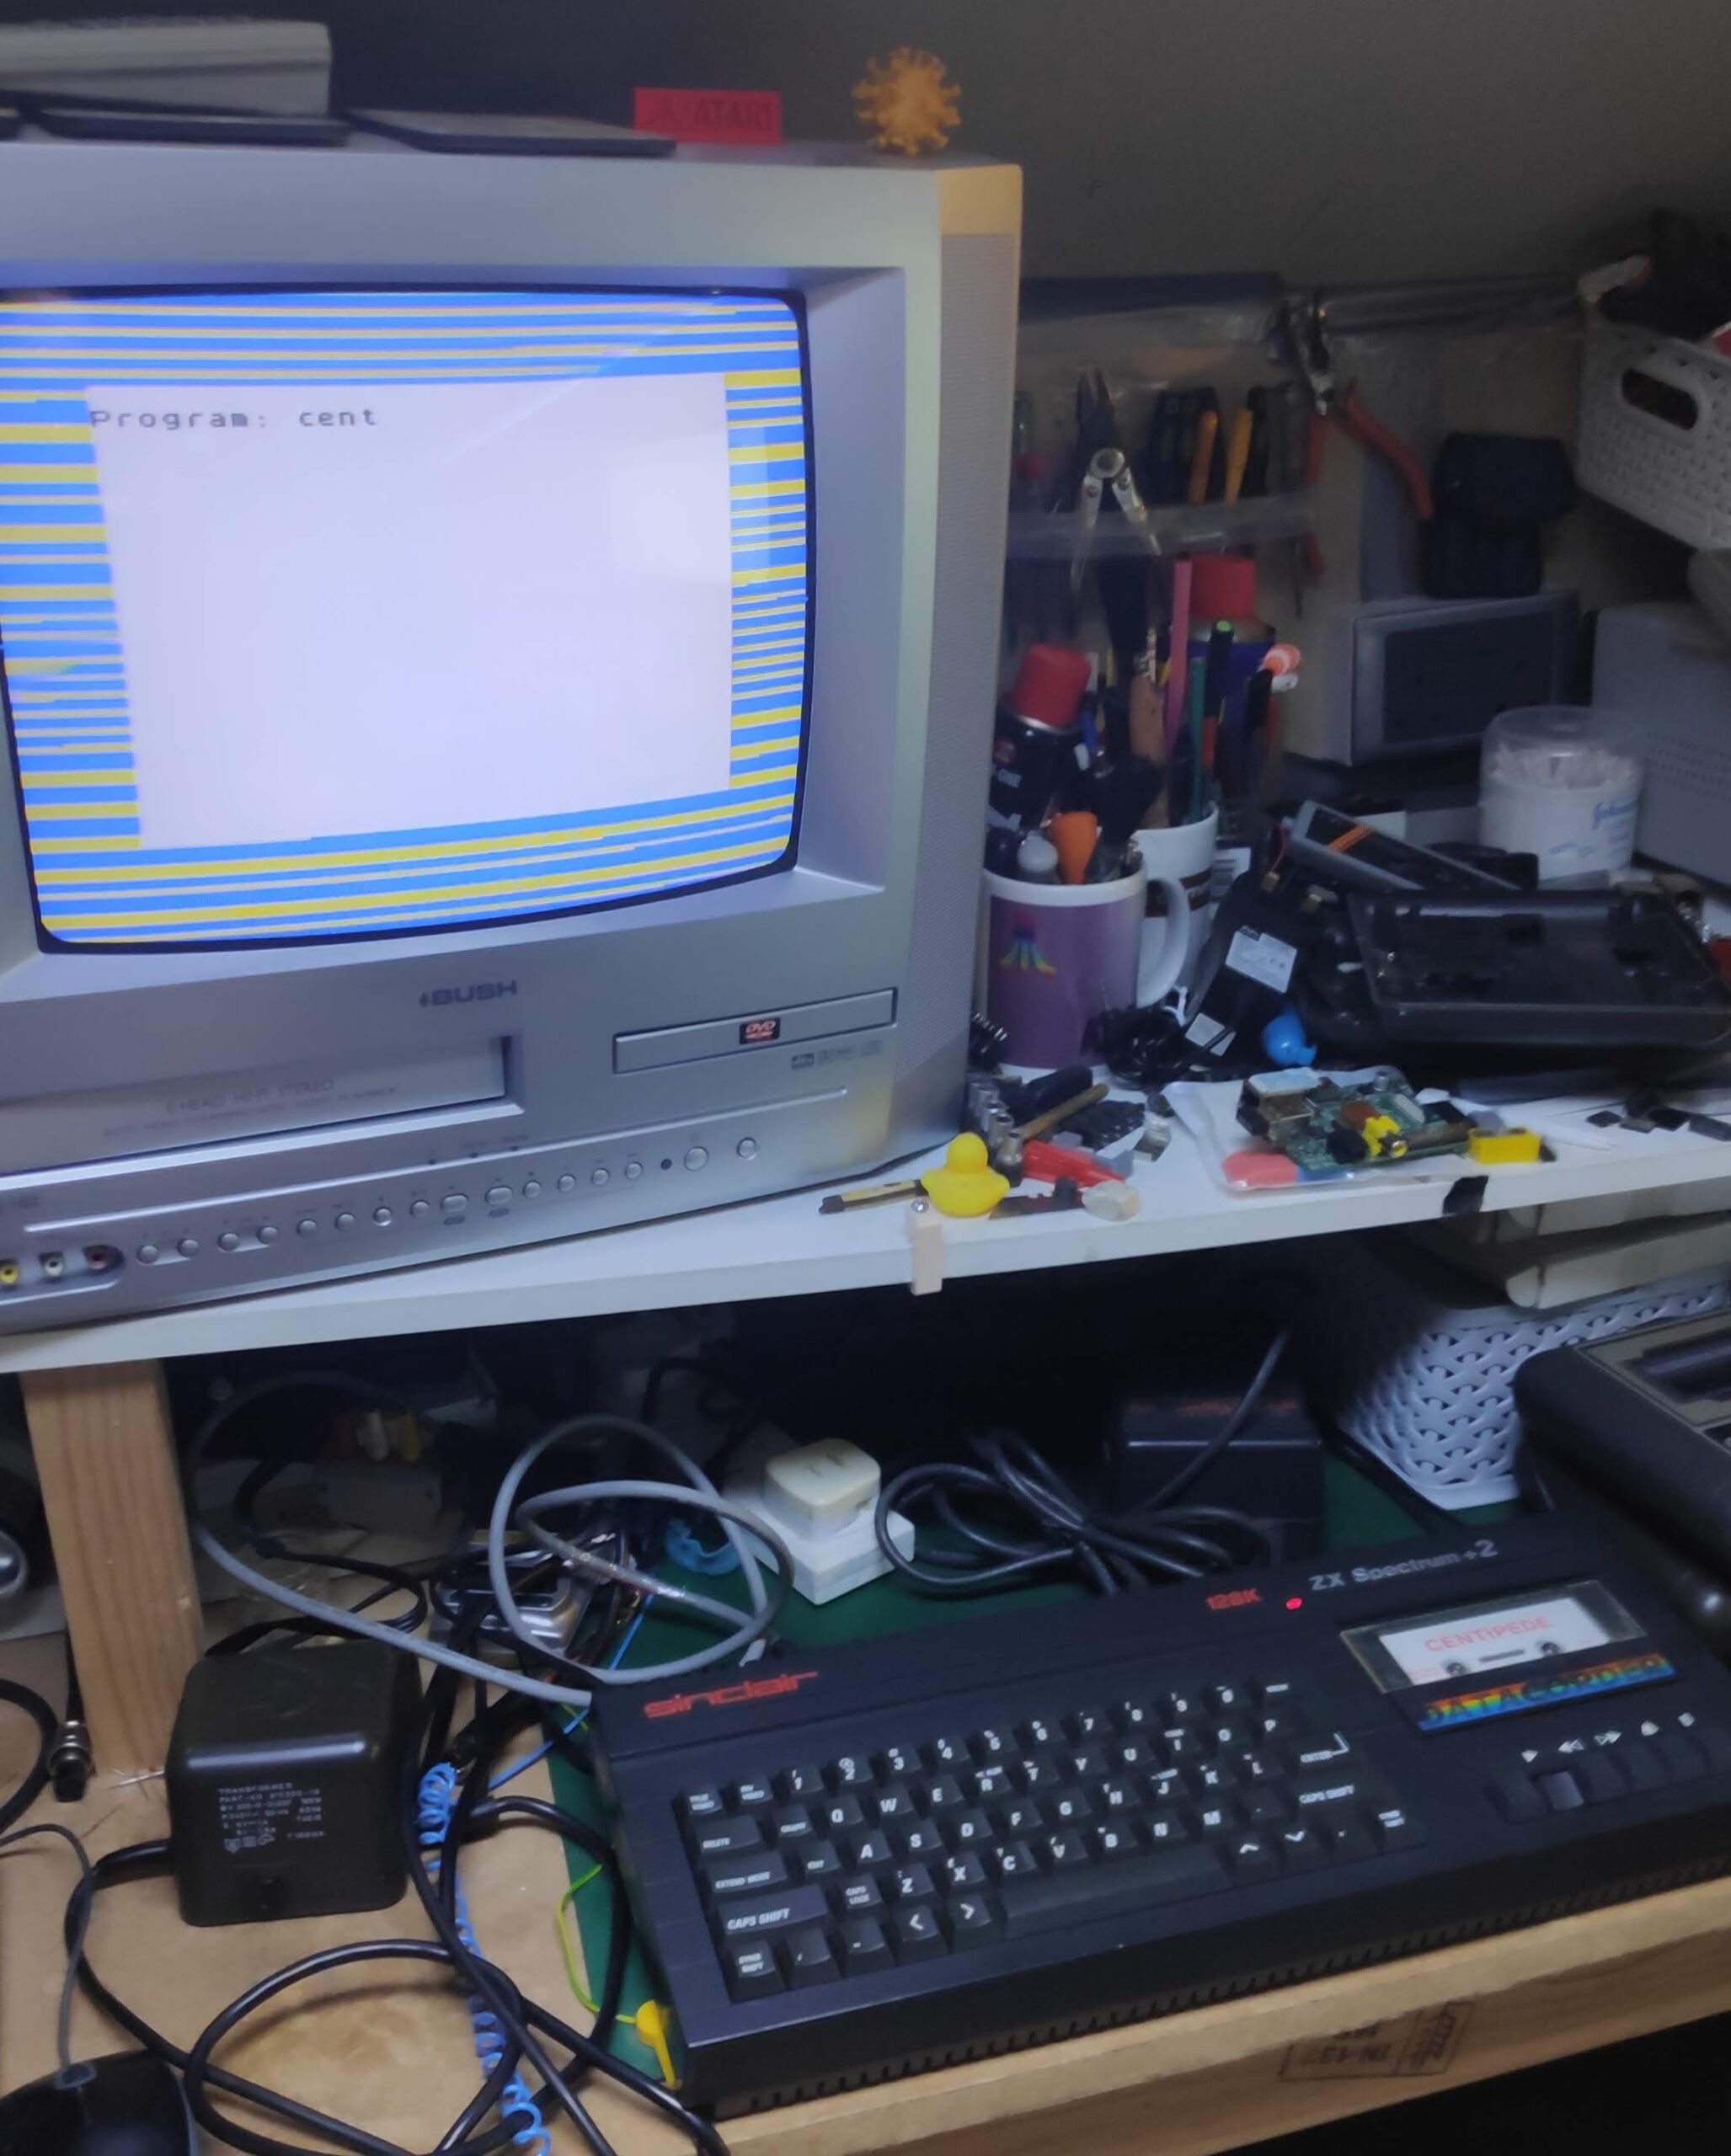
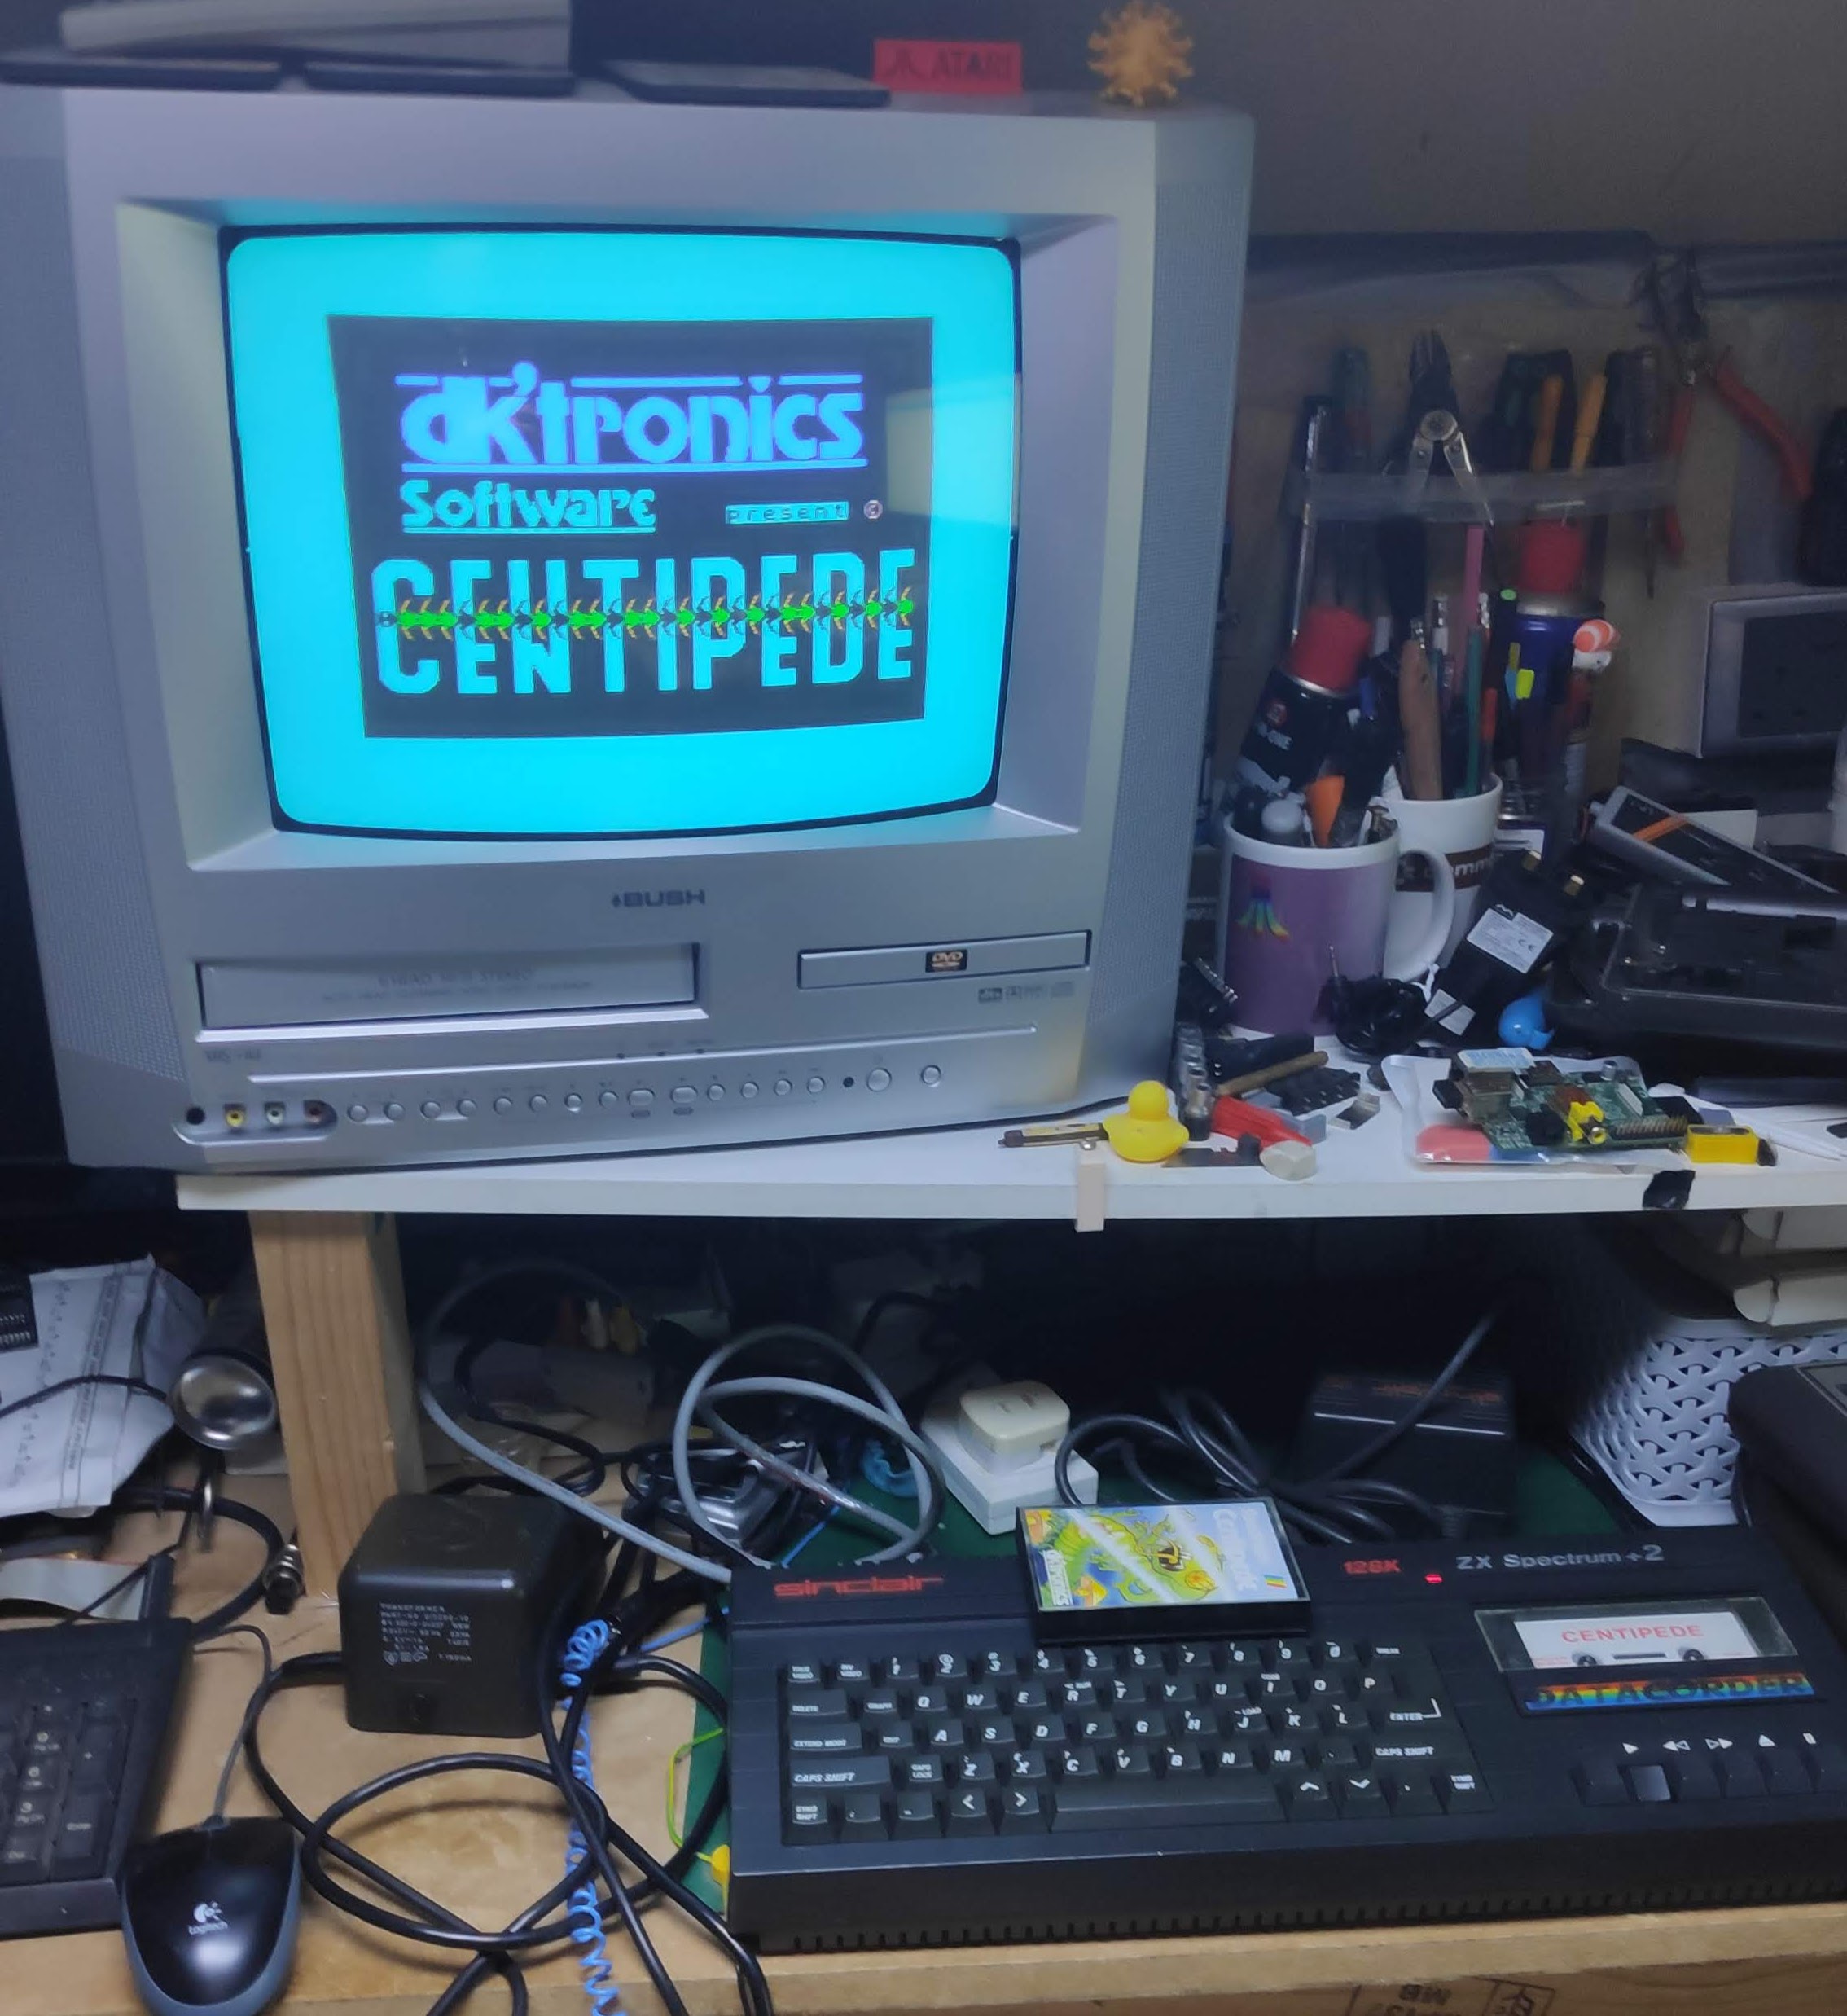
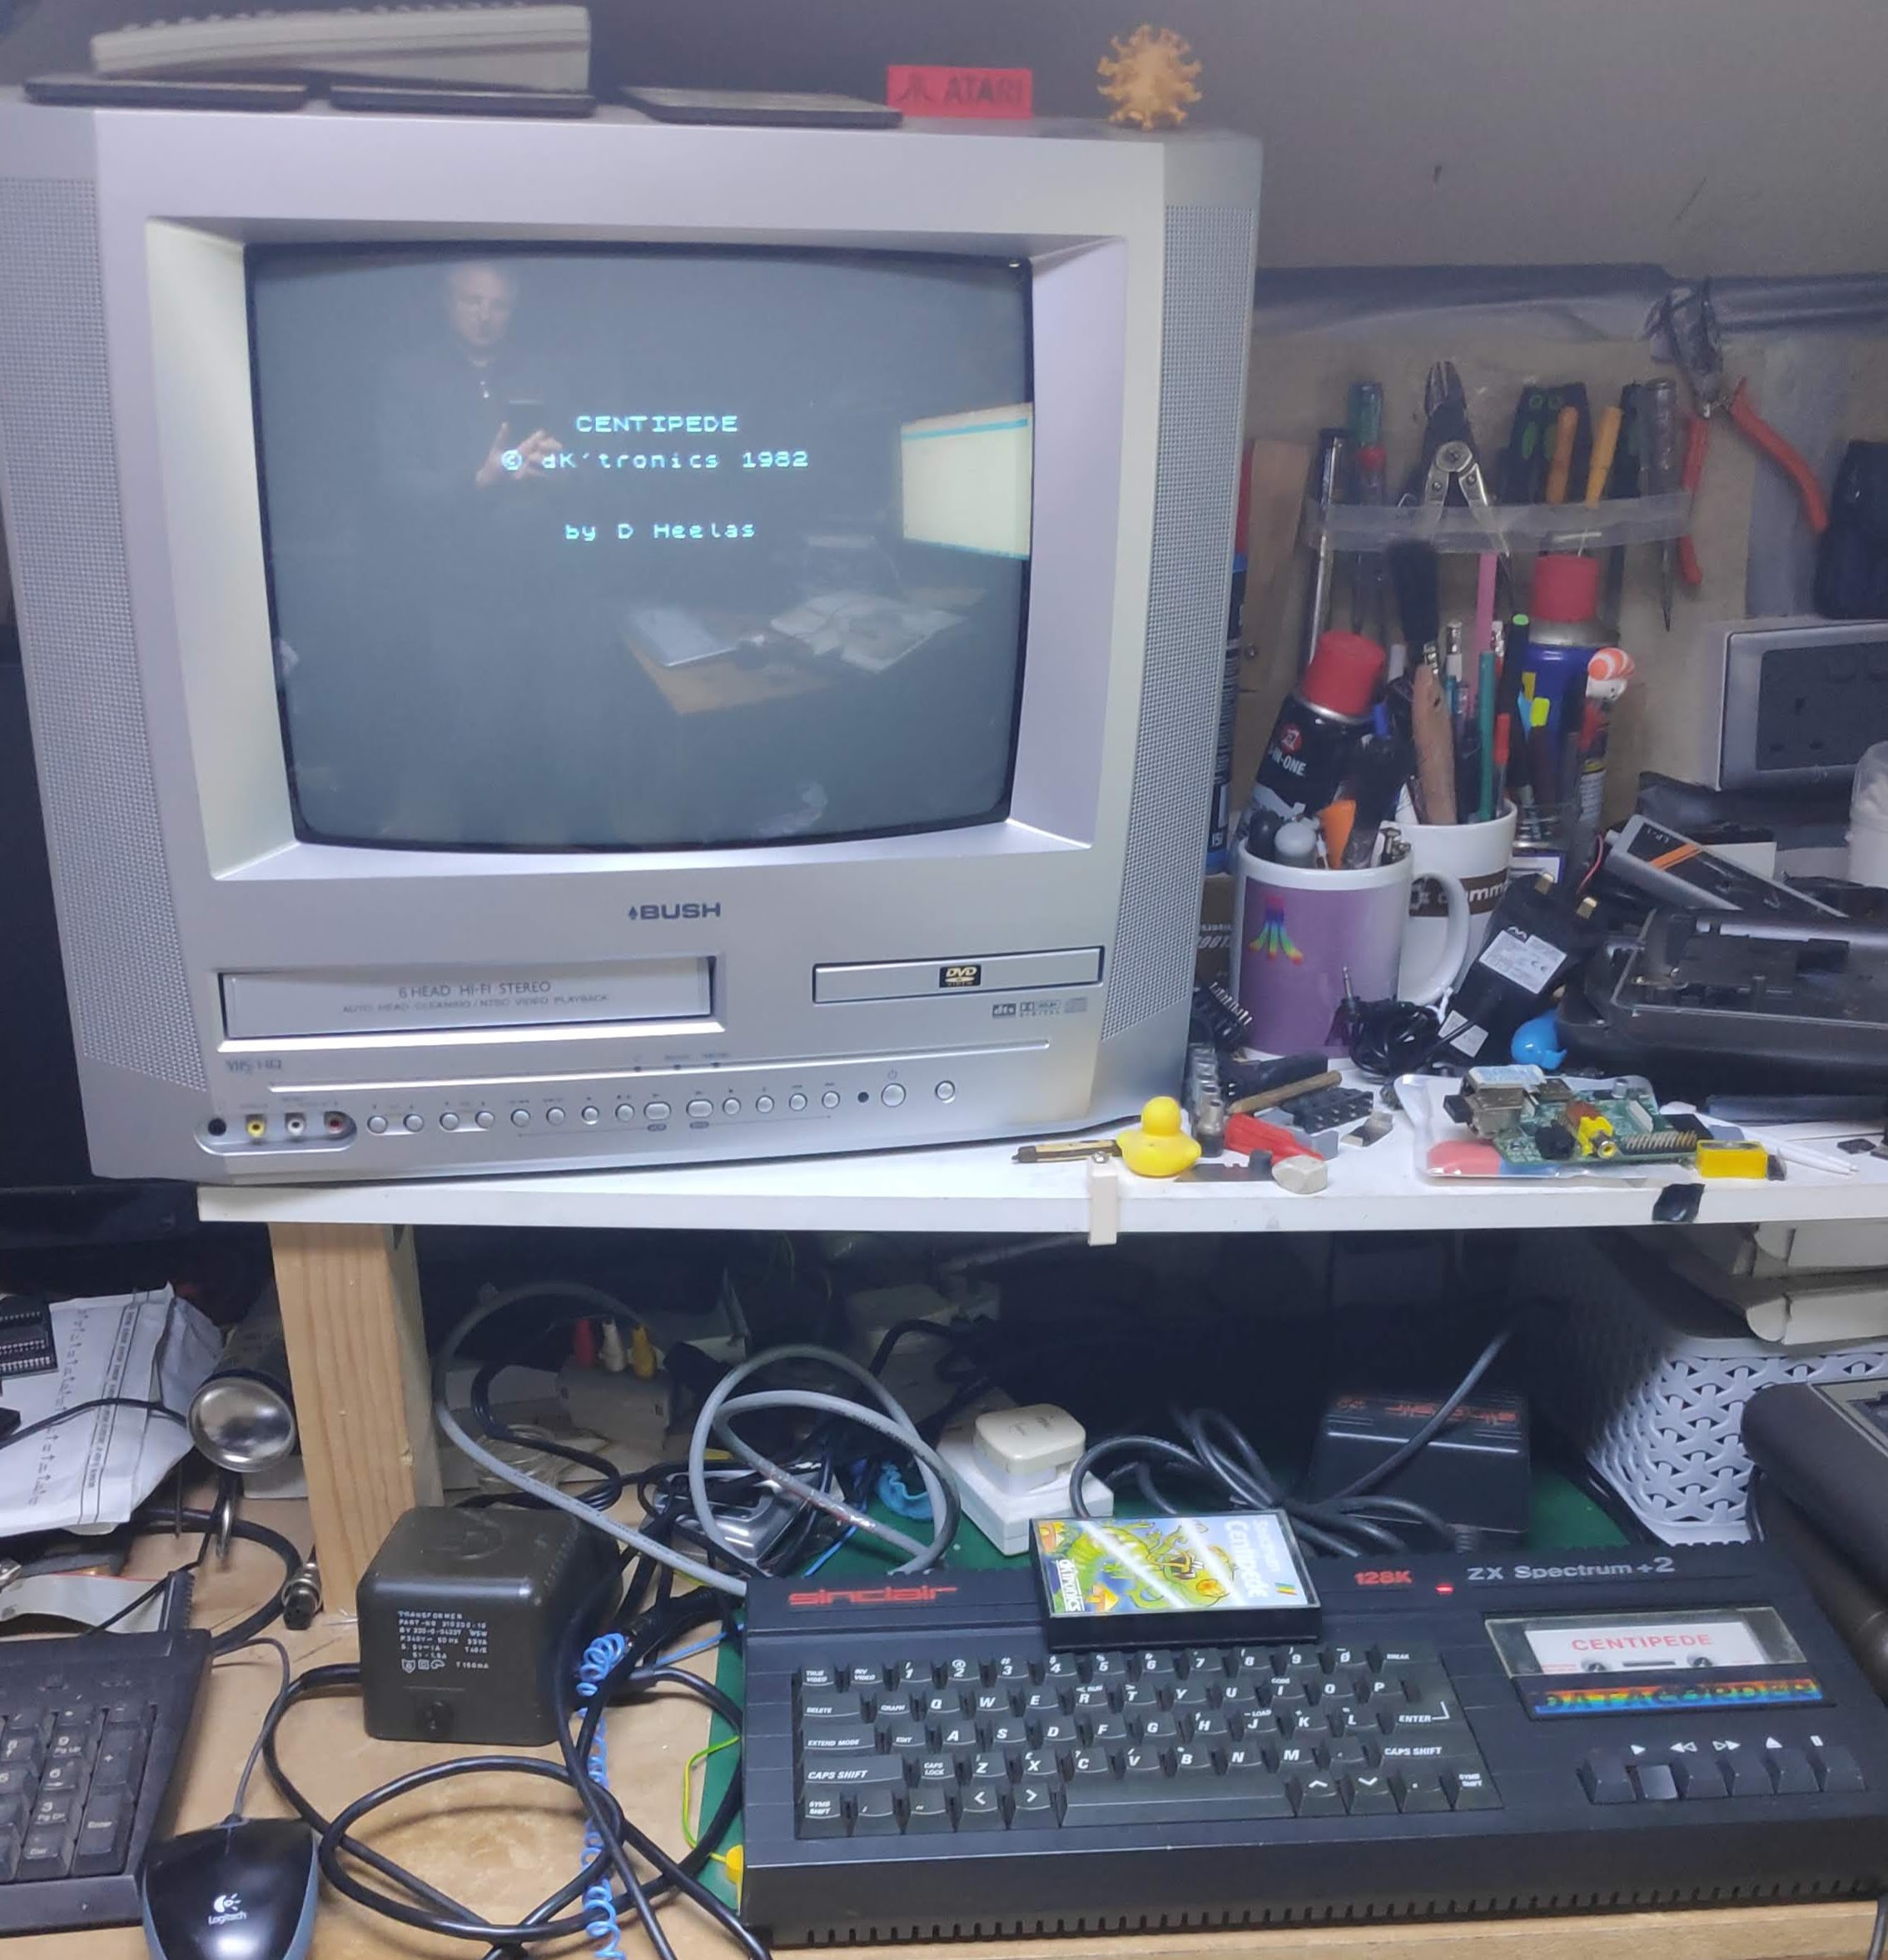
It loaded first time. Its quite addictive and like most games from the 80’s it is hard. Got back into though but had a busy day ahead so could only spare a few minutes.


