

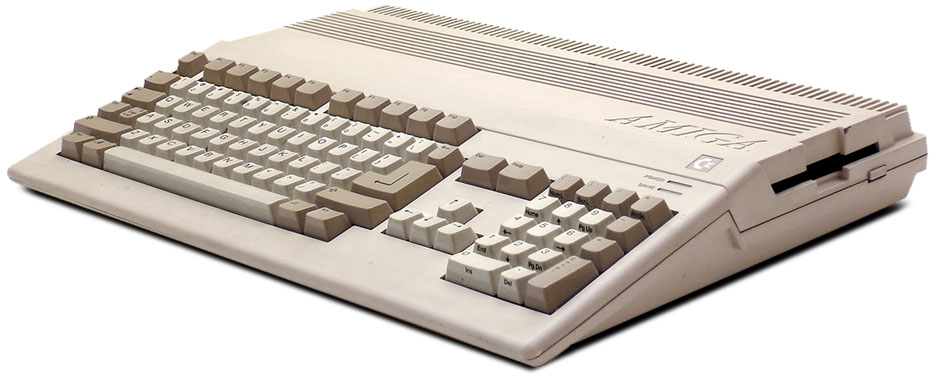


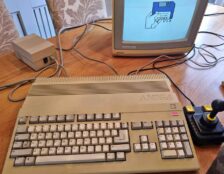


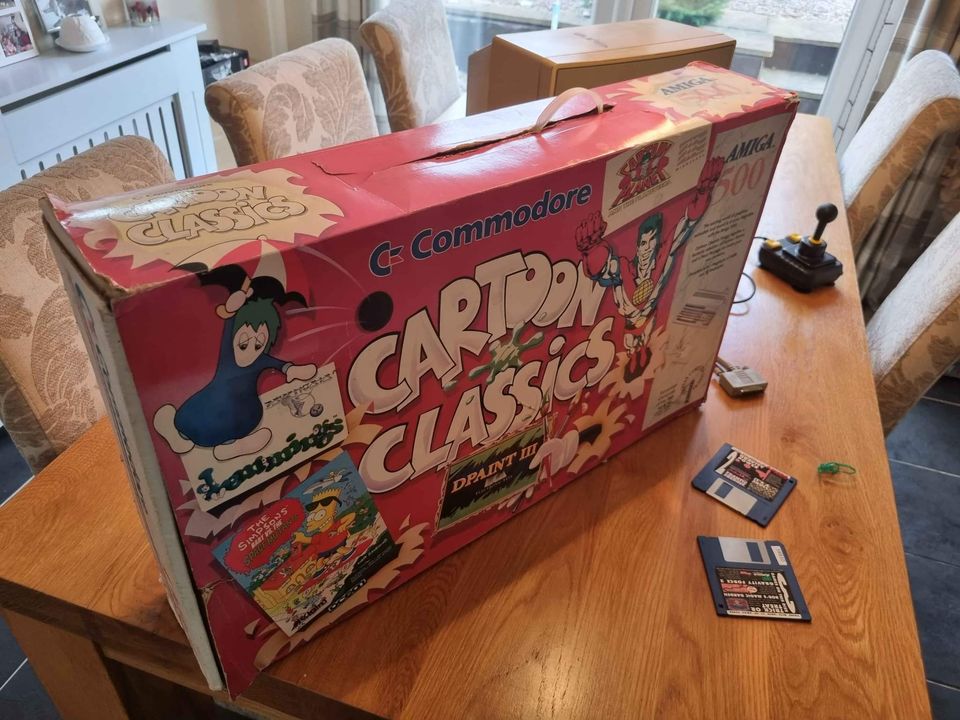
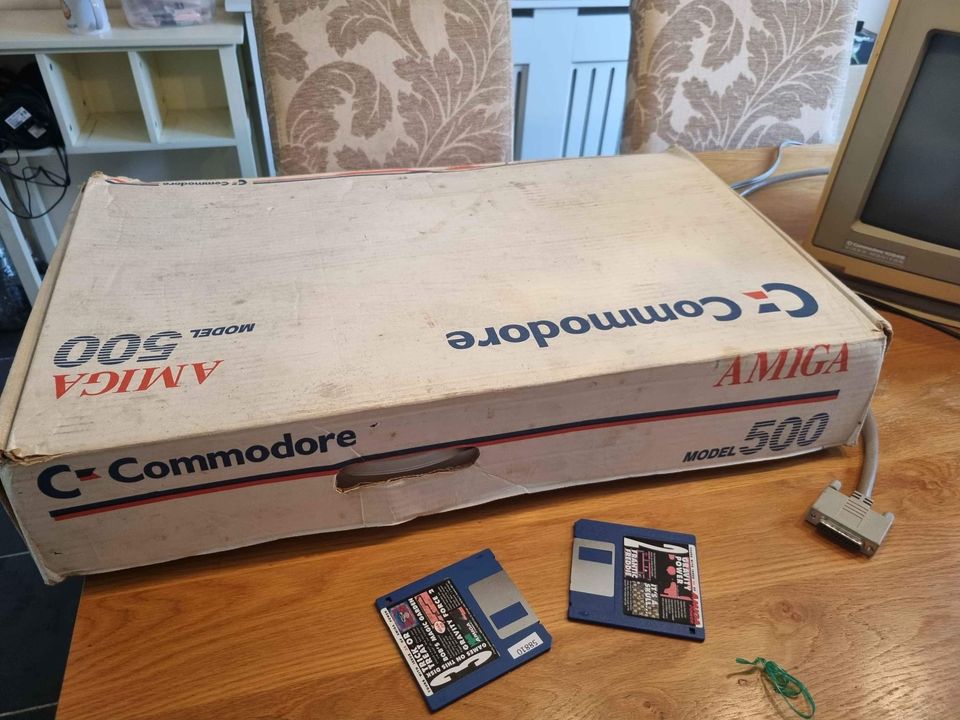
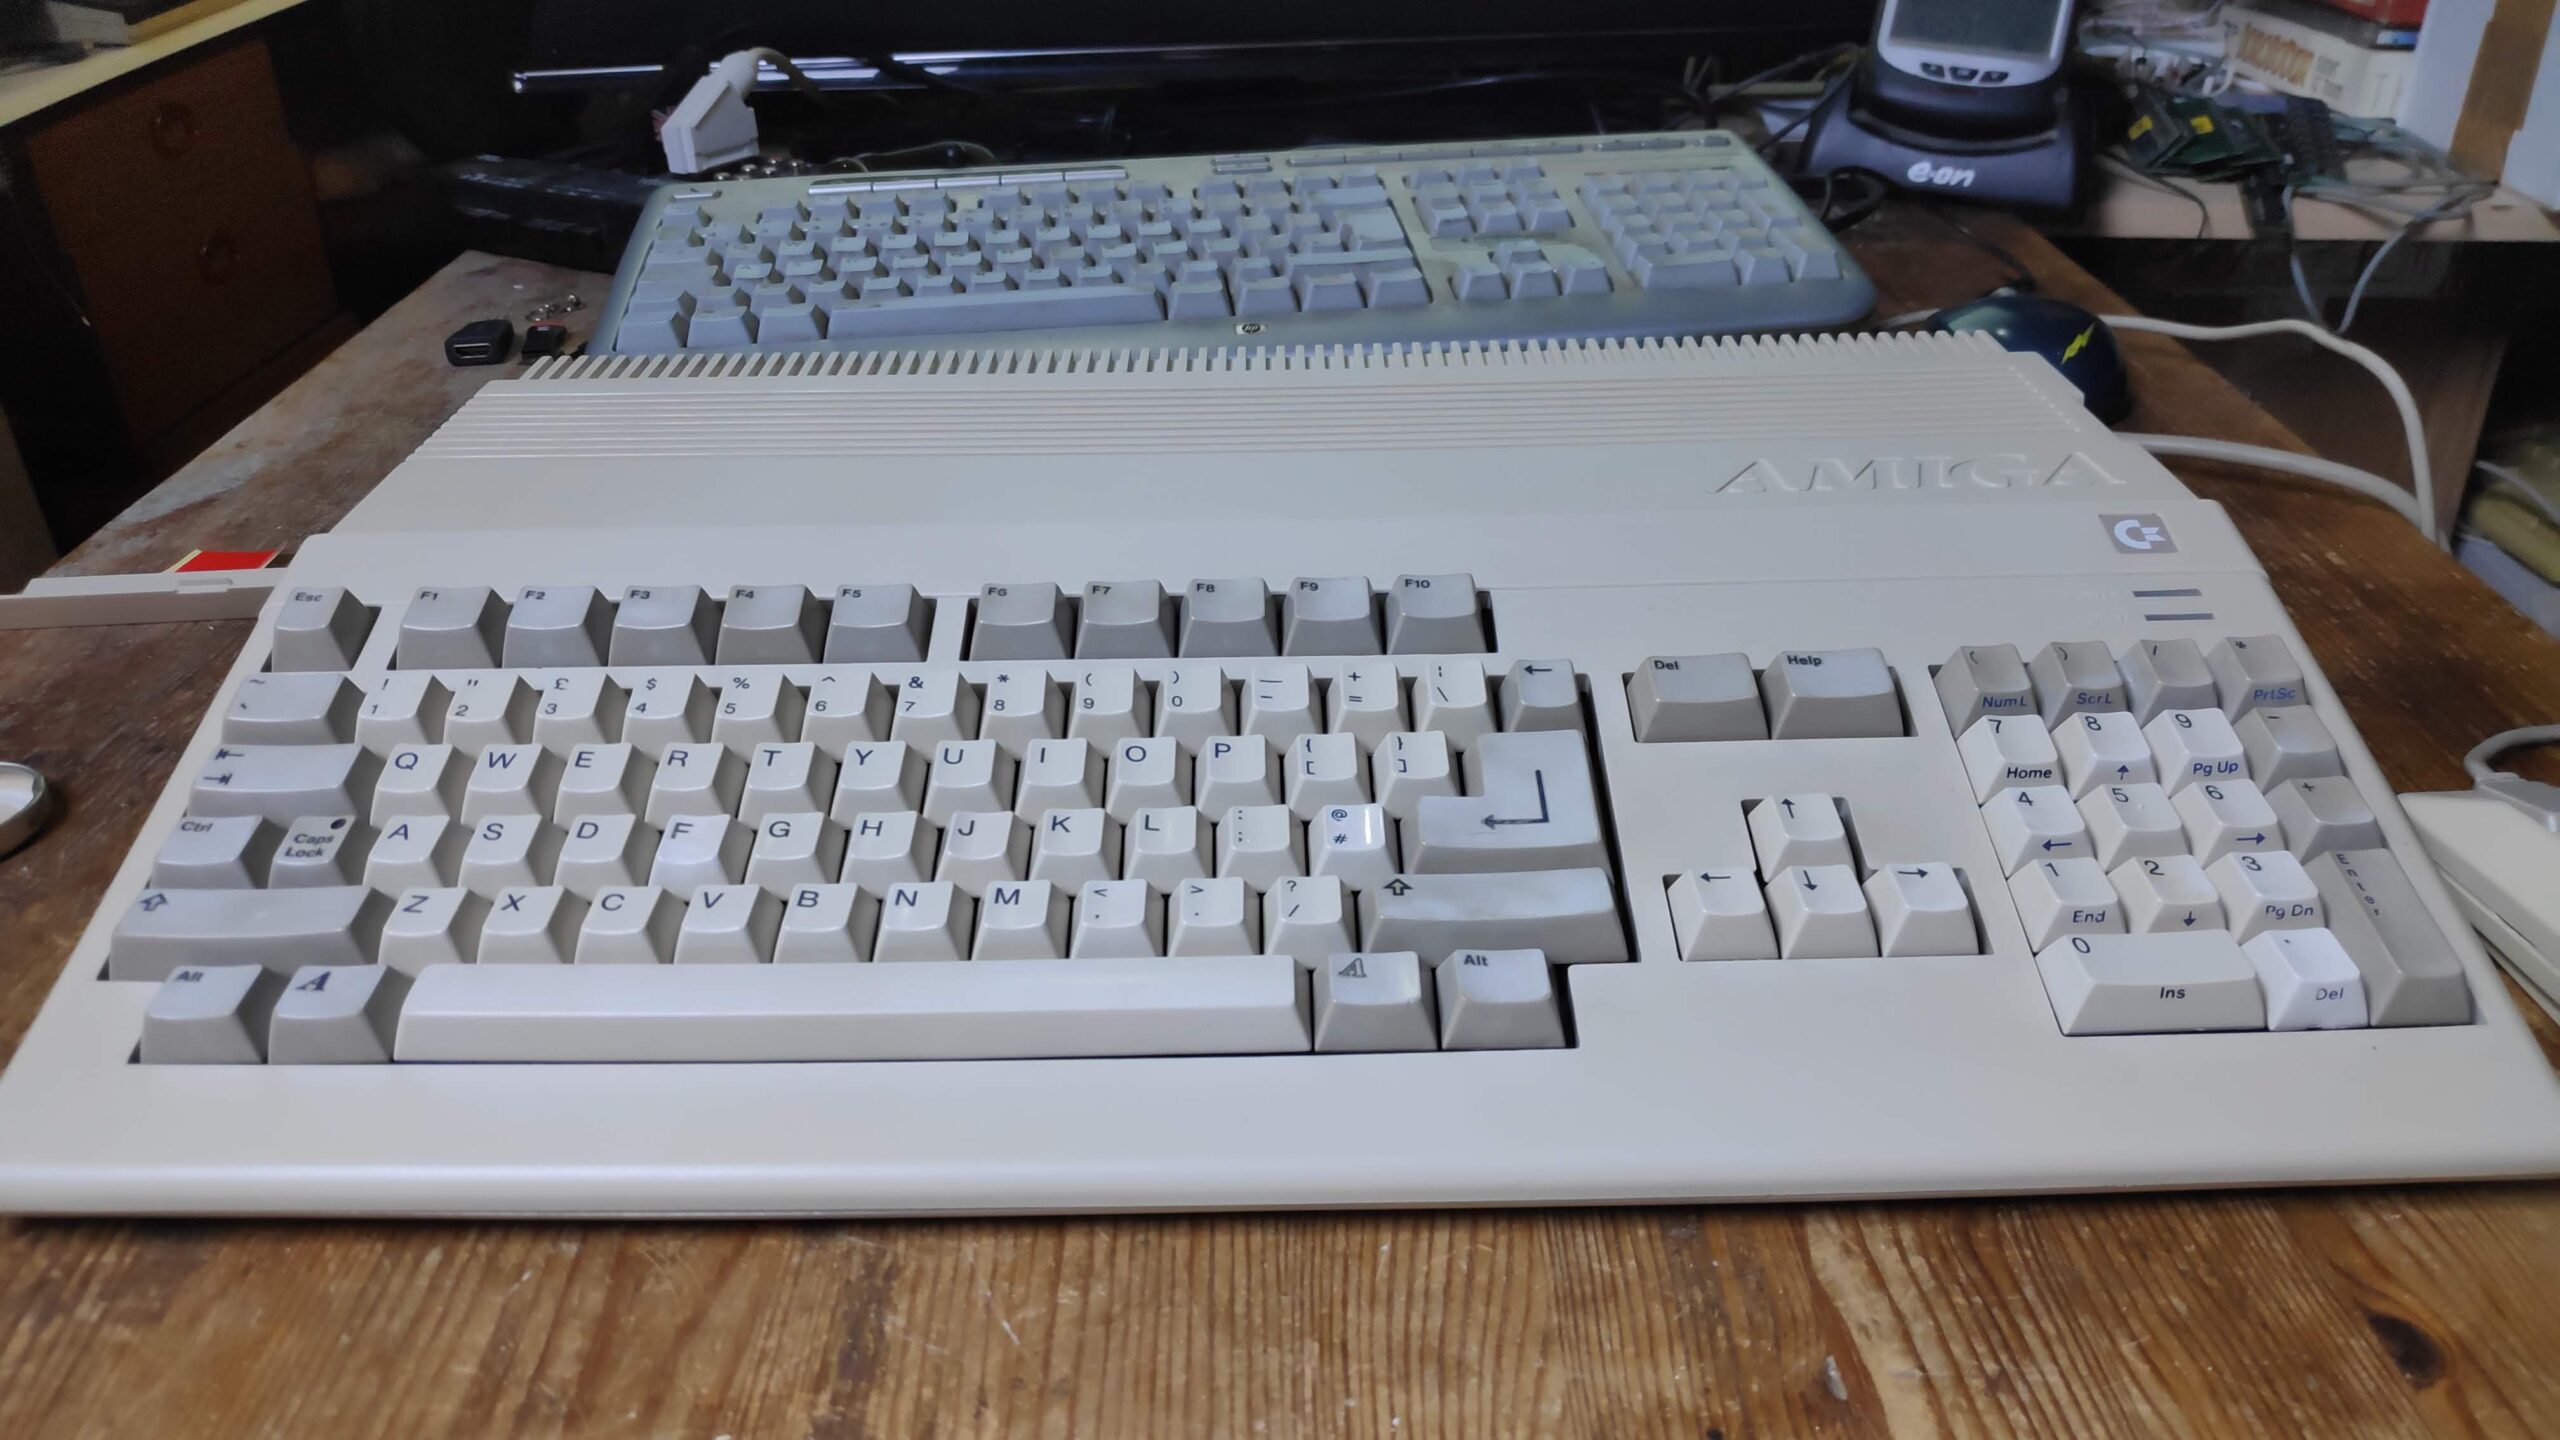
I spotted this on Facebook Marketplace and thought it would be a interesting restoration project. This Amiga 500 and Monitor Renovation writeup will be written as its done.
|

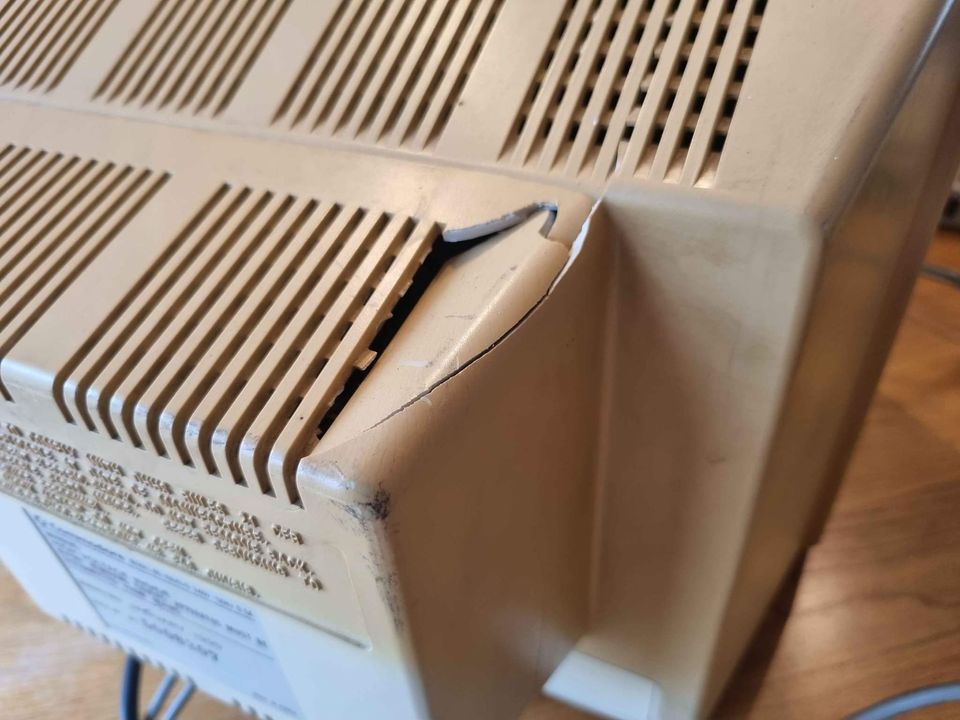
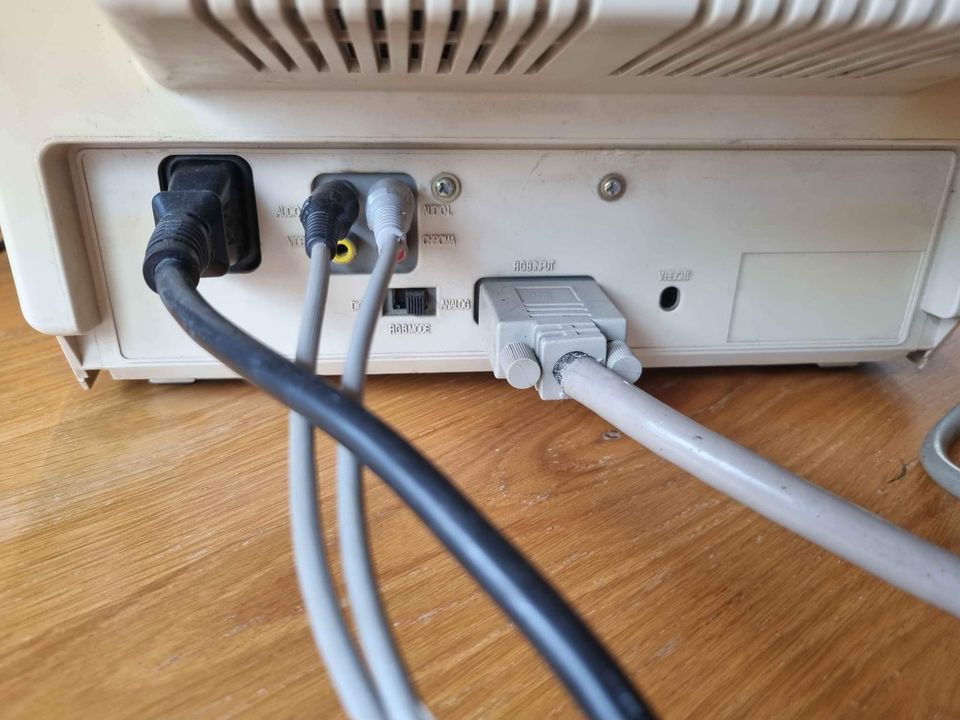

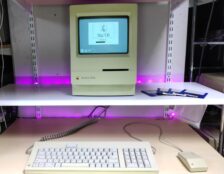
So there are a few cosmetic issues especially on the rear of the monitor.
The Purchase
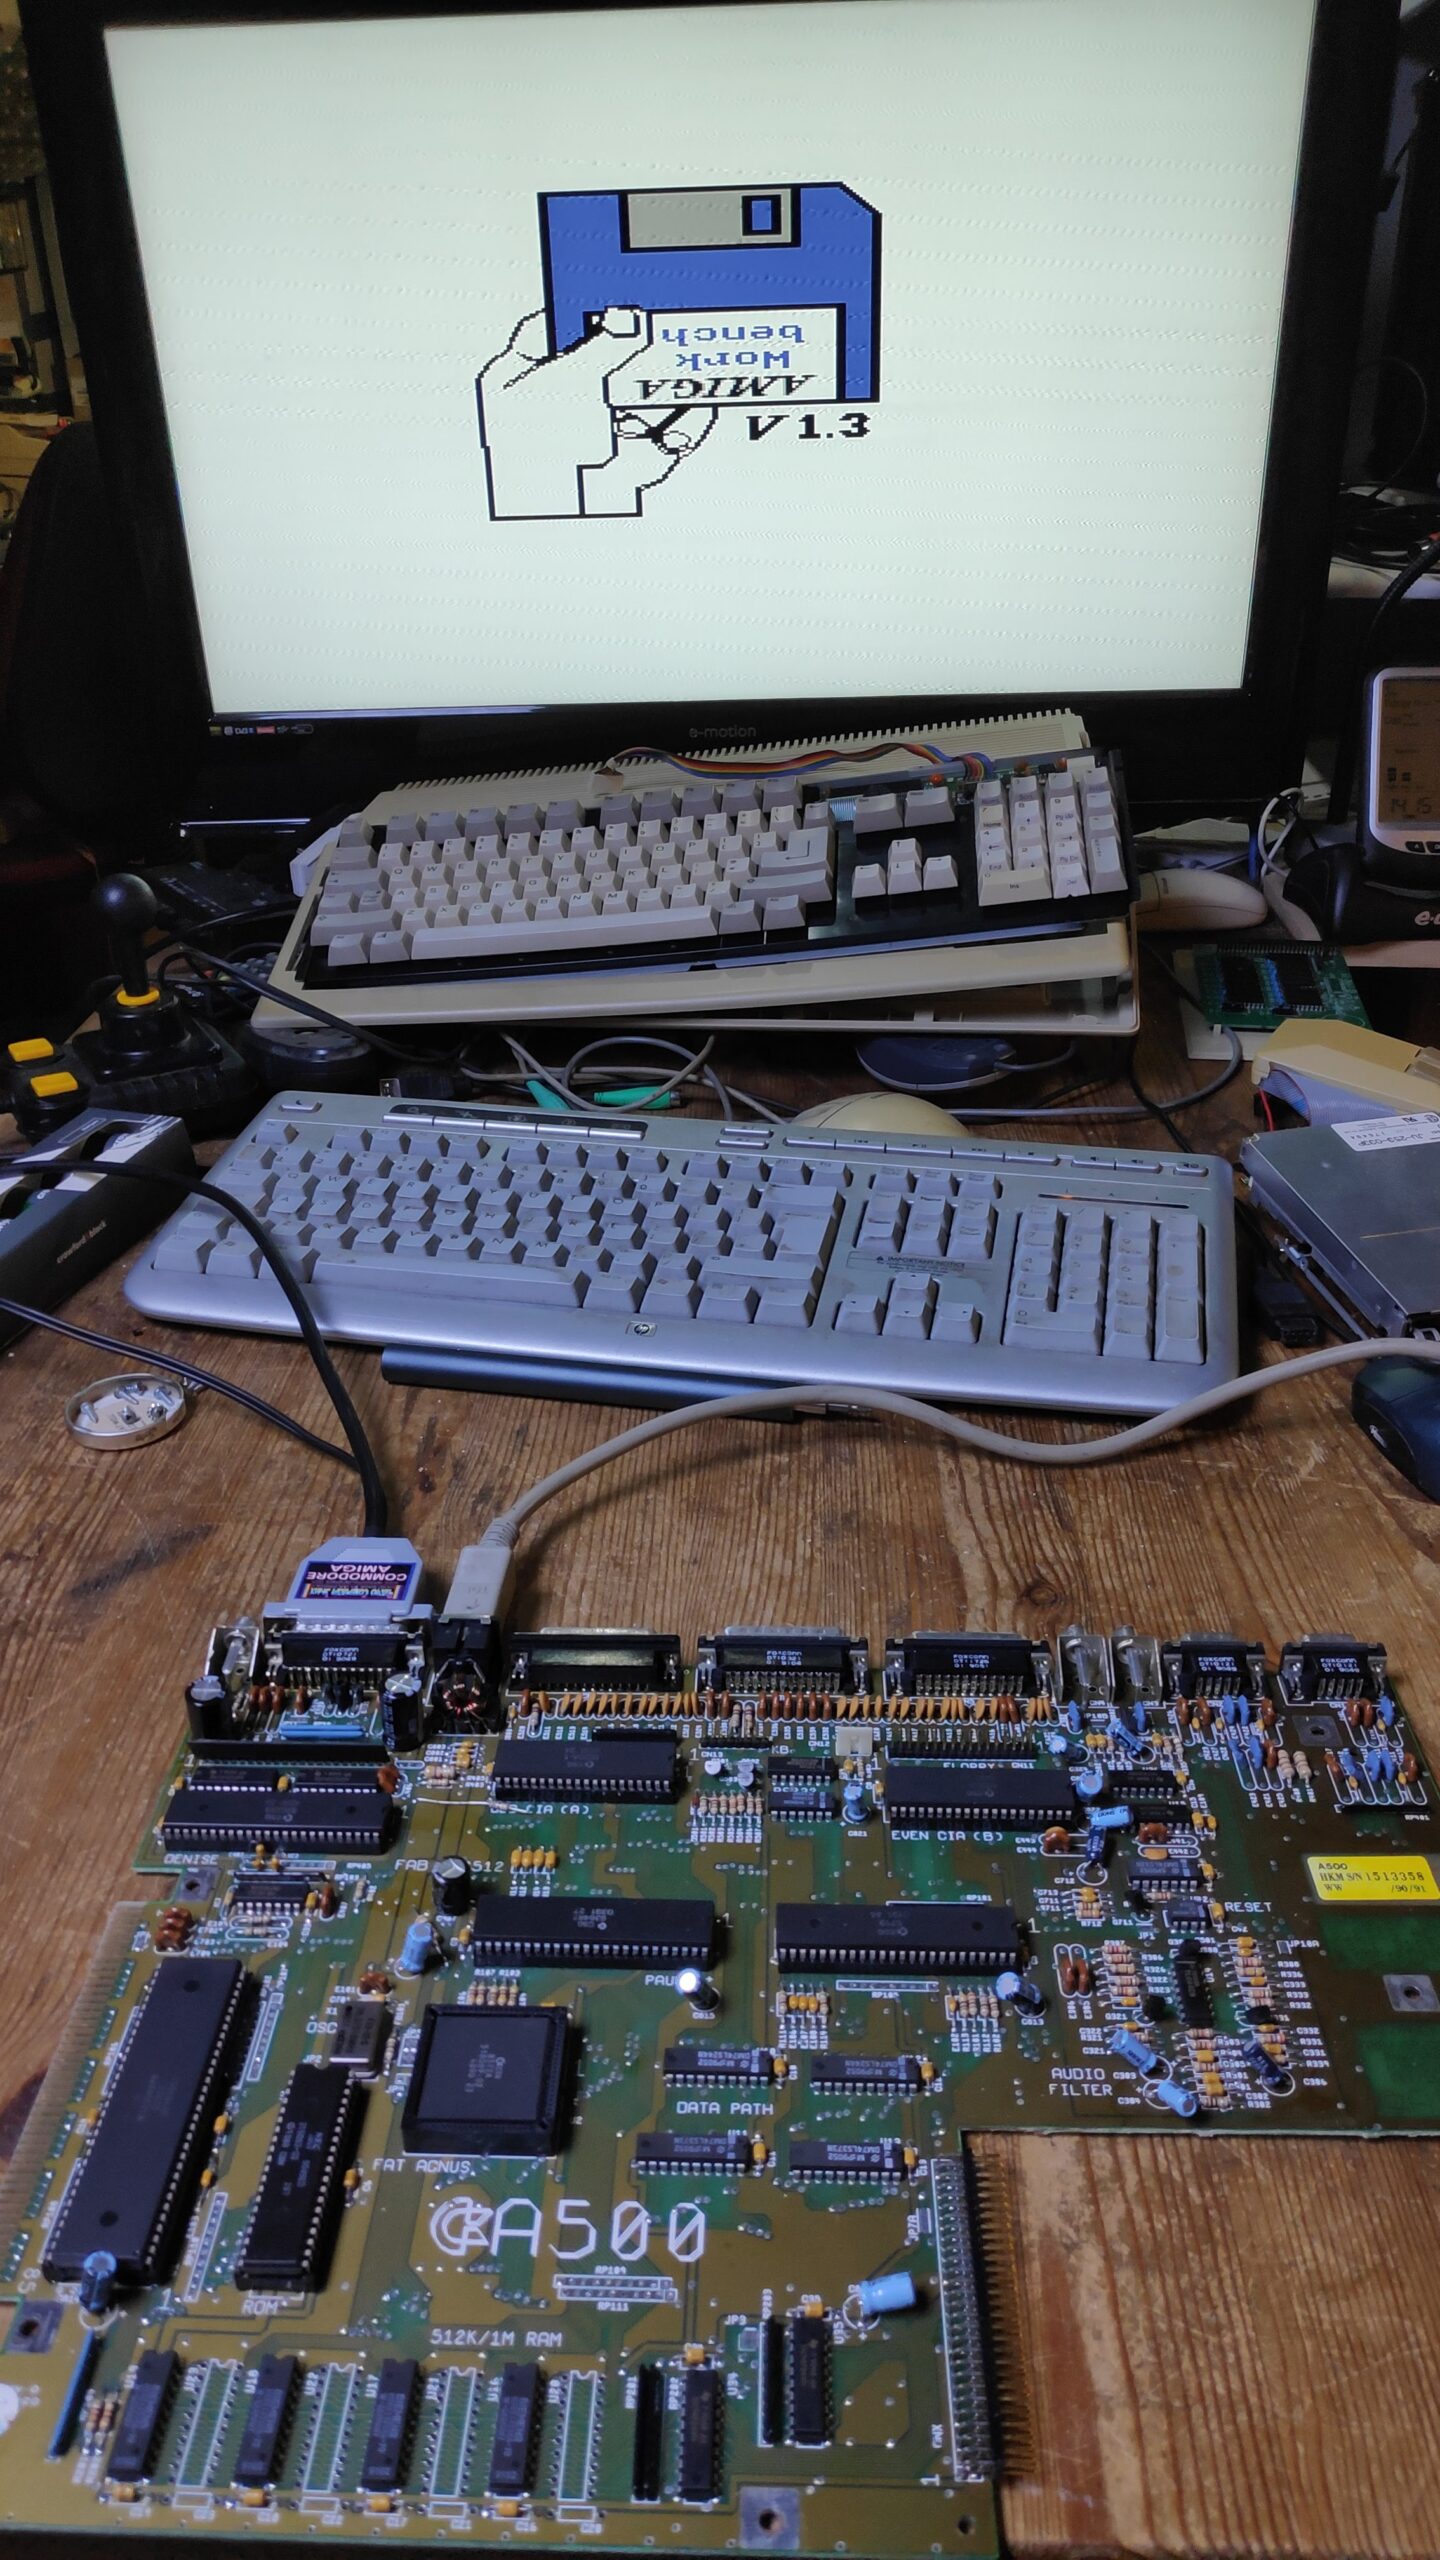
I had a power on test when picking this up. Boot screen came up ok and the colours on the monitor were fine with no crackling noises from the monitor and a game loaded ok. The keyboard made the game change screens and the joystick worked ok.
Let The Fun Begin
I got it home and decided to tackle the monitor case first.
A bit of hot air with a heat gun and some careful manipulation and finally I got the case back into shape.
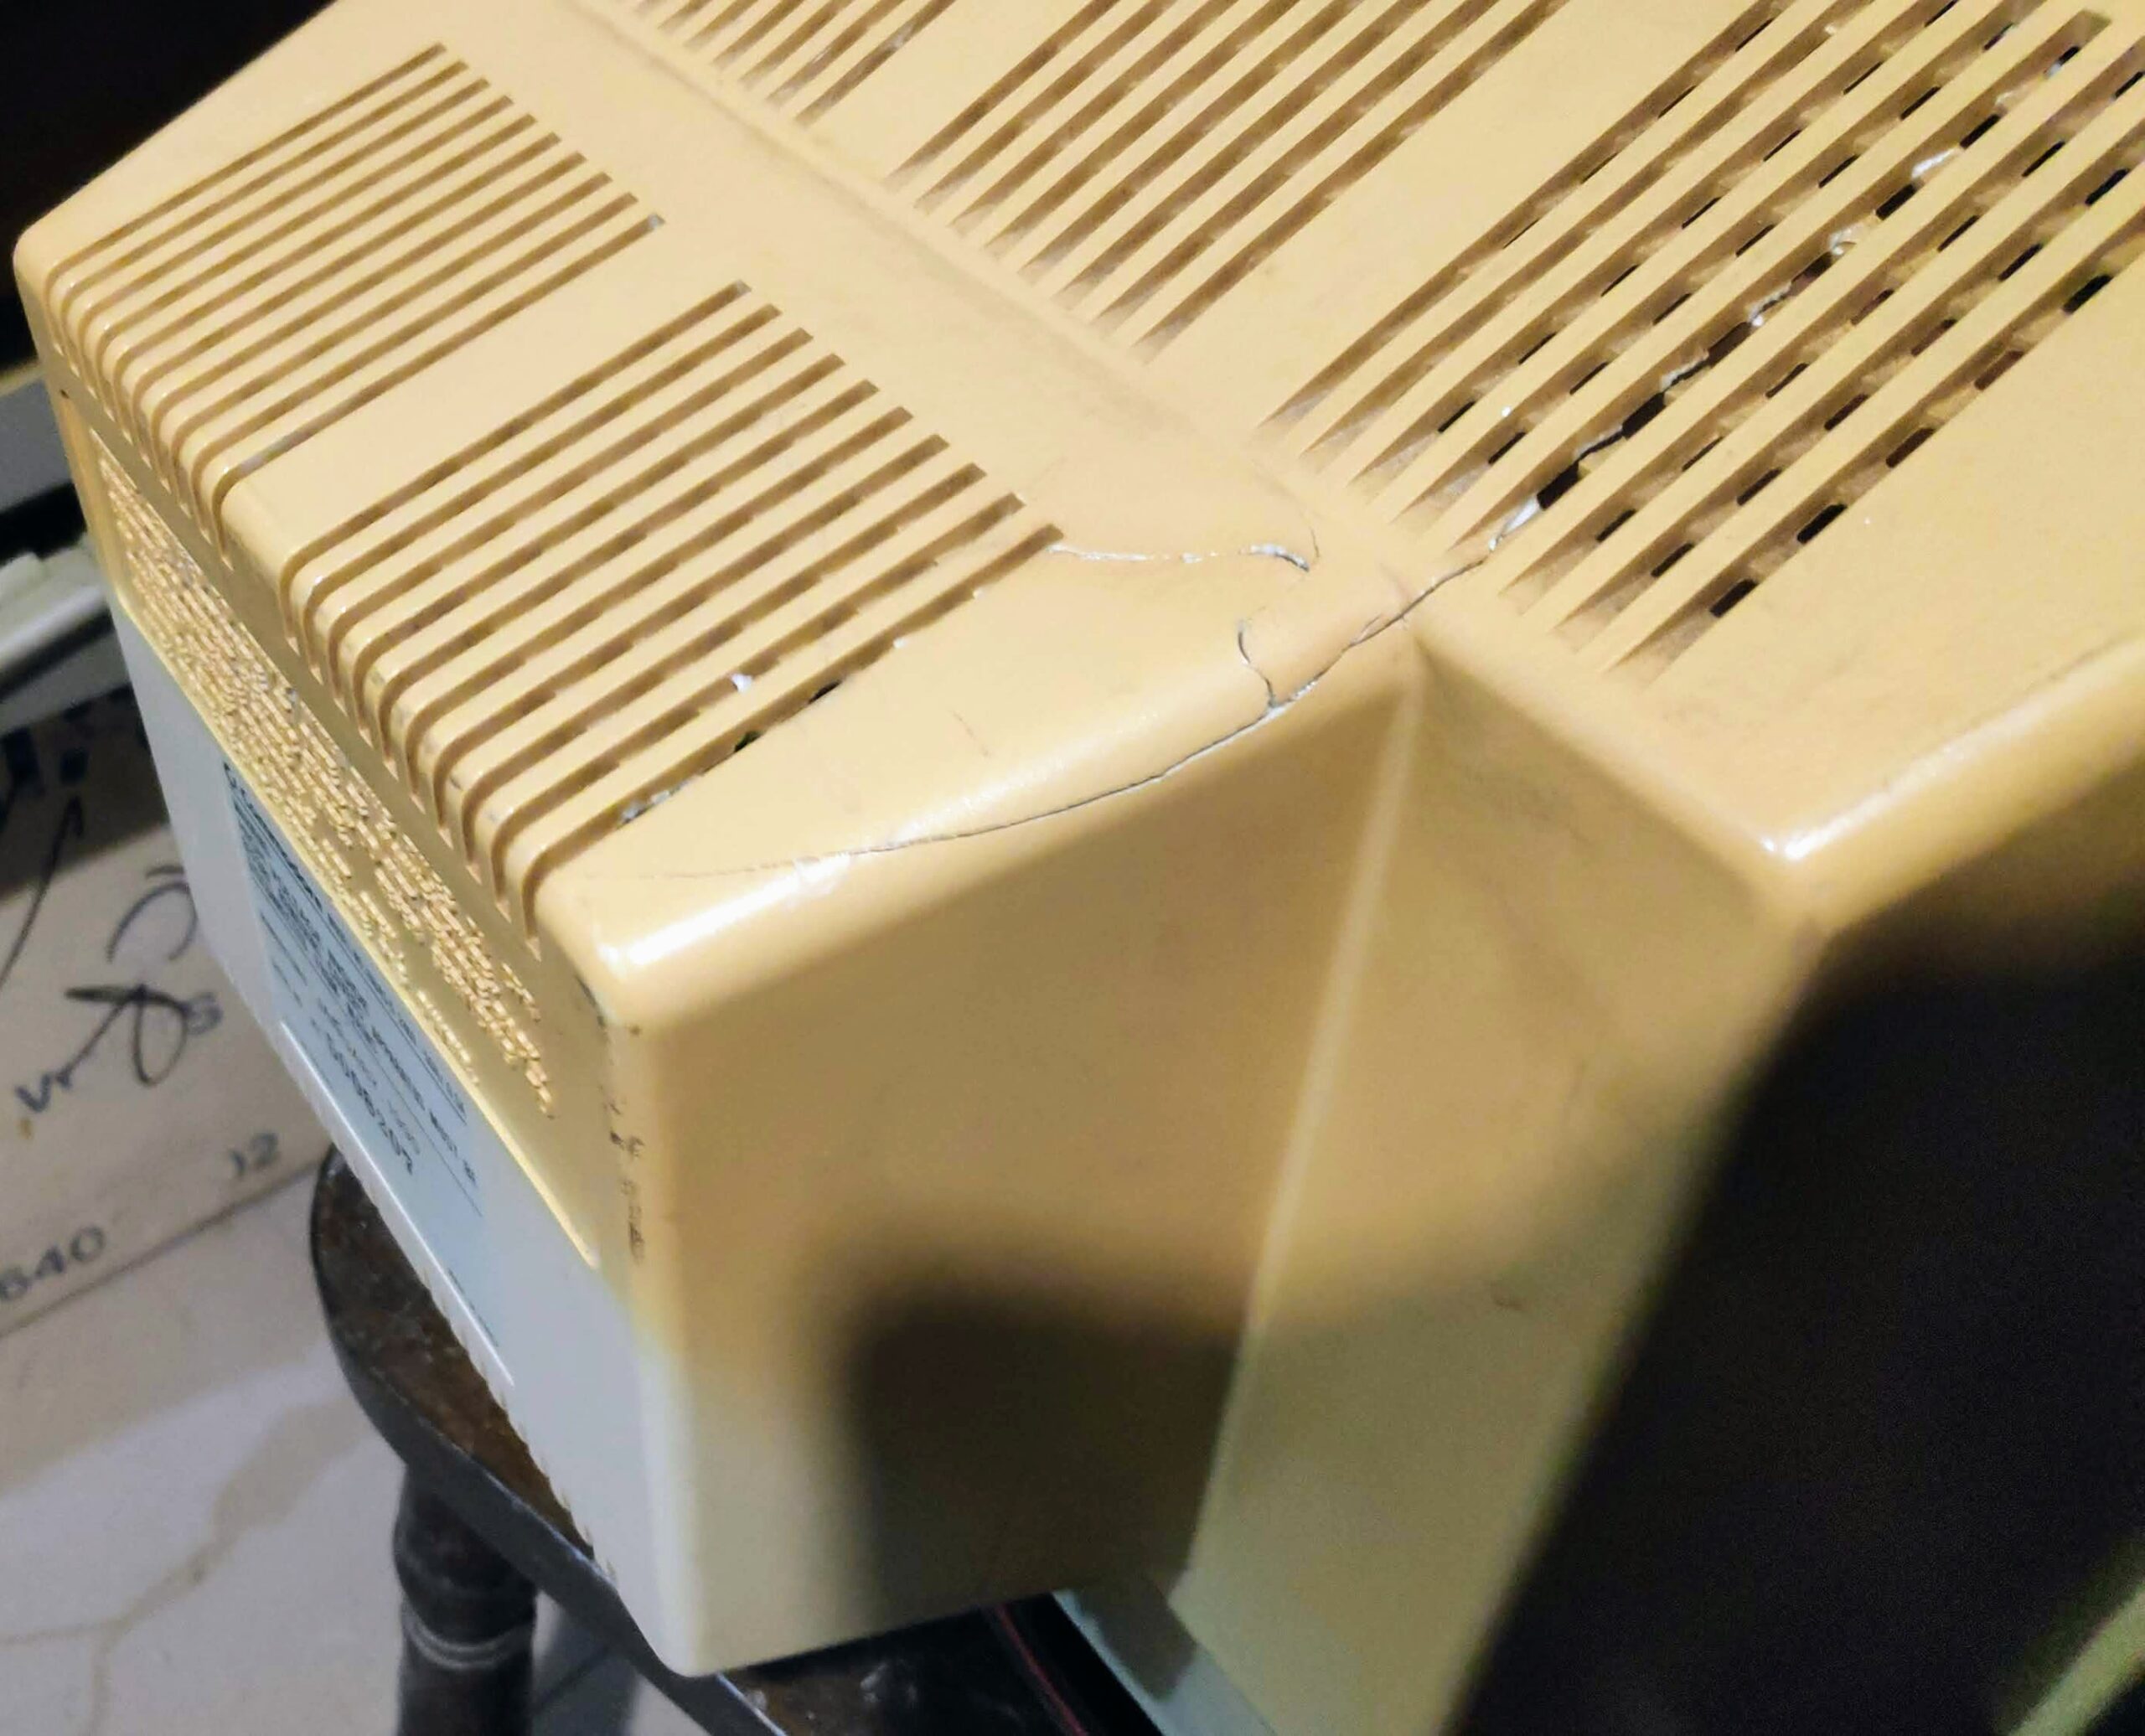
I’ll need to apply some filler to the cracks but I’m happy with the result so far.
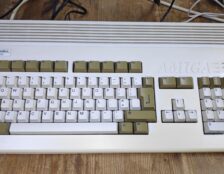
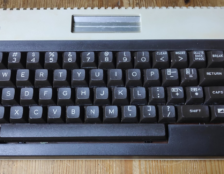
Keyboard
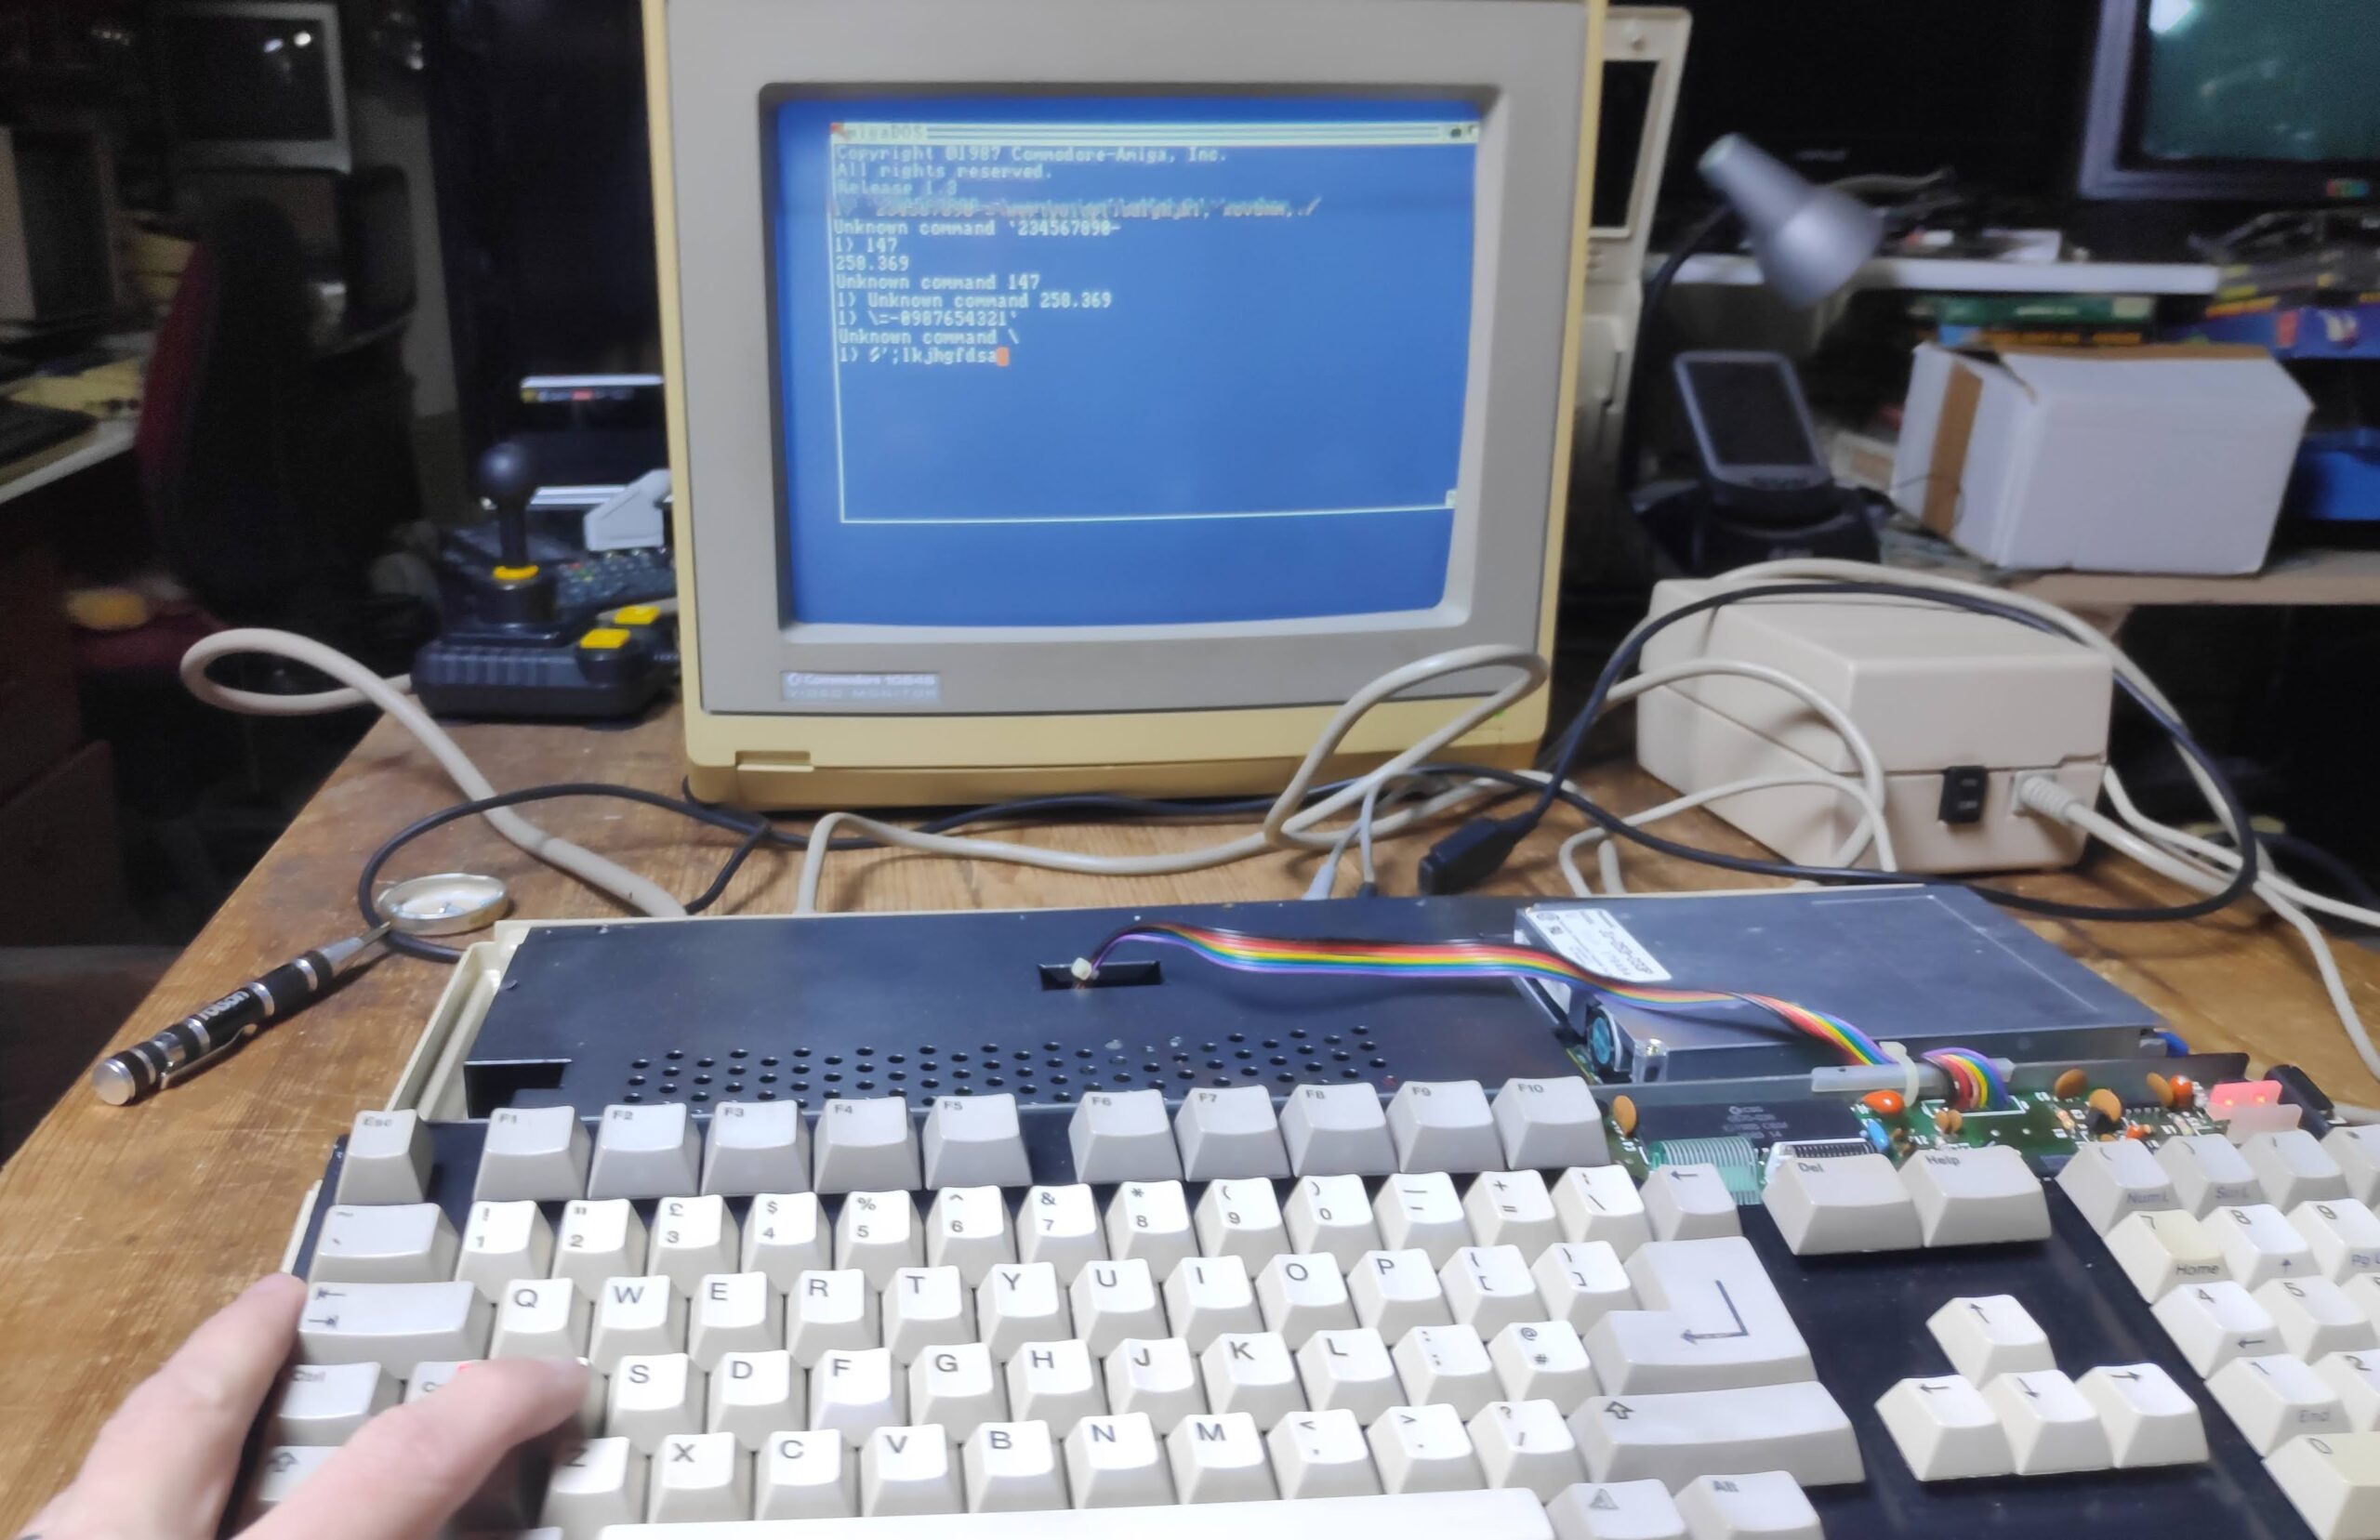
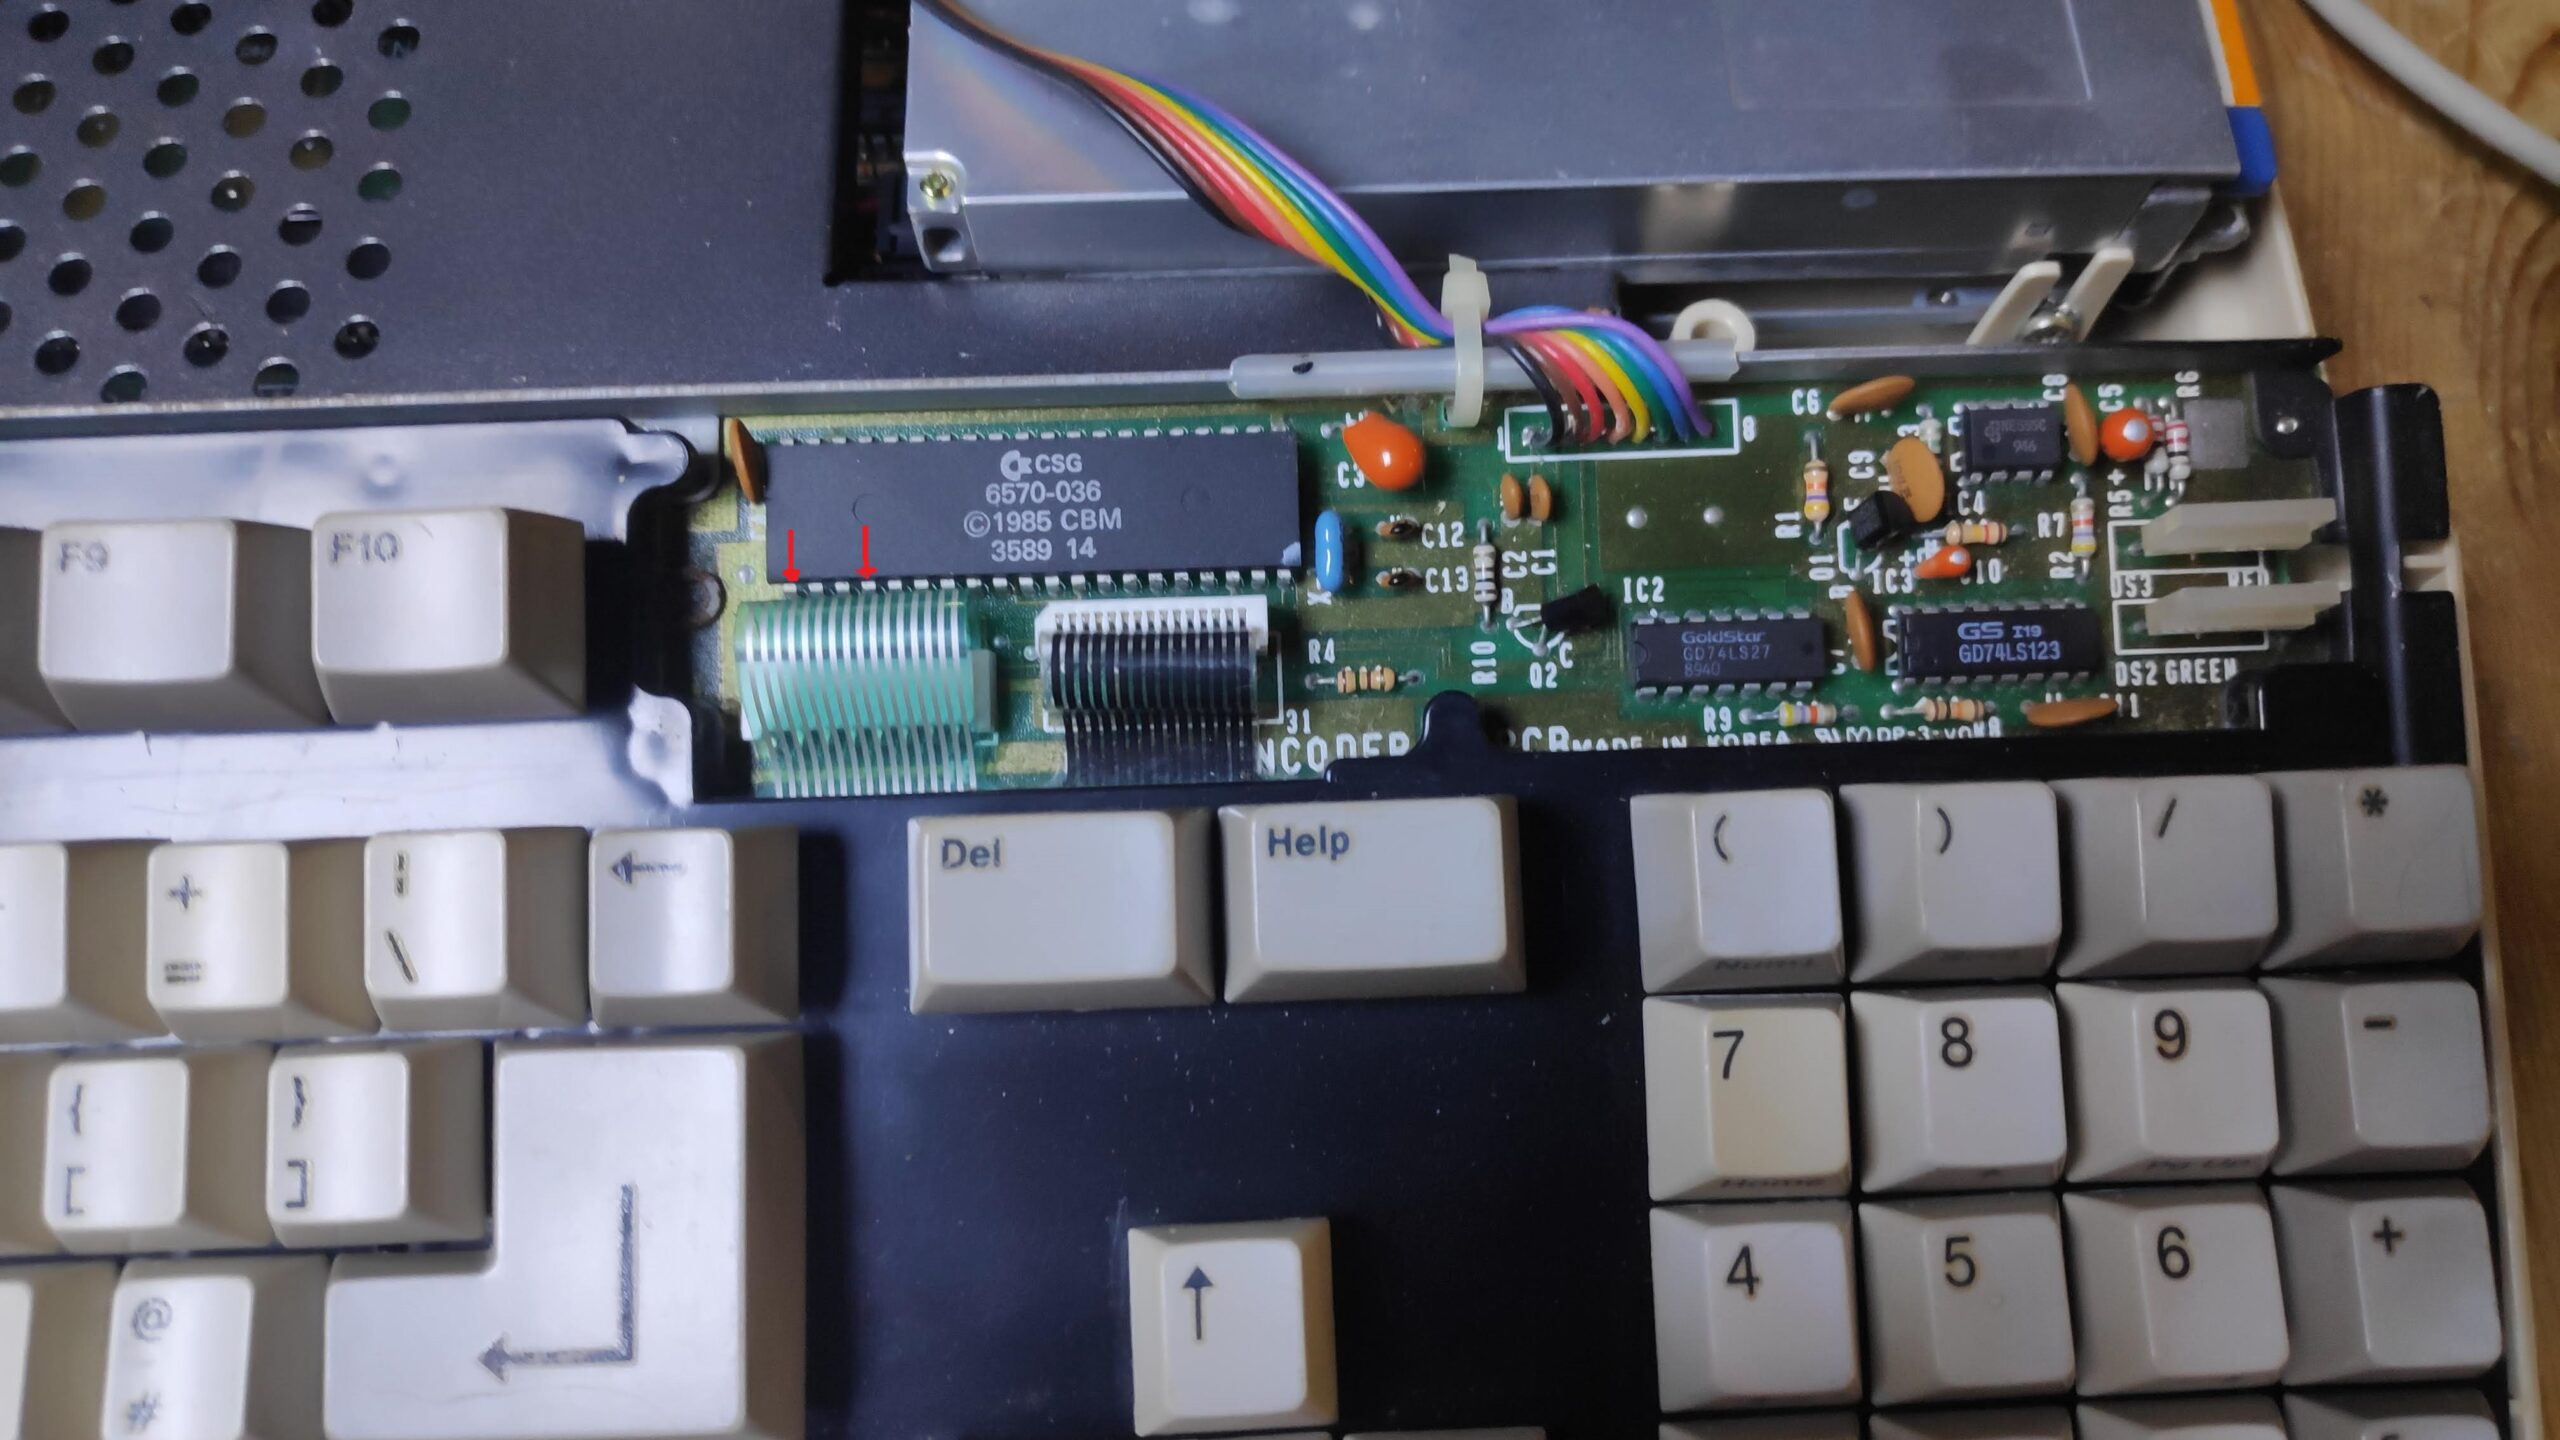
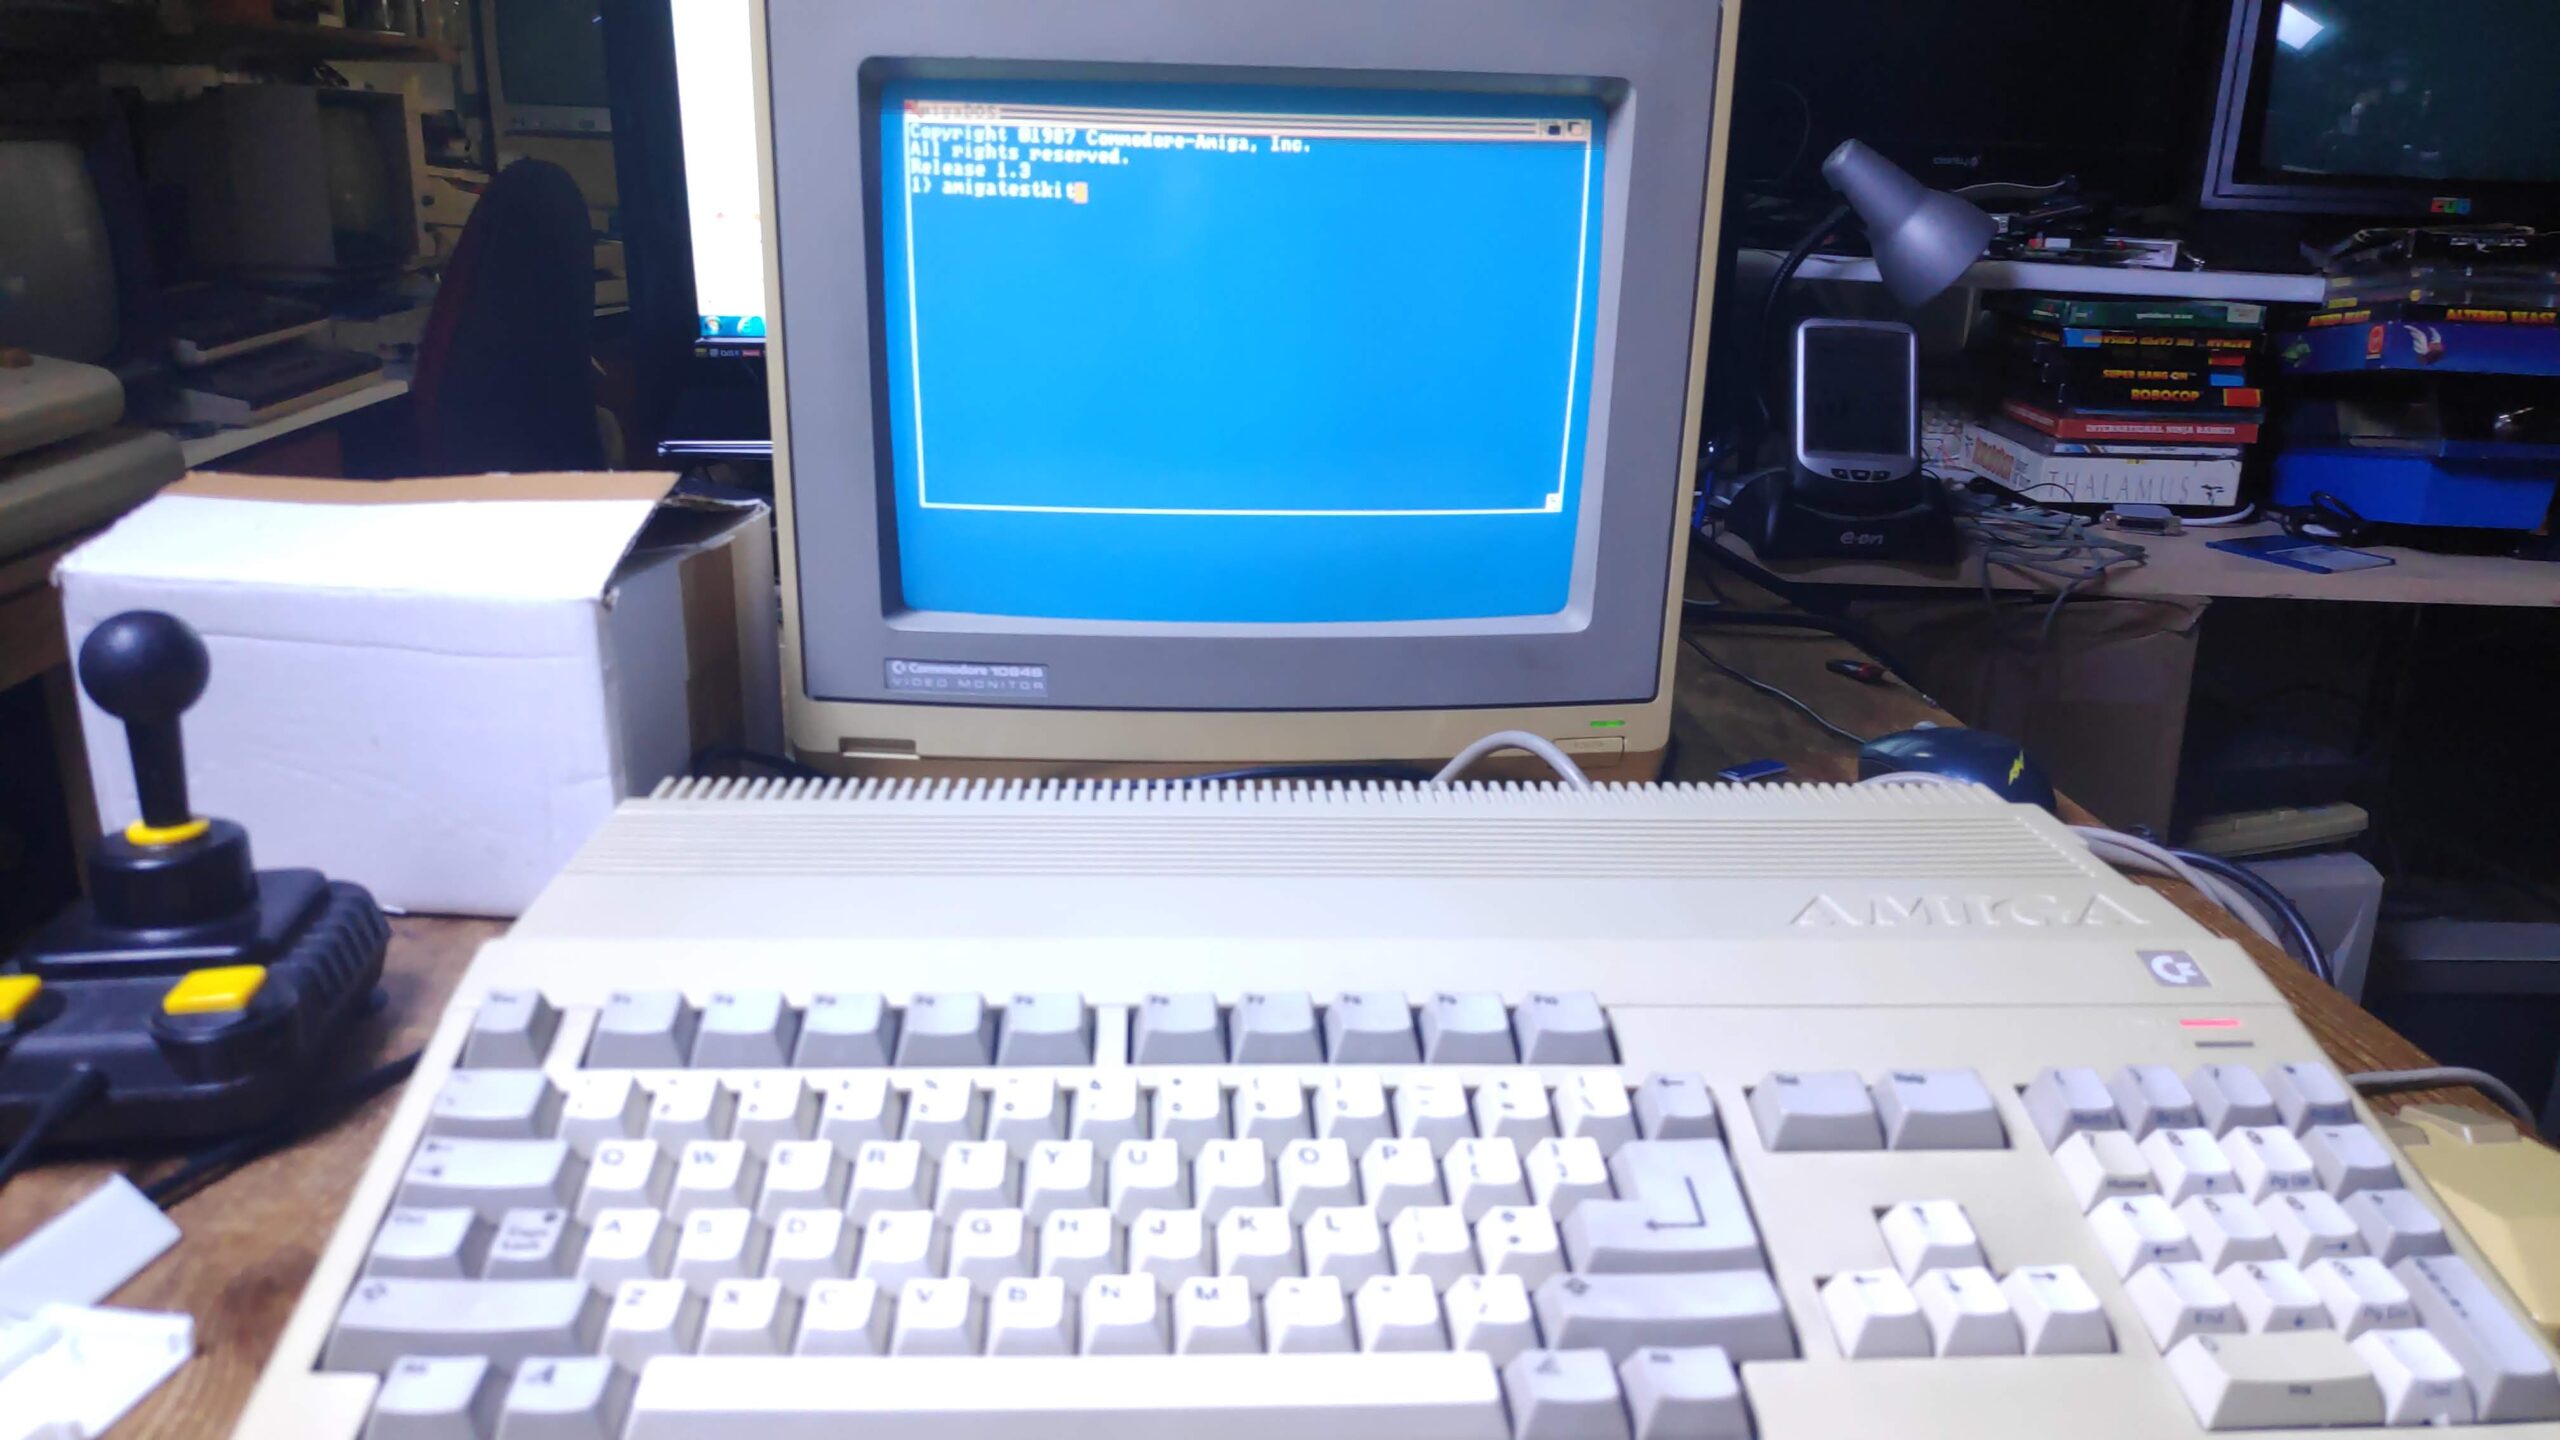
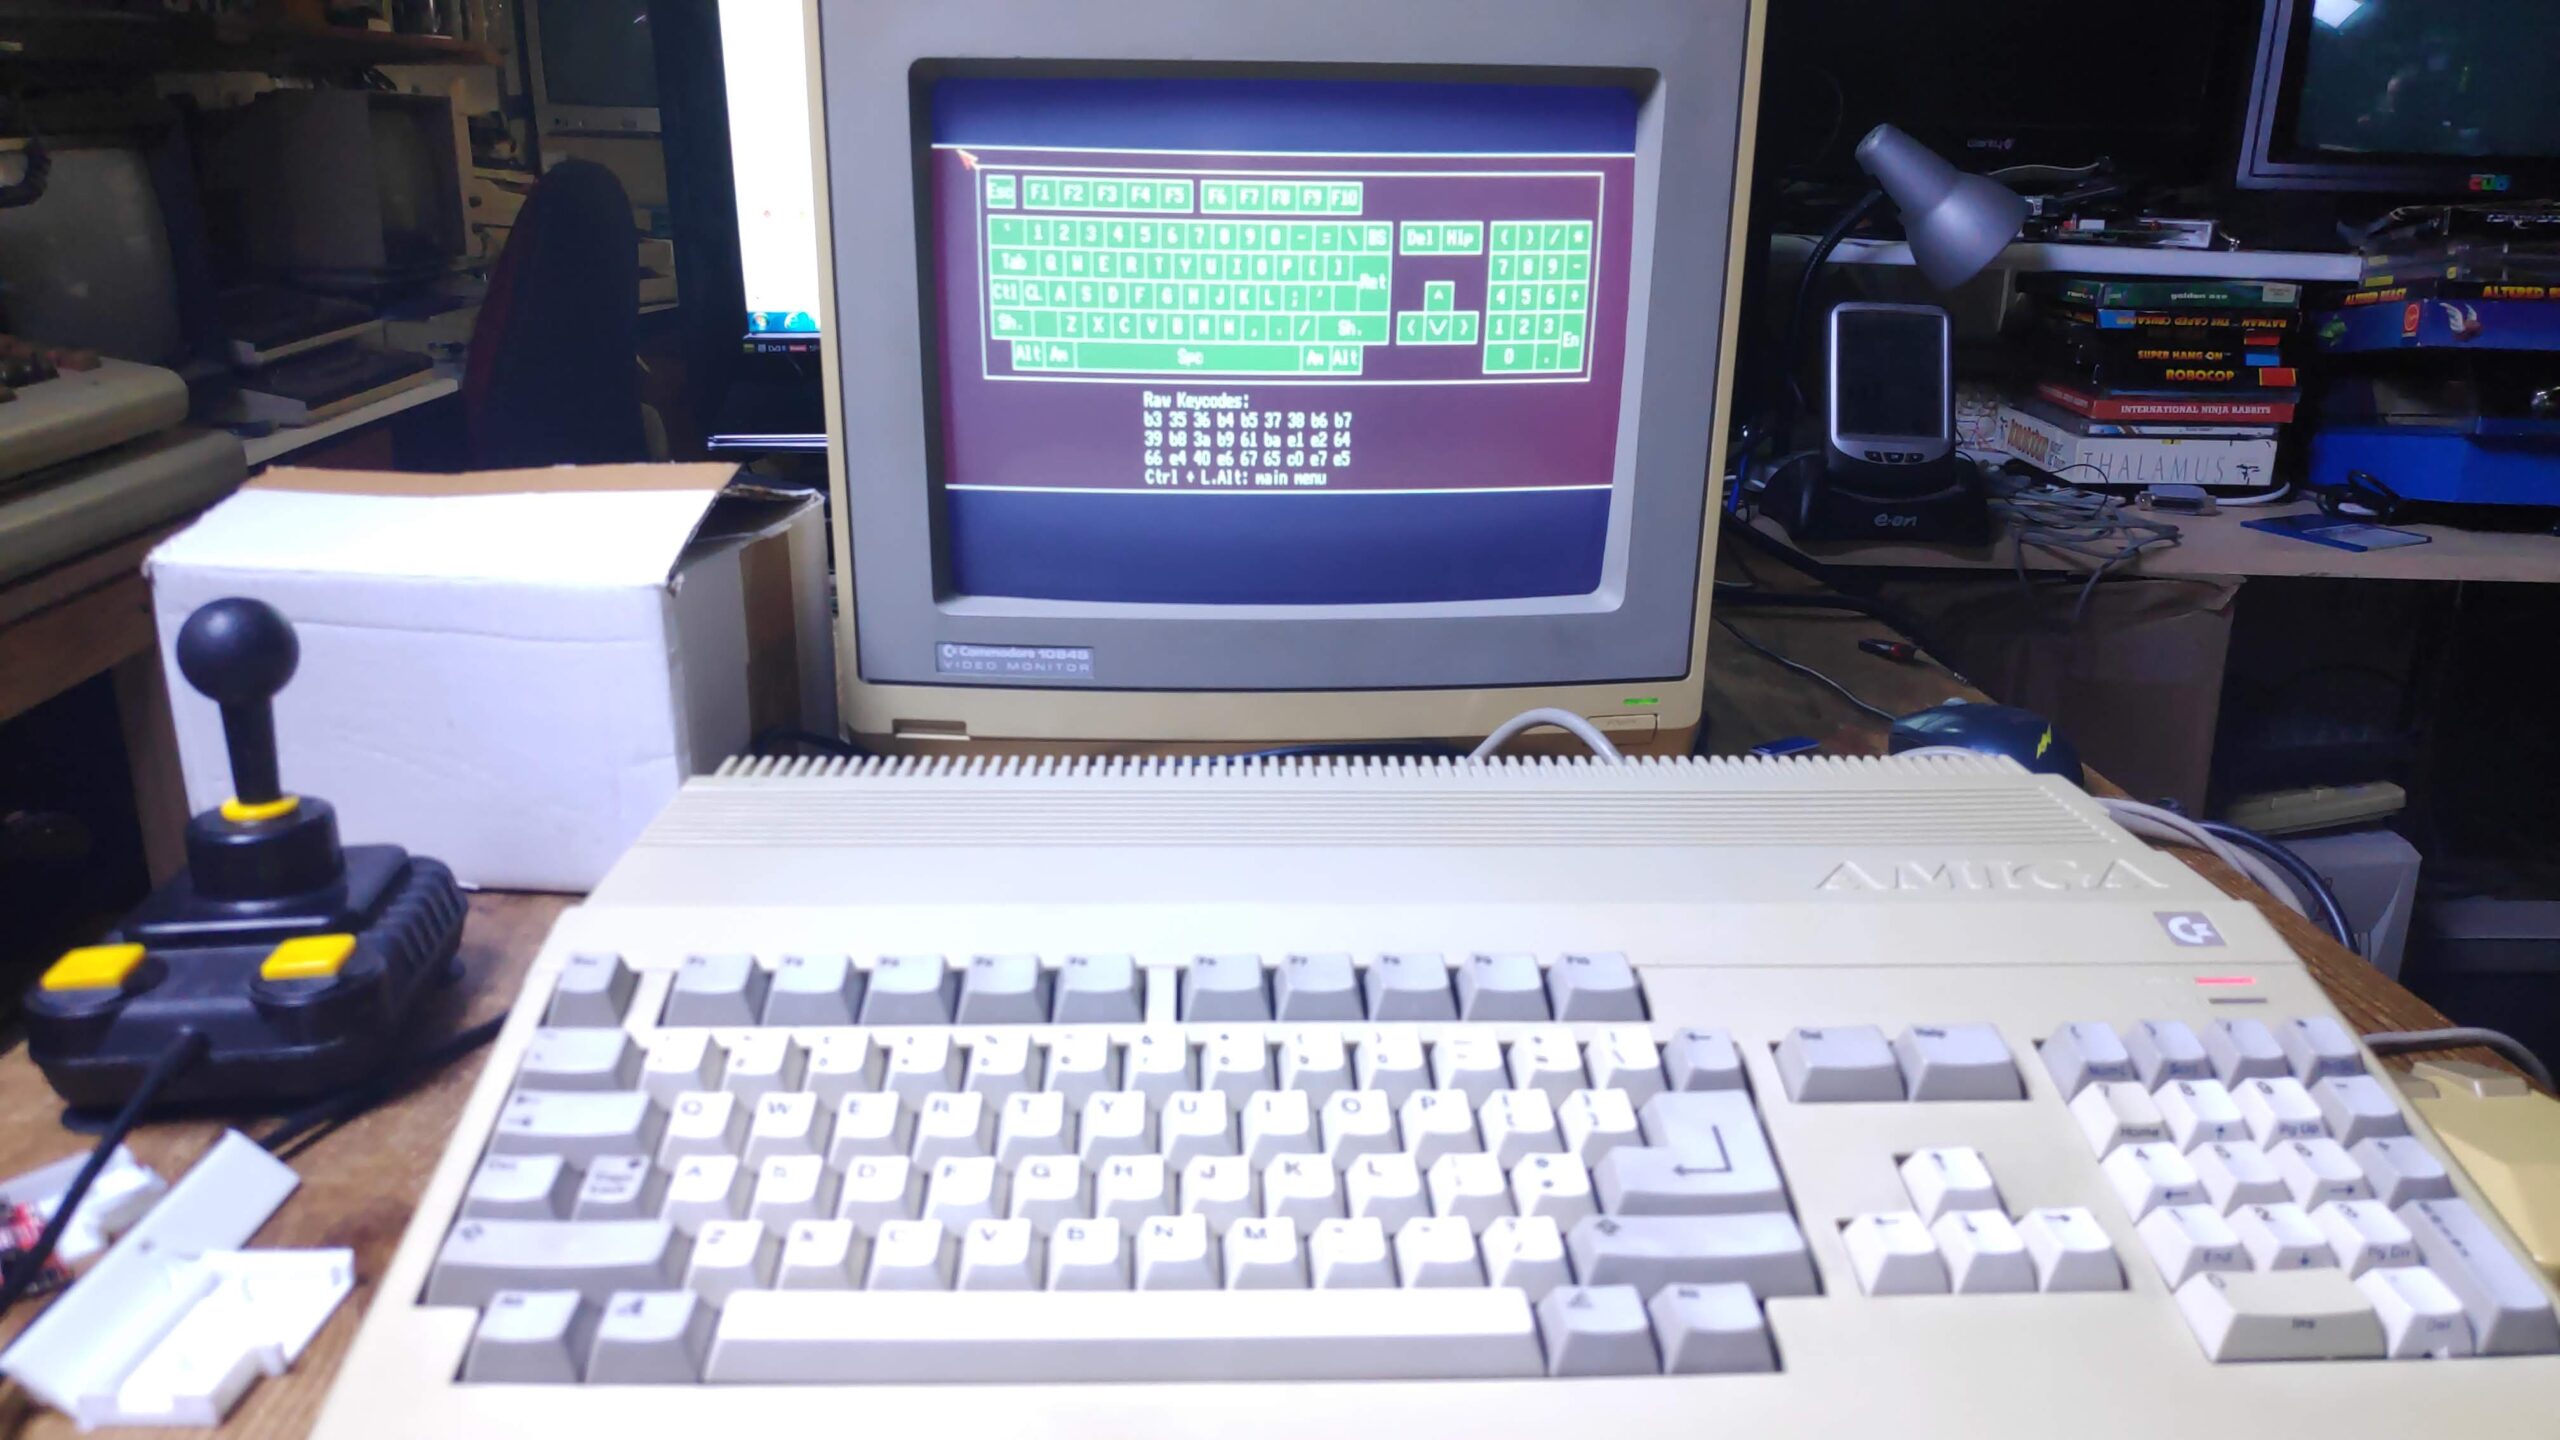
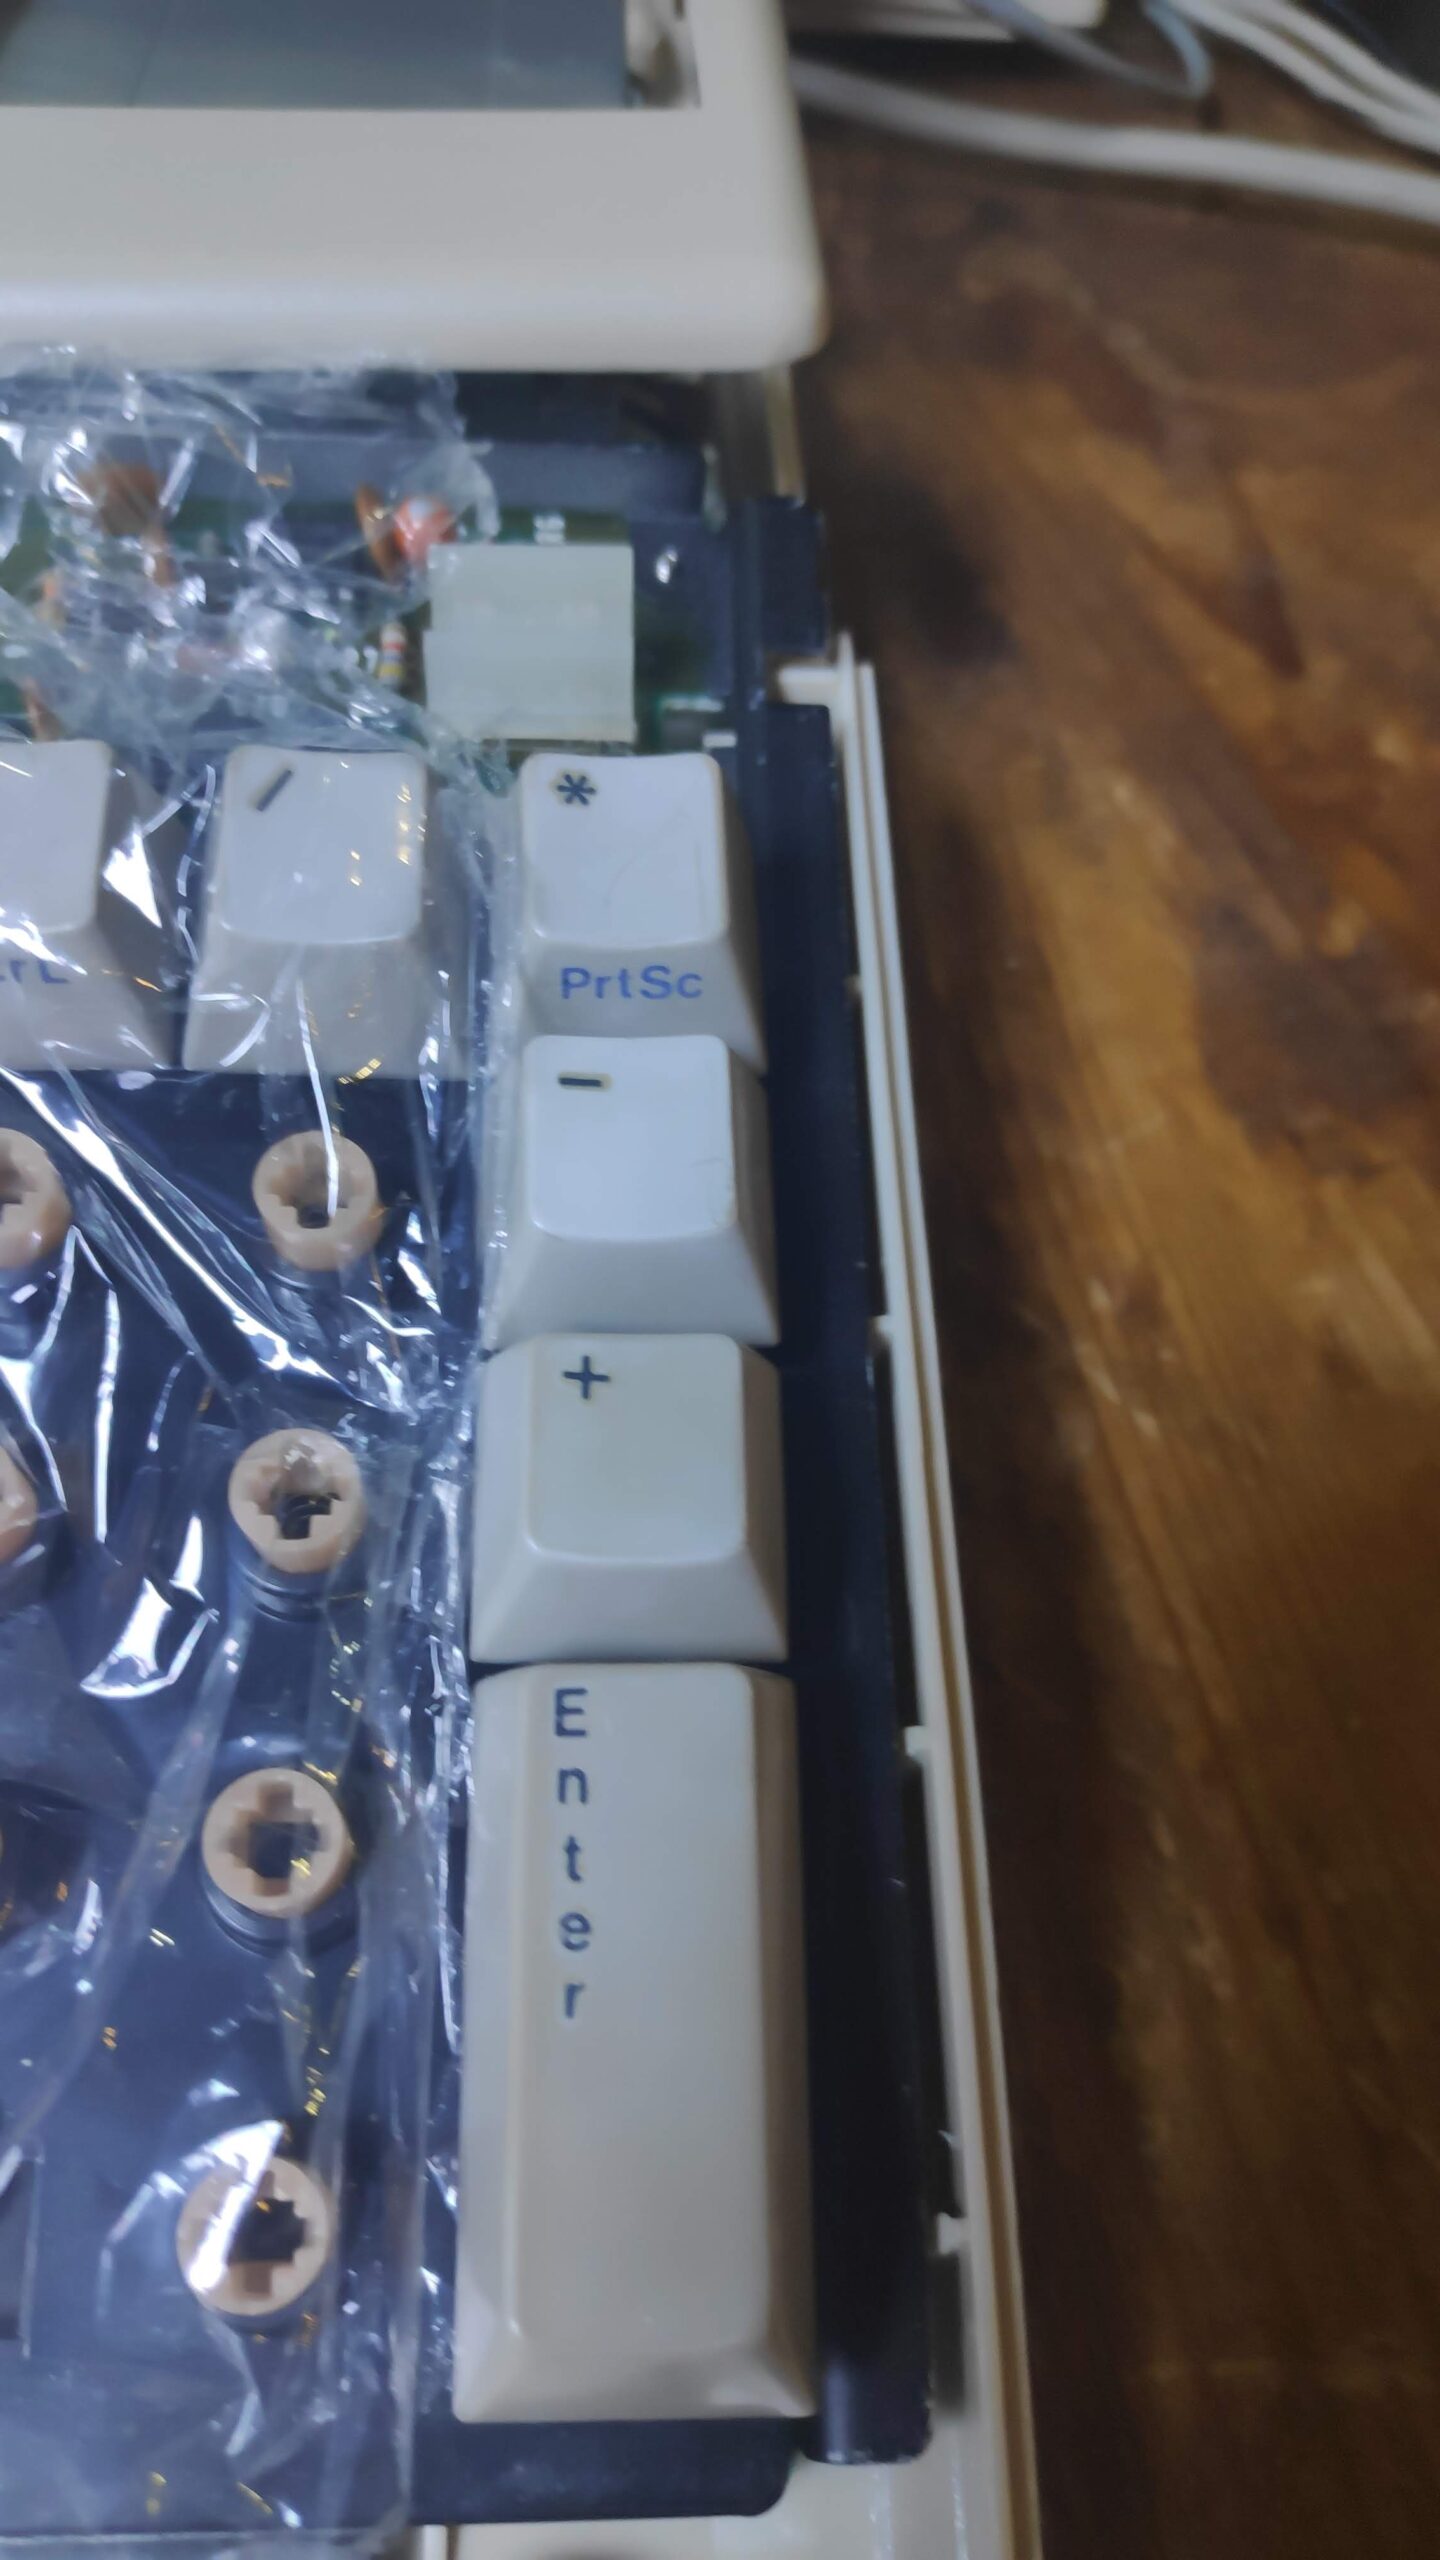
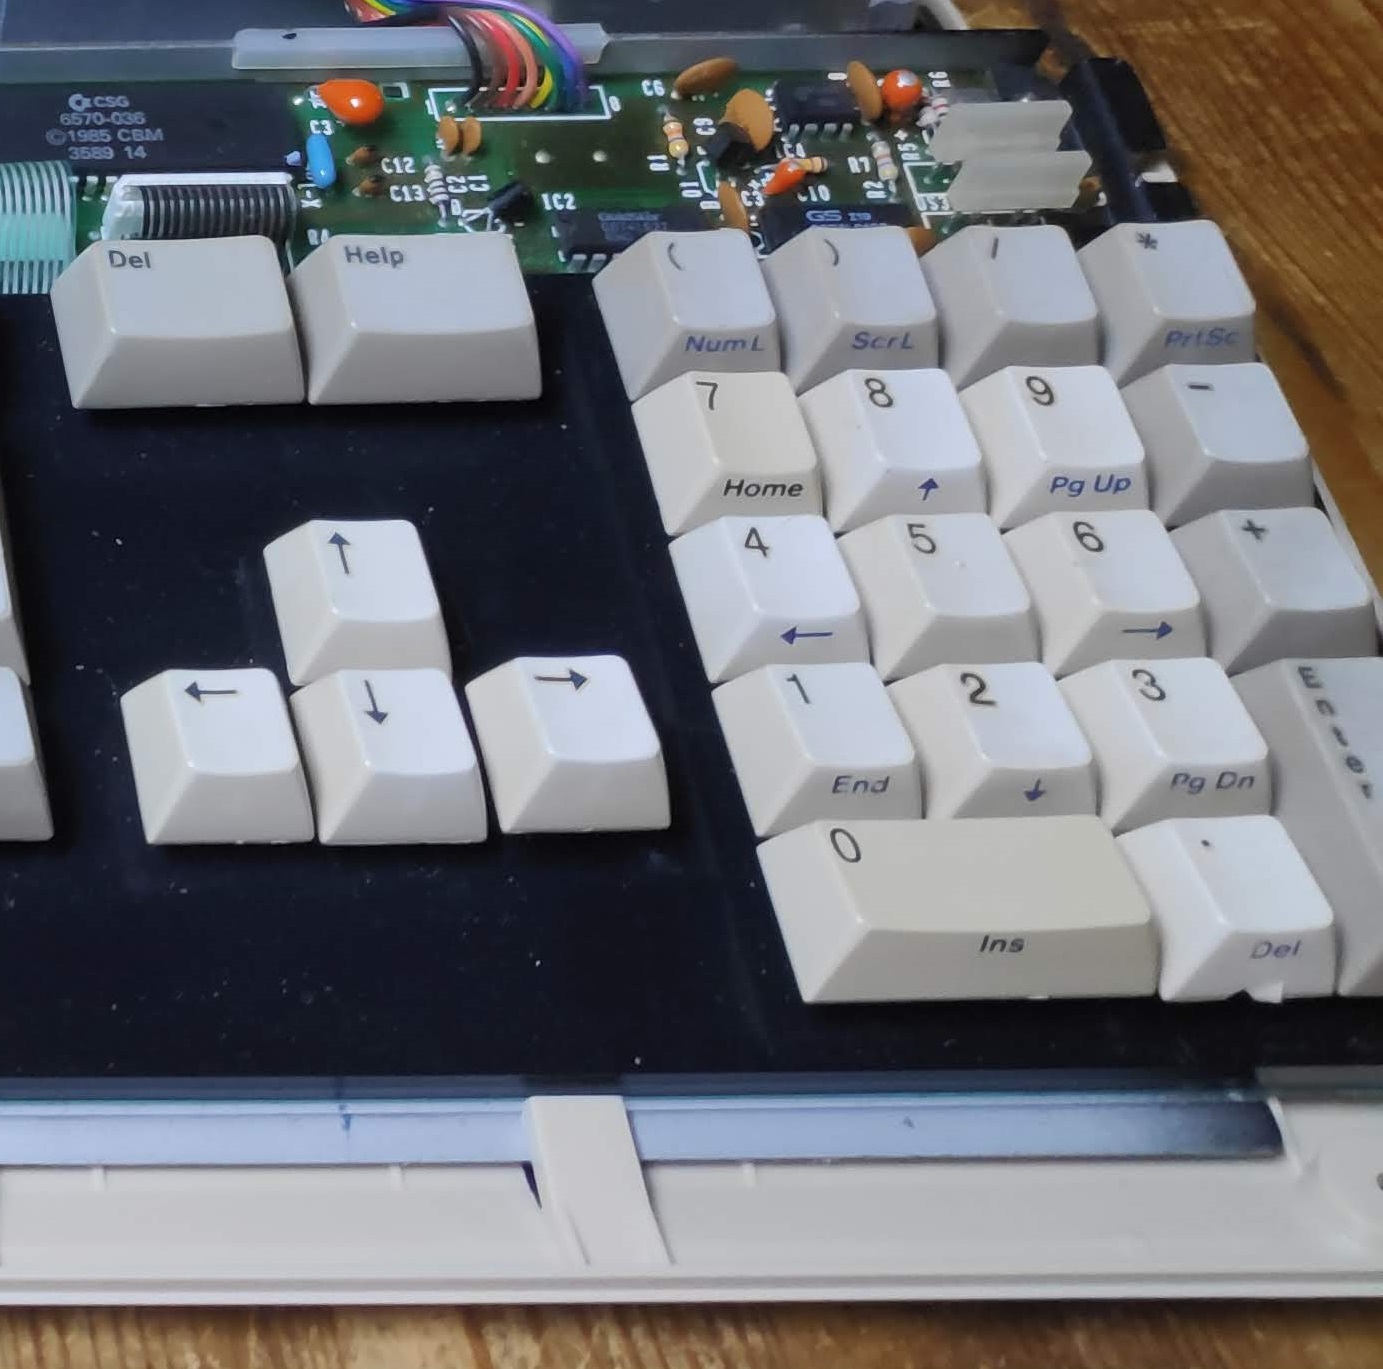
I decided to load up Amigatestkit to give the Amiga a thorough test but a new issue appeared. The keyboard had a serious fault. Most of the keys worked fine but the ‘1’,’q’,’a’,’z’ column of keys had a serious issue which when pressed would display all of the keys in that row as shown.
A bit of research revealed pin 4 of the keyboard controller chip (6570) which handles the ‘1’,’q’,’a’,’z’ row was shorted to pin 1.
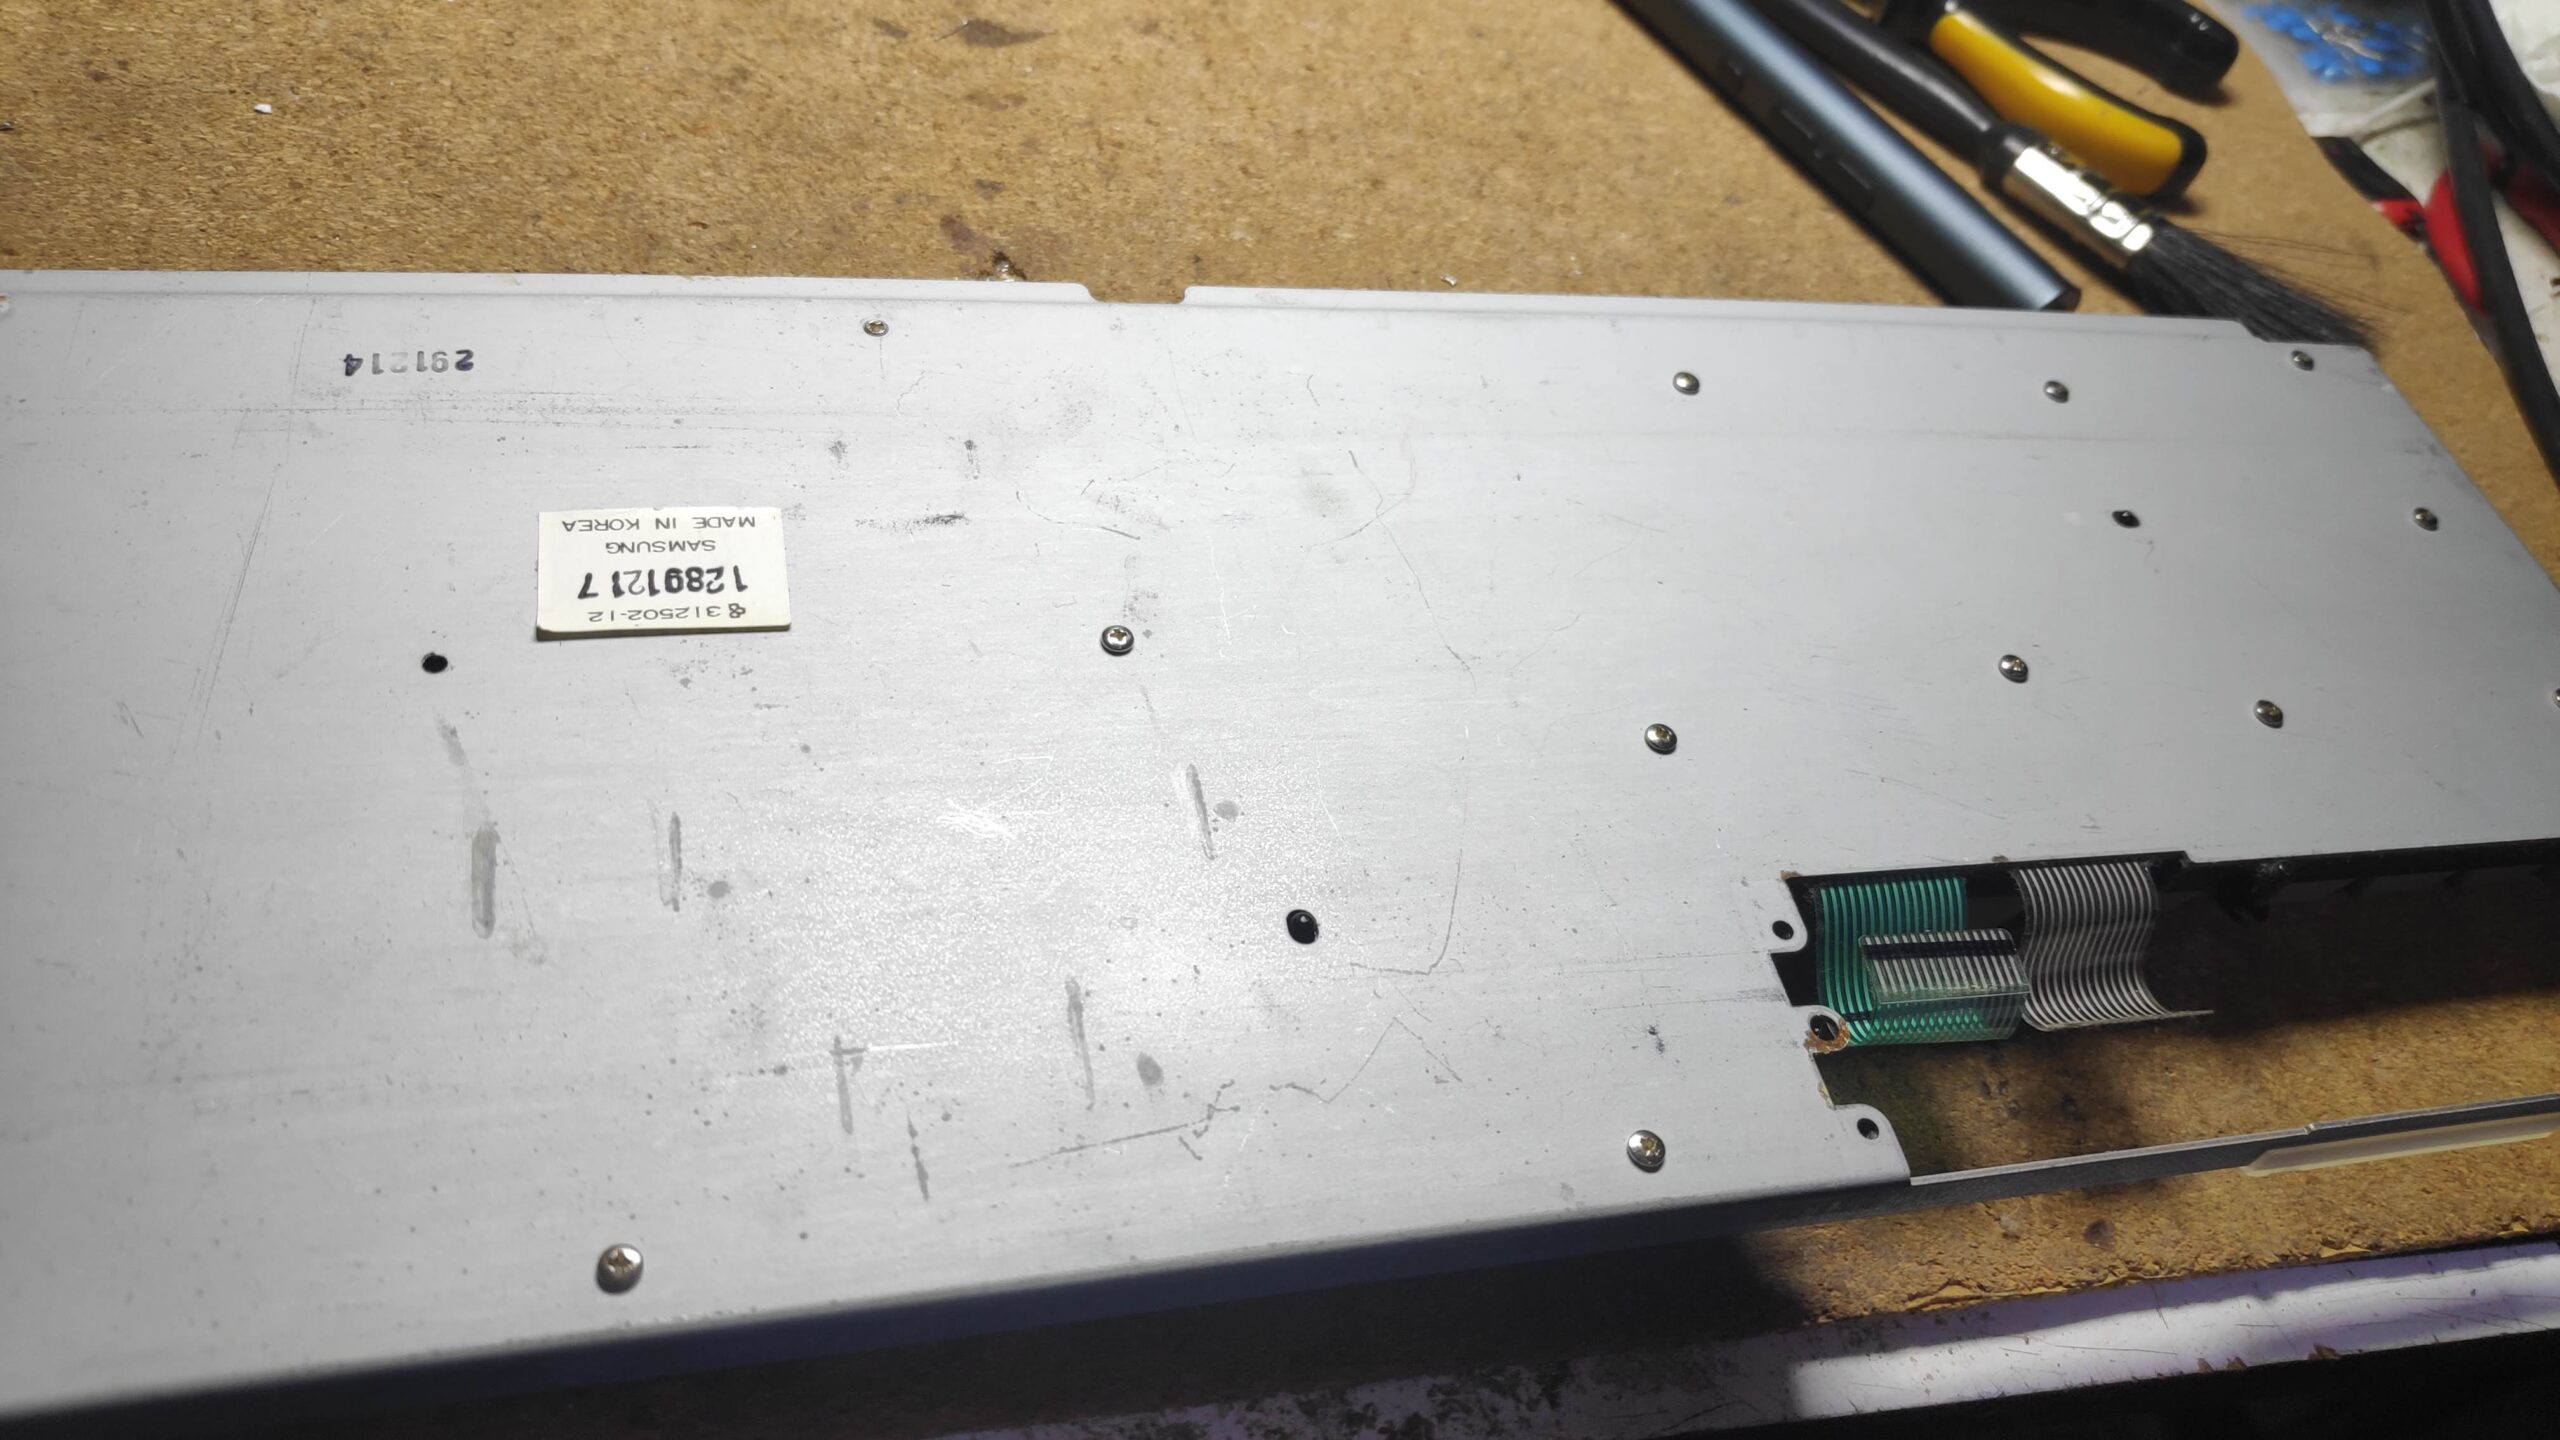
So the question is is it the controller or the keyboard membrane. The short netween pins 1 and 4 wasn’t quite zero resistance so it was likely to be the membrane rather than the chip. Removing the membrane from the connector and measuring pins 1 and 4 revealed it was the membrane as there was no longer a short.
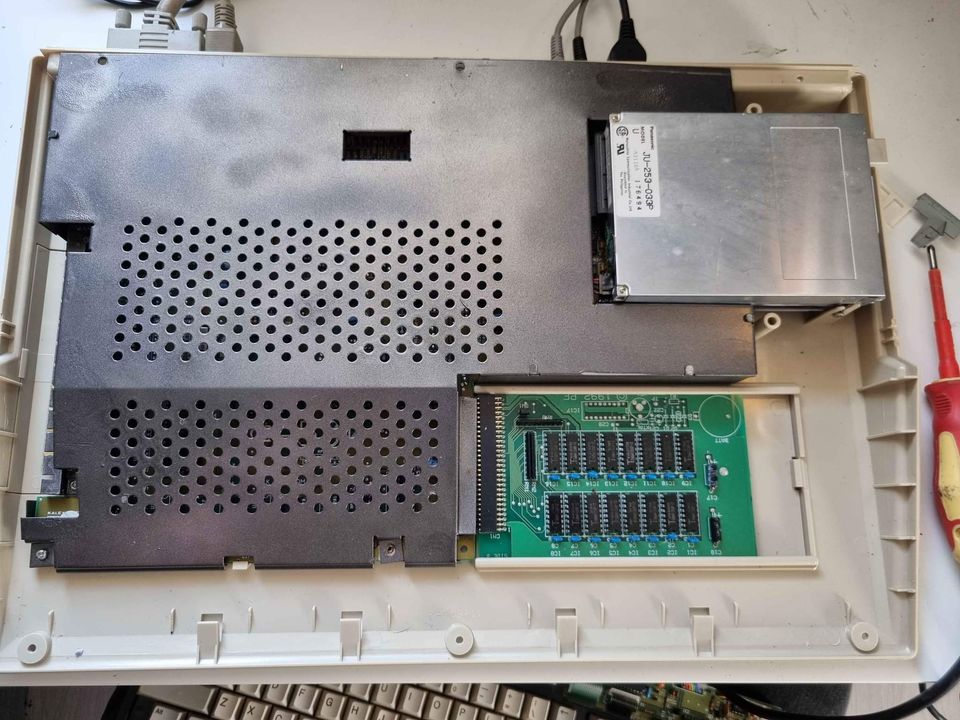
To access the membrane I needed to remove the keyboard controller and backplate. Just a couple of screws!
Keyboard Membrane
Inspecting the membrane I noticed some discolouration.
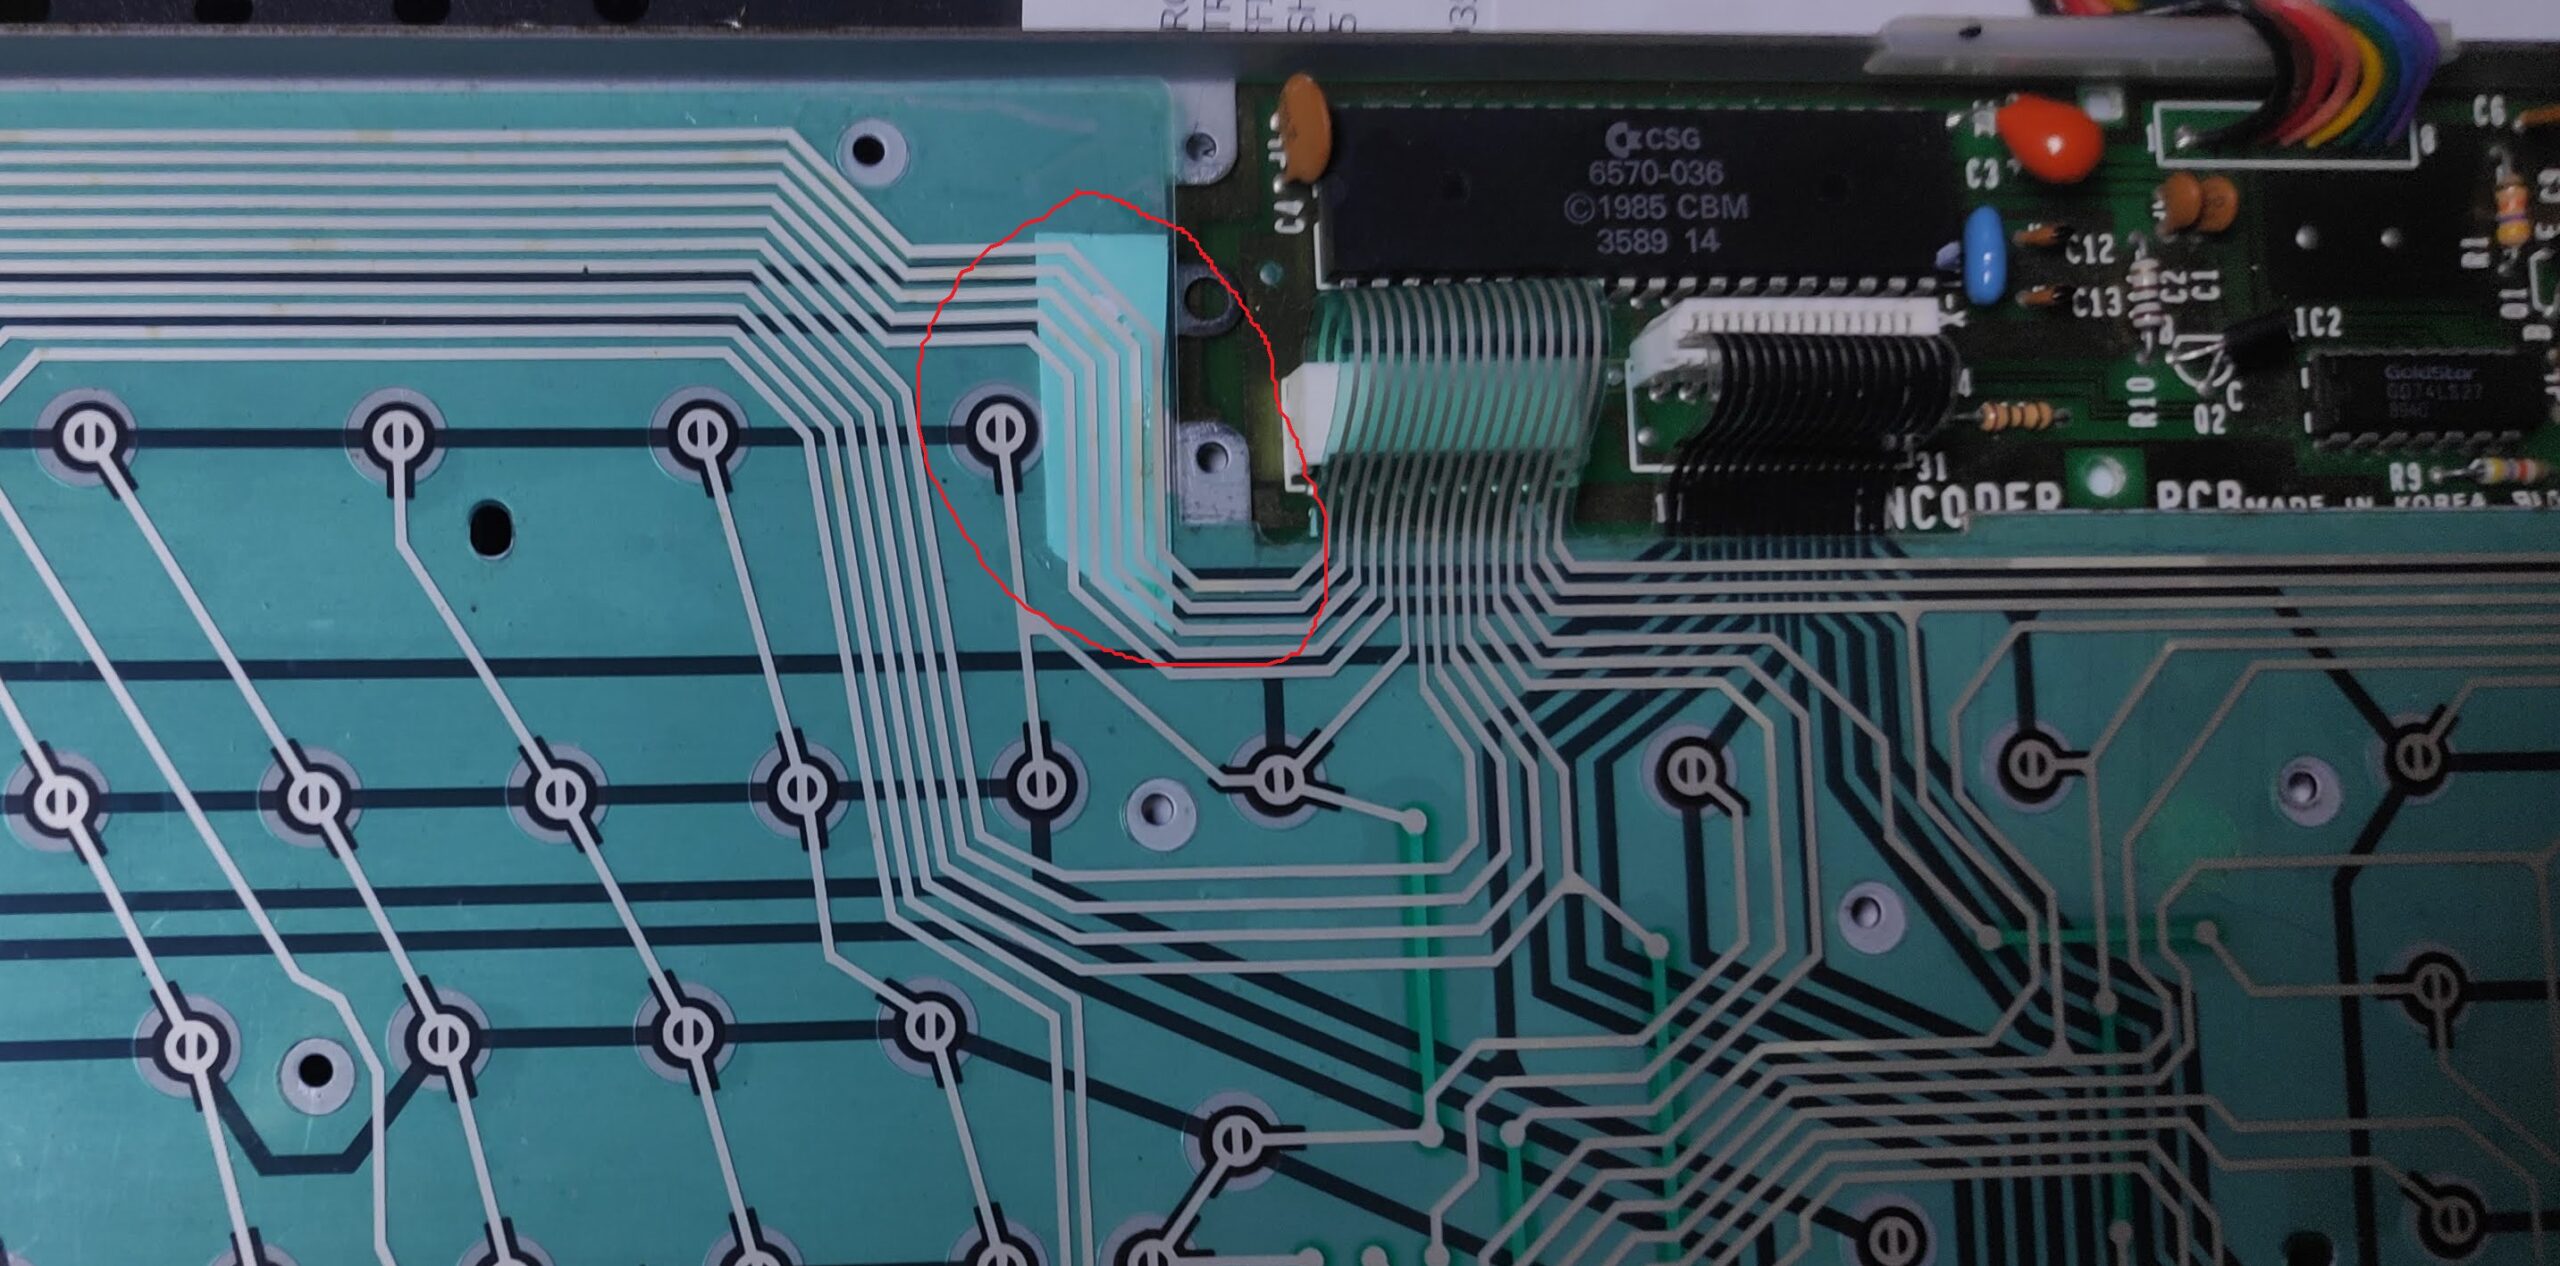
This is actually taken after the repair. There was corrosion on the metal hole beside these tracks as shown here with the staining.
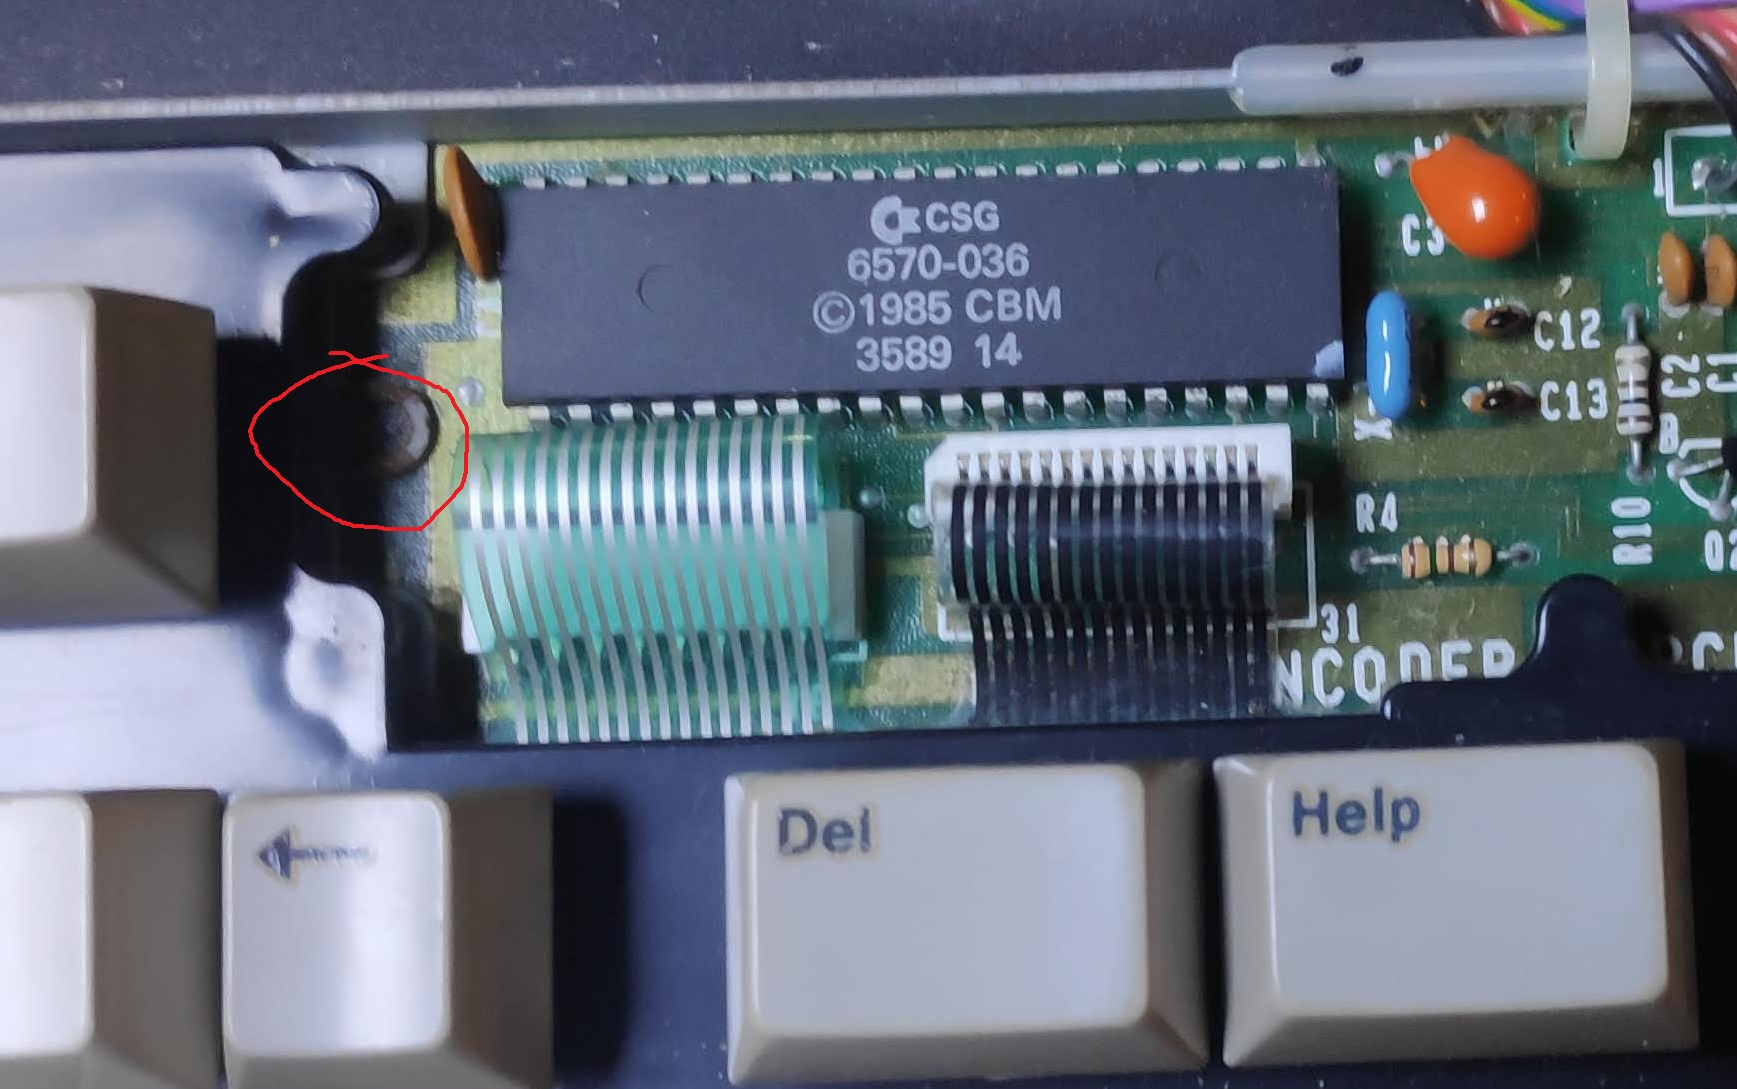
This staining on the membrane was allowing some conductivity between the two tracks. I managed to separate the membrane and clean all around these tracks with a cotton bud and a bit of scraping with a knife being careful not to touch or scrape the tracks. I didn’t use alcohol as its not good for membranes so just carefully dry cleaned the area. I also placed some paper between the membrane layers and gently rubbed the membrane so that any remaining residue was collected on the paper.
I sanded all the rust off the keyboard plate and sealed it with a dab of WD40 to prevent reoccurence.
With the keyboard reassembled and finally I could type “amigatestkit” and do a thorough test.
Voila! All keys working. Its been a few days and the keyboard remains fixed so this one is ticked off.
Floppy Disk Drive
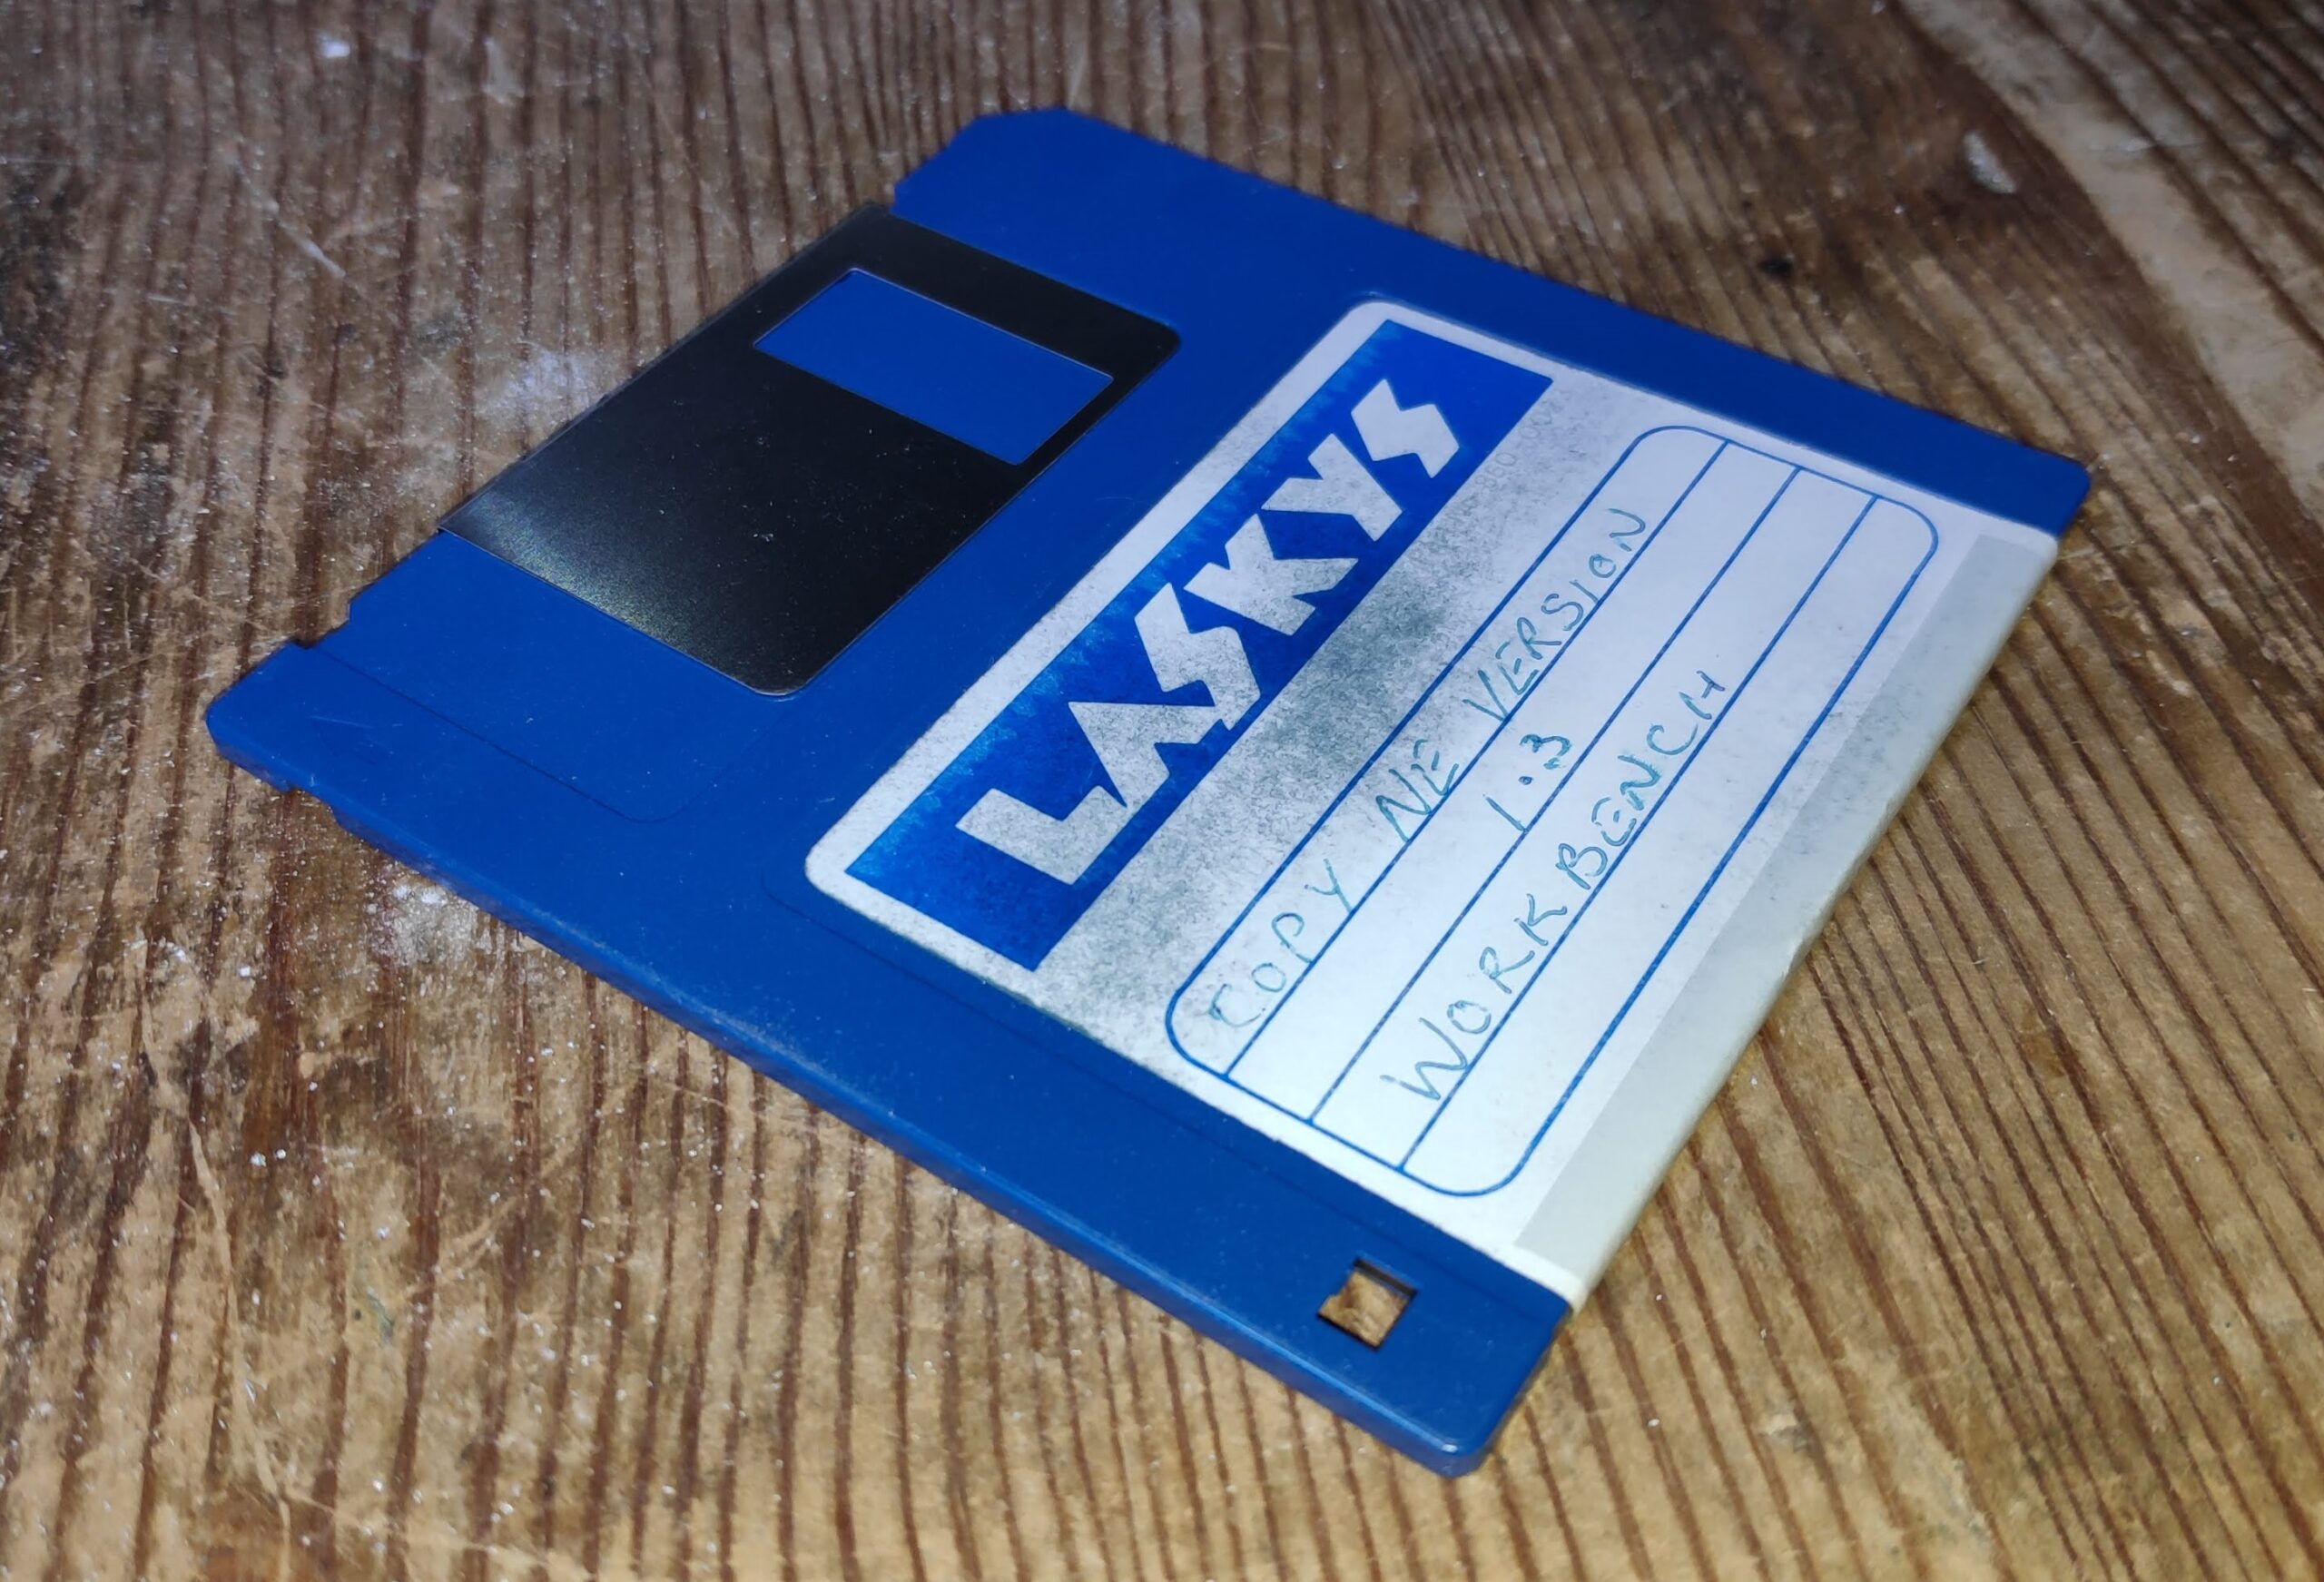
Just discovered another small issue. Some sisks are sticking and don’t eject properly.
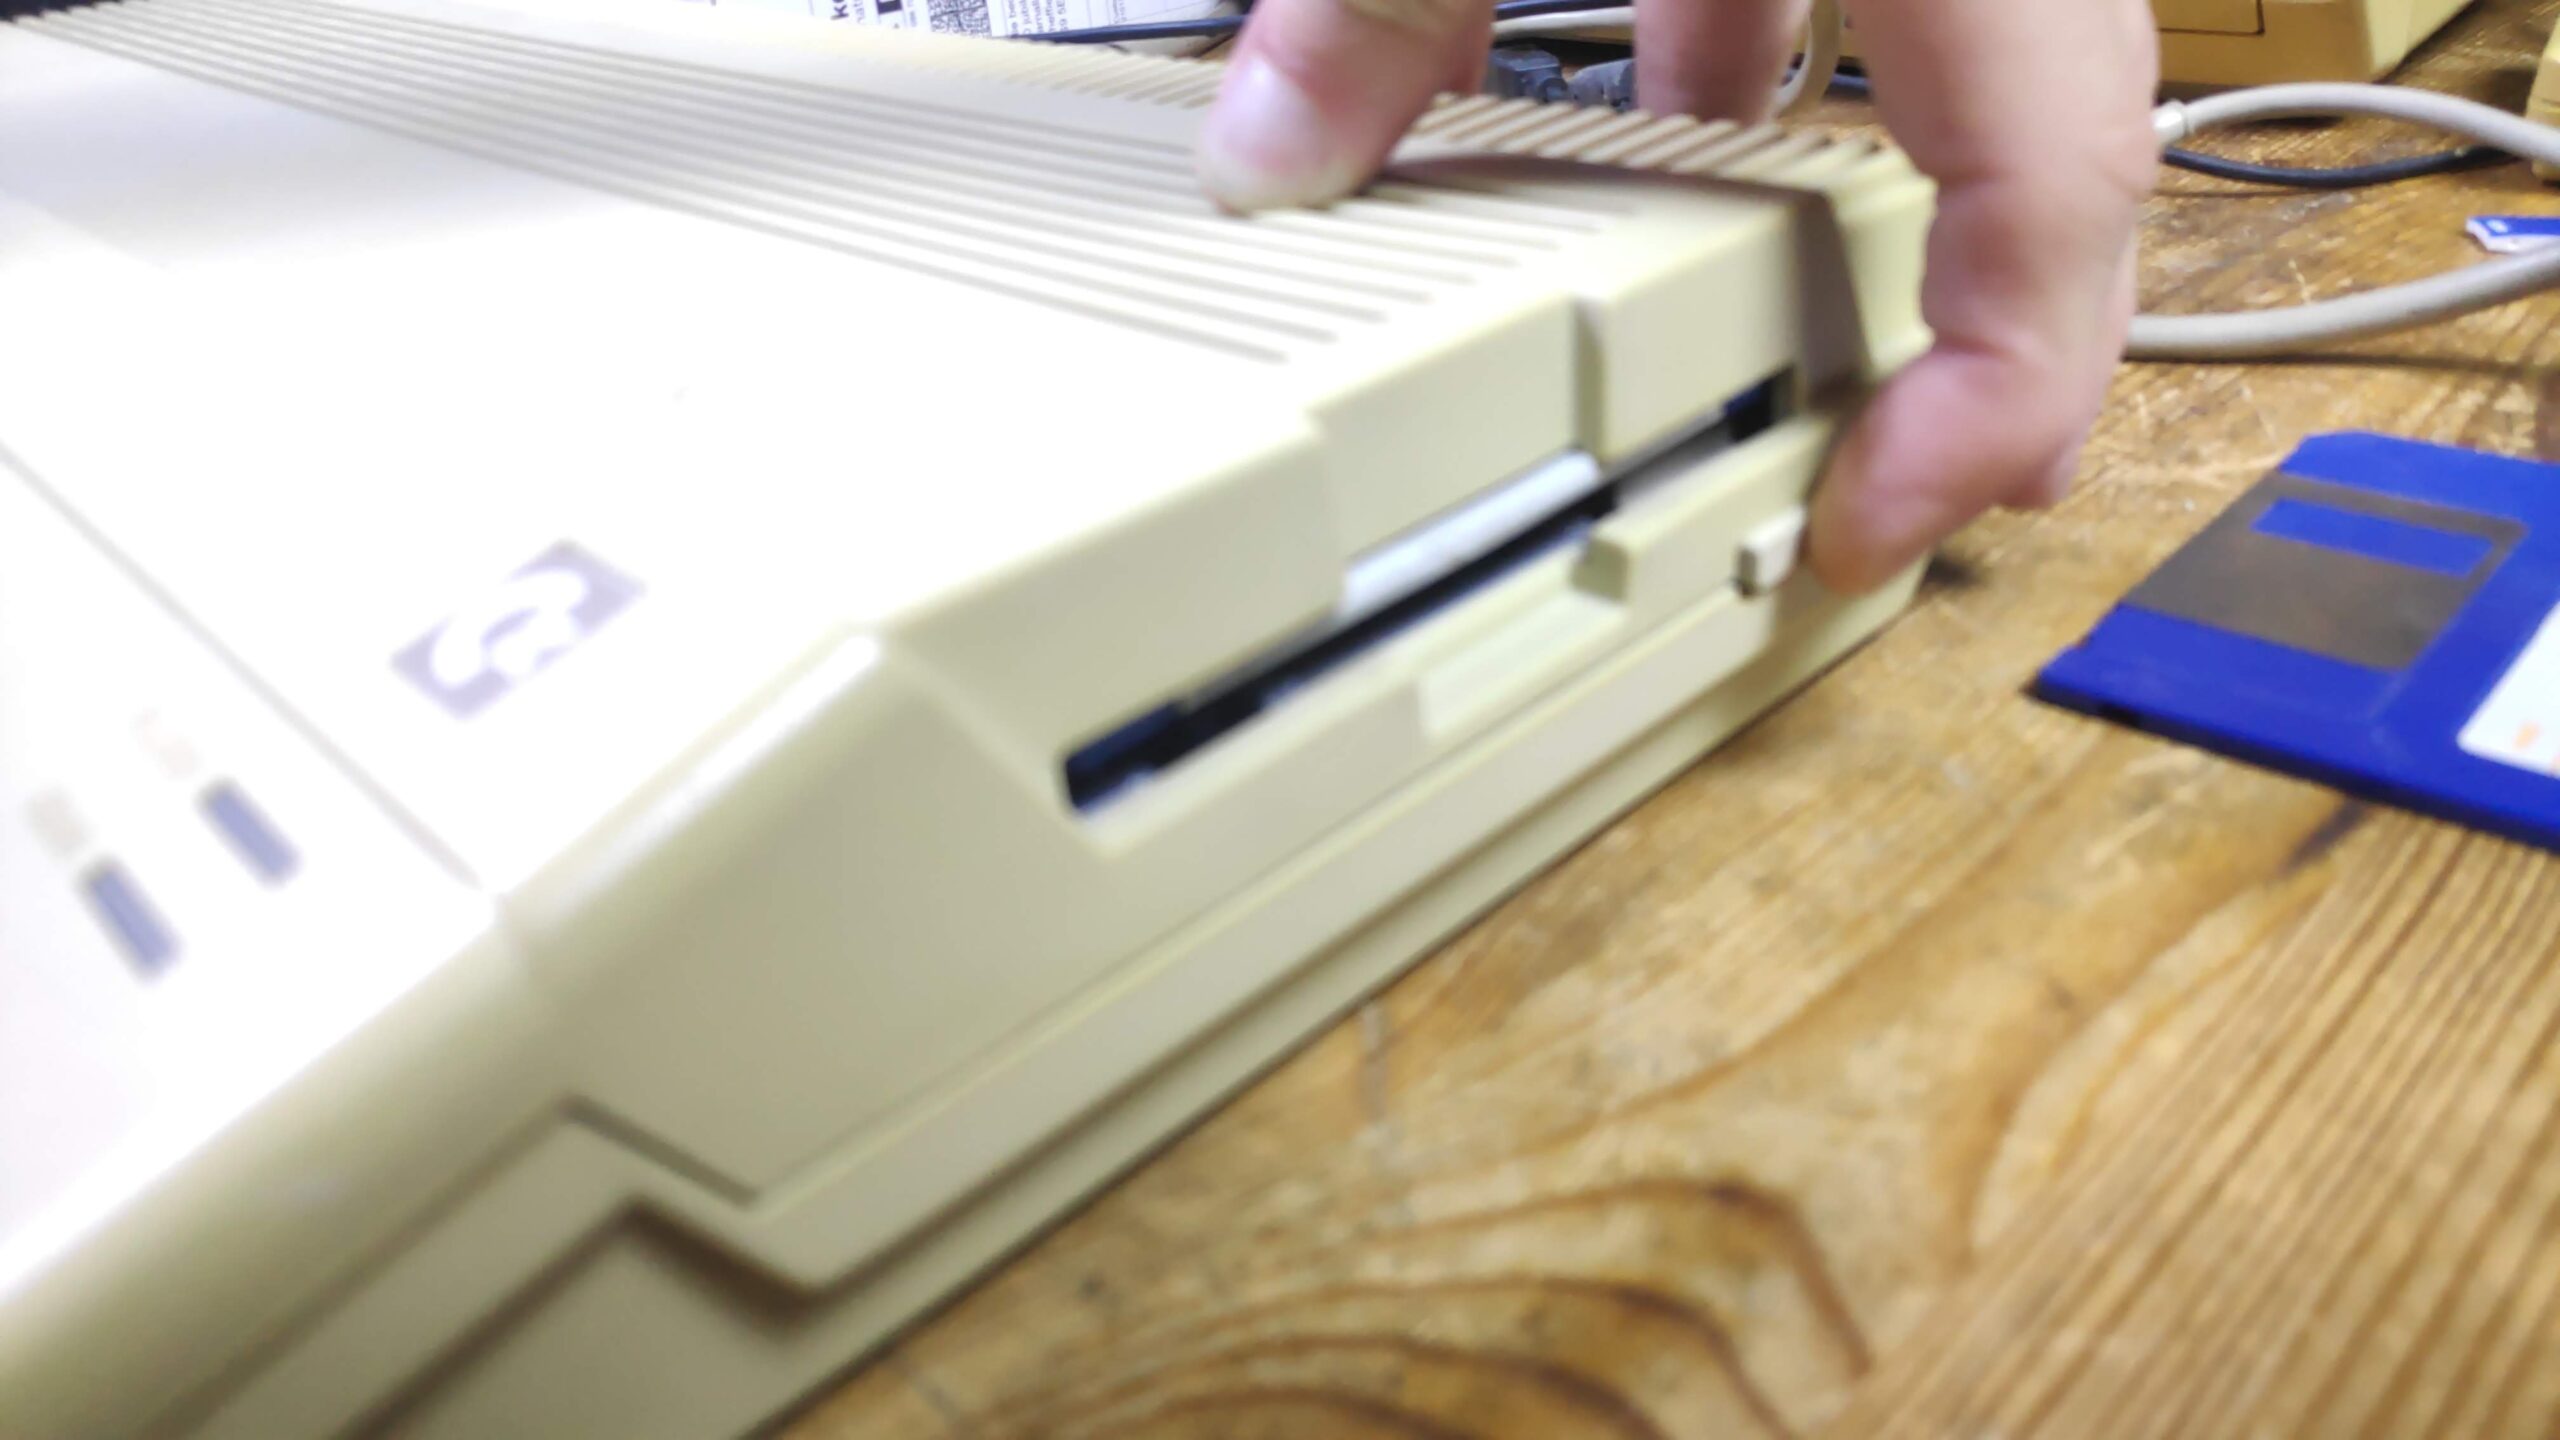
Admittedly the label was slightly raised on this Laskys disk but it shouldn’t stop it being ejected.
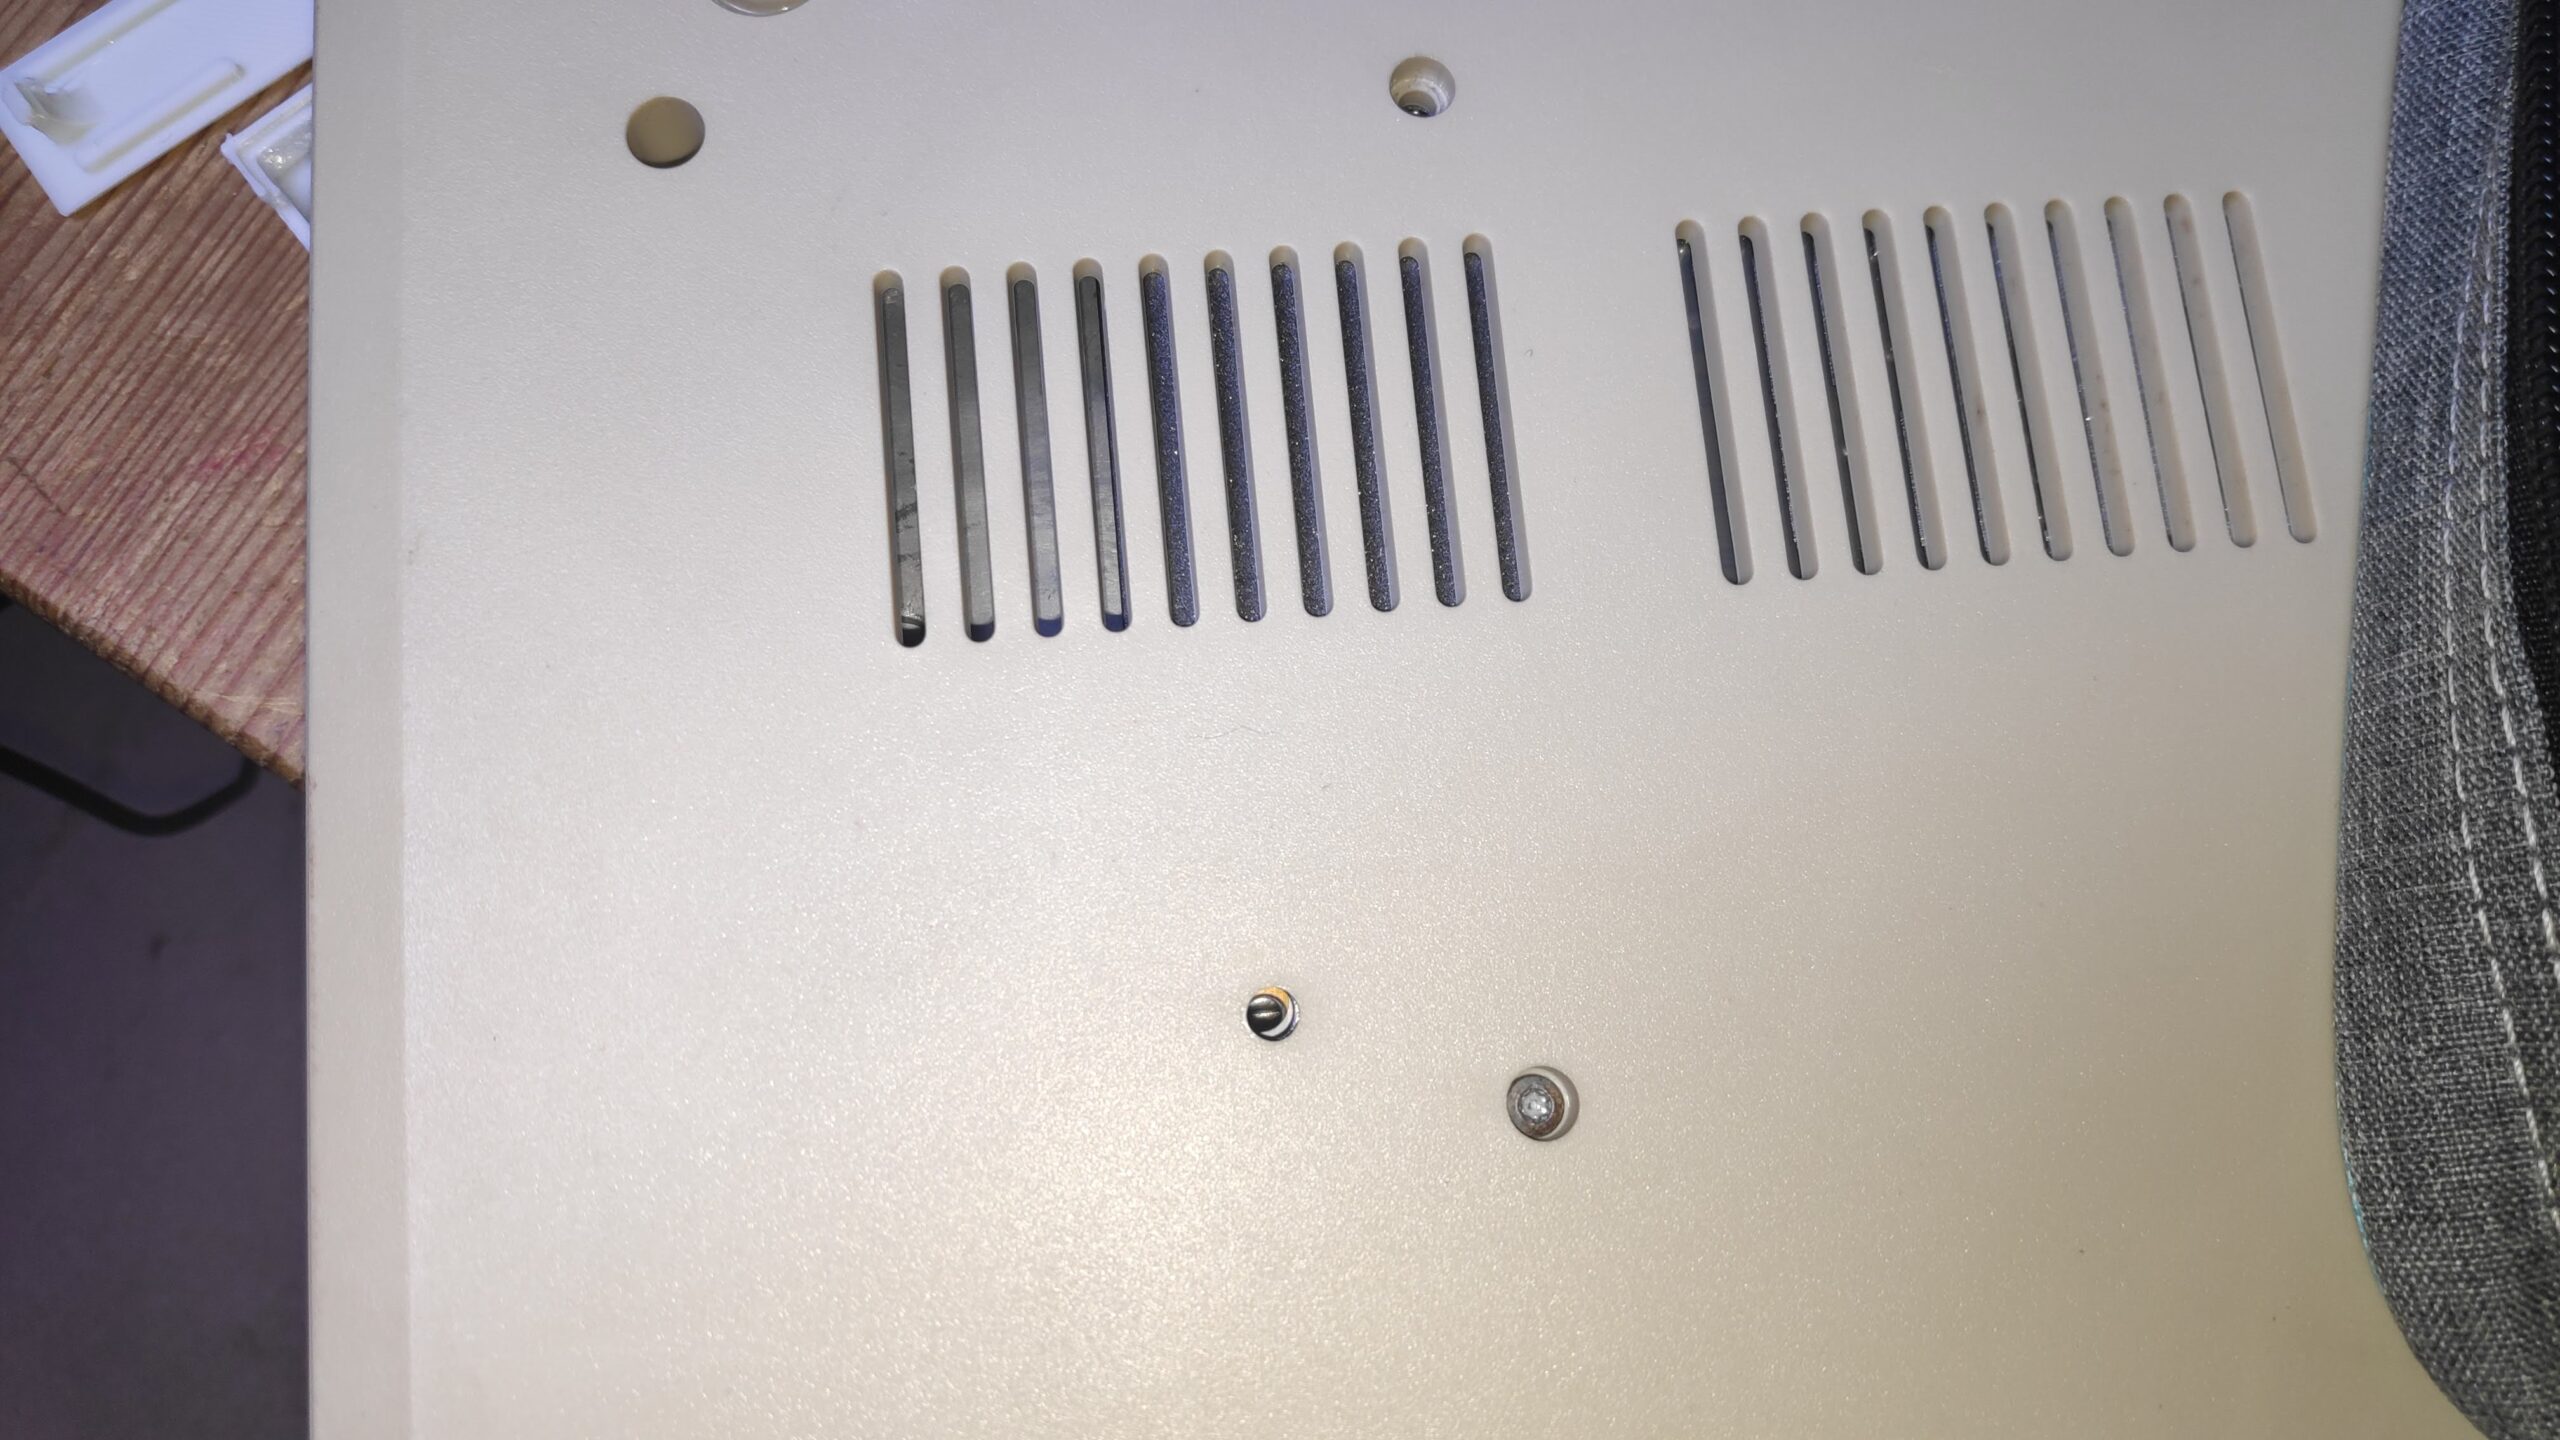
Removing the case revealed the issue. Notice the gap
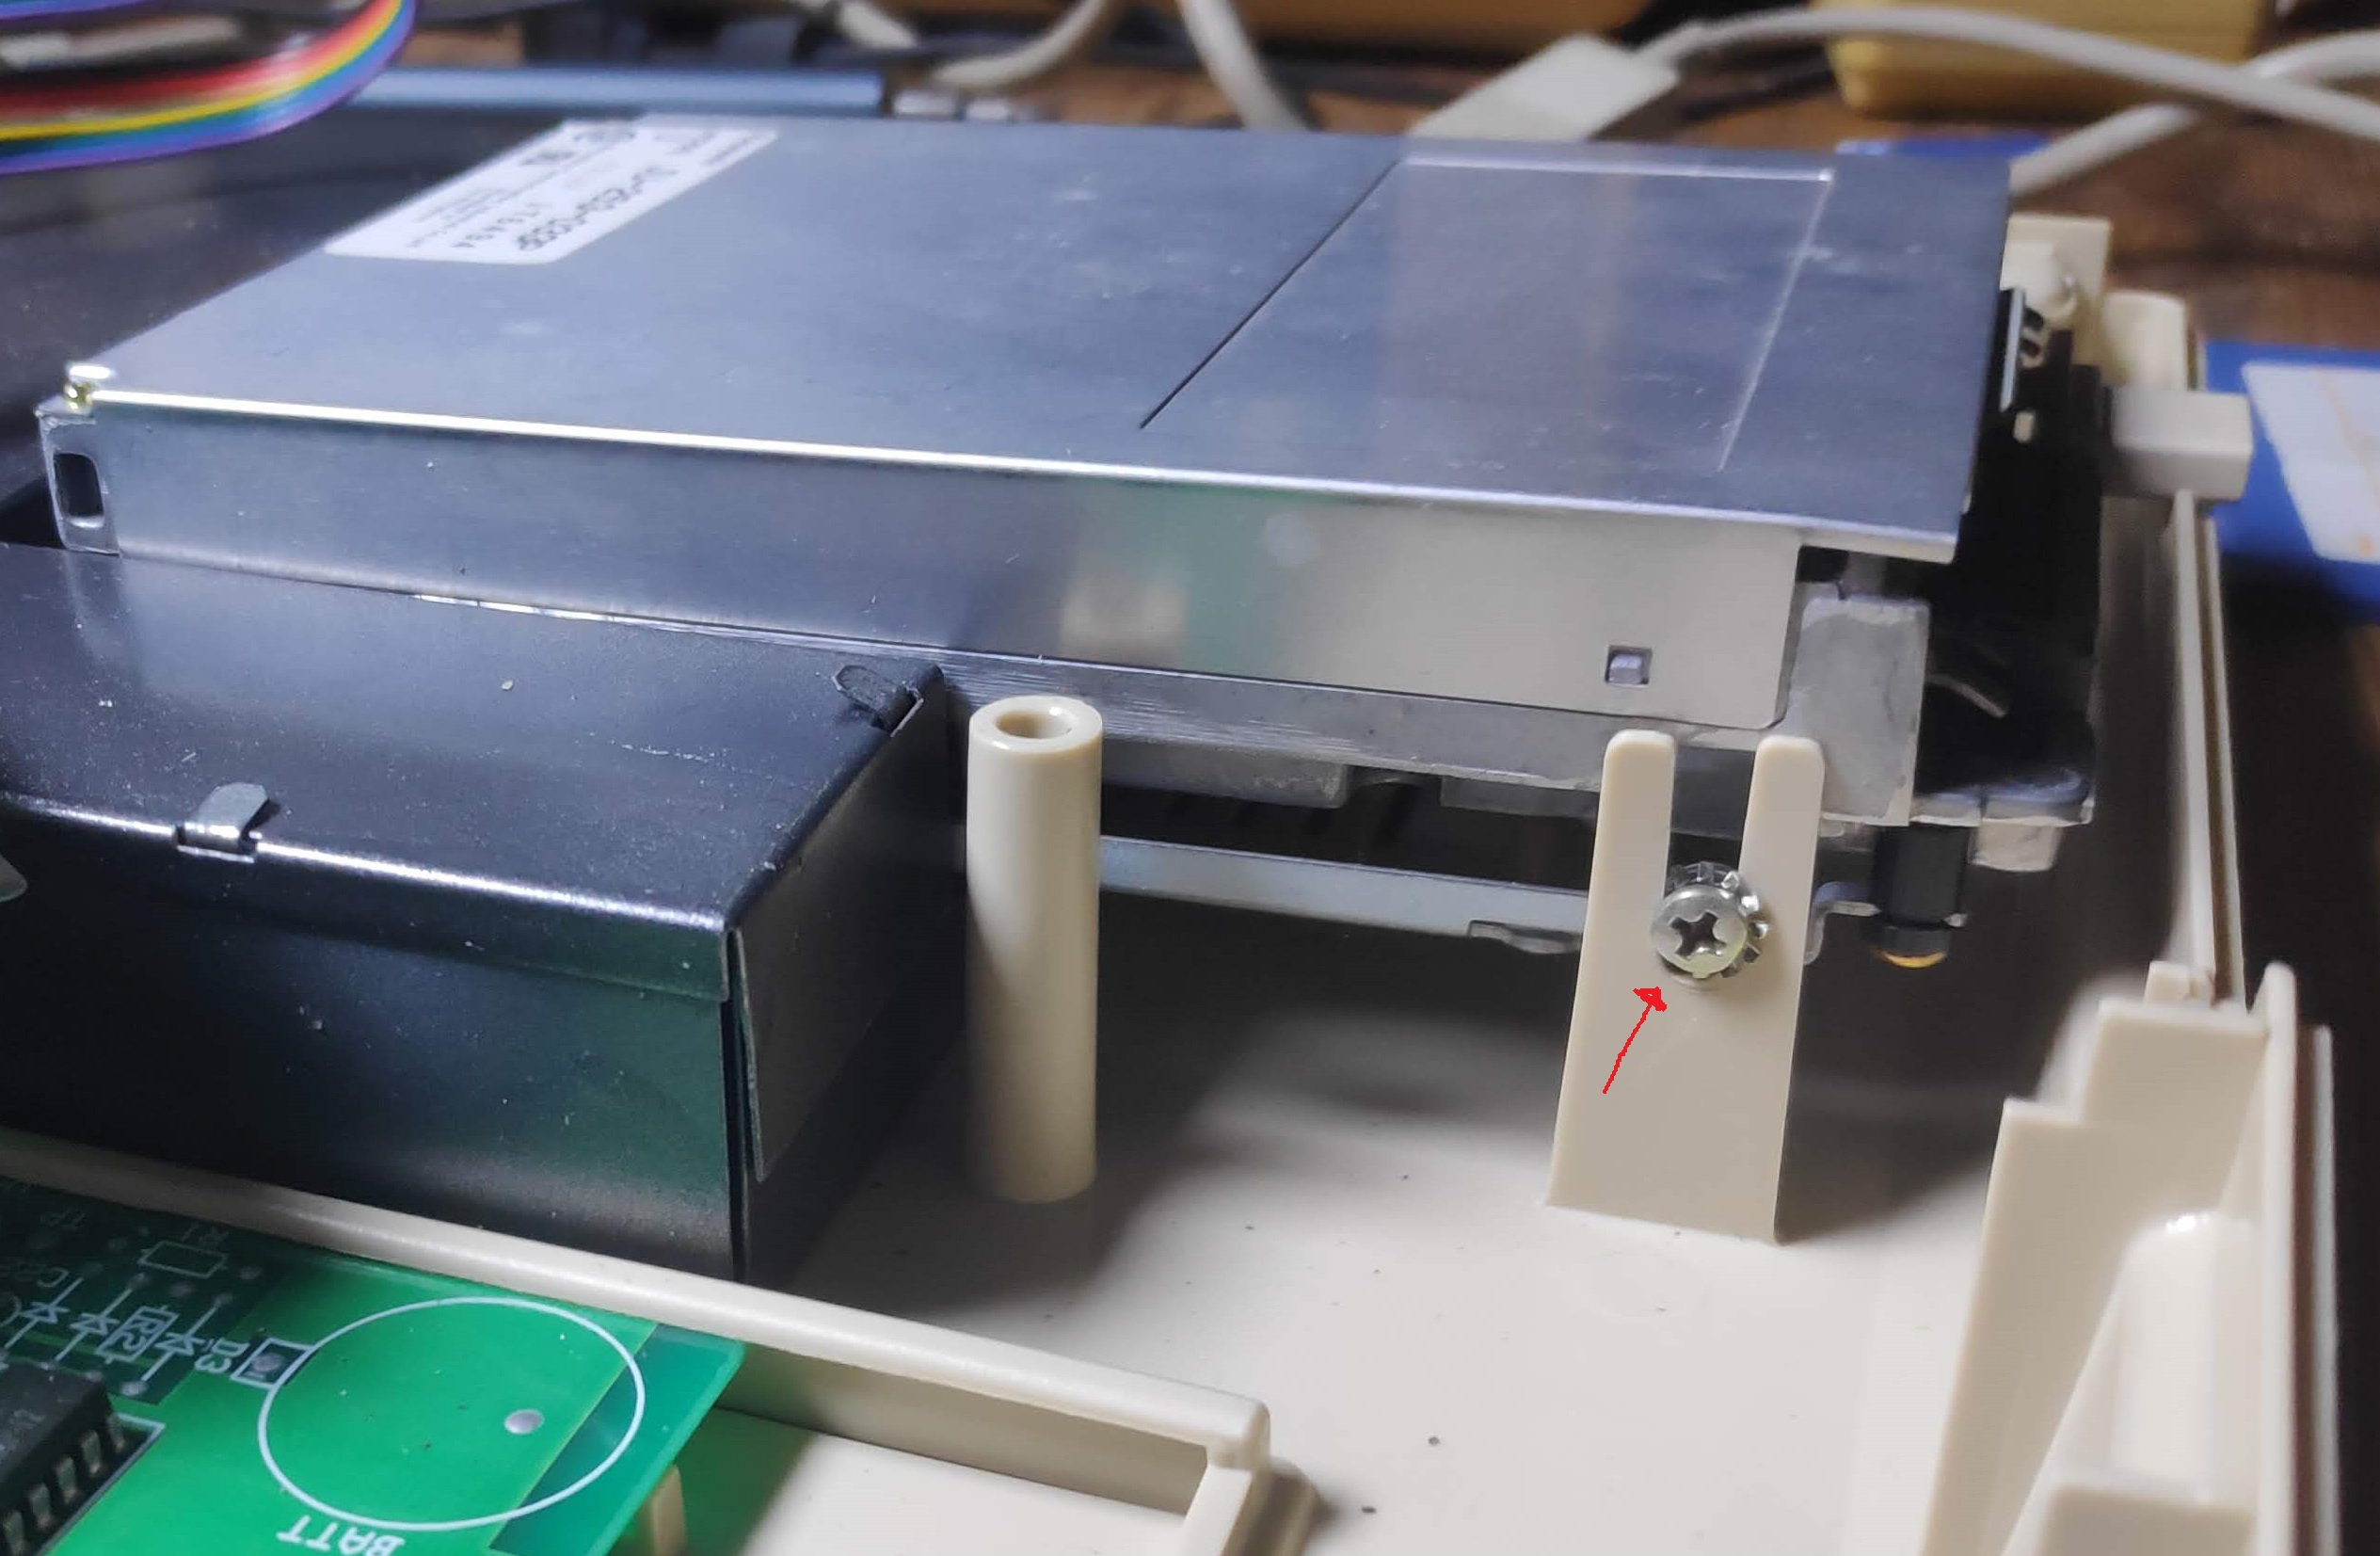
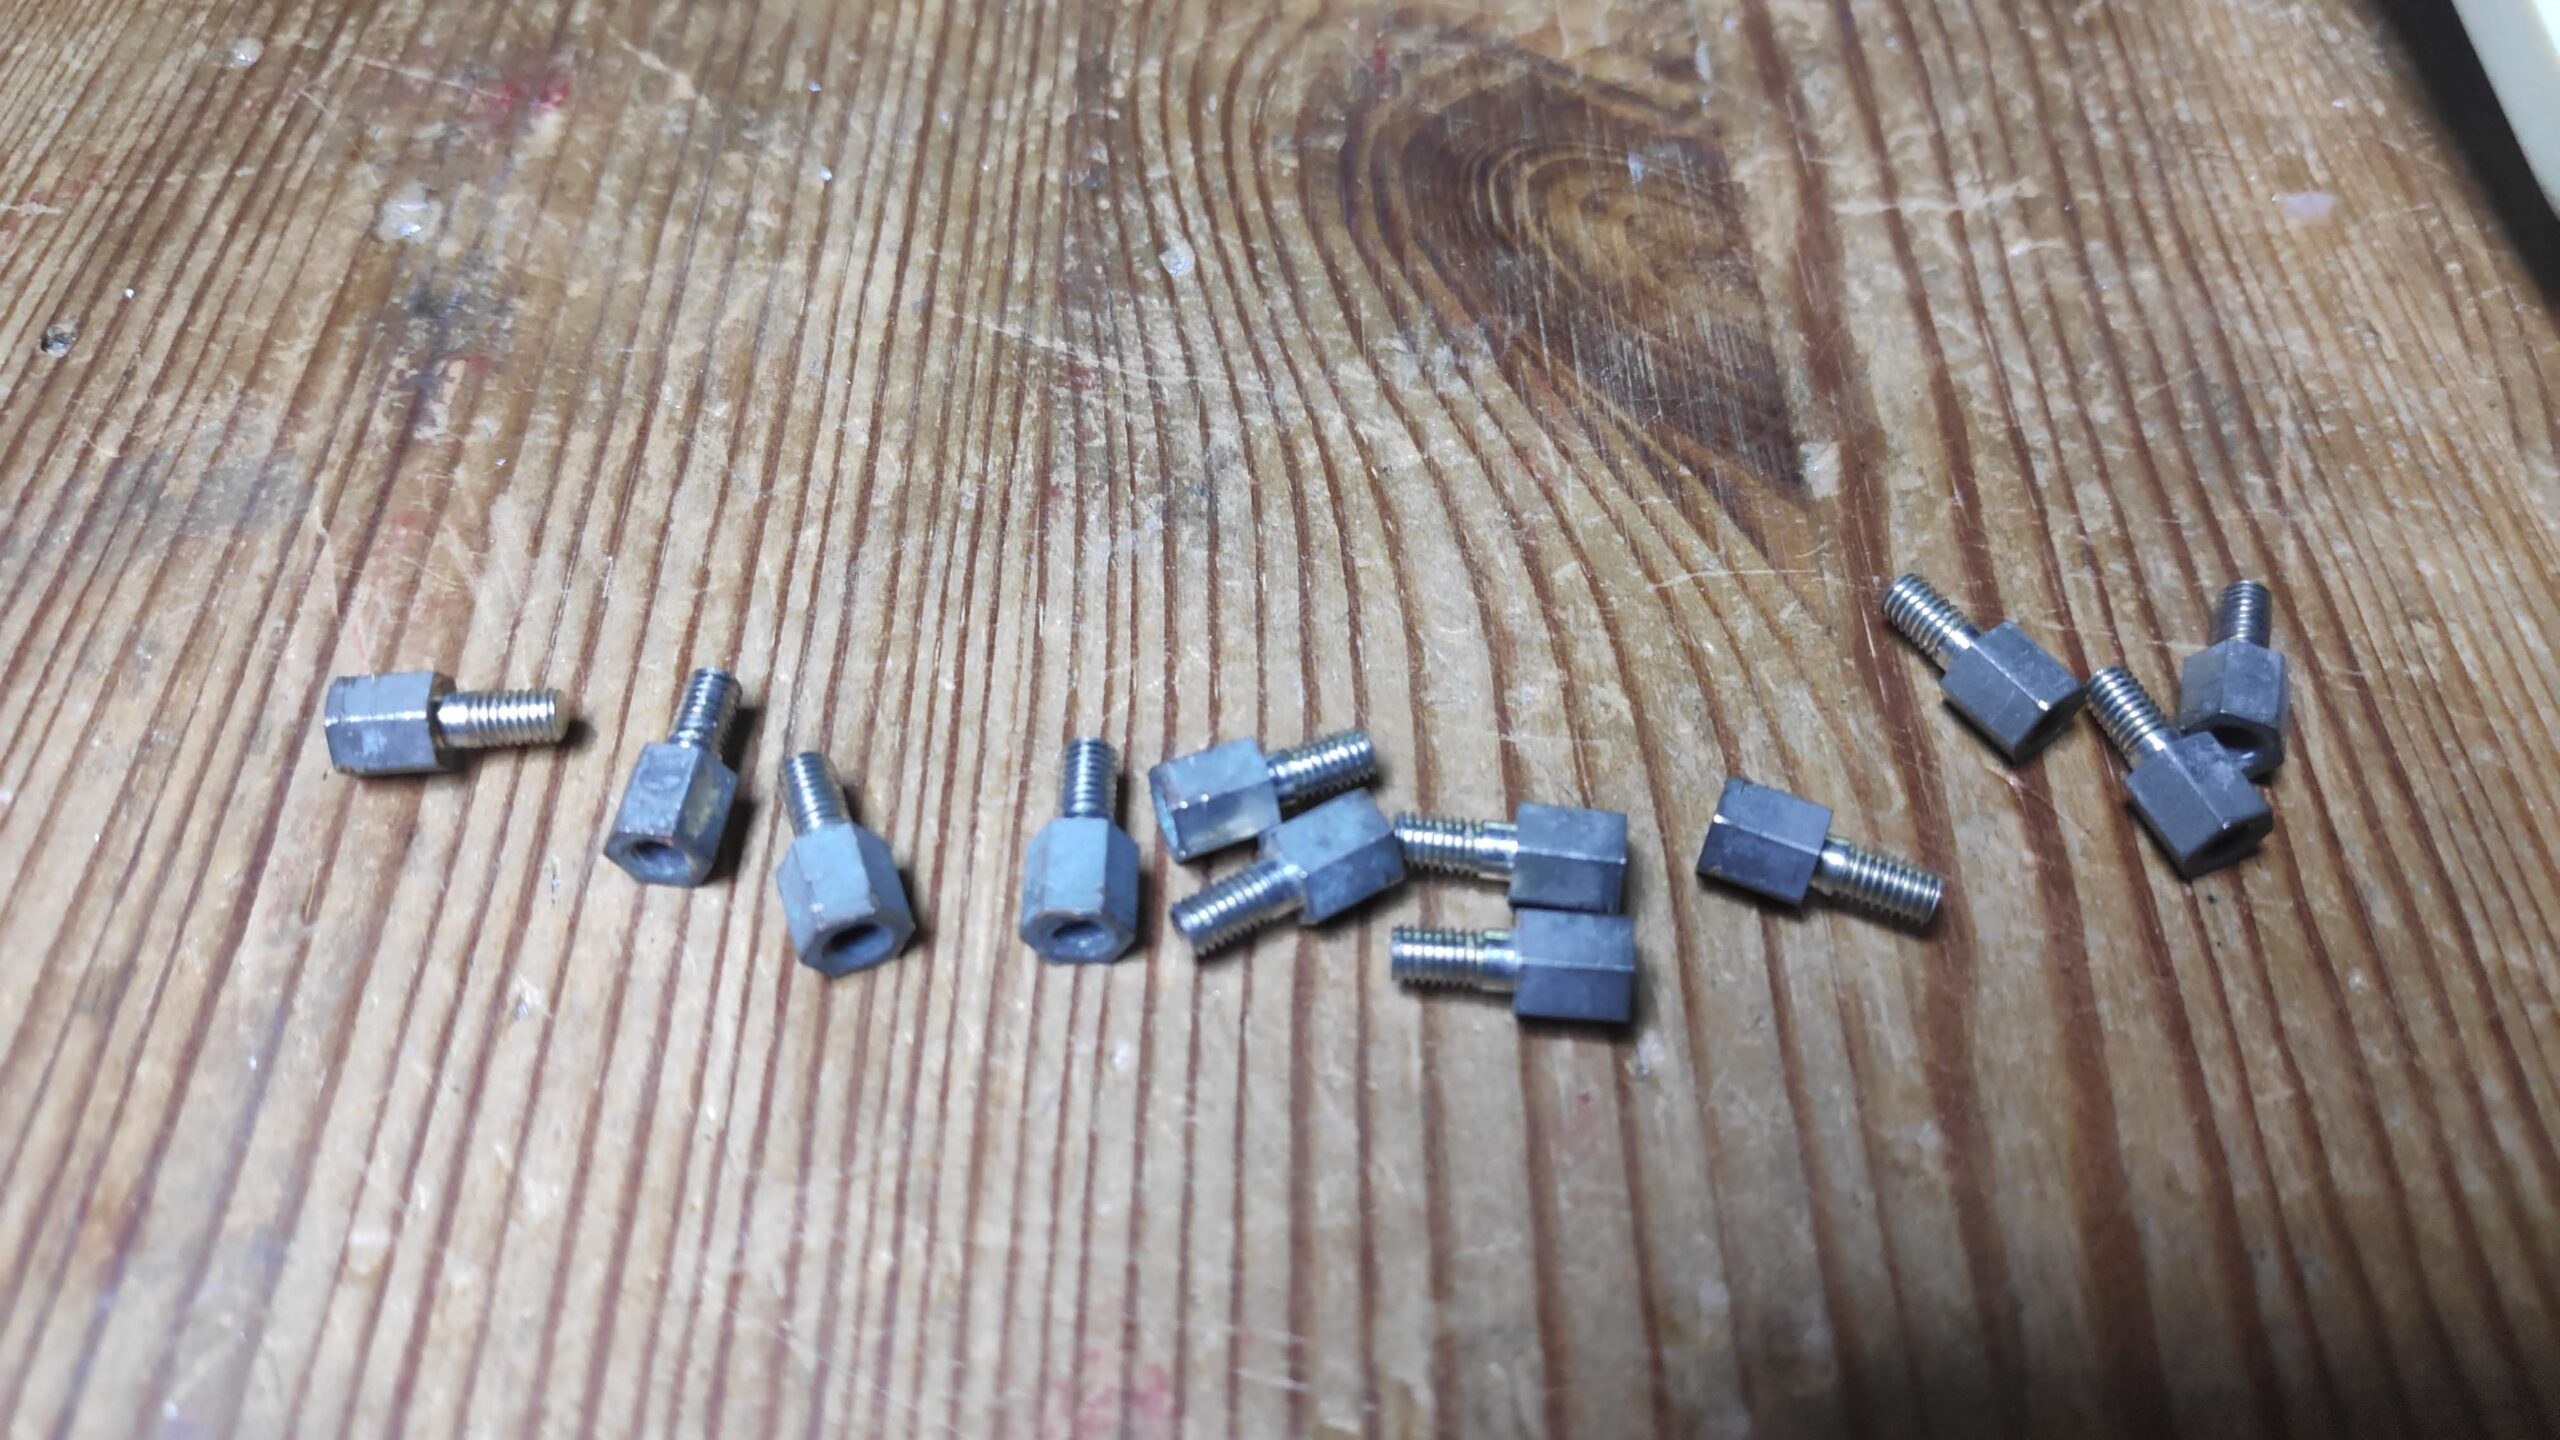
The drive is not seated properly and is slightly raised. Thats annoying a non standard torx screw!
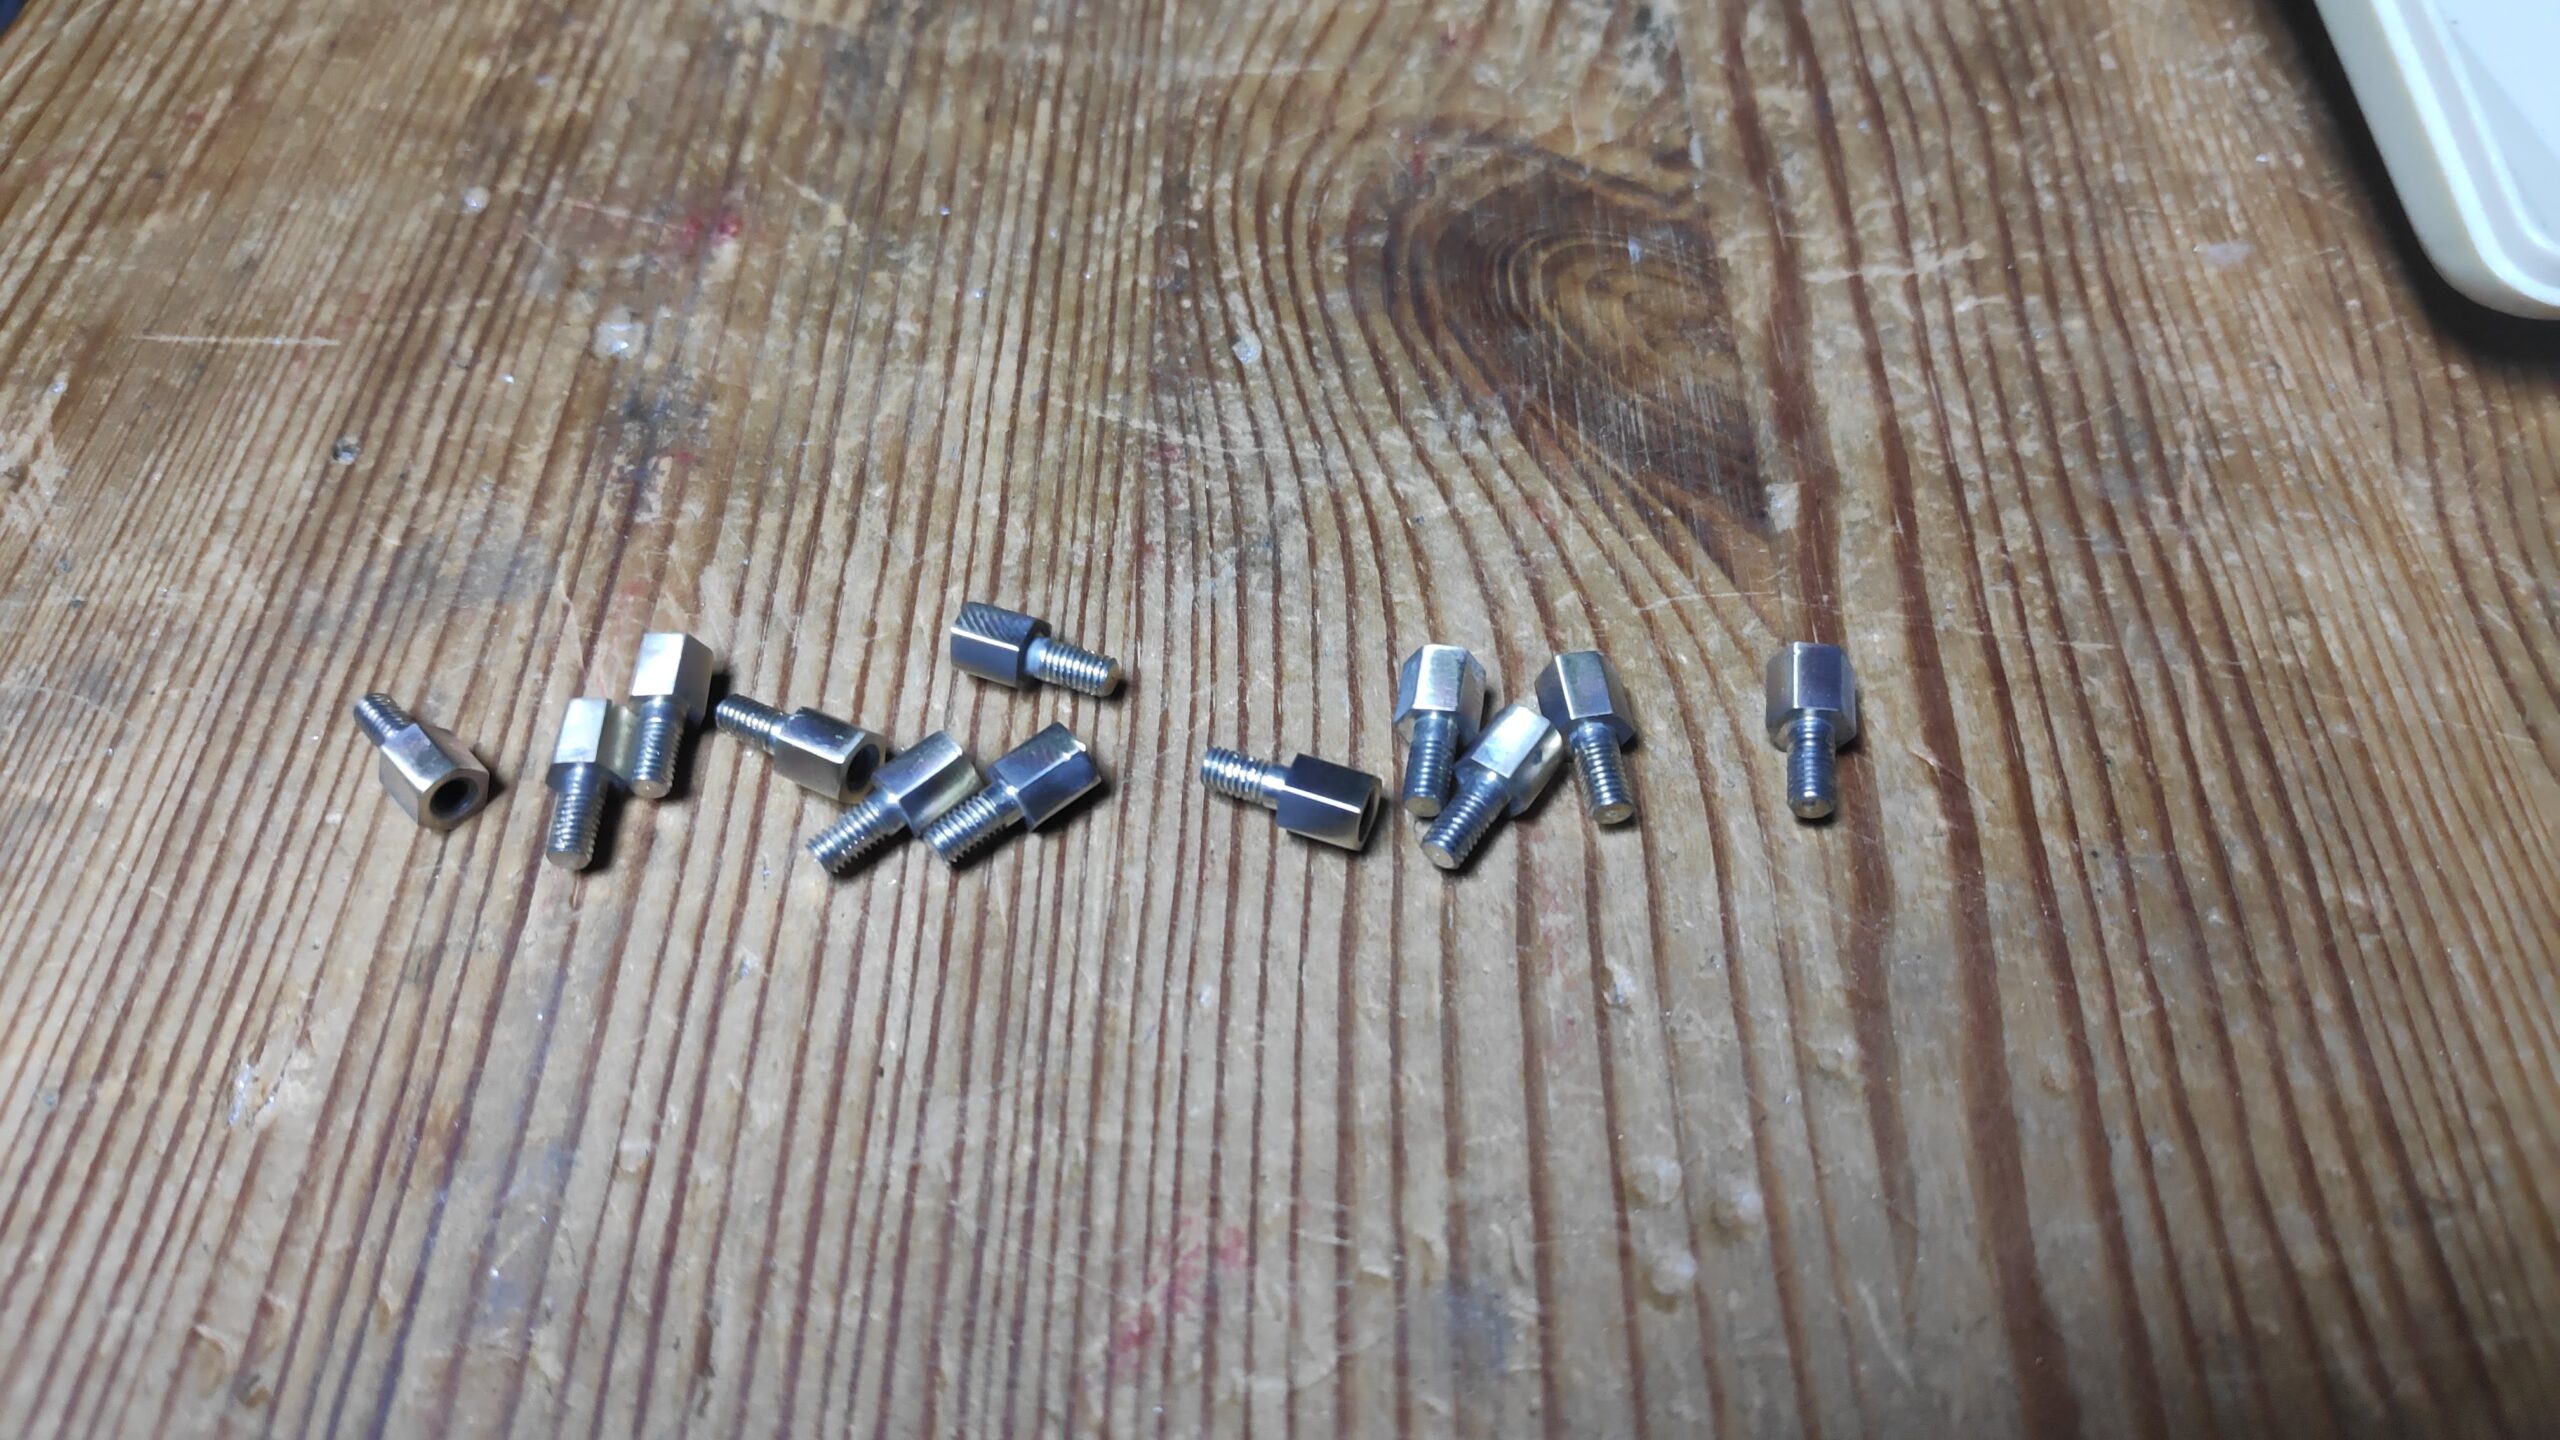
Finally repositioned with the correct screws.

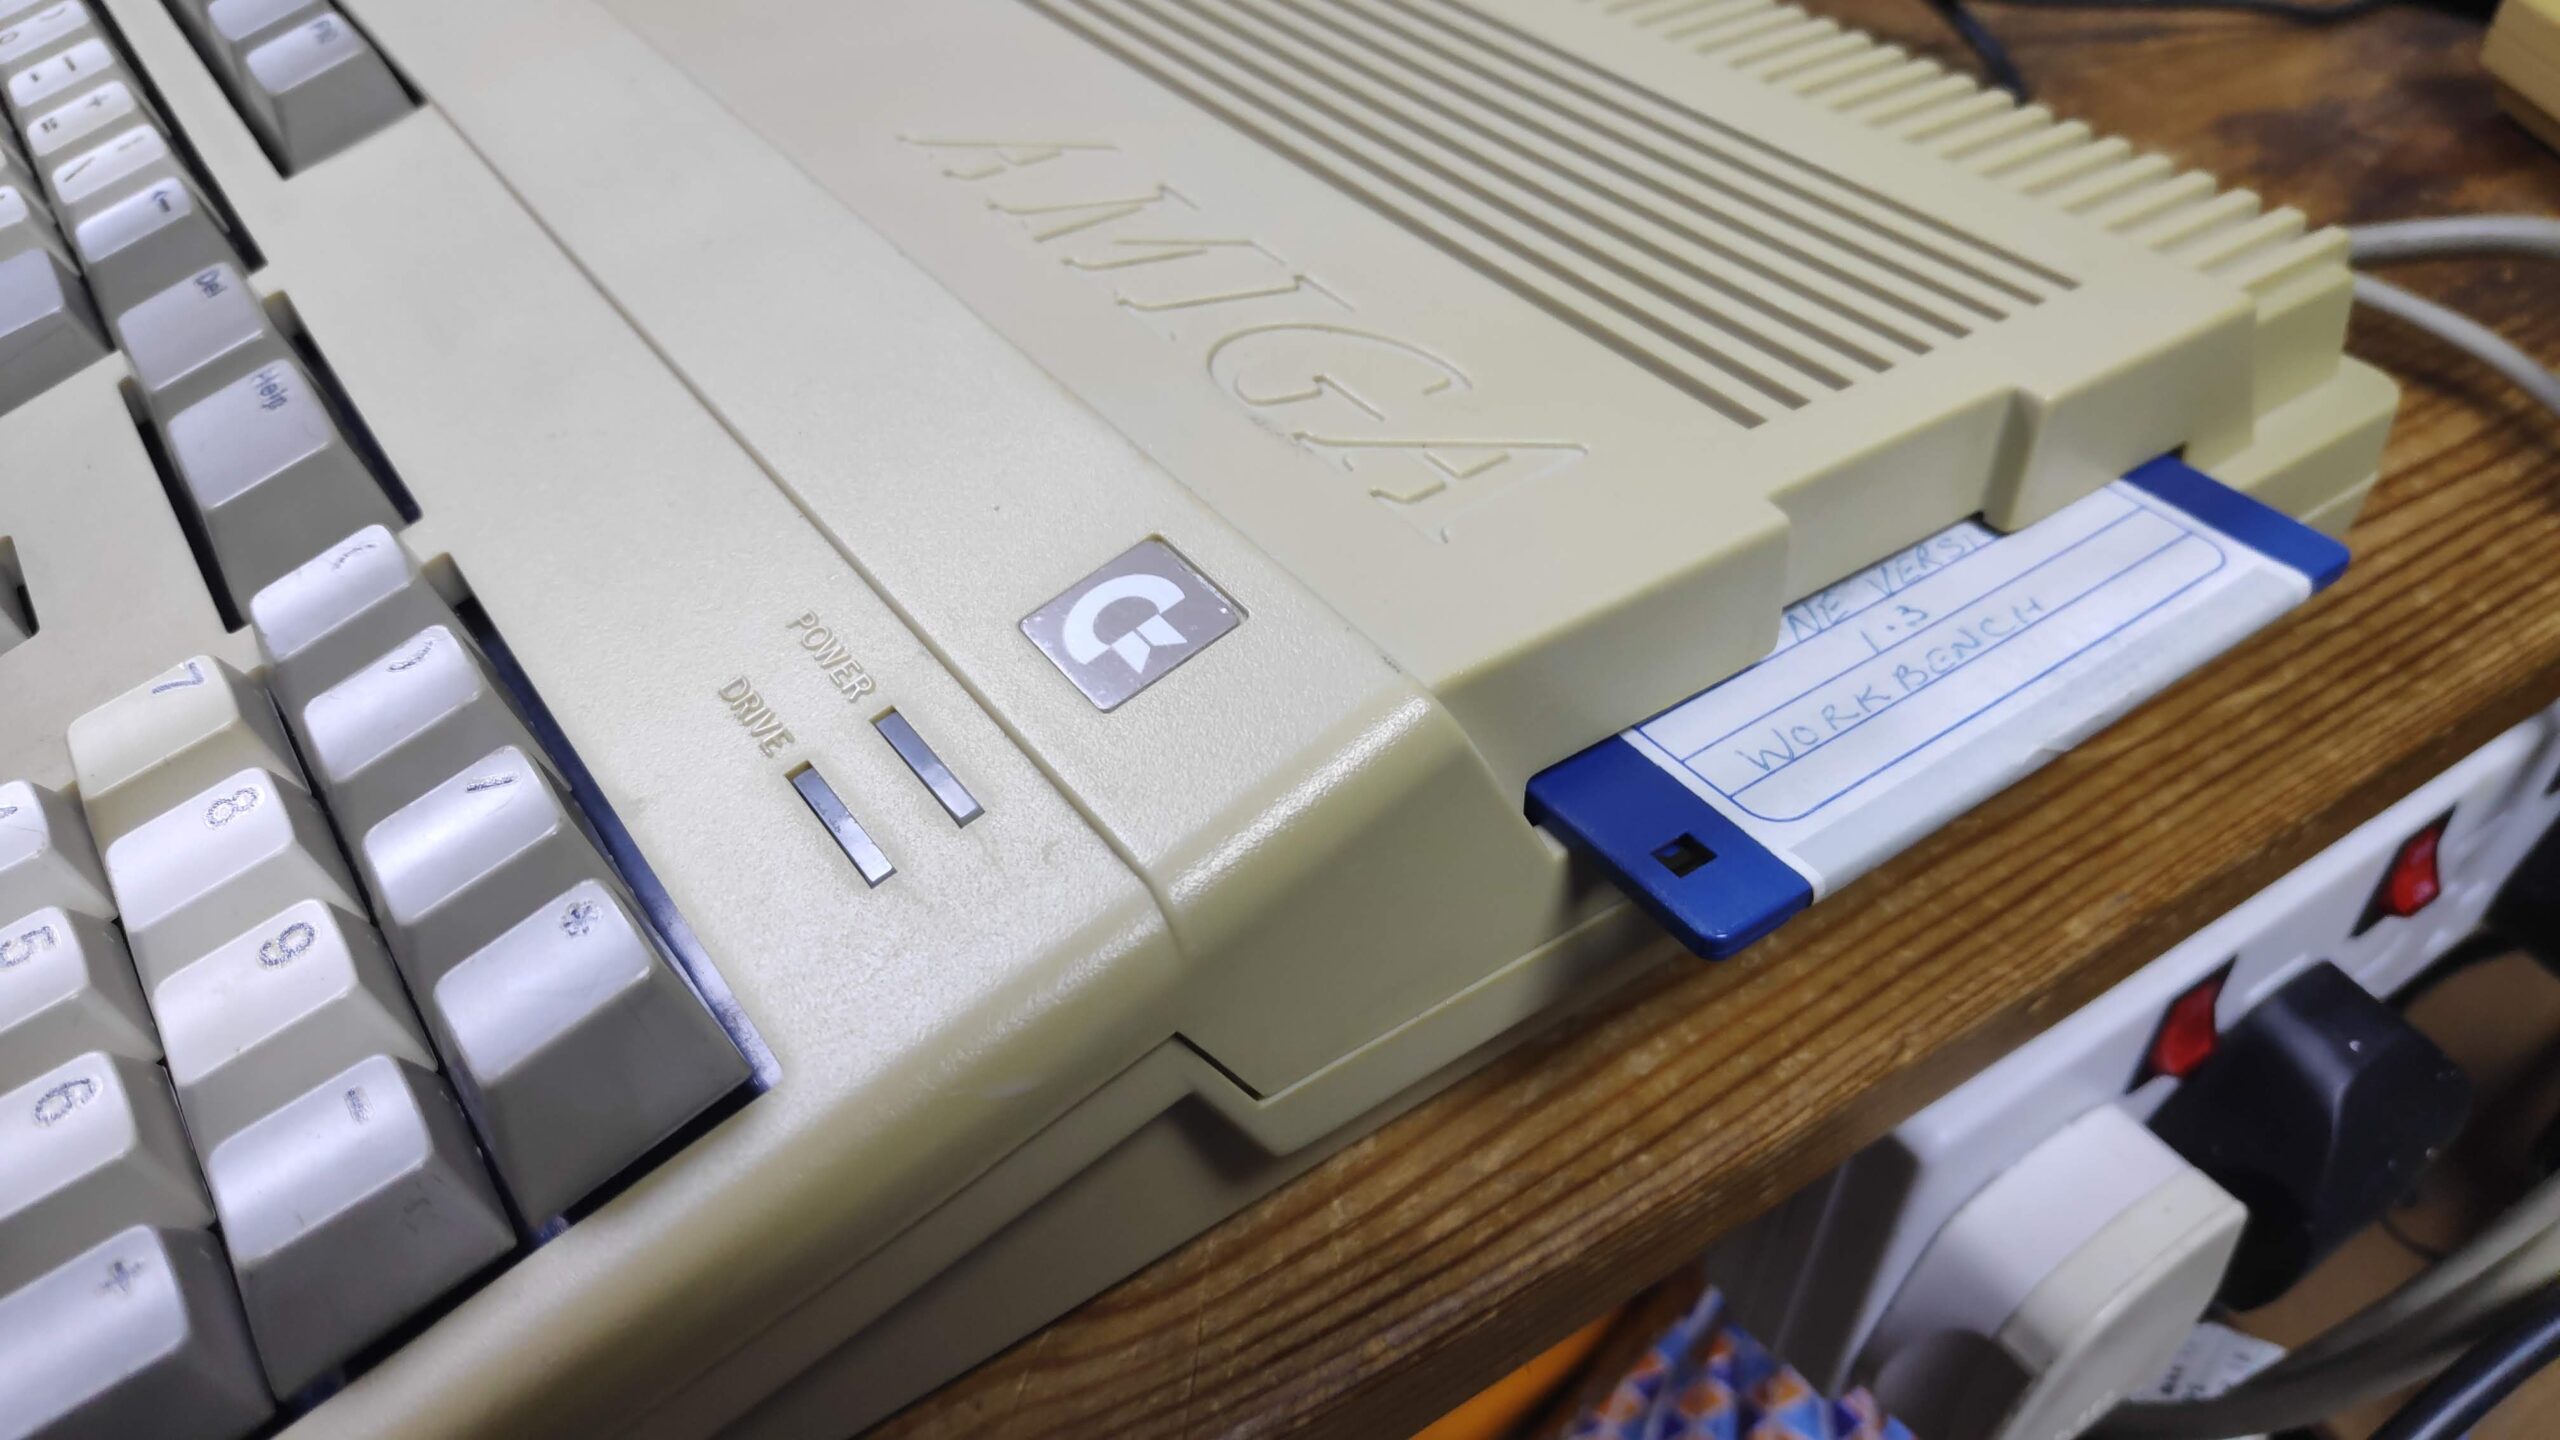
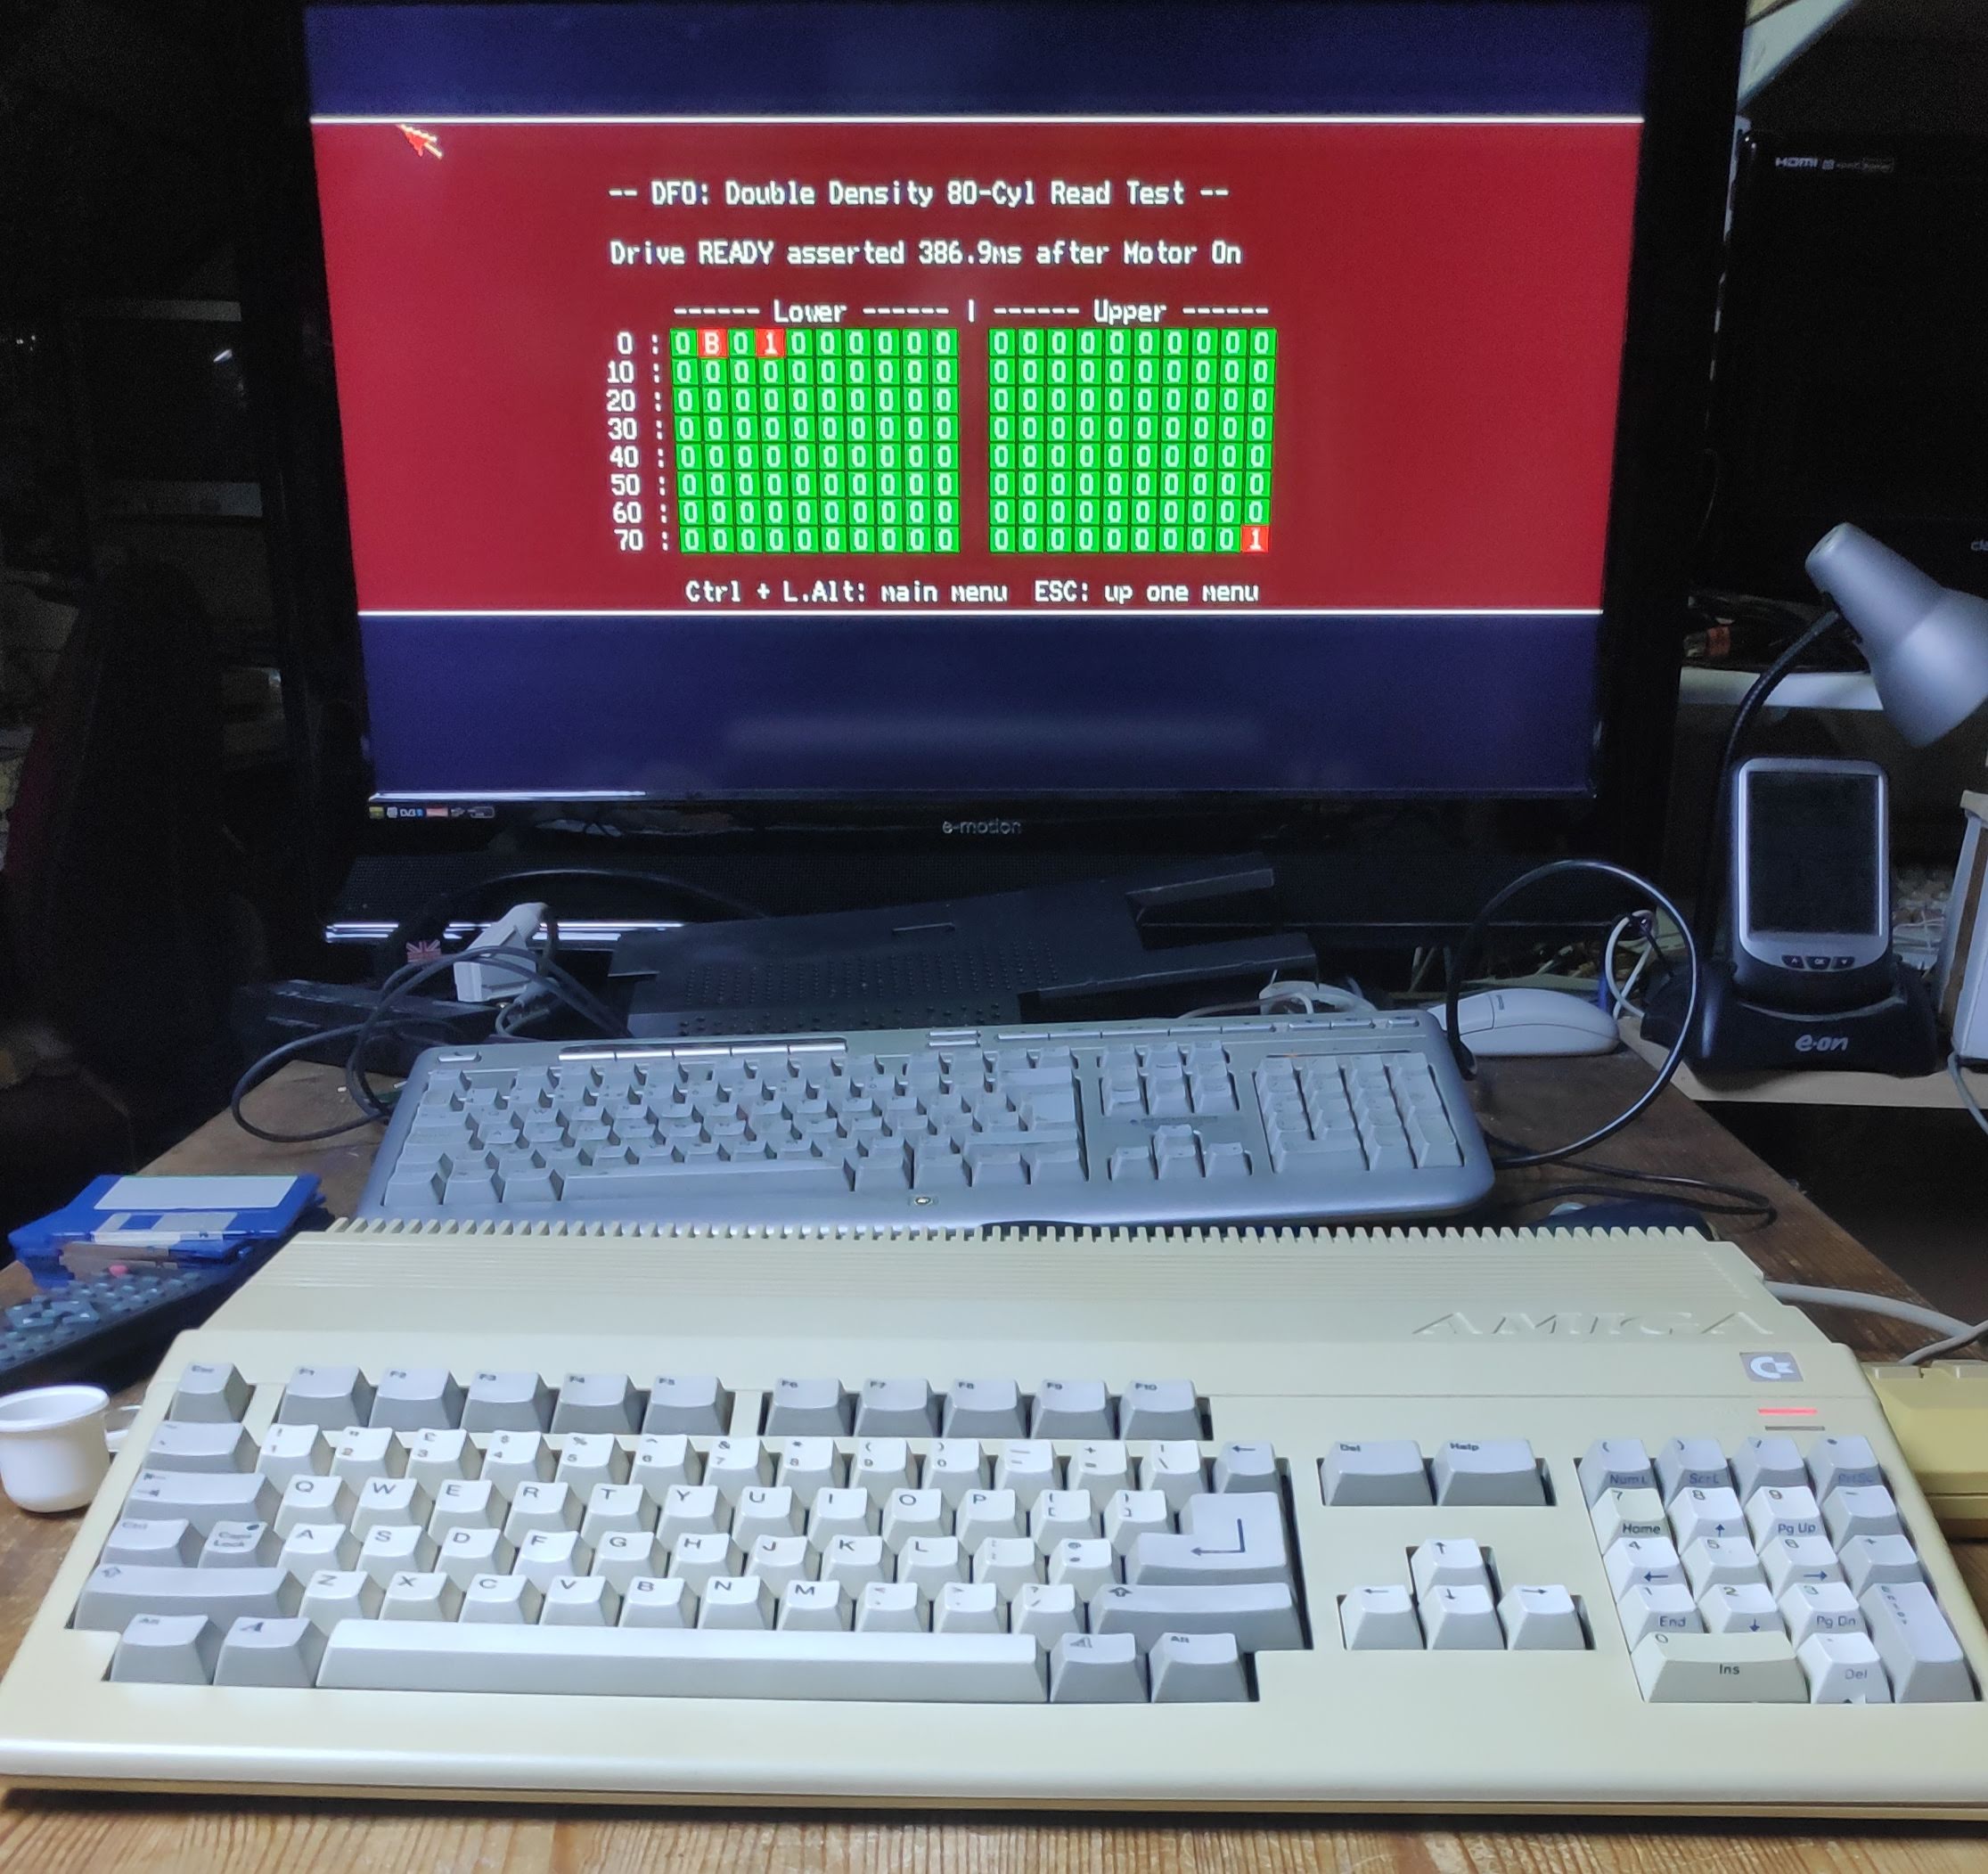
And now to use the the disk drive eject test device.
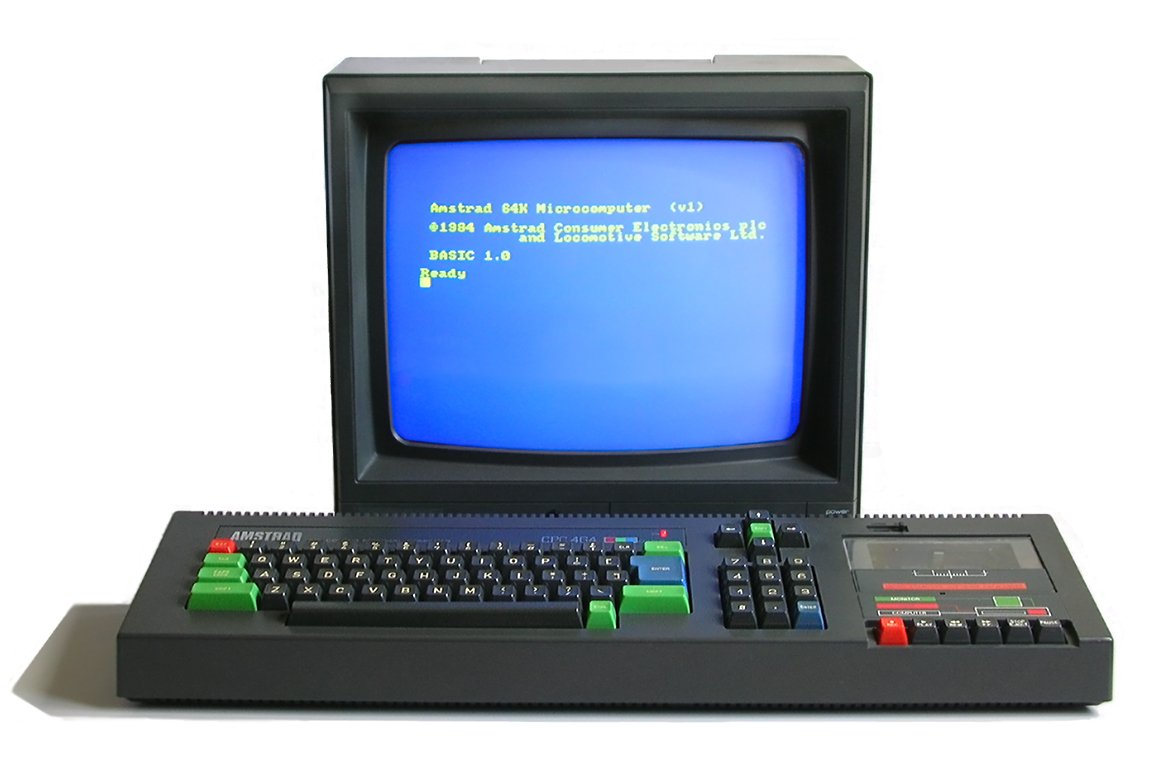
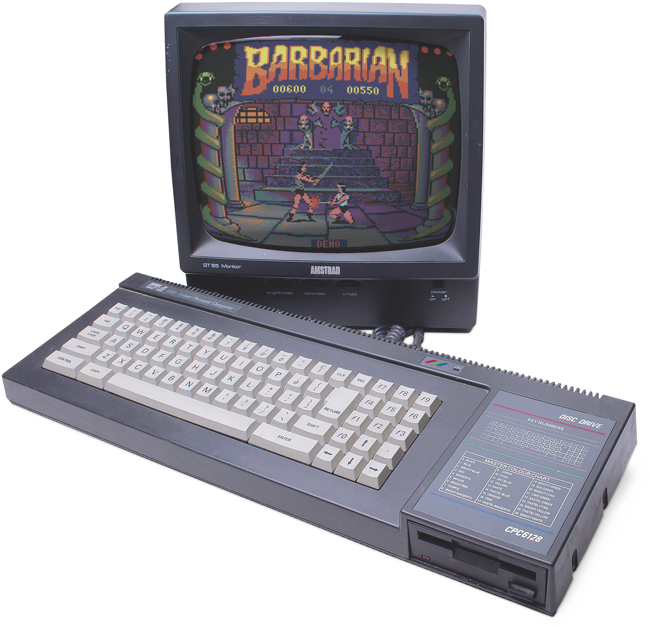
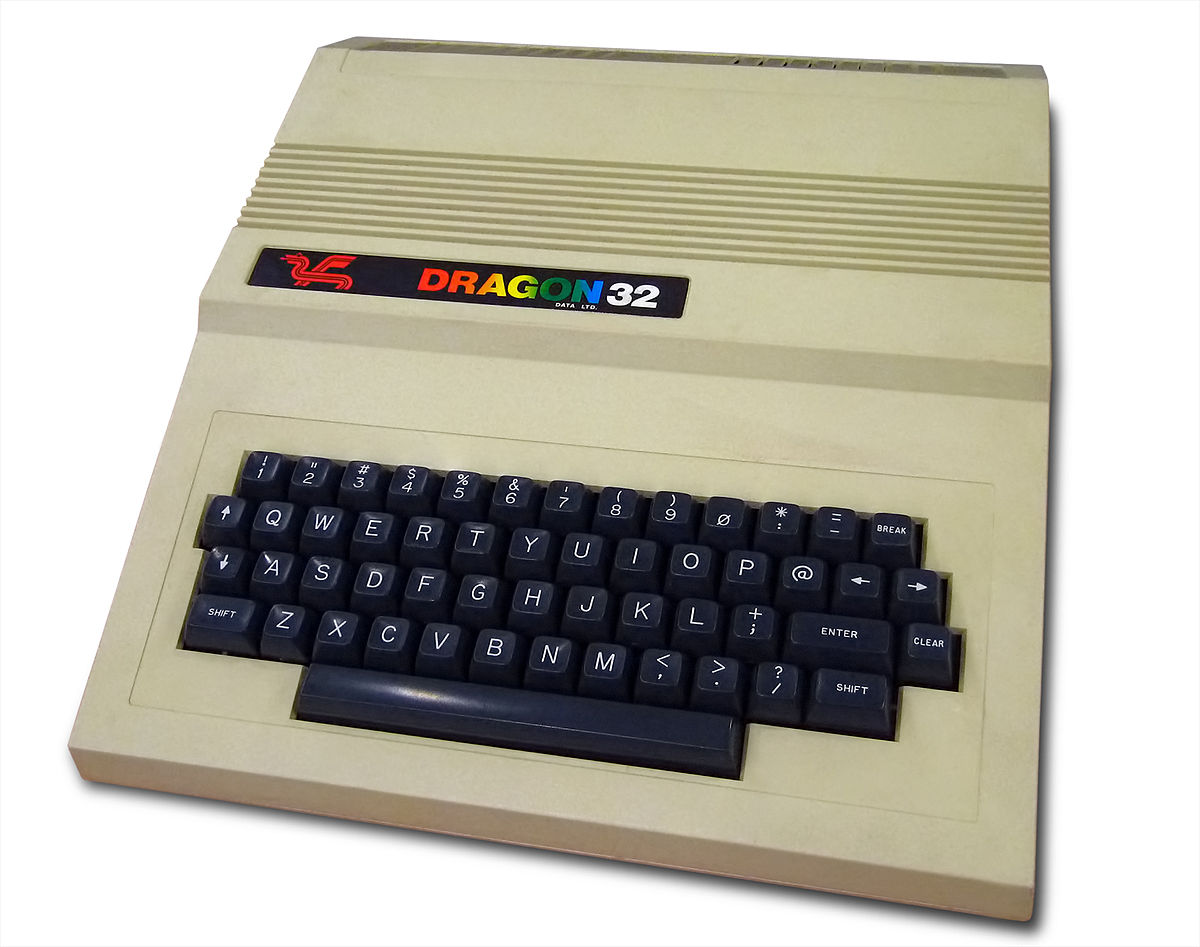
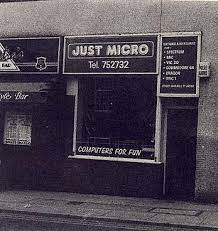
Good old Laskys. This was one of the first computer shops in Sheffield UK back in 80’s. As a kid I would cut my teeth programming basic on the BBC, Commodore 64, Oric et al. Initially printing rude messages on the screen and running off :). Some of the staff from Laskys would later leave and open the famous Just Micro on carver street which was responsible for the formation of Gremlin Graphics.
And disks are now ejecting properly, even the Laskys disk with the raised label.
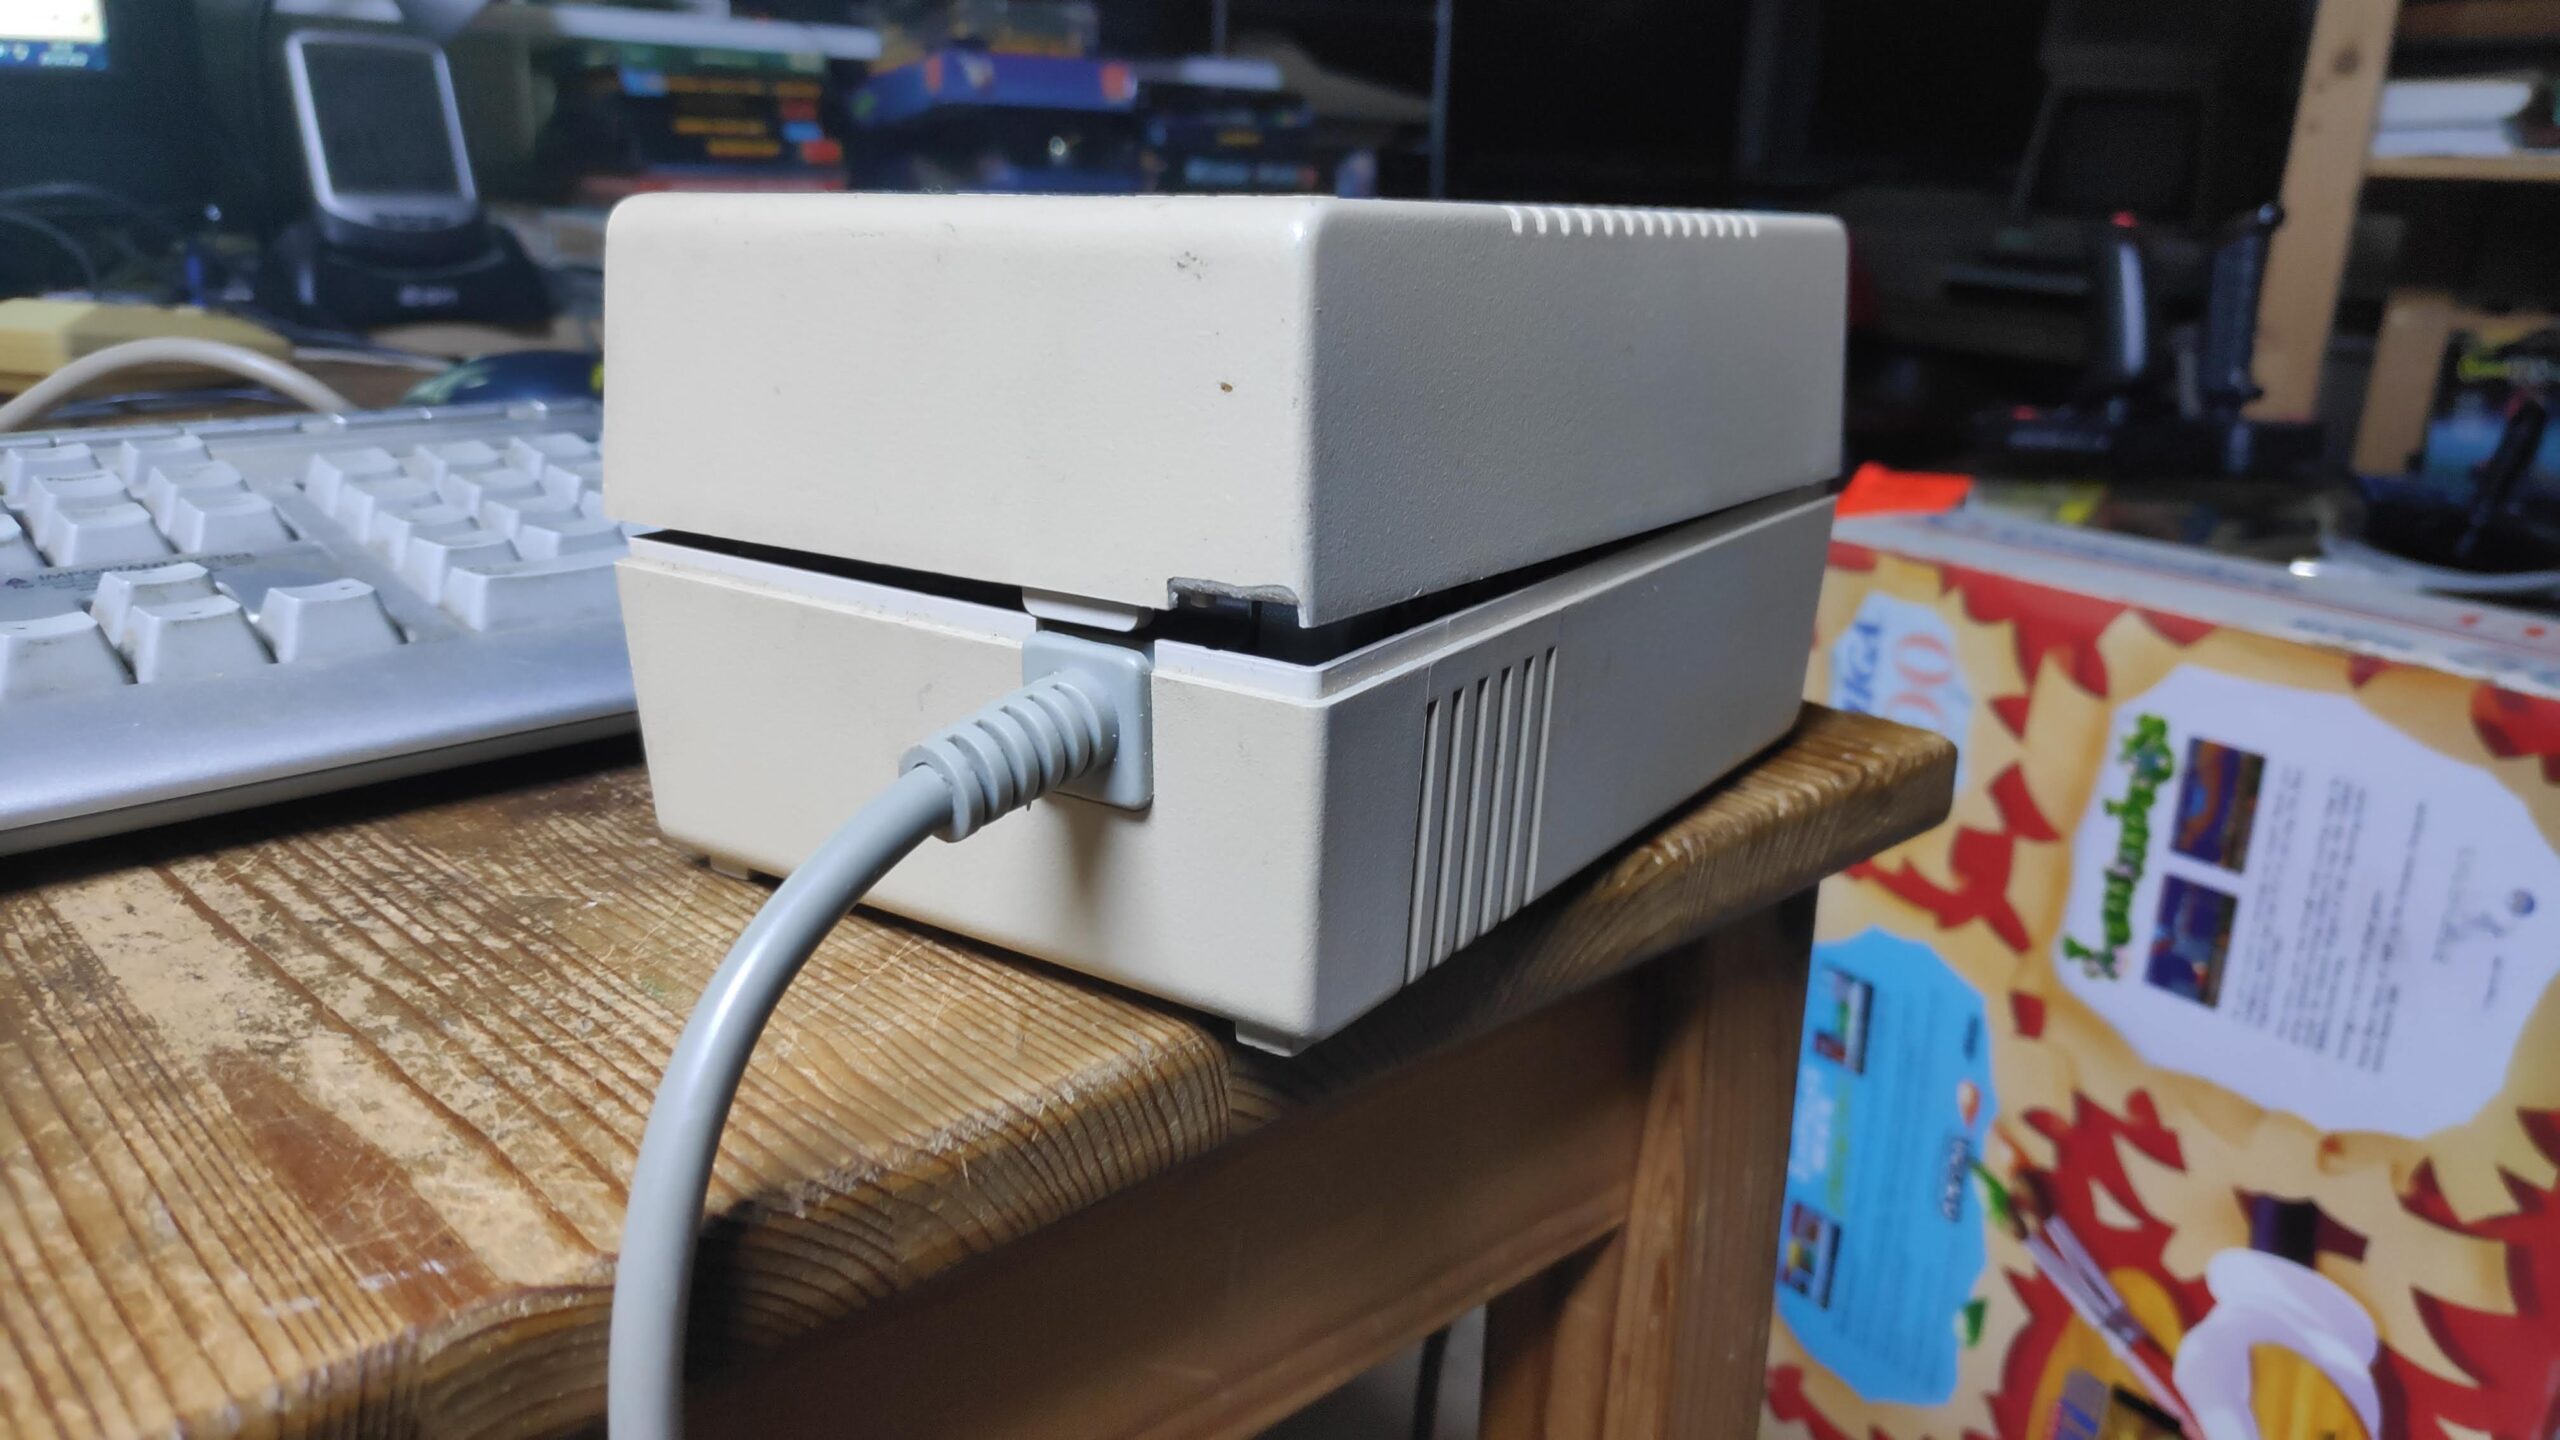
Power Supply Case
Next issue I just noticed. The power supply case isn’t quite as its supposed to be

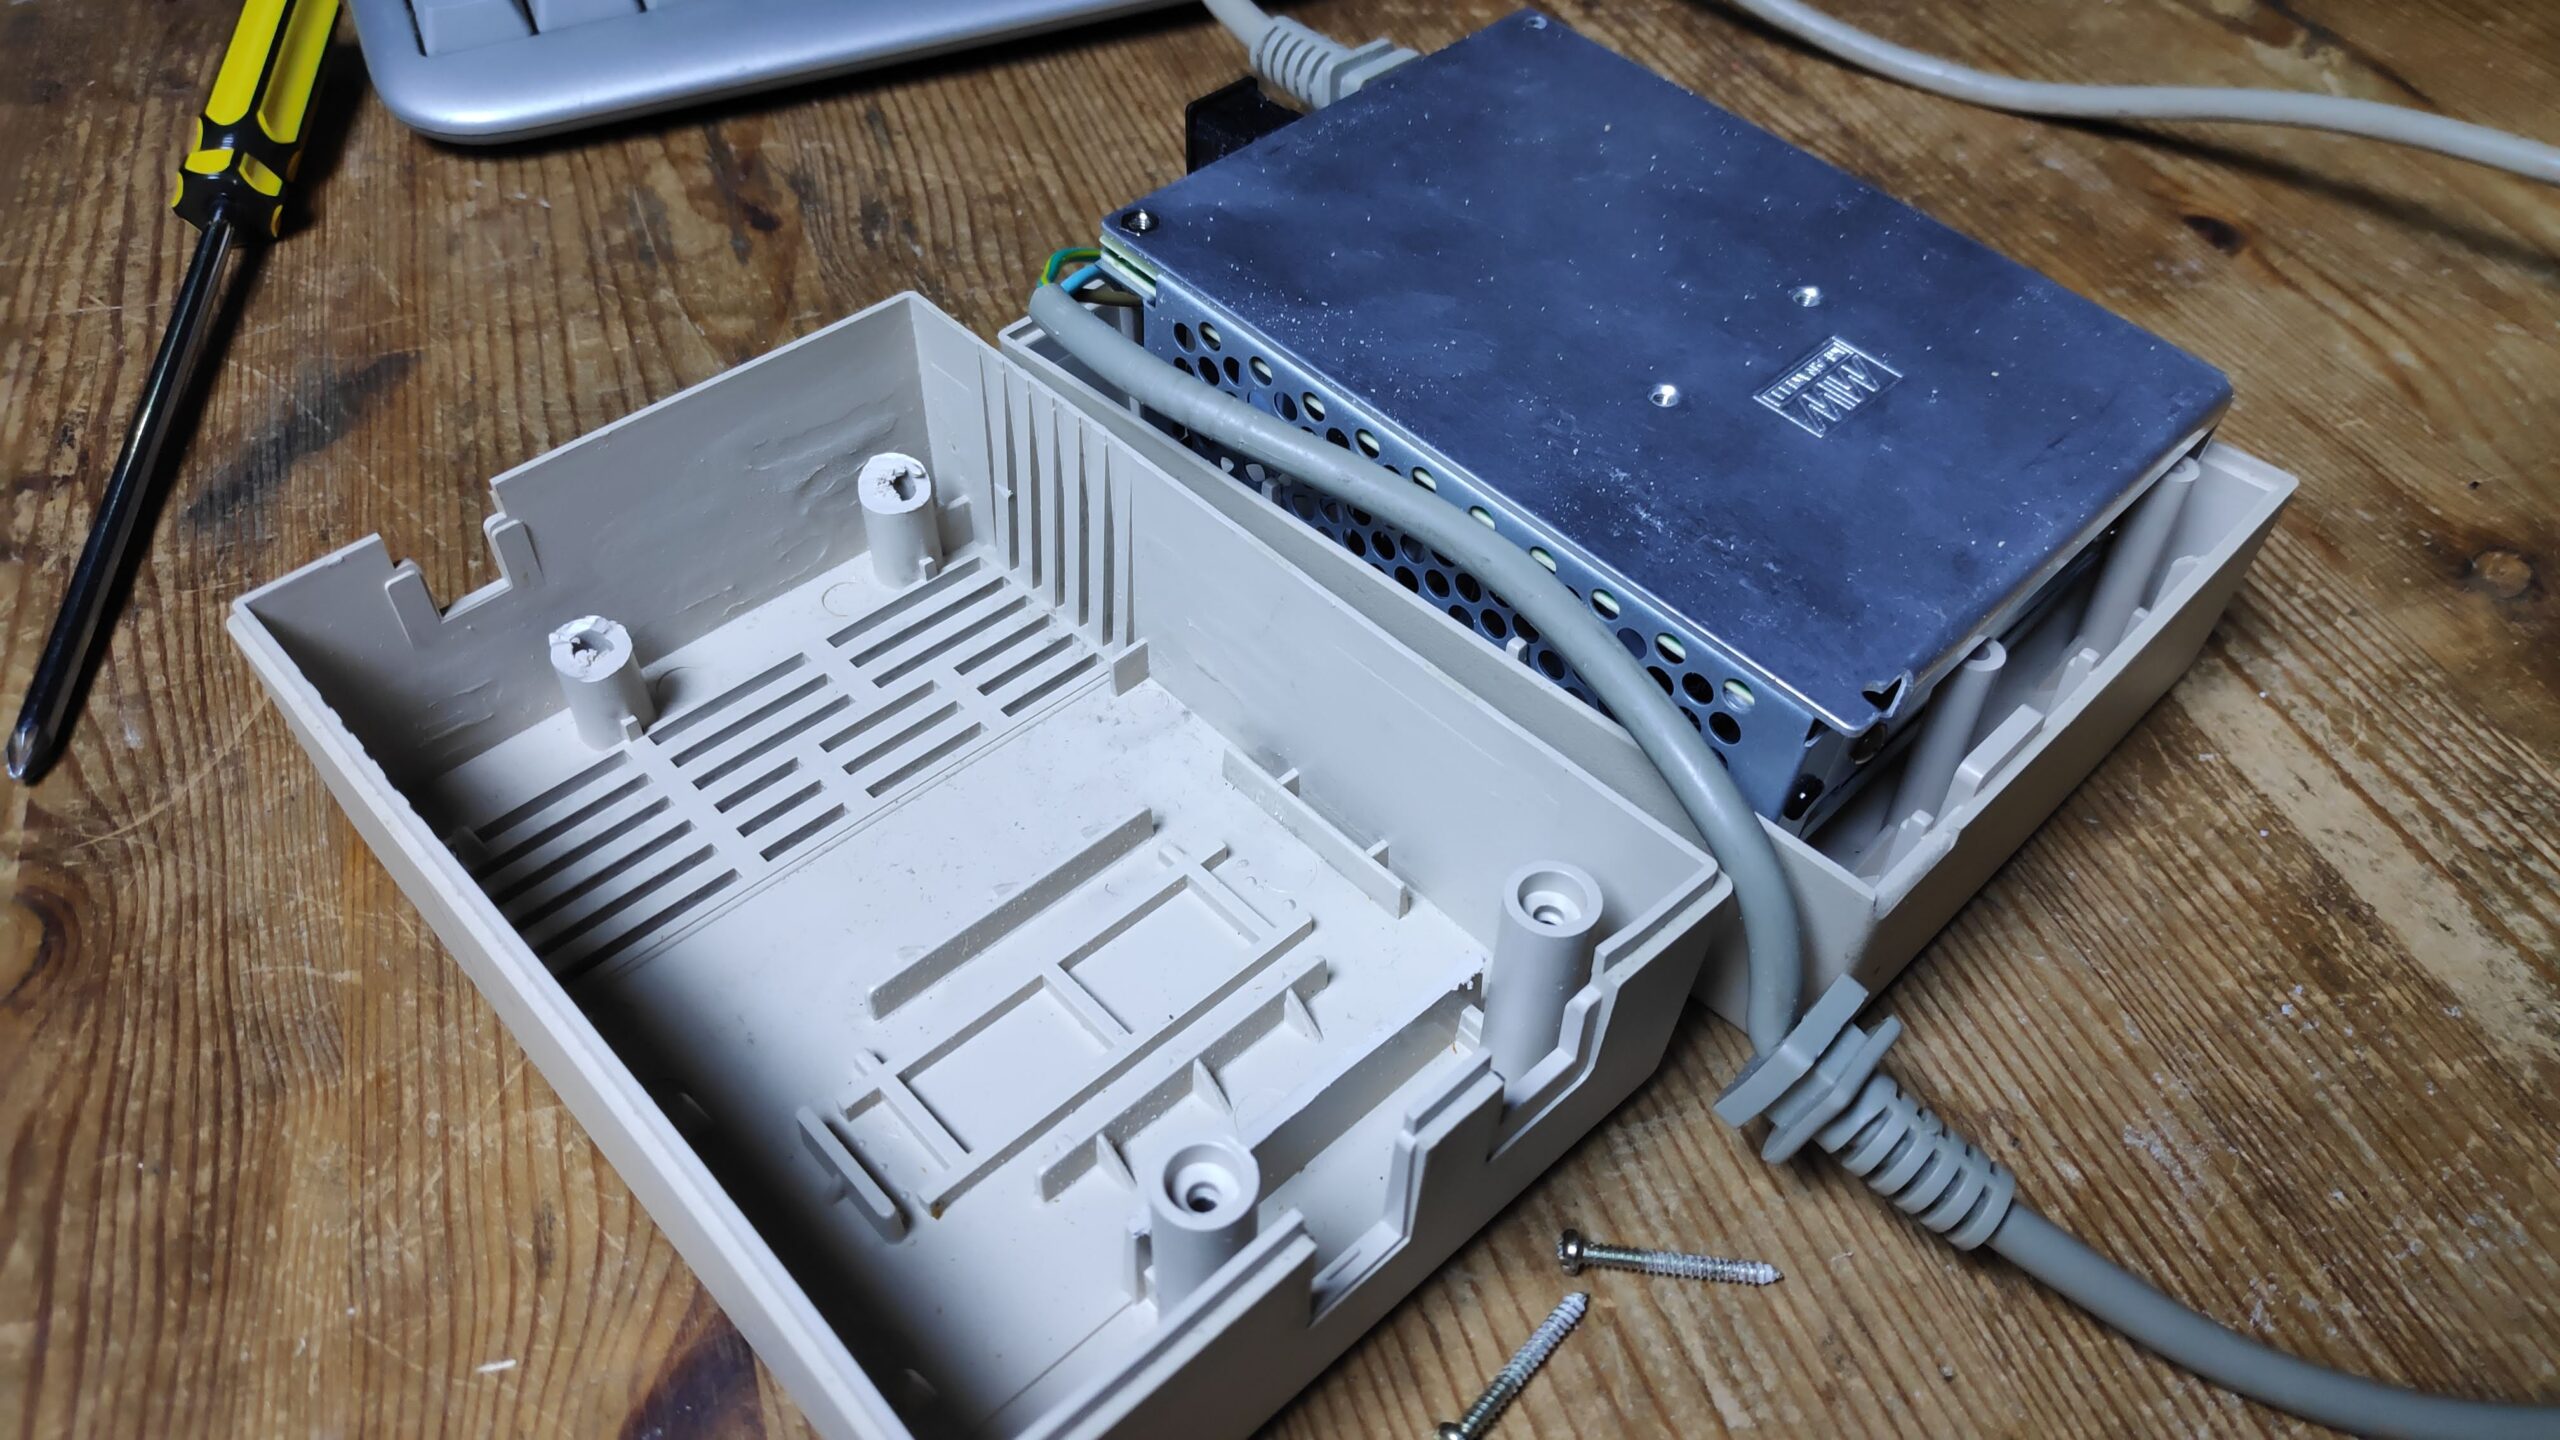
Not only are the screws missing but the screw holes have had it also. Time for some super glue and bicarb.
PSU Case
The PSU case posts have been chopped down to accommodate the meanwell psu. I think with a bit of chopping into the meanwell metal case it will fit in the original case a little better.
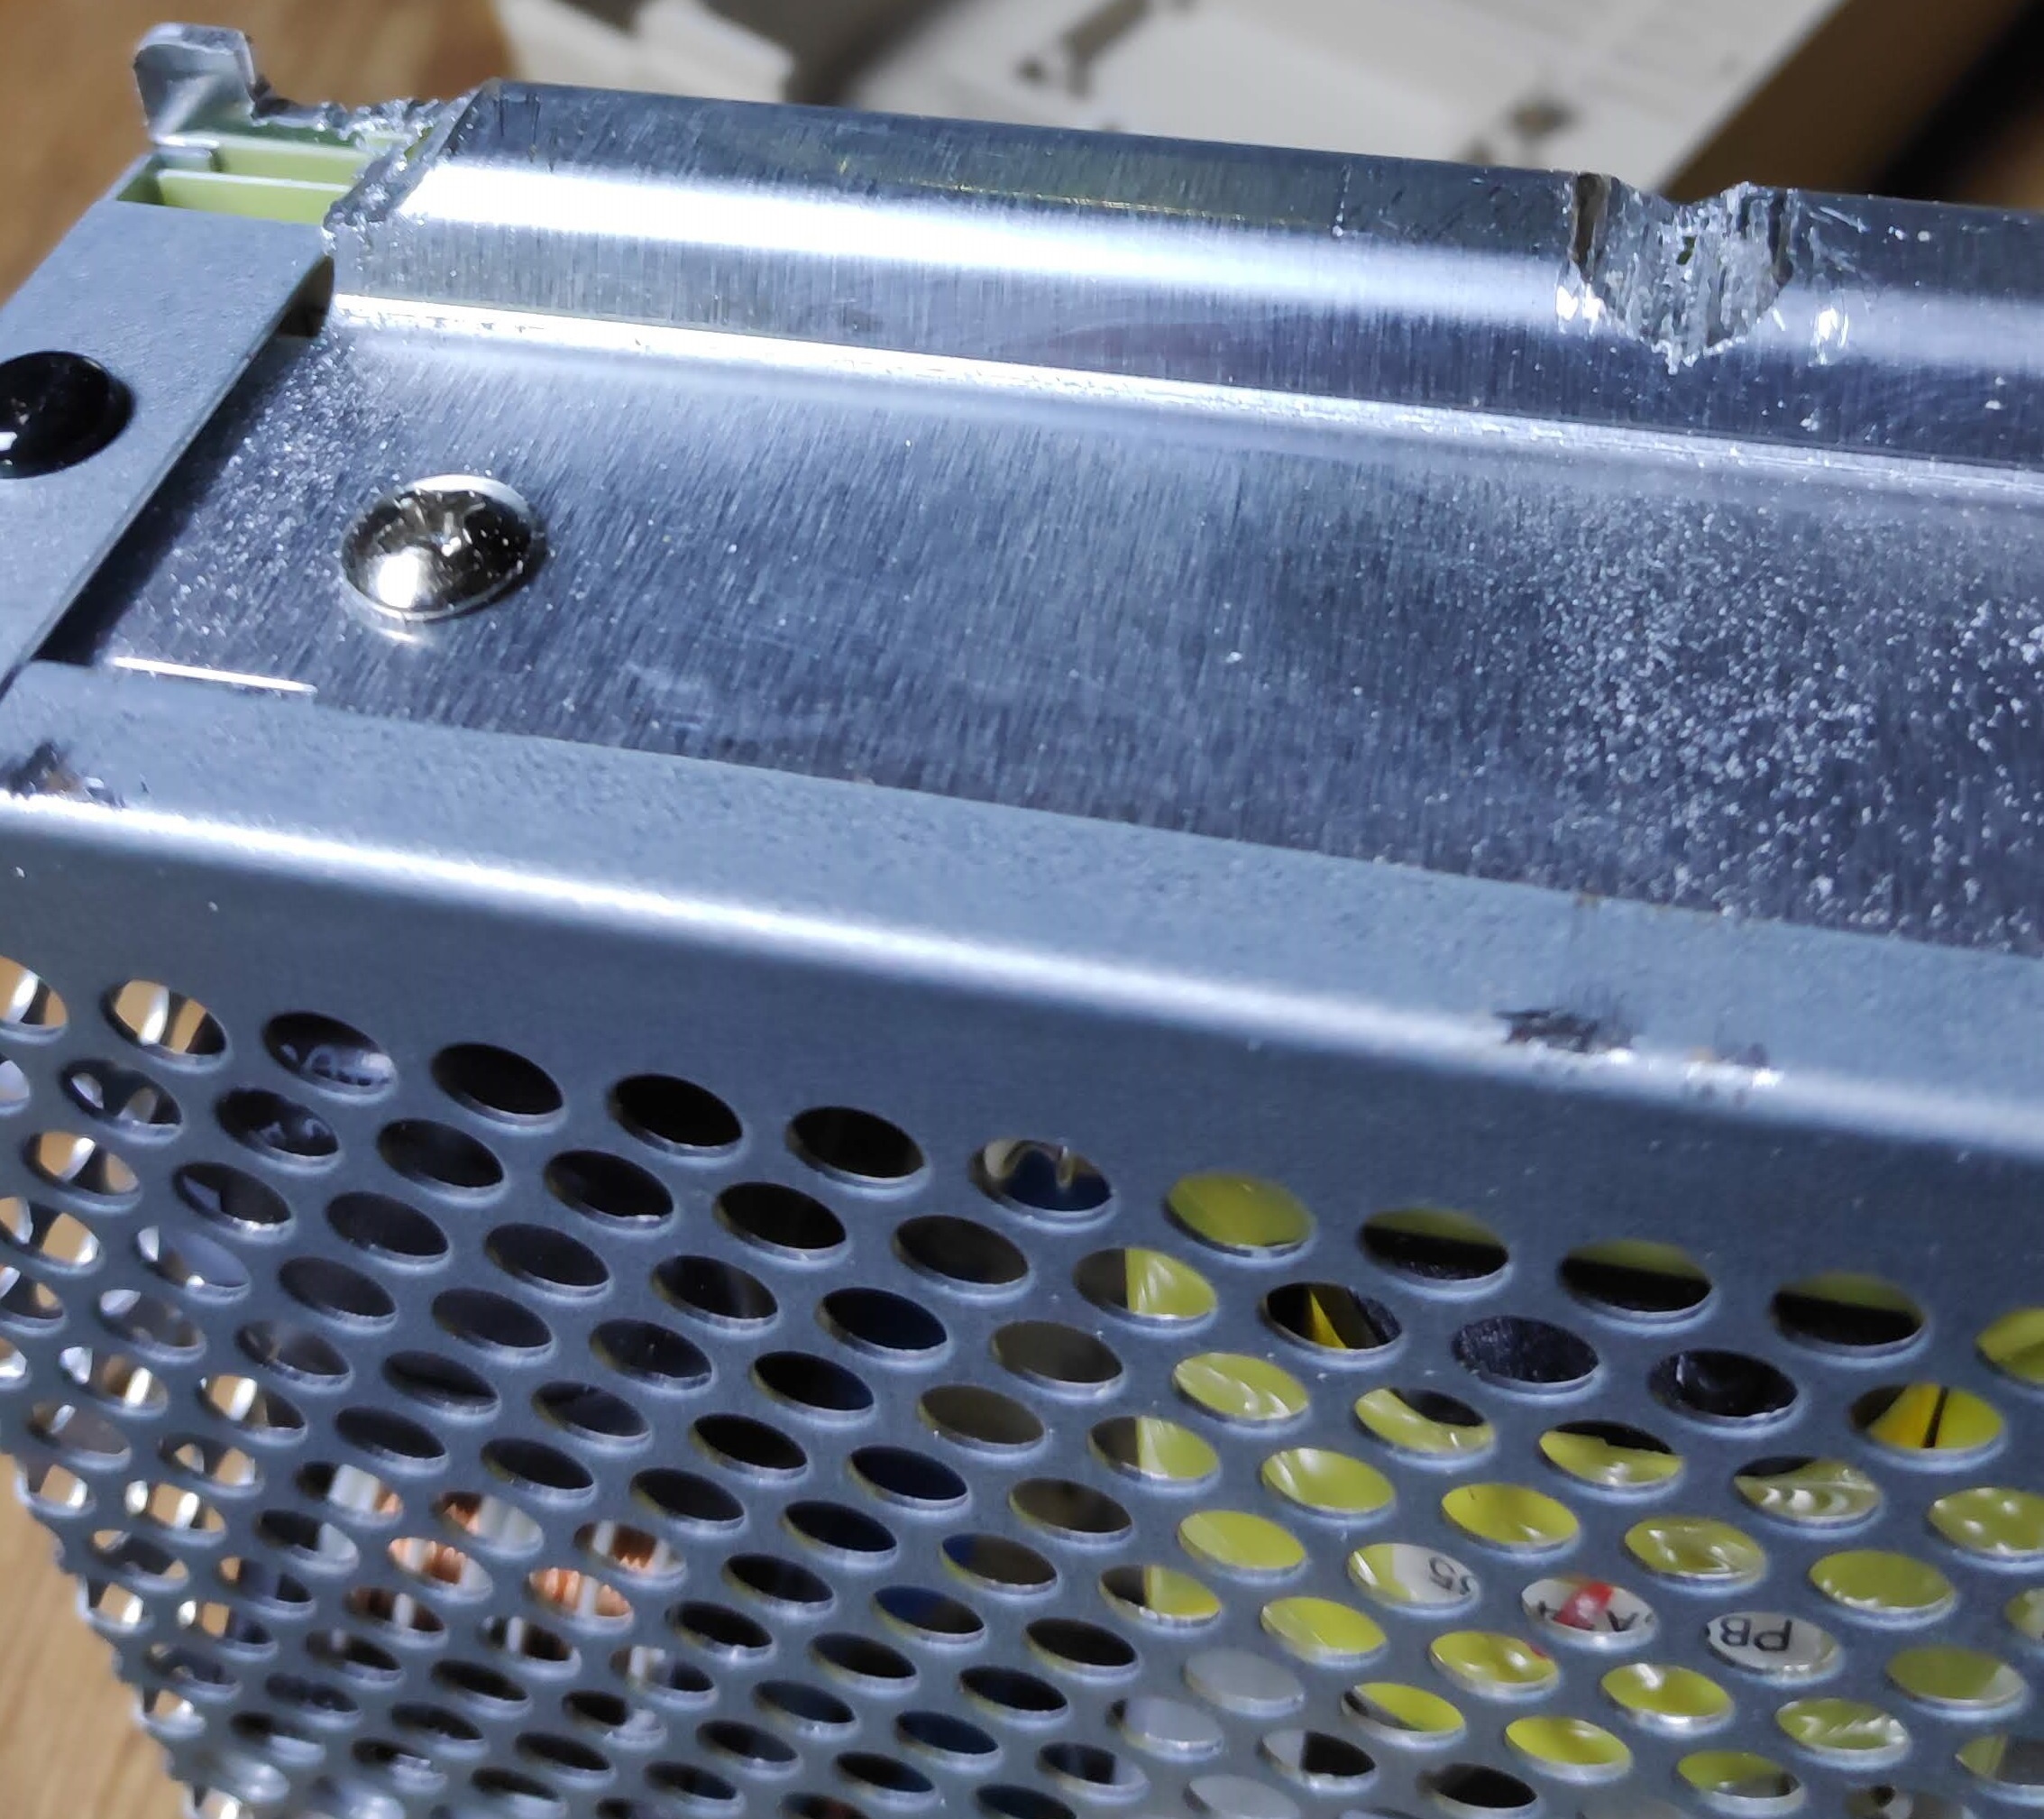
A bit of cutting and filing and it fits a bit more snug and allows for the original posts to fit.
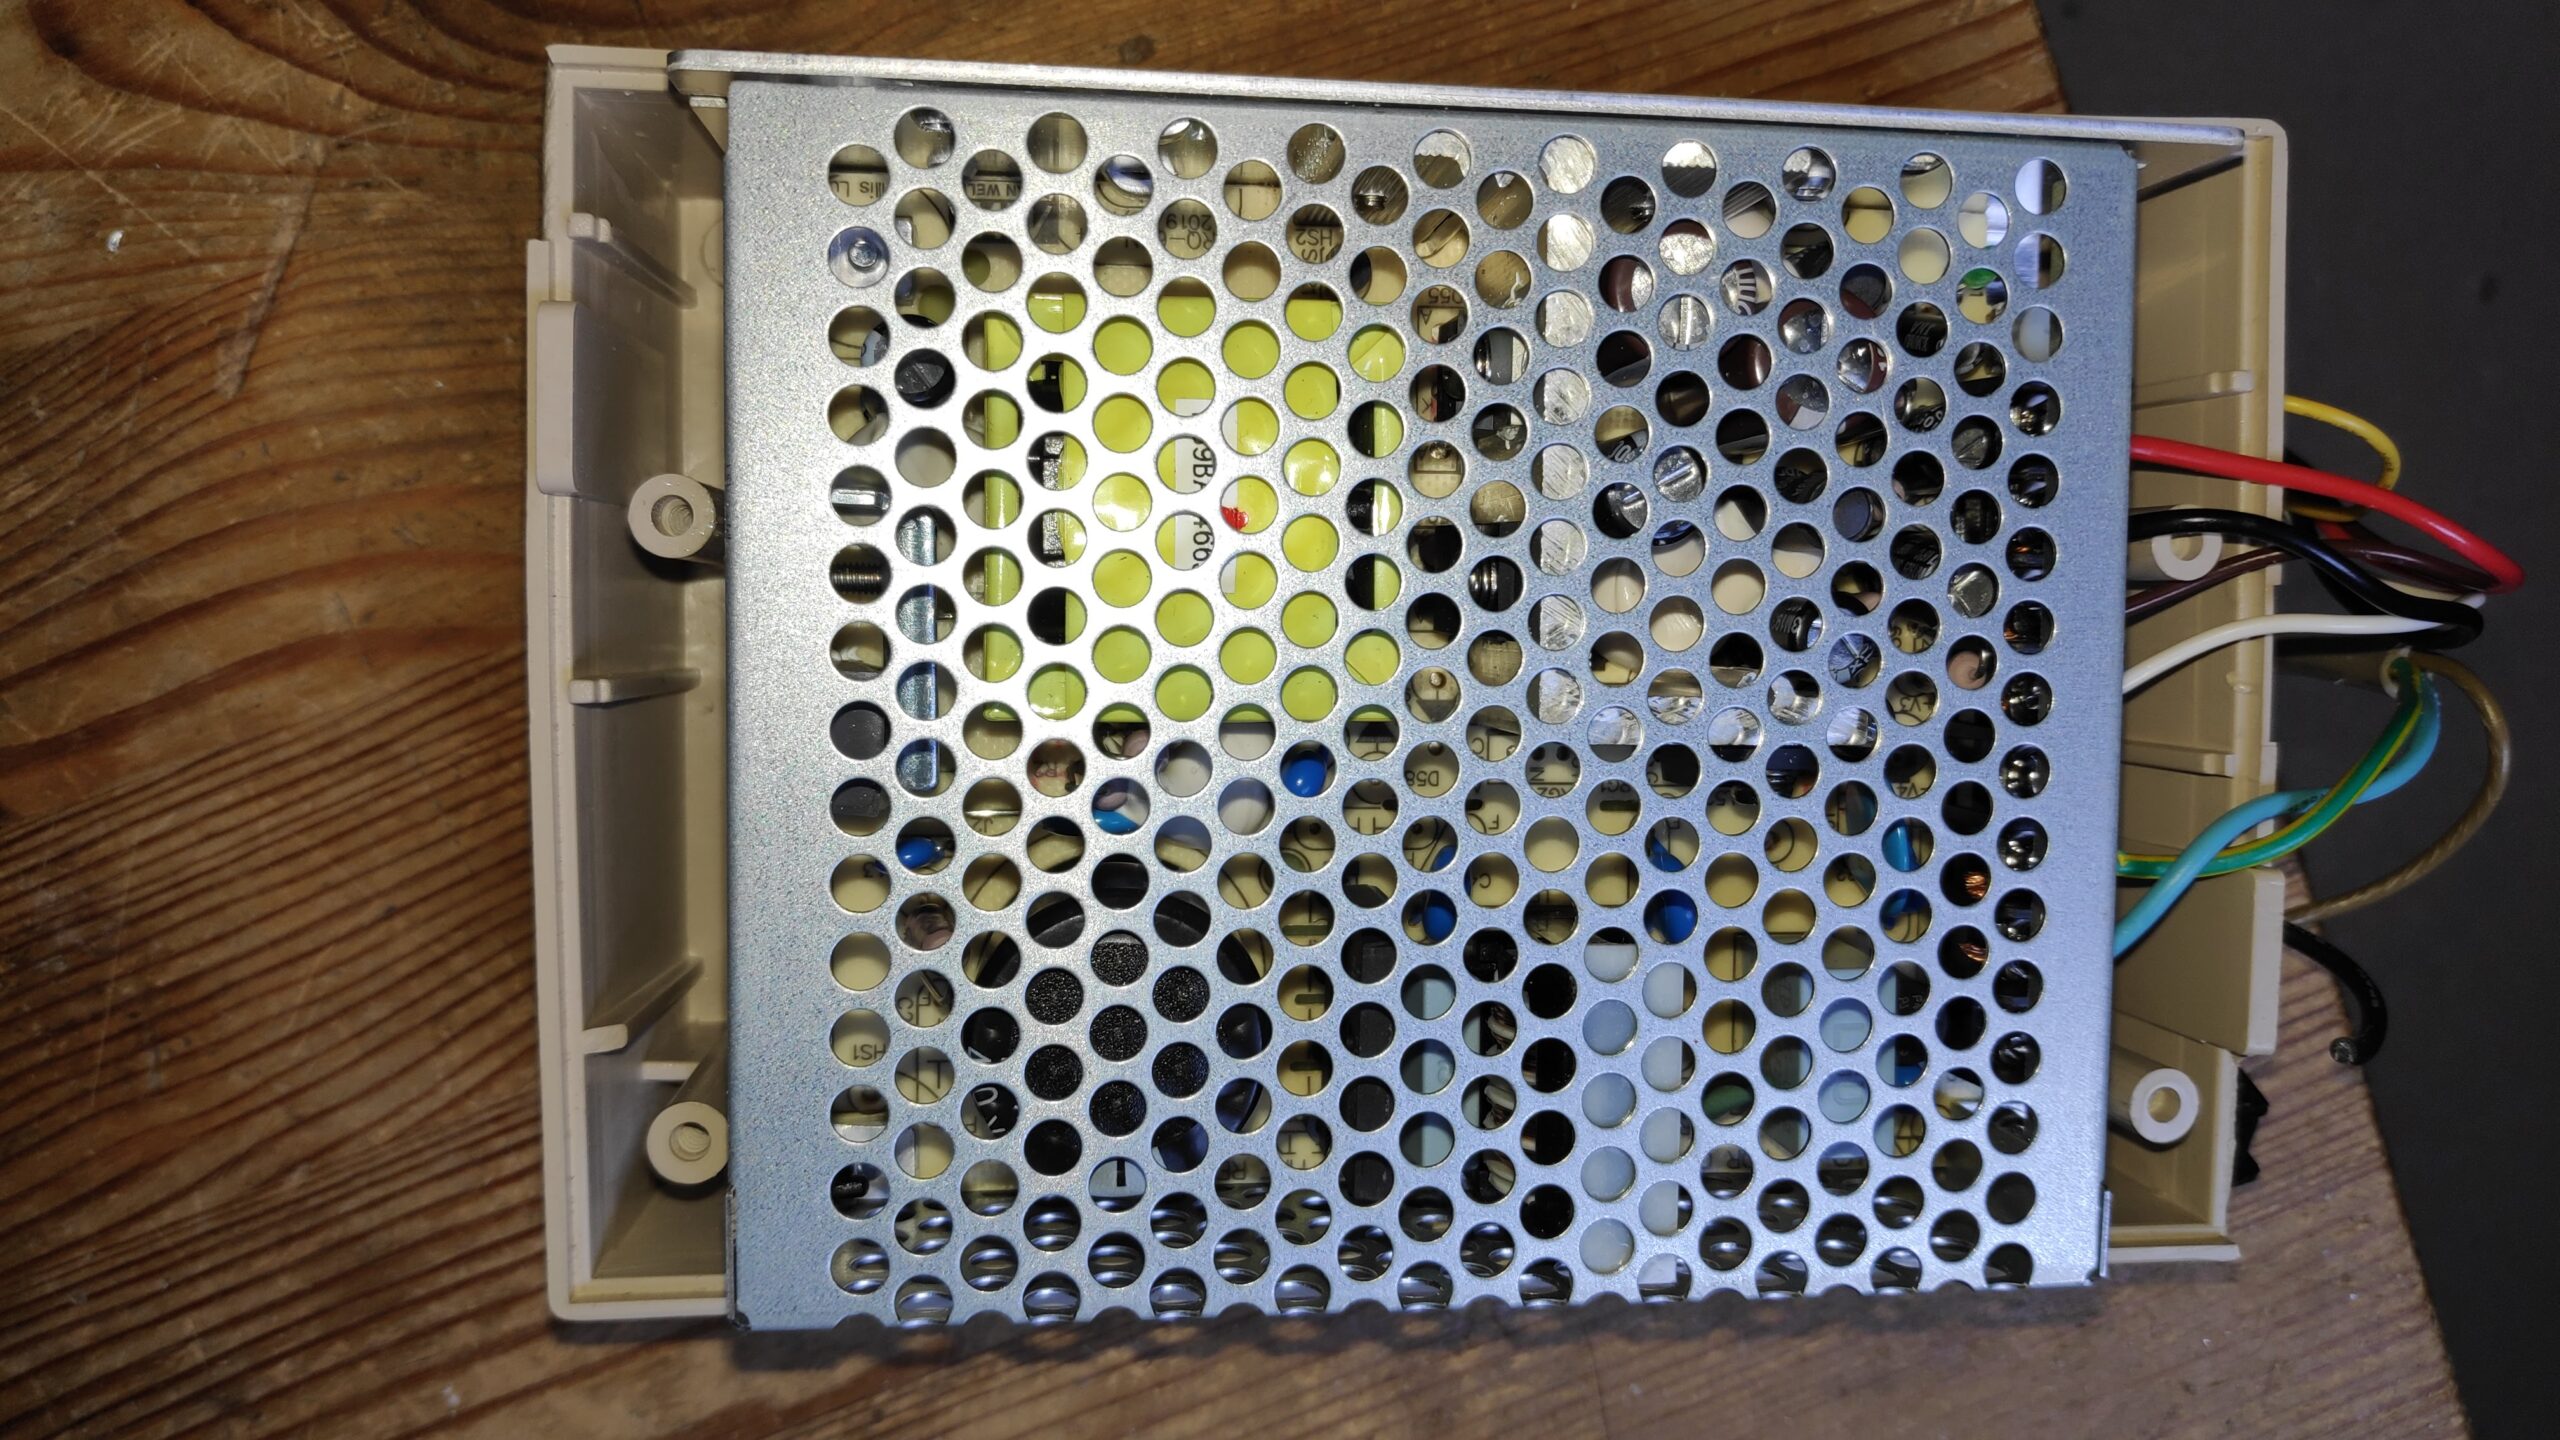
Thats a bit better. Now for those posts. A bit of bicarb and super glue
So building up in layers of bicarb and glue and the posts are restored.
Just need to let them set and I’ll drill some holes for the screws.
The glue/bicarb sets pretty quickily but I left it overnight to make sure. Then drilled the holes.
Now to reassemble.
Thats better. Nice and snug with no rattles.
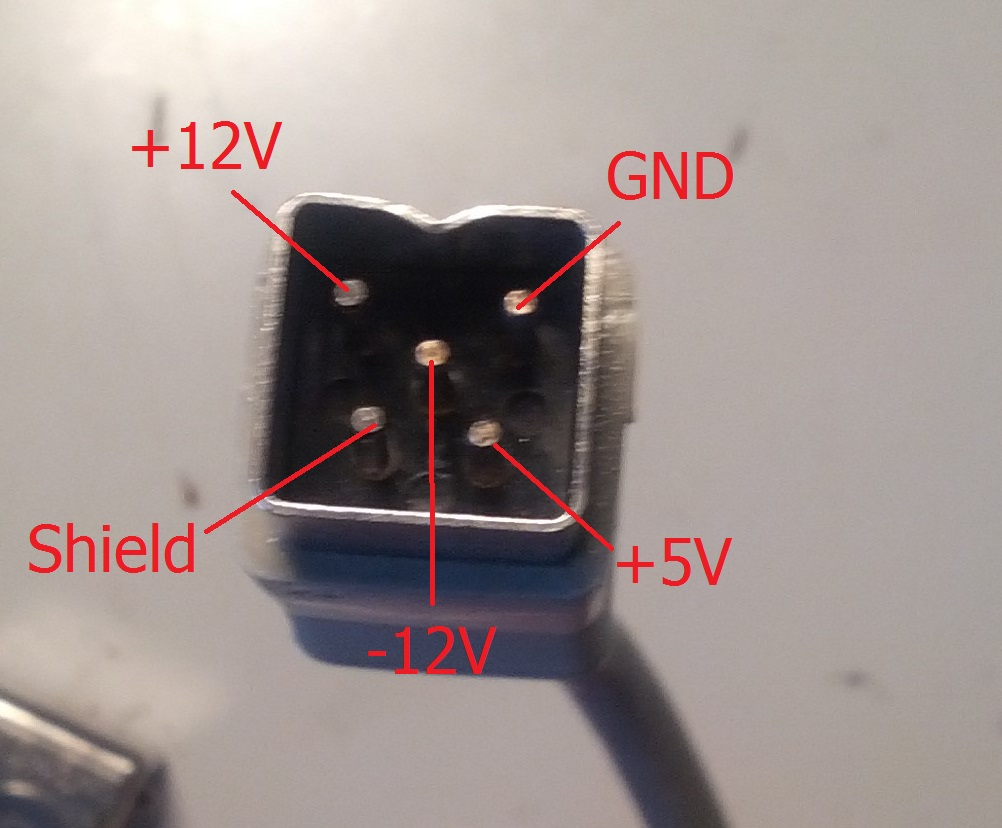
Best check those voltages.
All good now to teardown the Amiga.
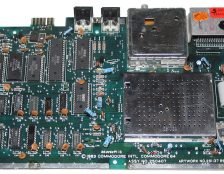
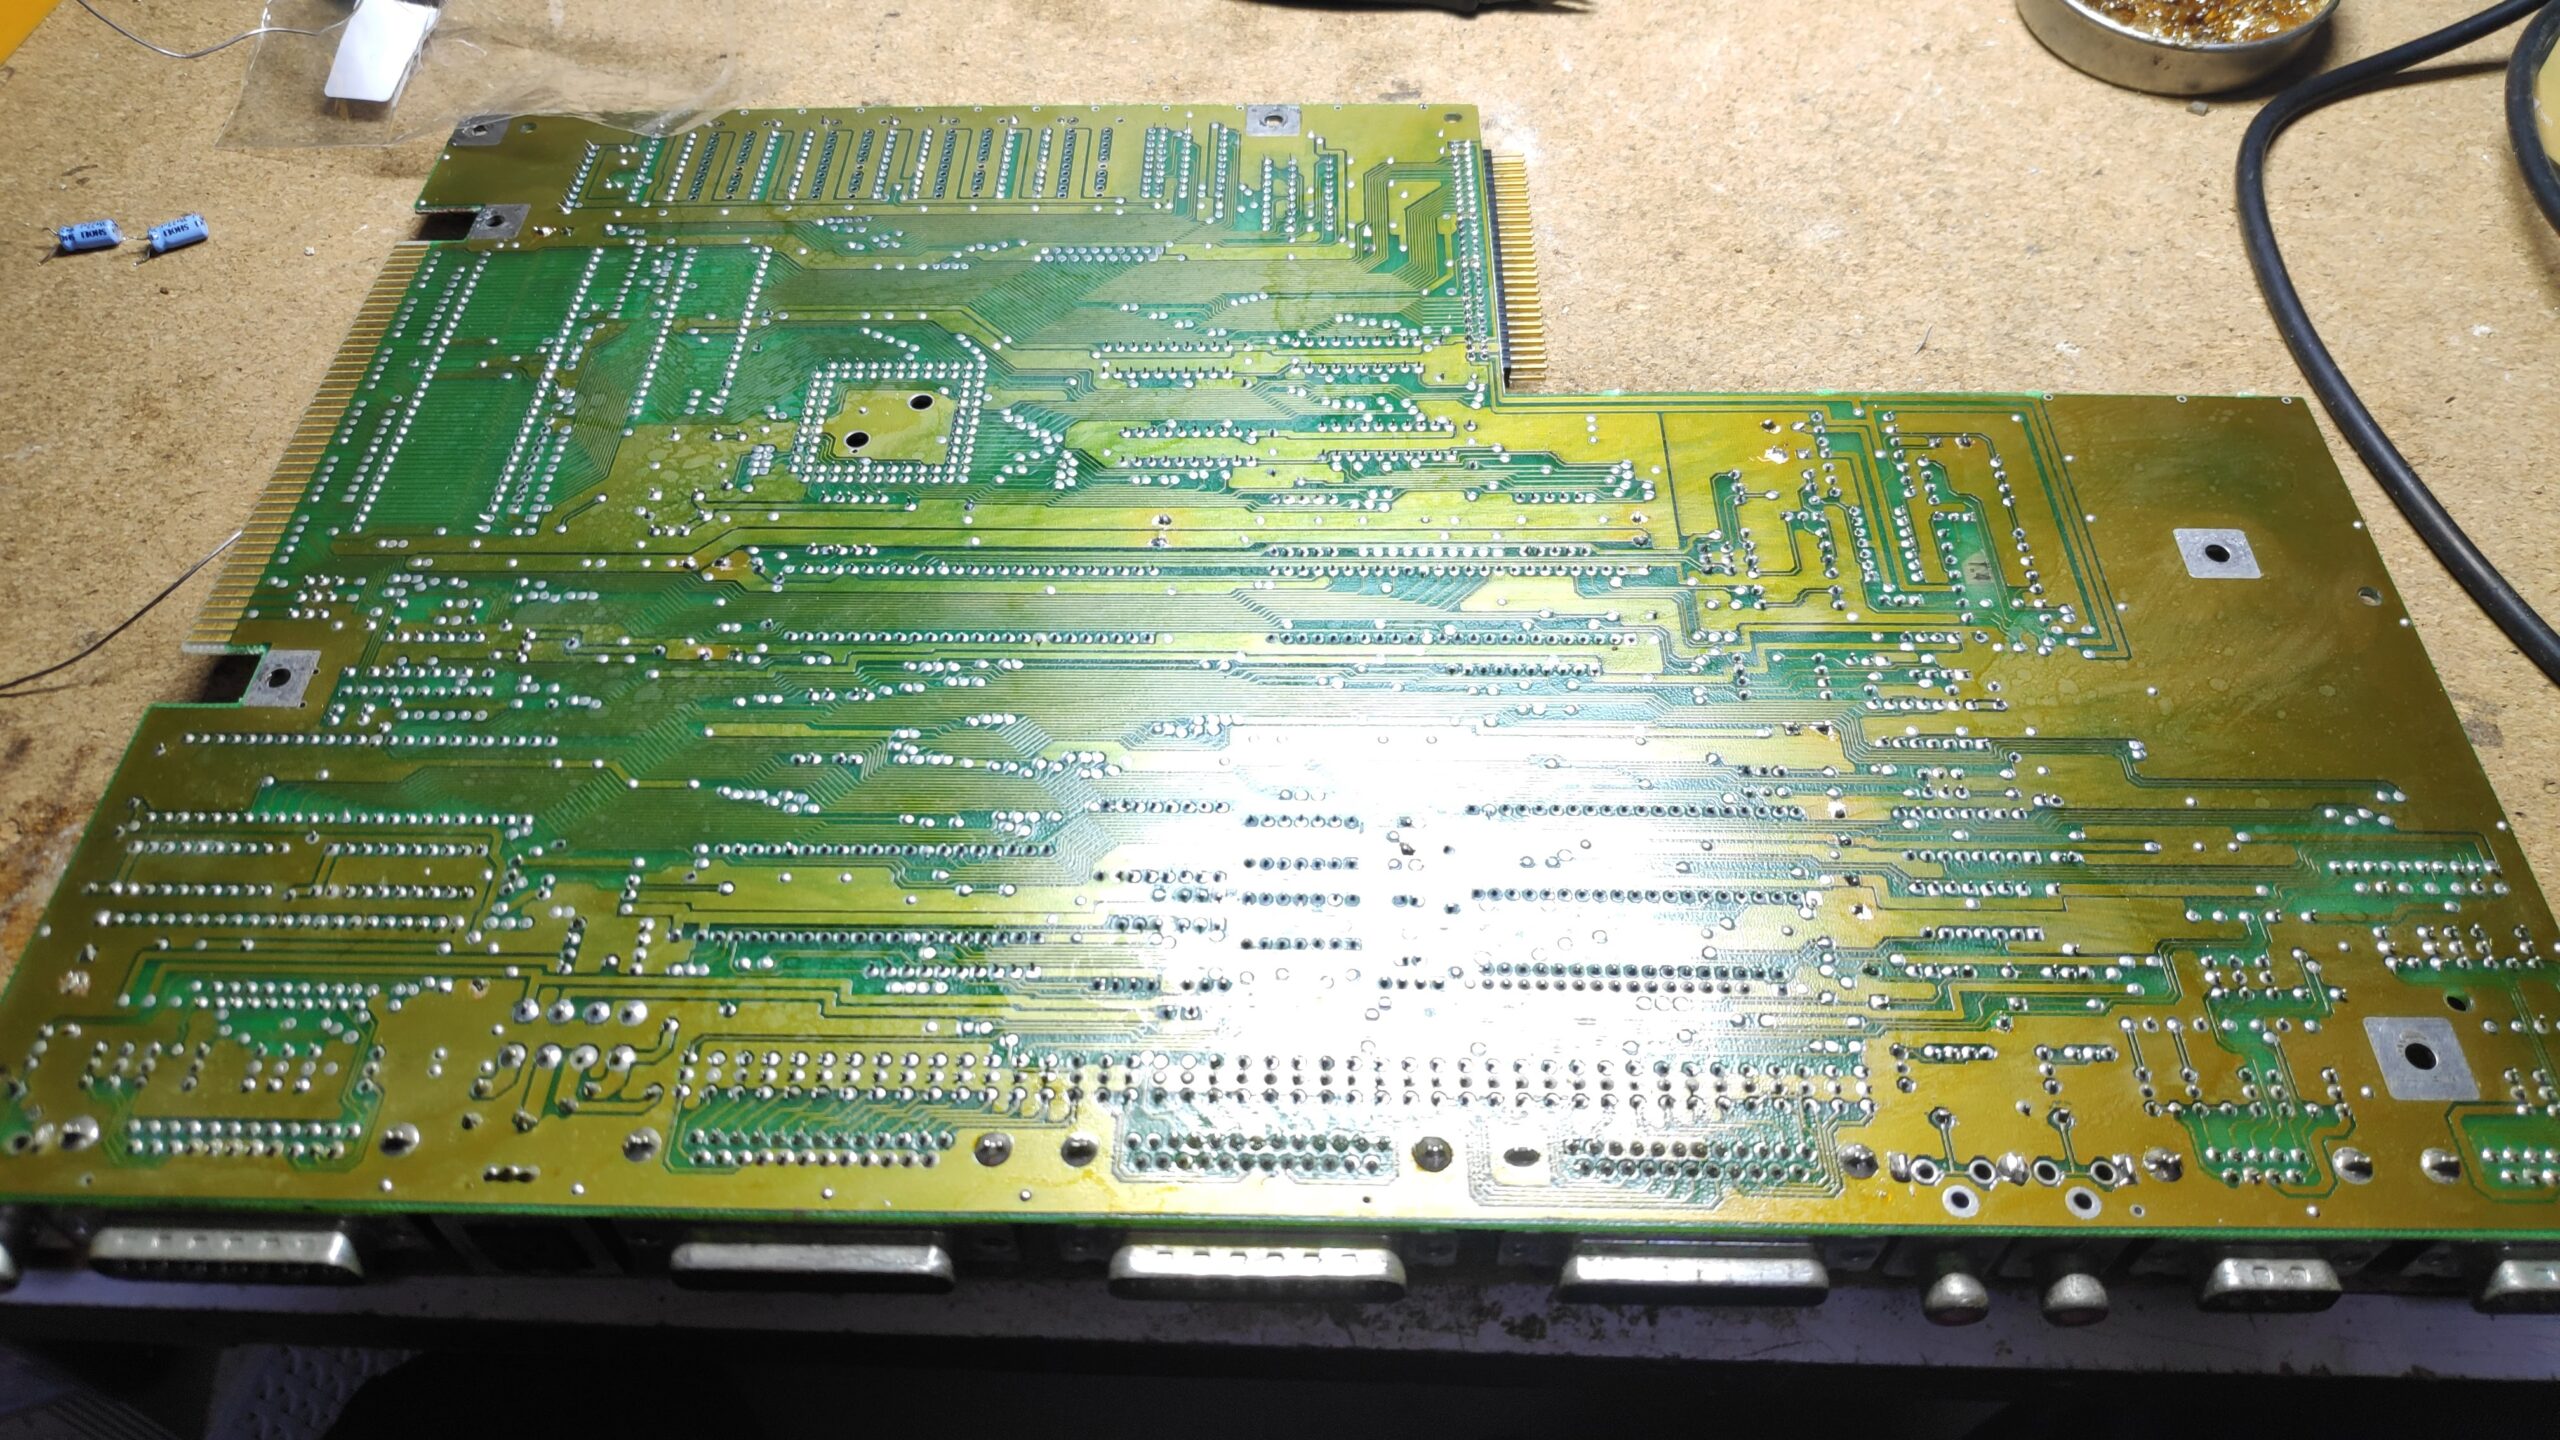
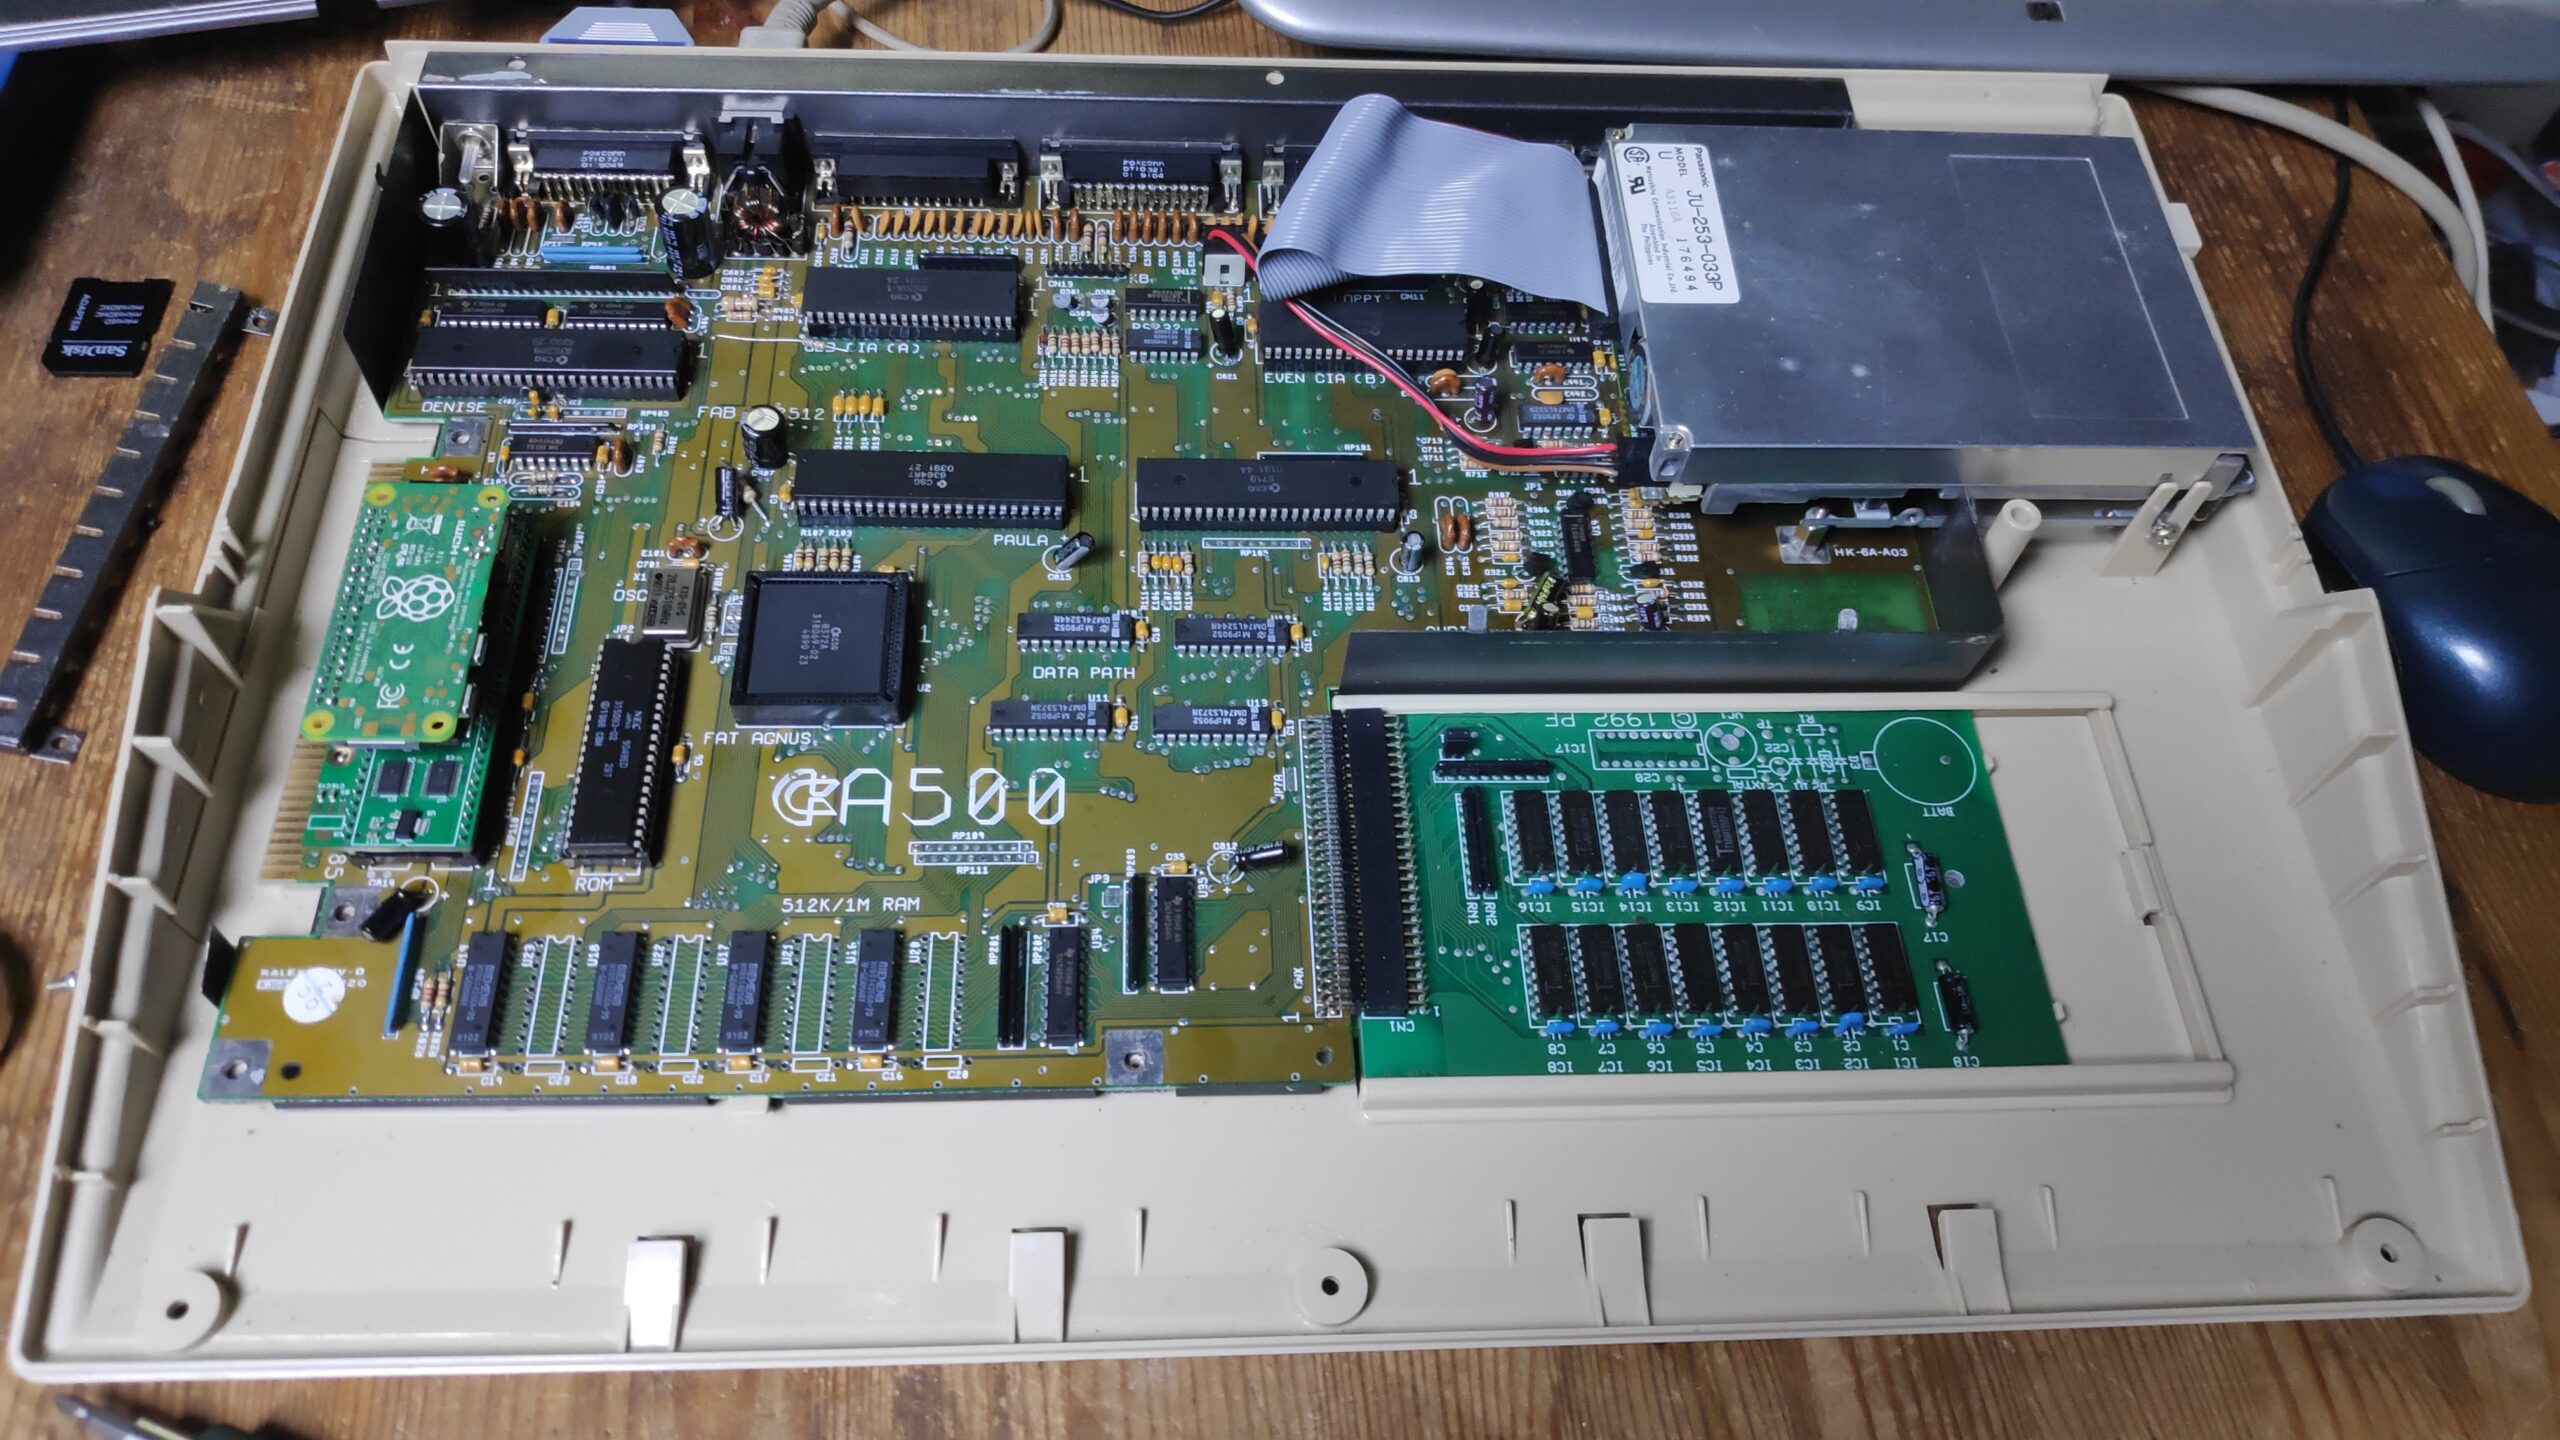
Recap Motherboard
I love the gun metal spray job job on the metal shield.
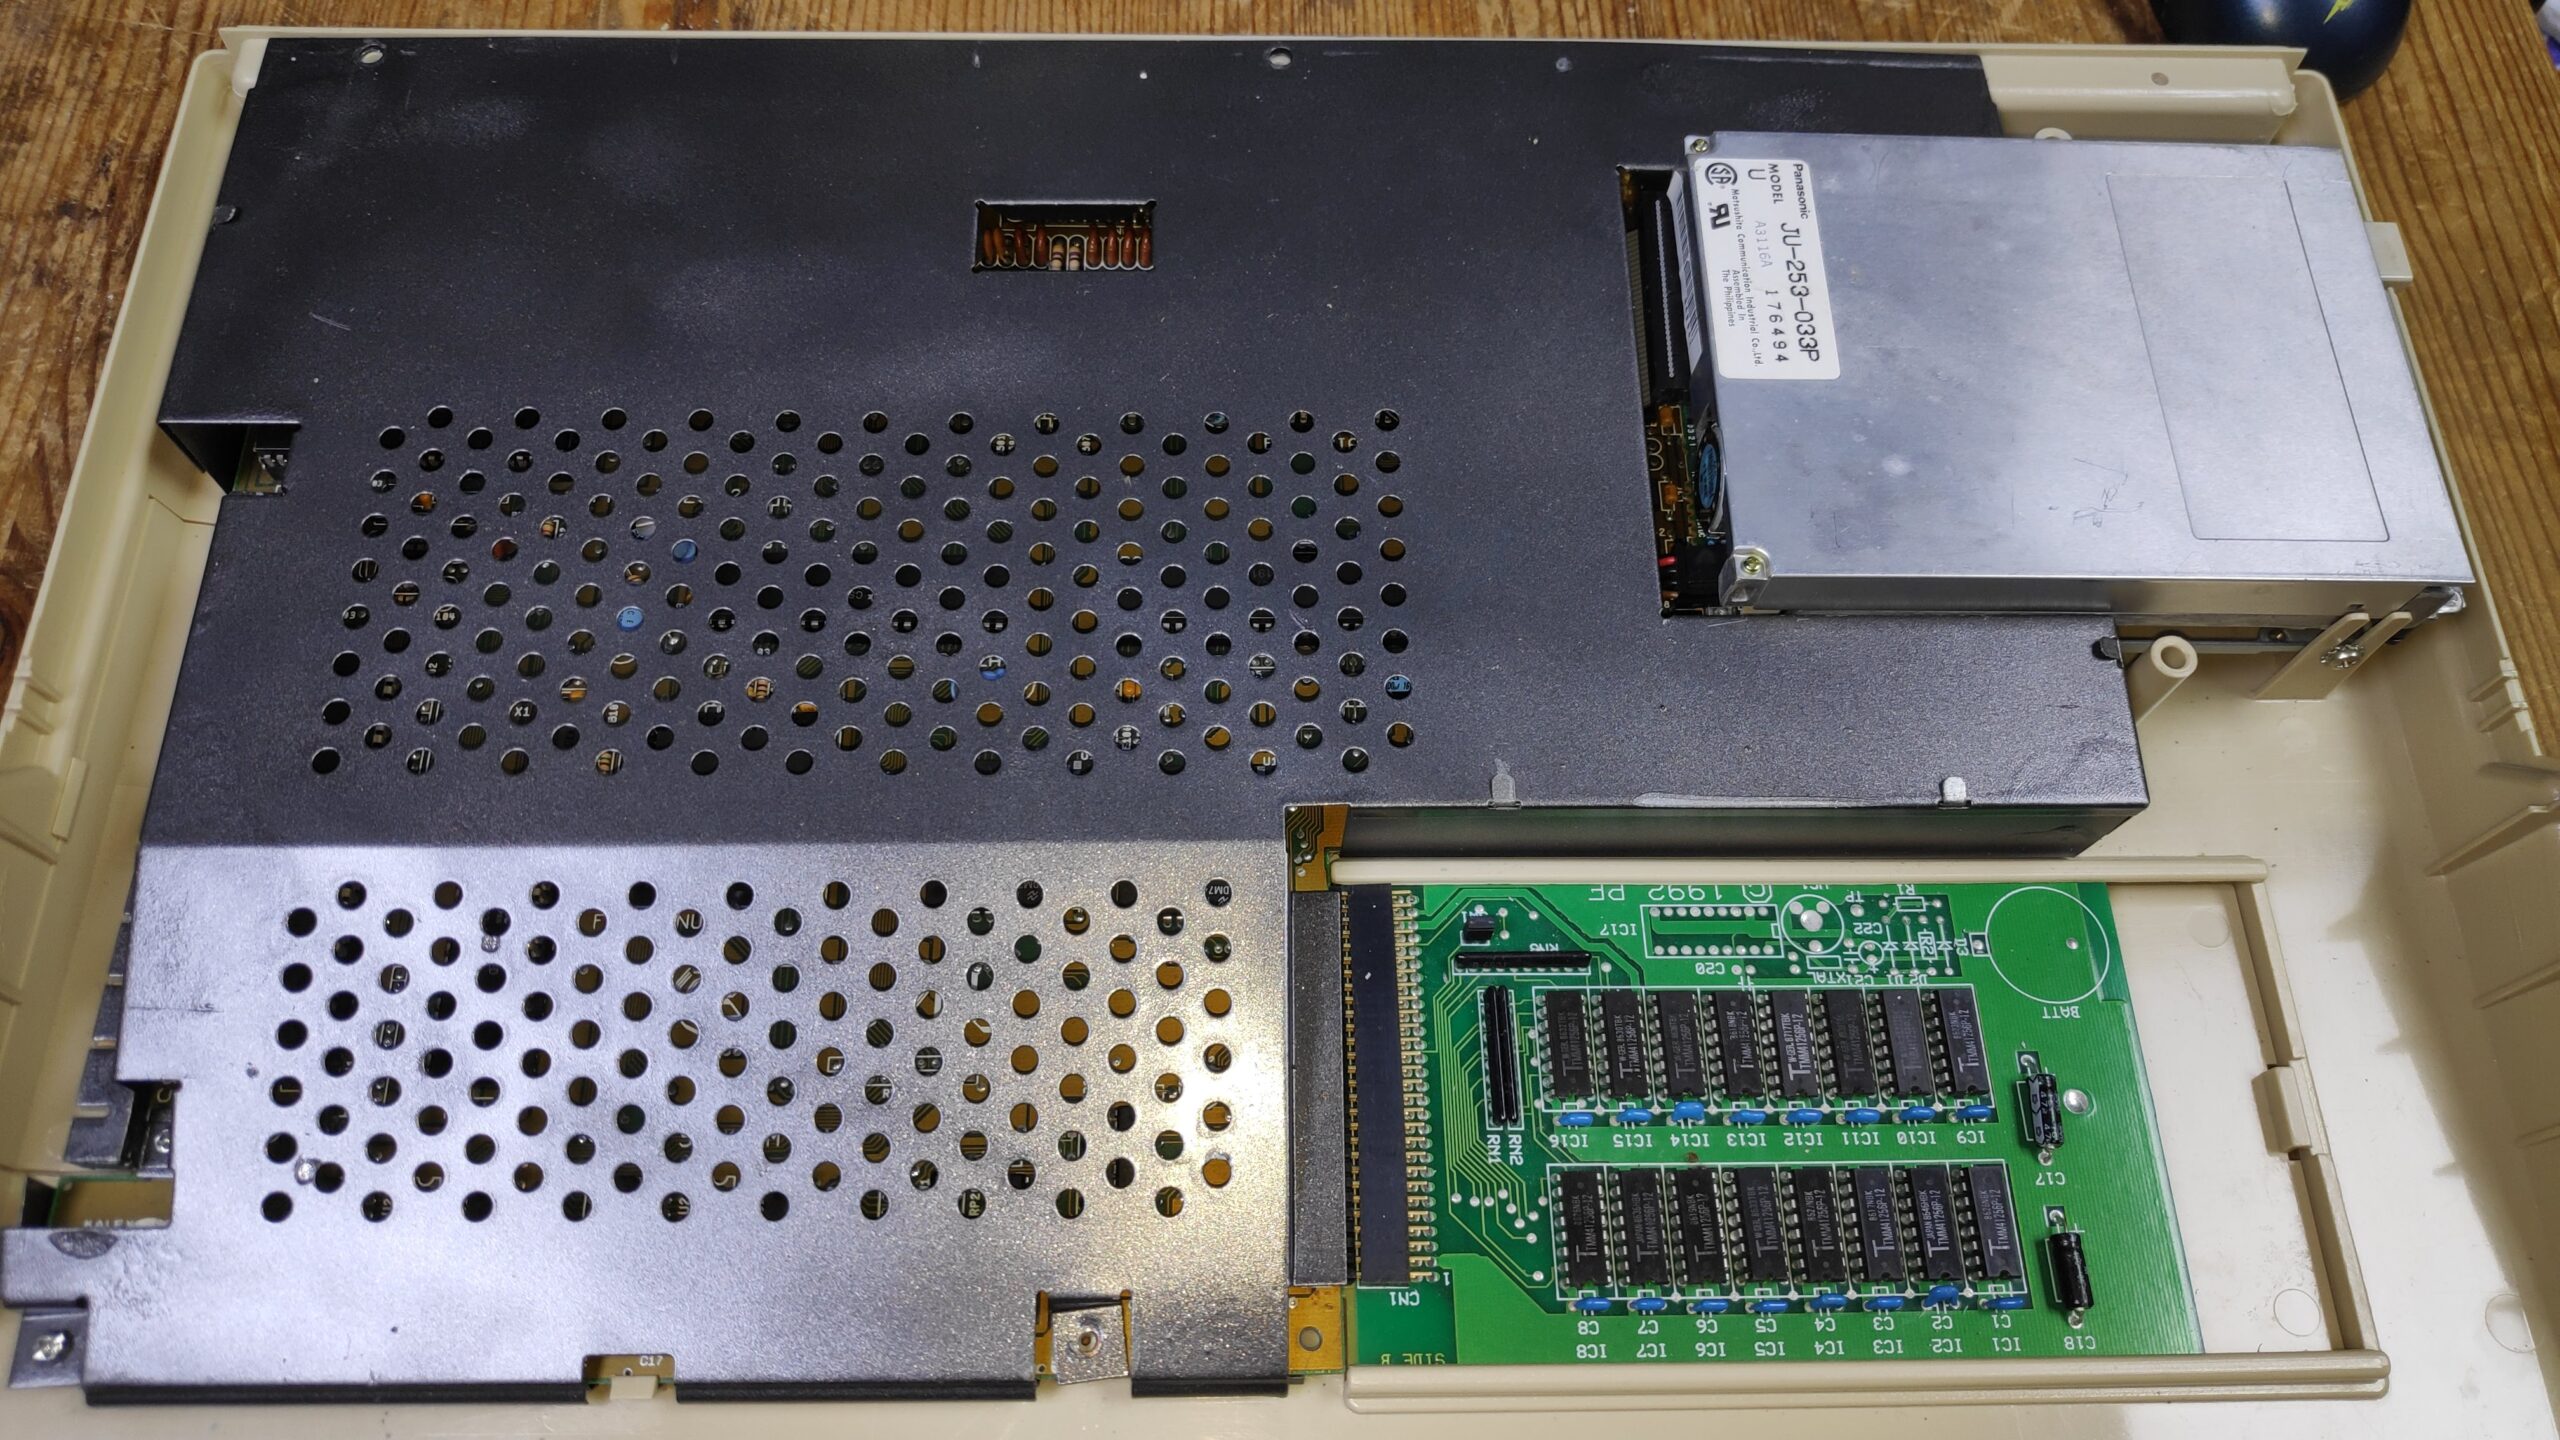
Although the disk drive works fine can you spot the cabling error.
Luckily the floppy cable is inverted at both ends so thats why it worked.
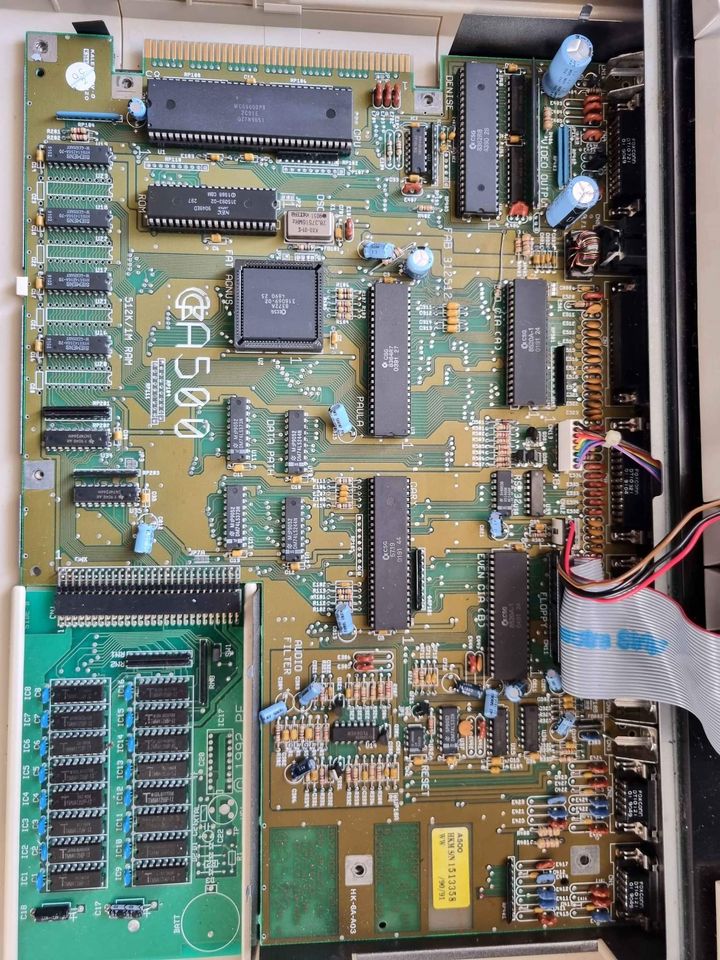
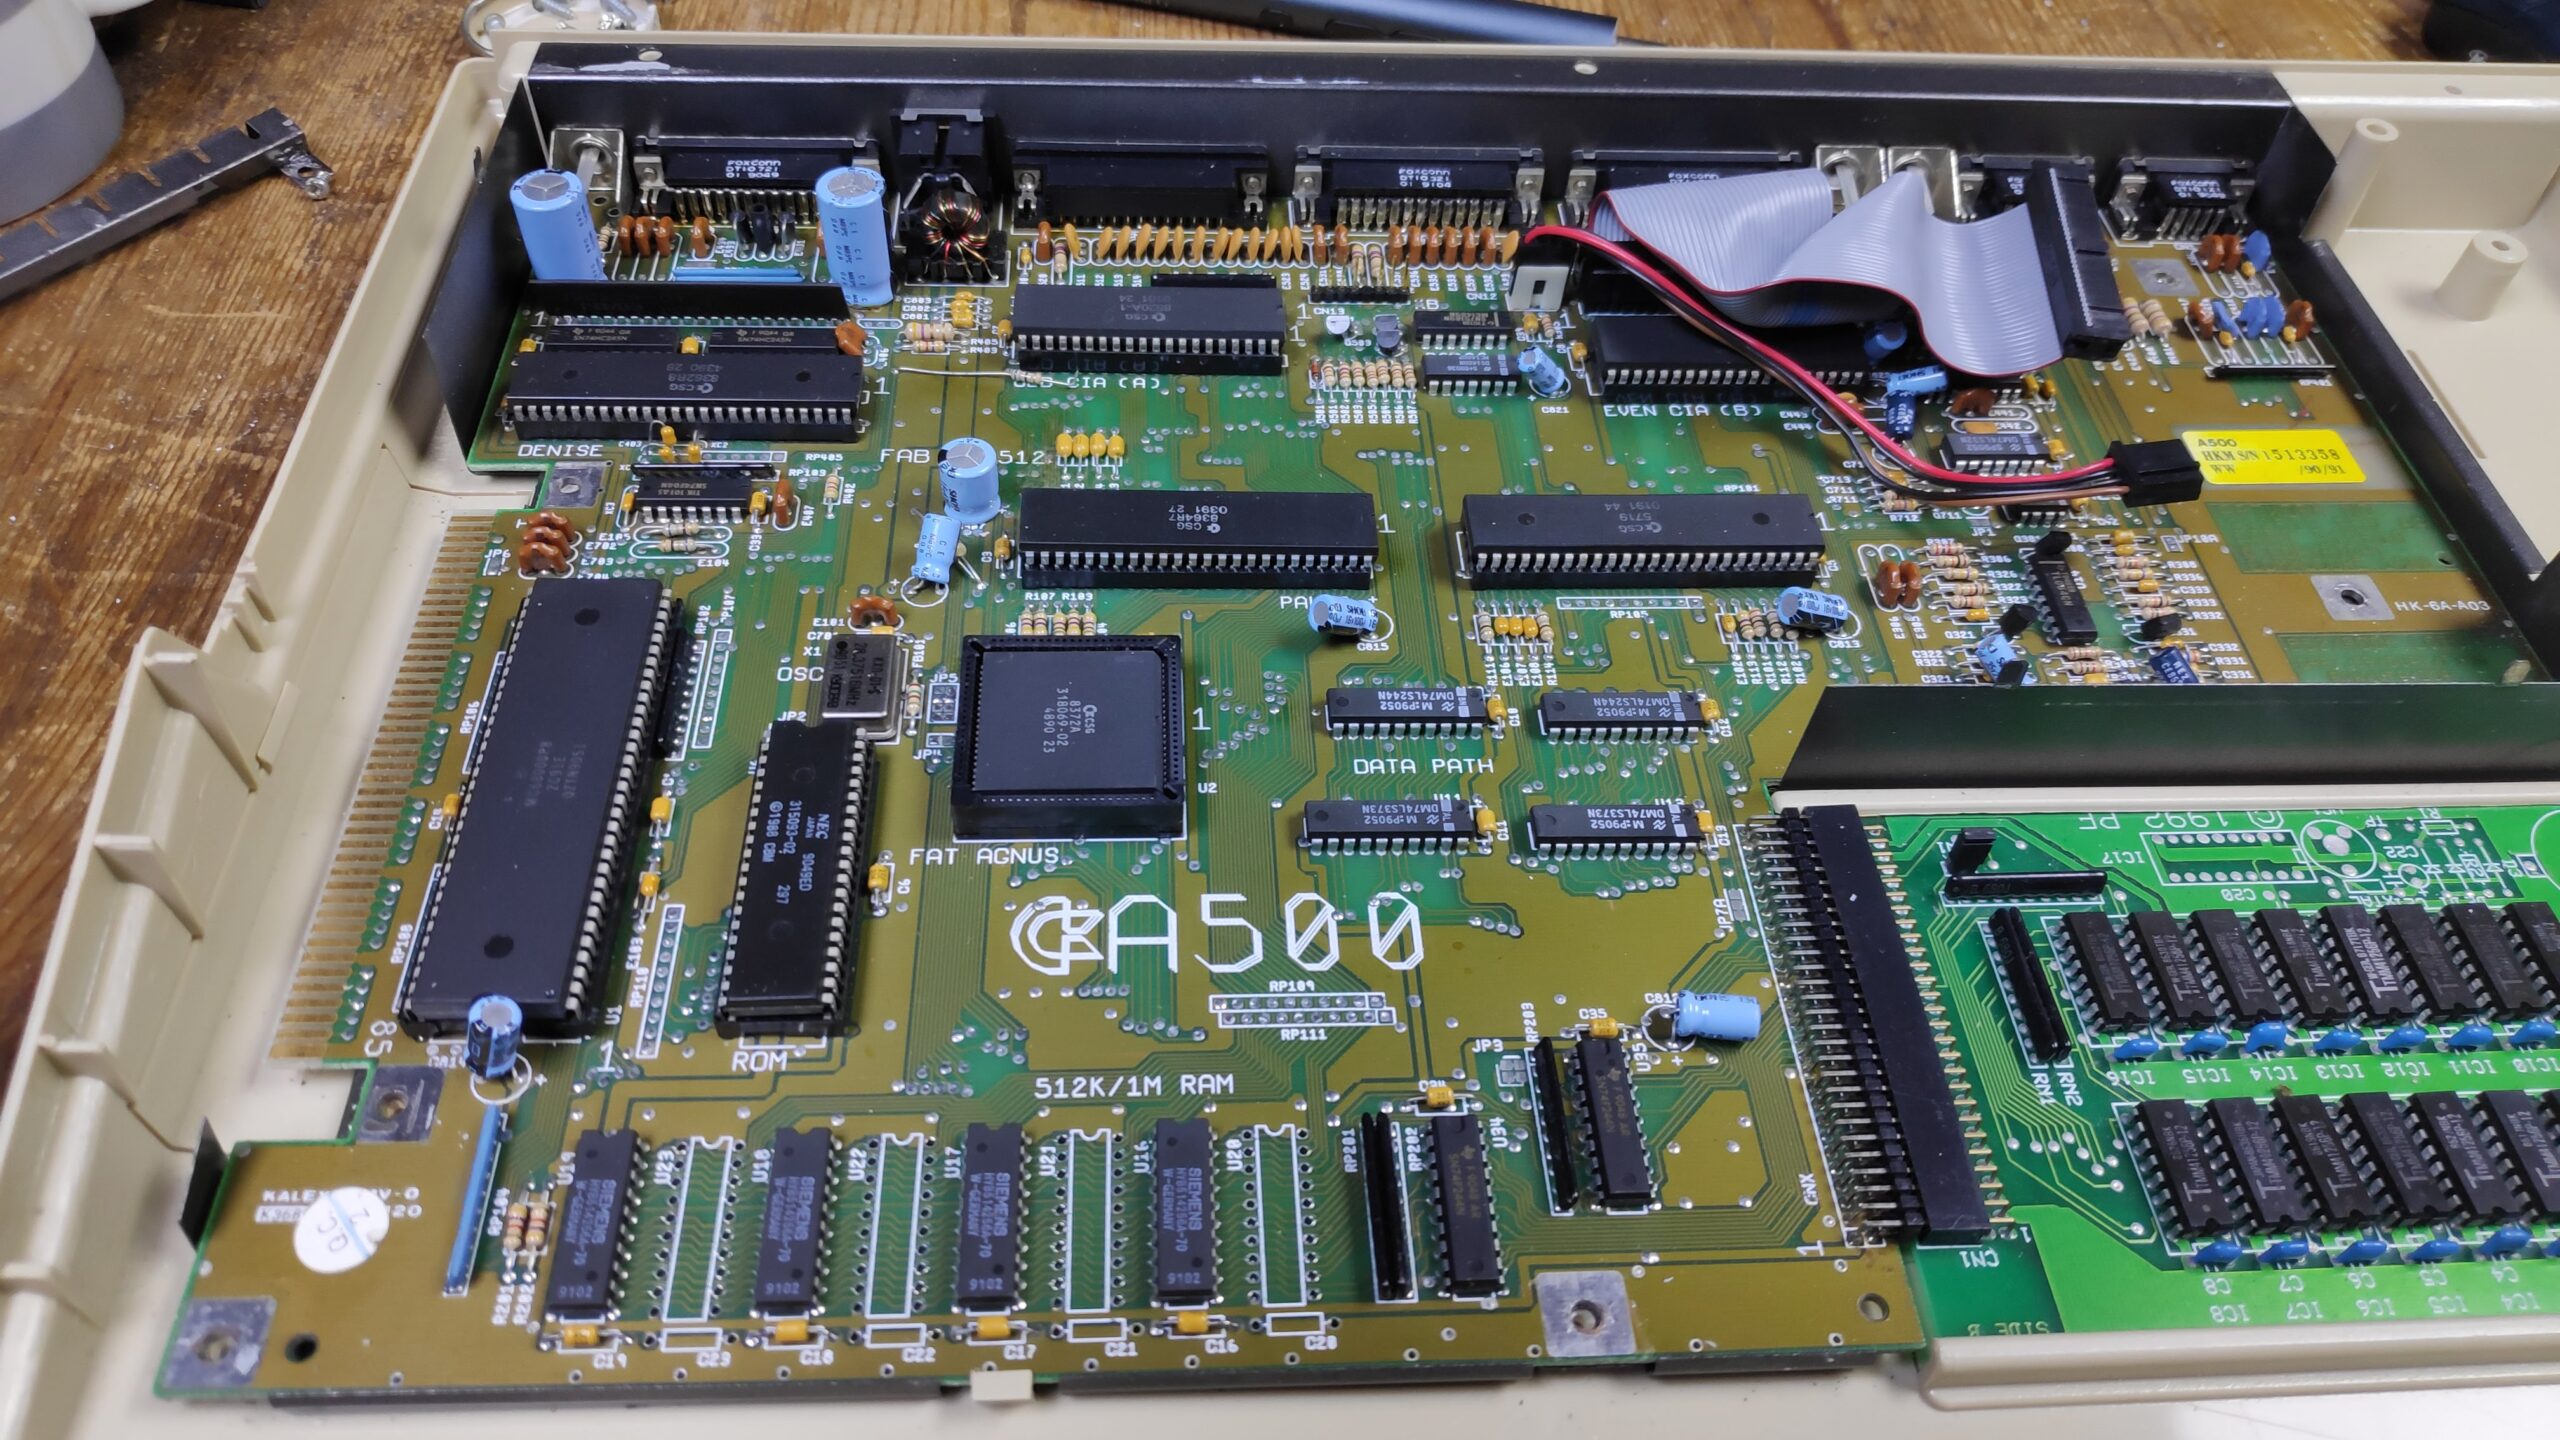
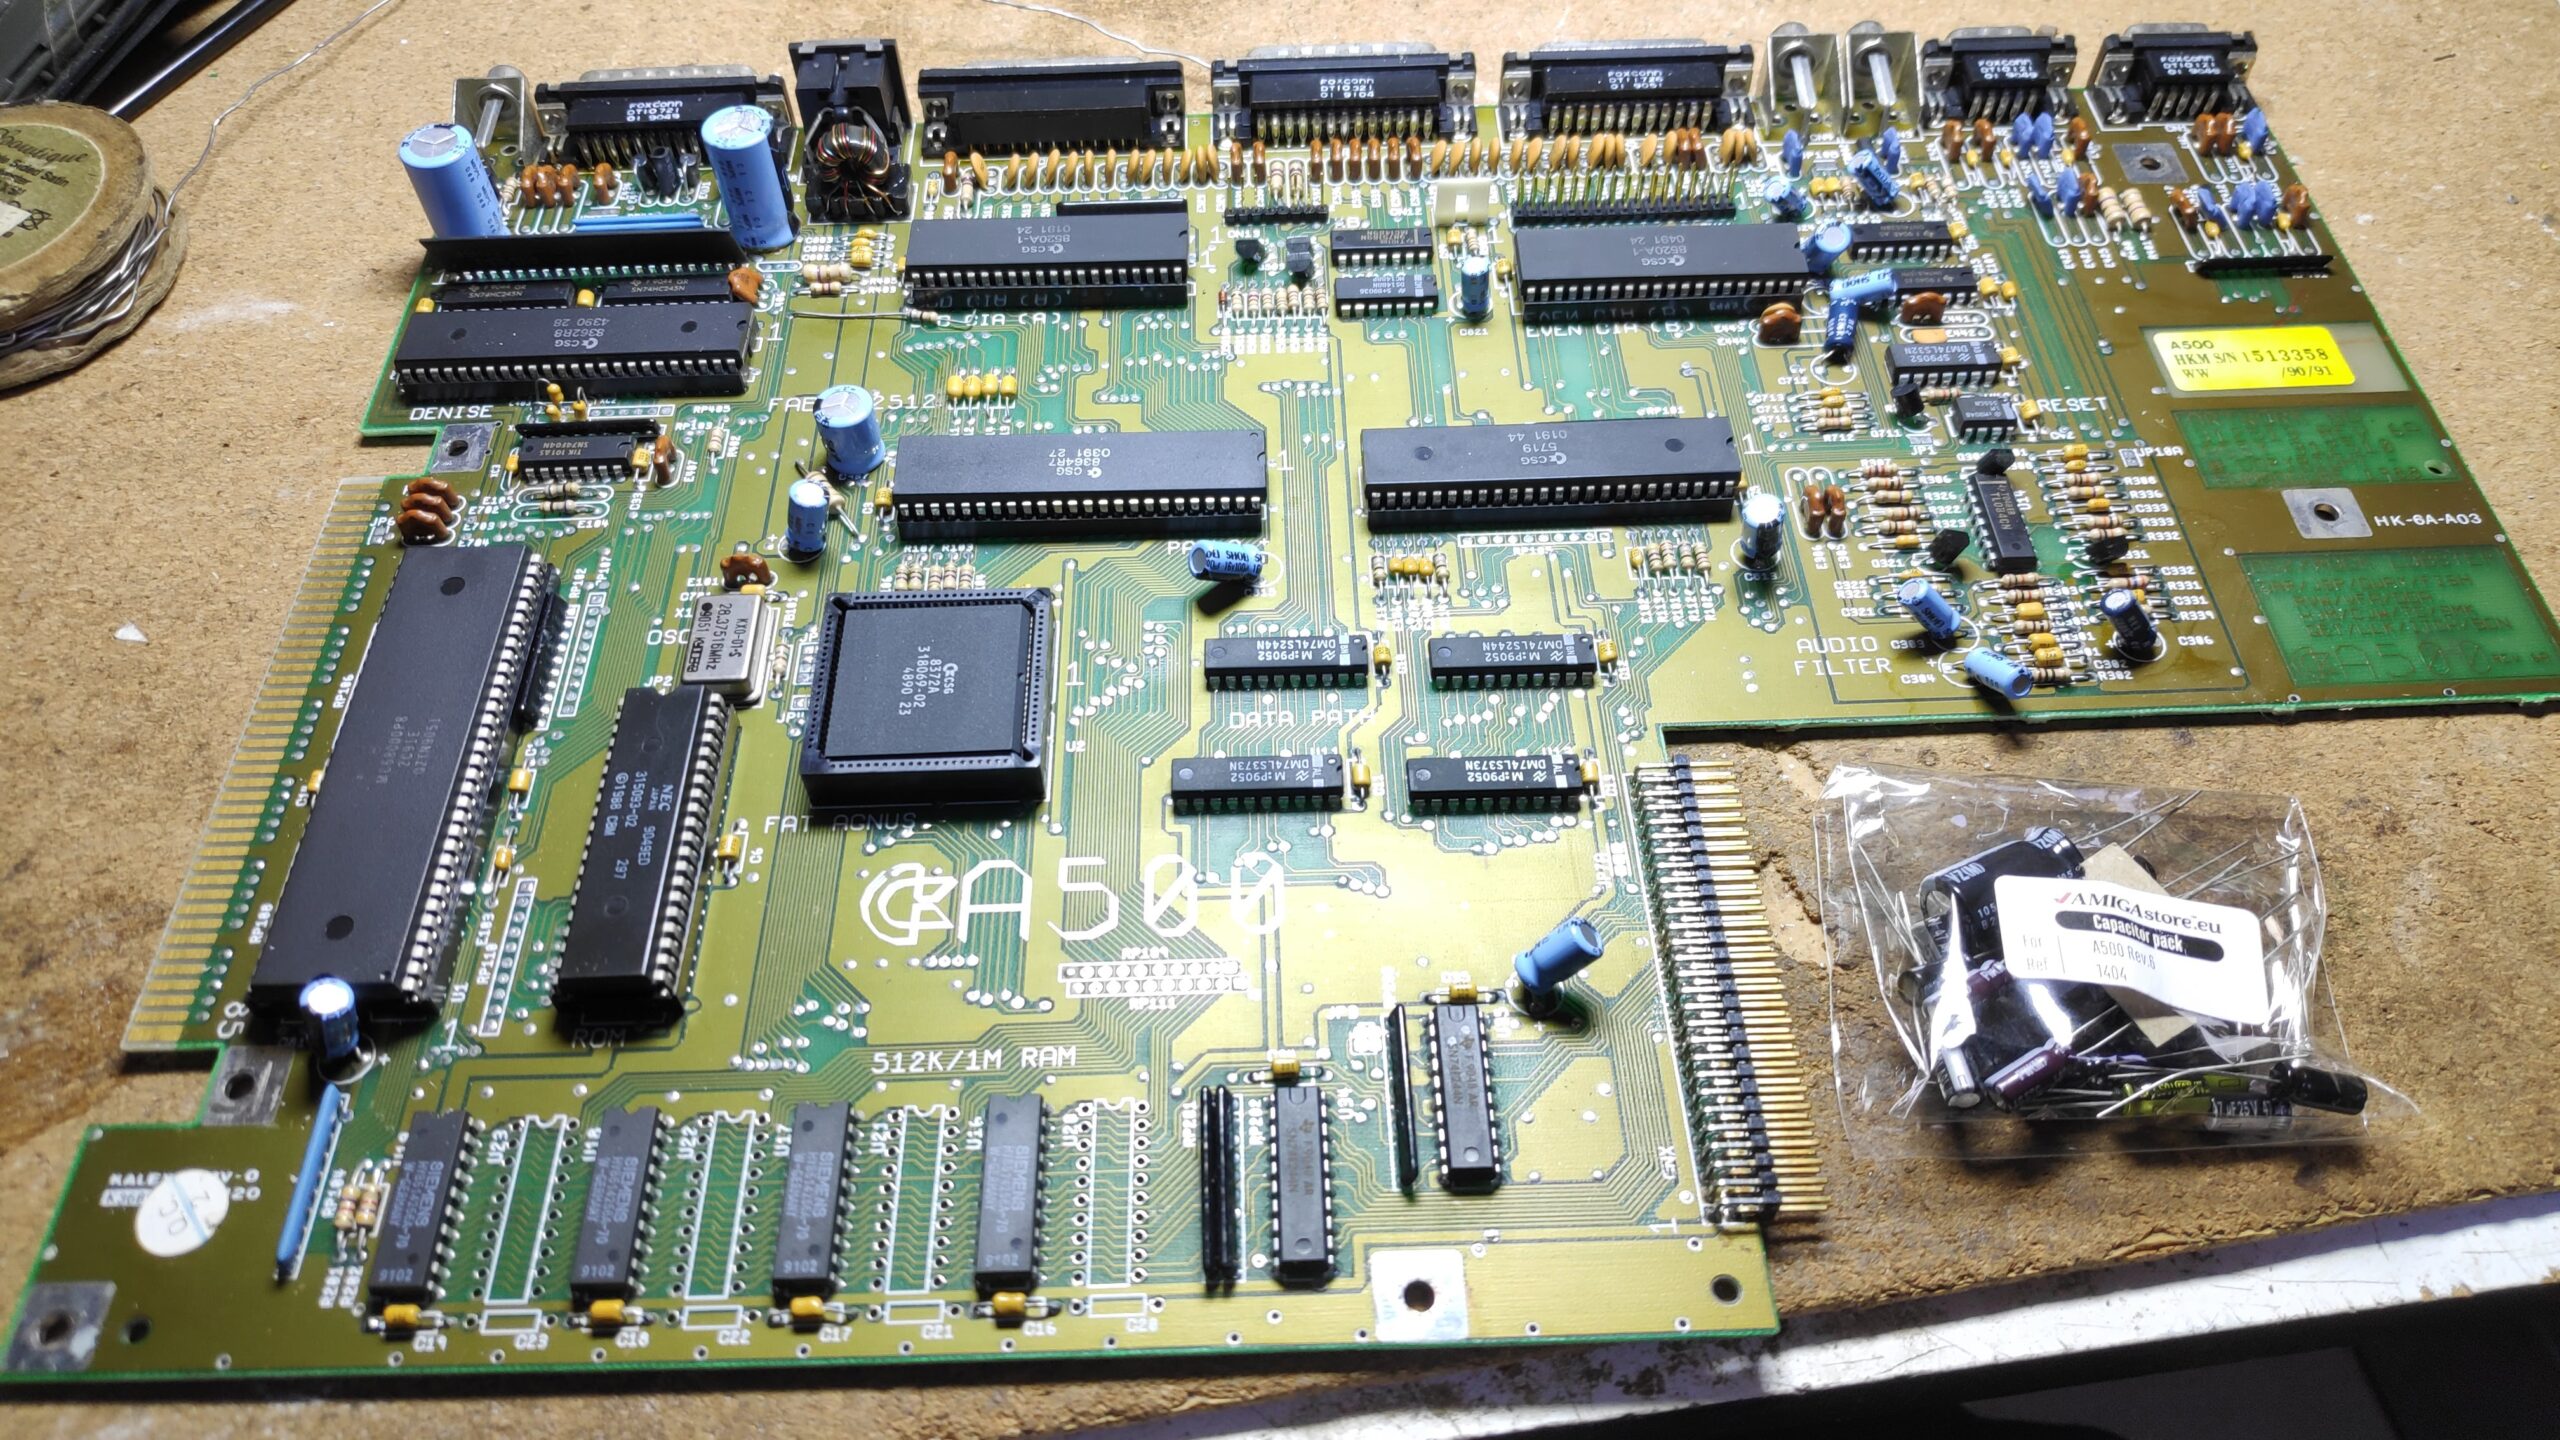
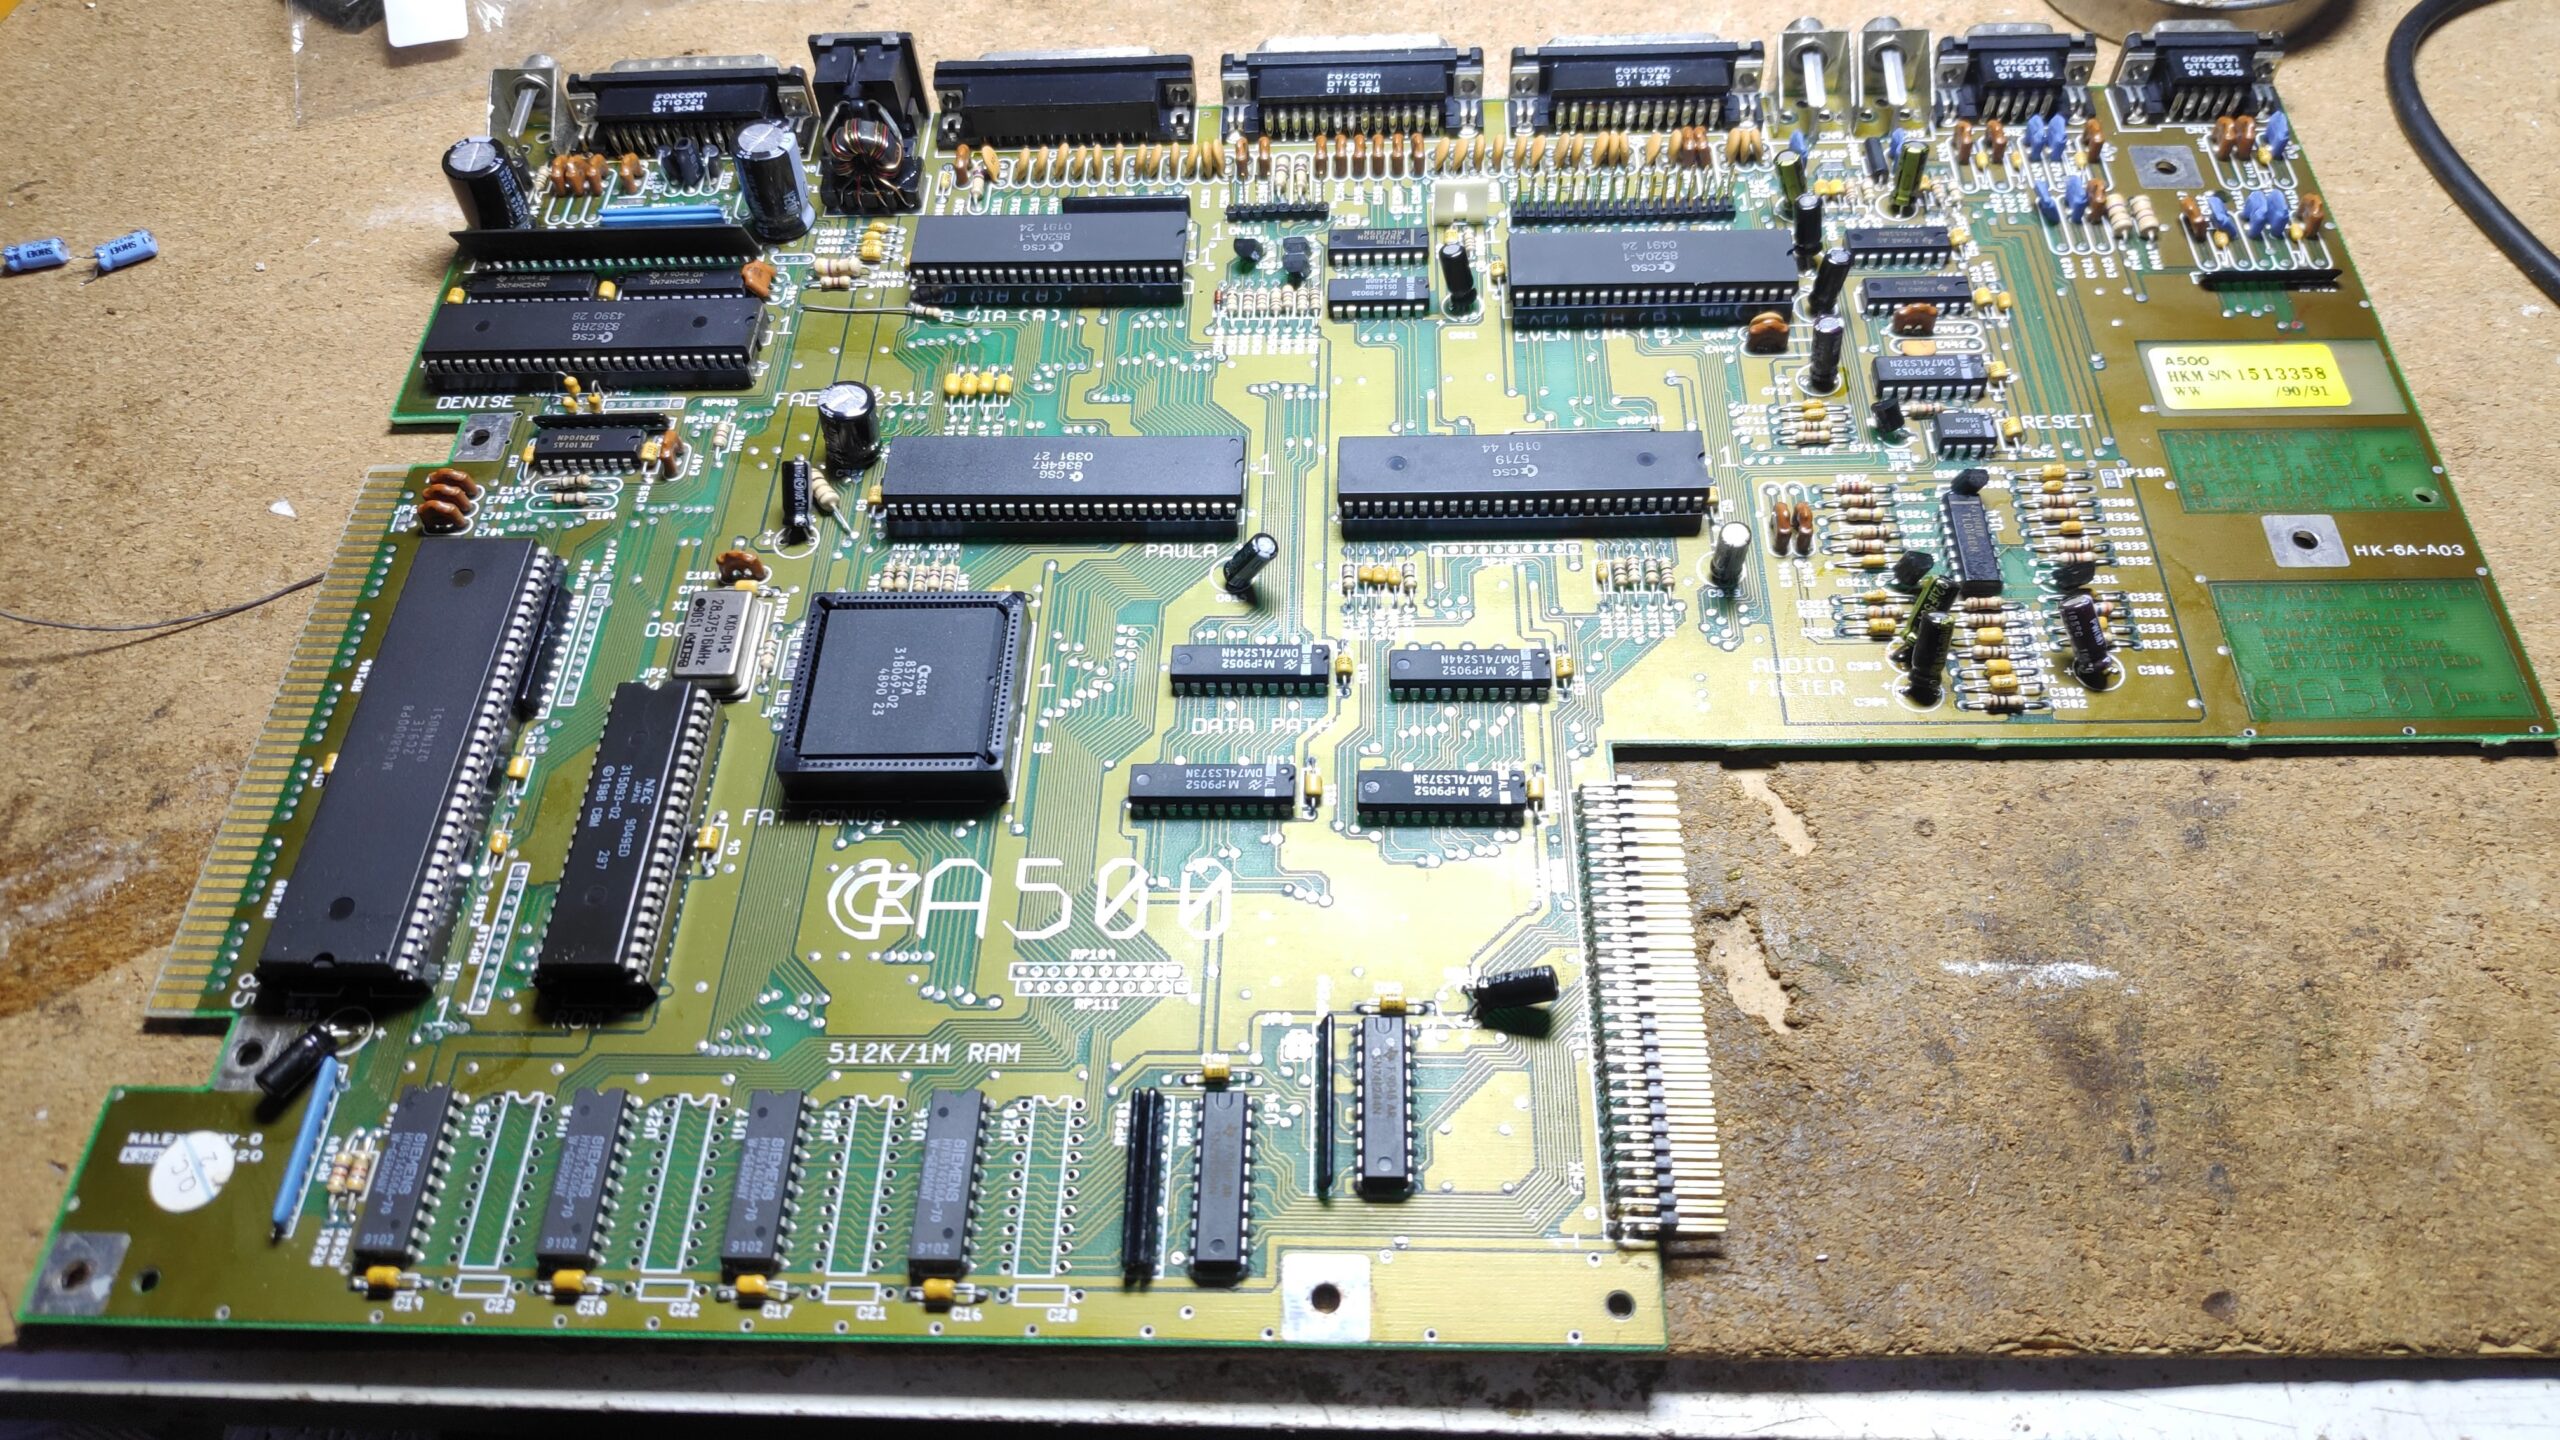
Searching through my commodore parts I found a recap kit for a Rev 6 board so that was very lucky as this is a Rev 6A. Good old Amigastore.eu
I like to change a couple of caps at a time and boot test after each swap. Just in case there are any issues then I can narrow down the cause to a couple of caps.
I find that the caps are more easily removed if first you reflow the existing solder with a bit of new solder and a bit of flux. Then use a desoldering gun or solder sucker. I purchased a desoldering gun some years back and I wouldn’t be without one now.
Top left three done at it still boots.
Finally all done. There were a couple of stubborn ones so the solder mask was disturbed a little. Plenty of alcohol and all the flux is removed and the joints are nice and clean. Ready for a final test.
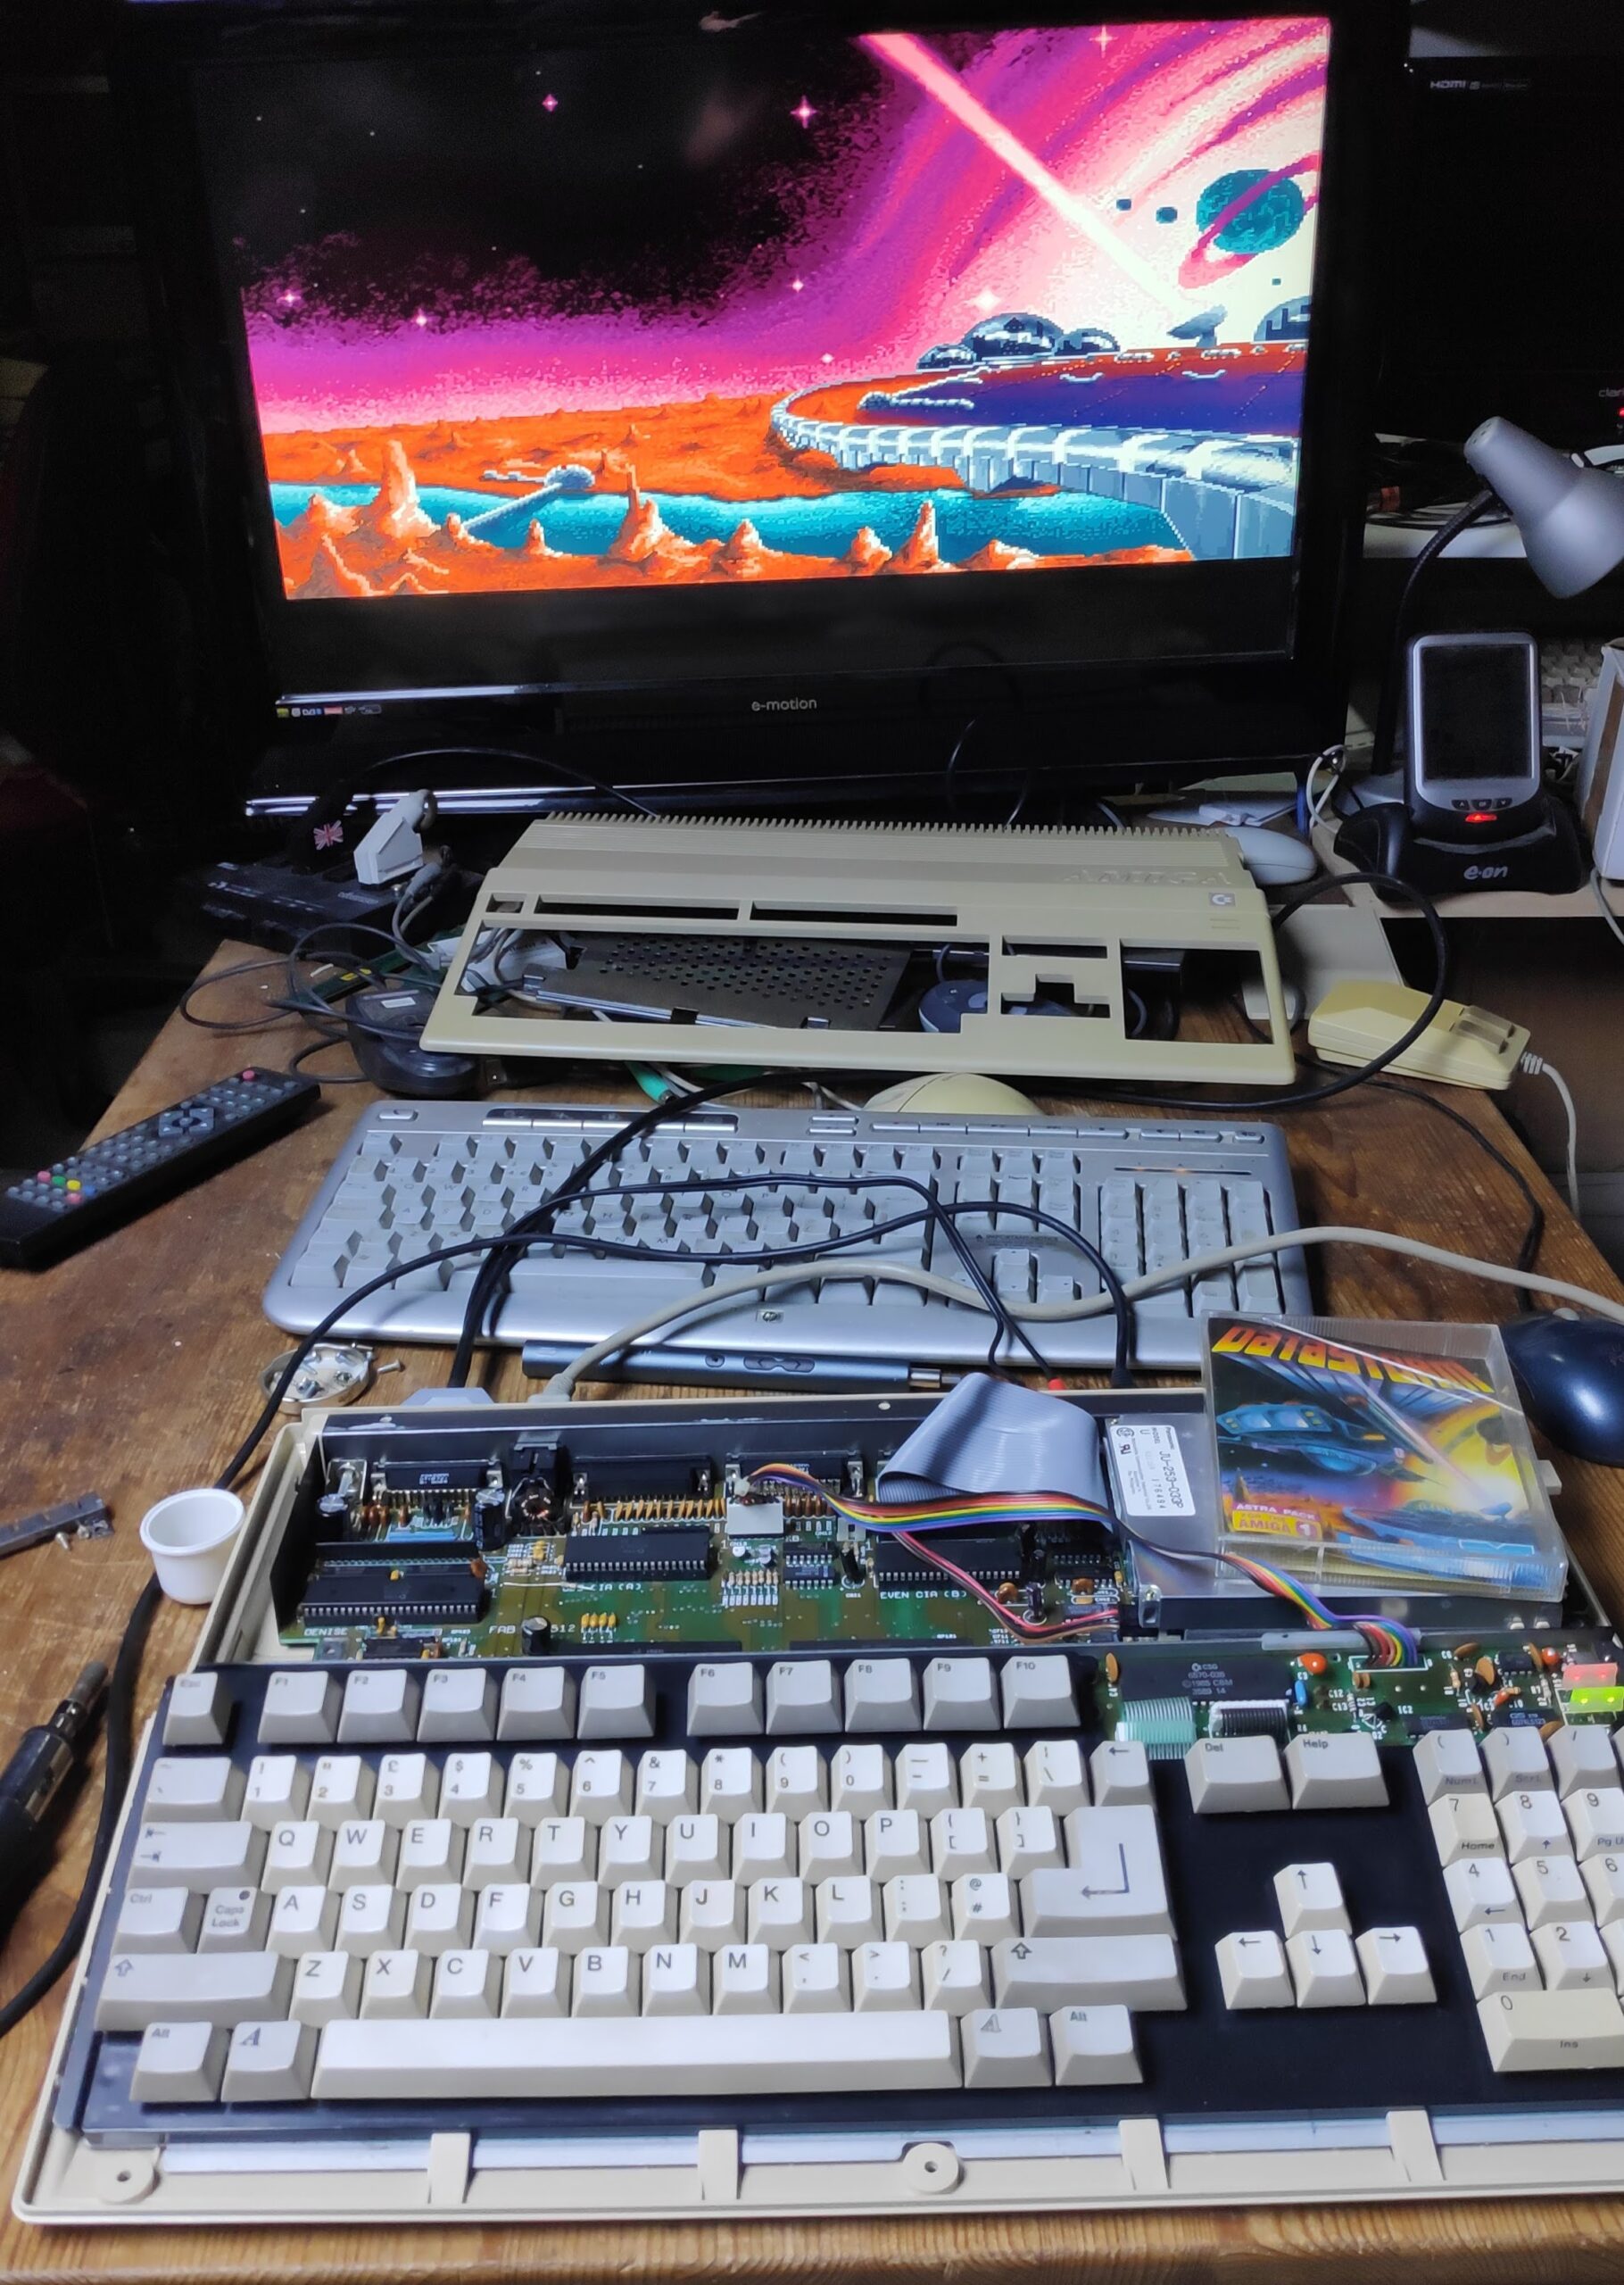
Loose fit everything including fitting the floppy drive connector the right way round. All looks good so far. So lets try Datastorm.
Floppy Disk Drive
The disk is working fine but its best to take it apart for a courtesy check.
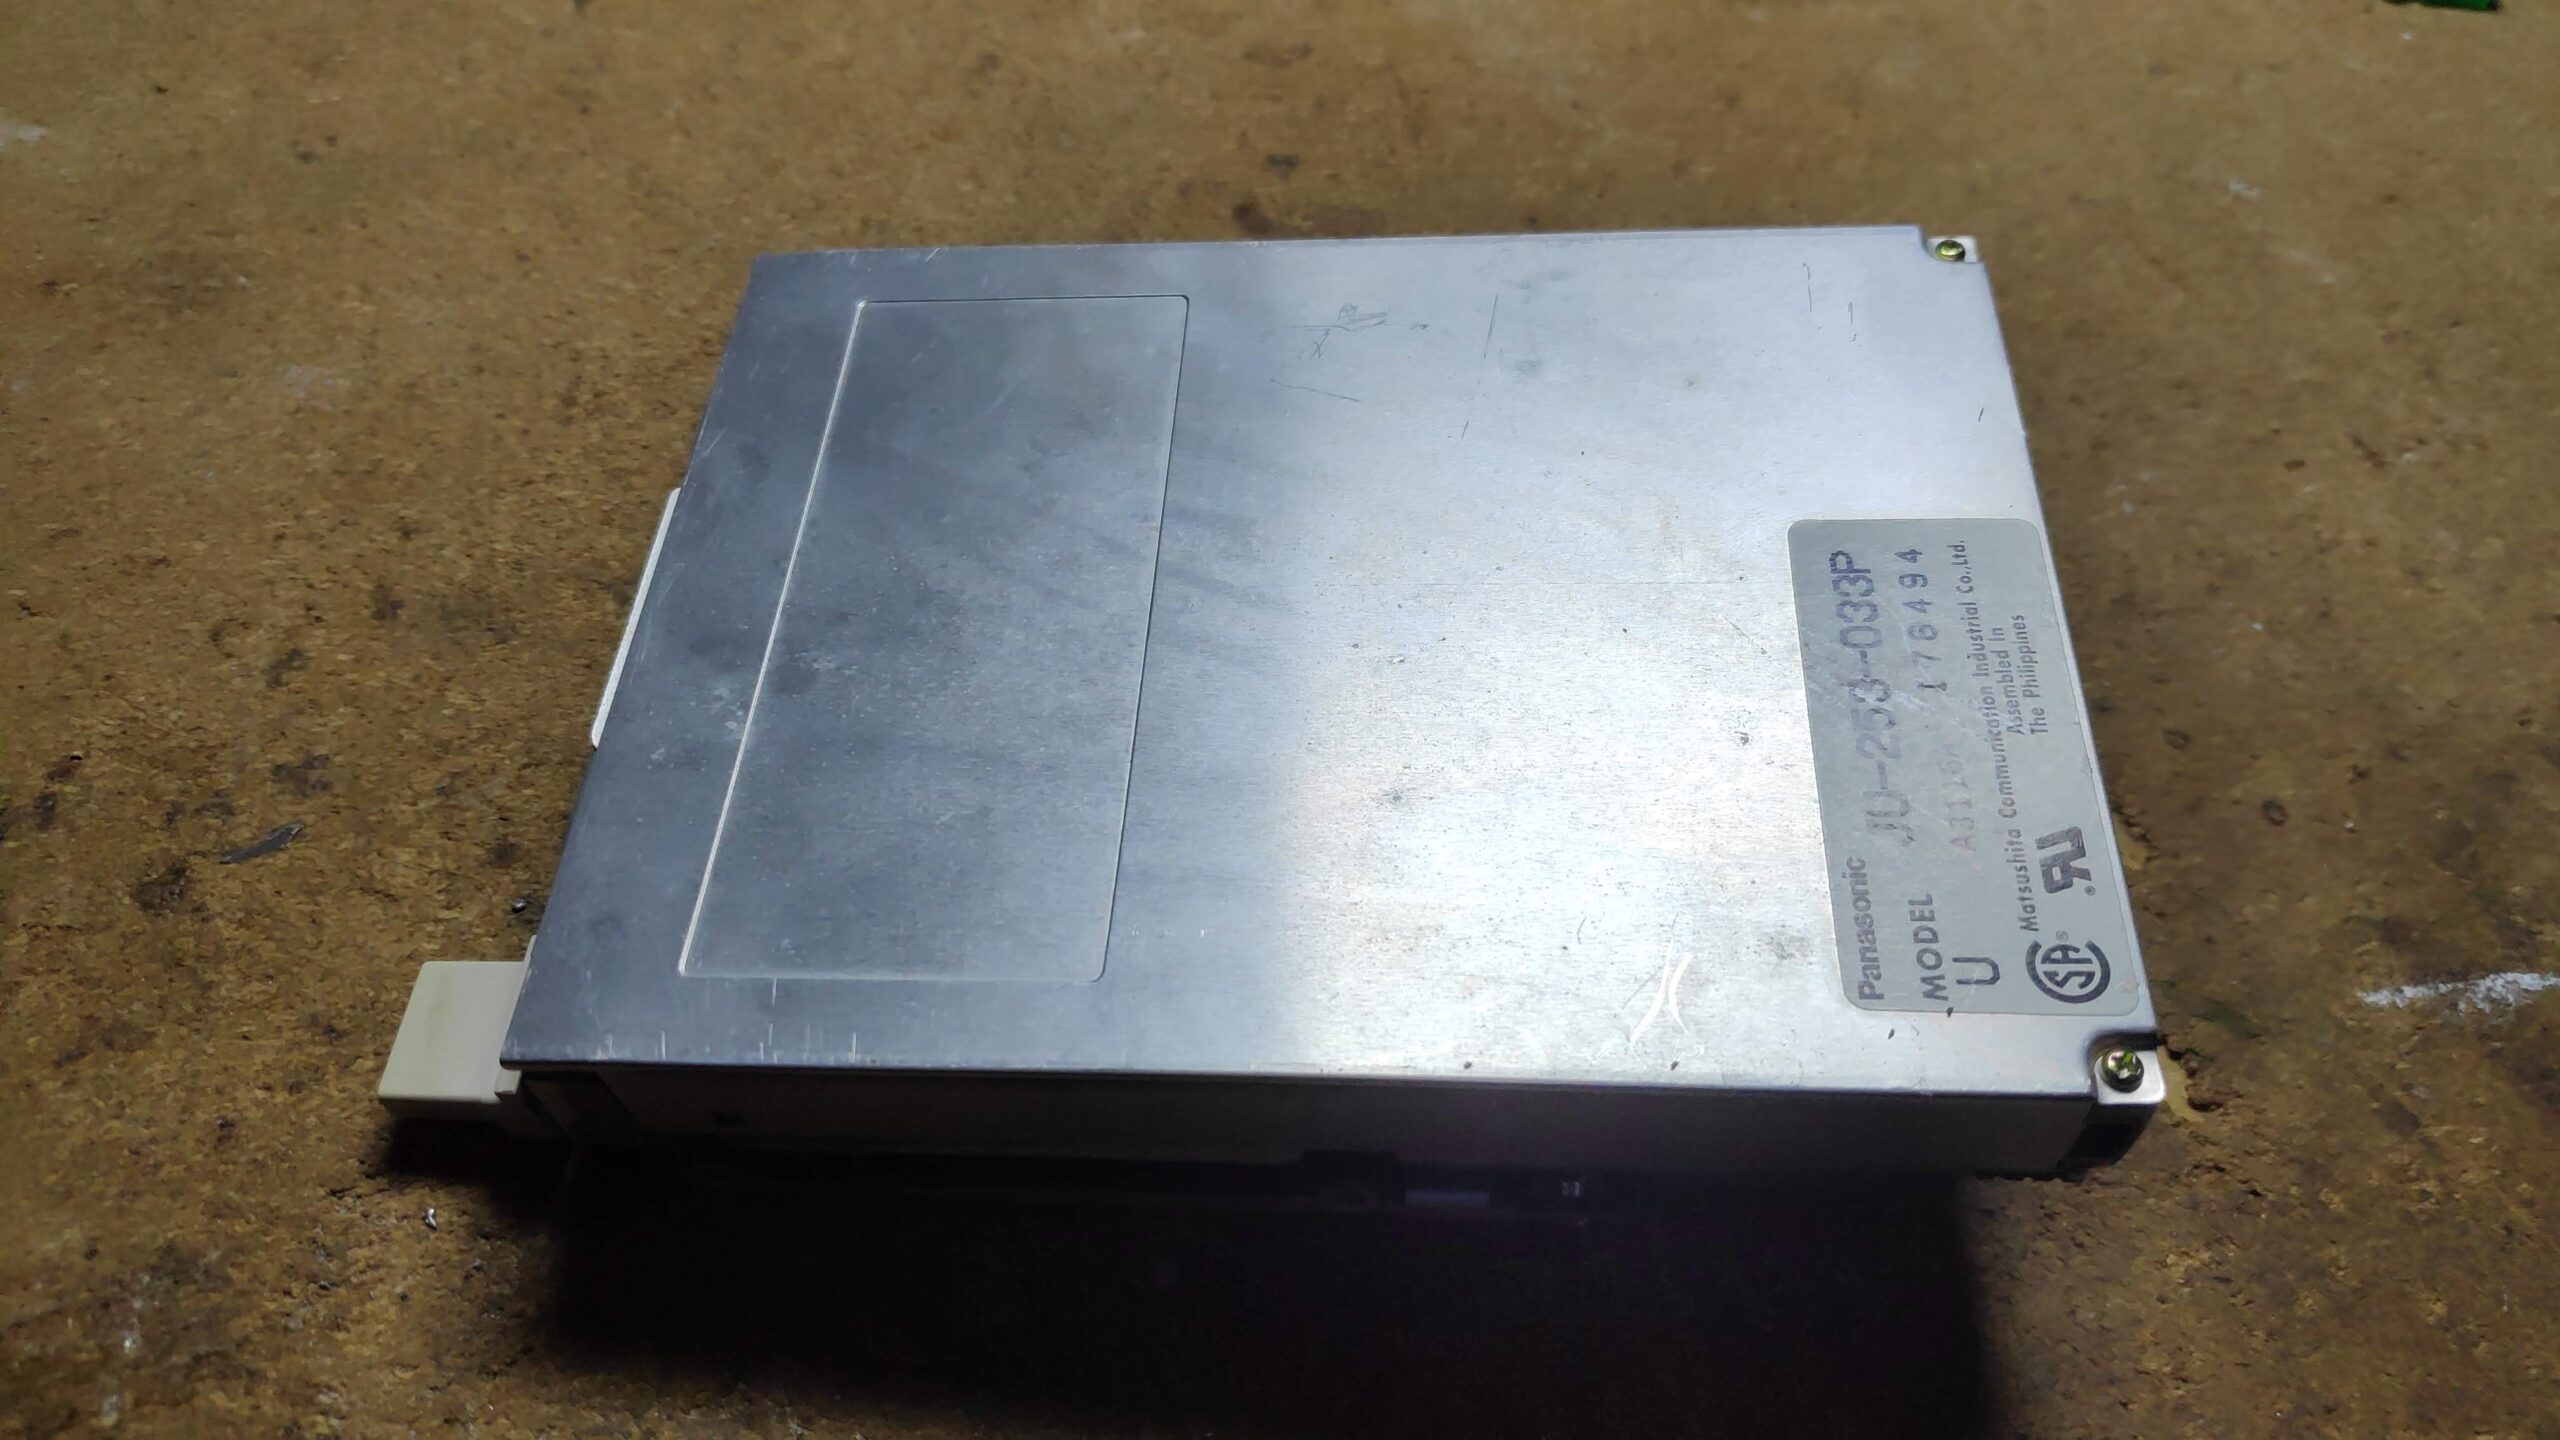
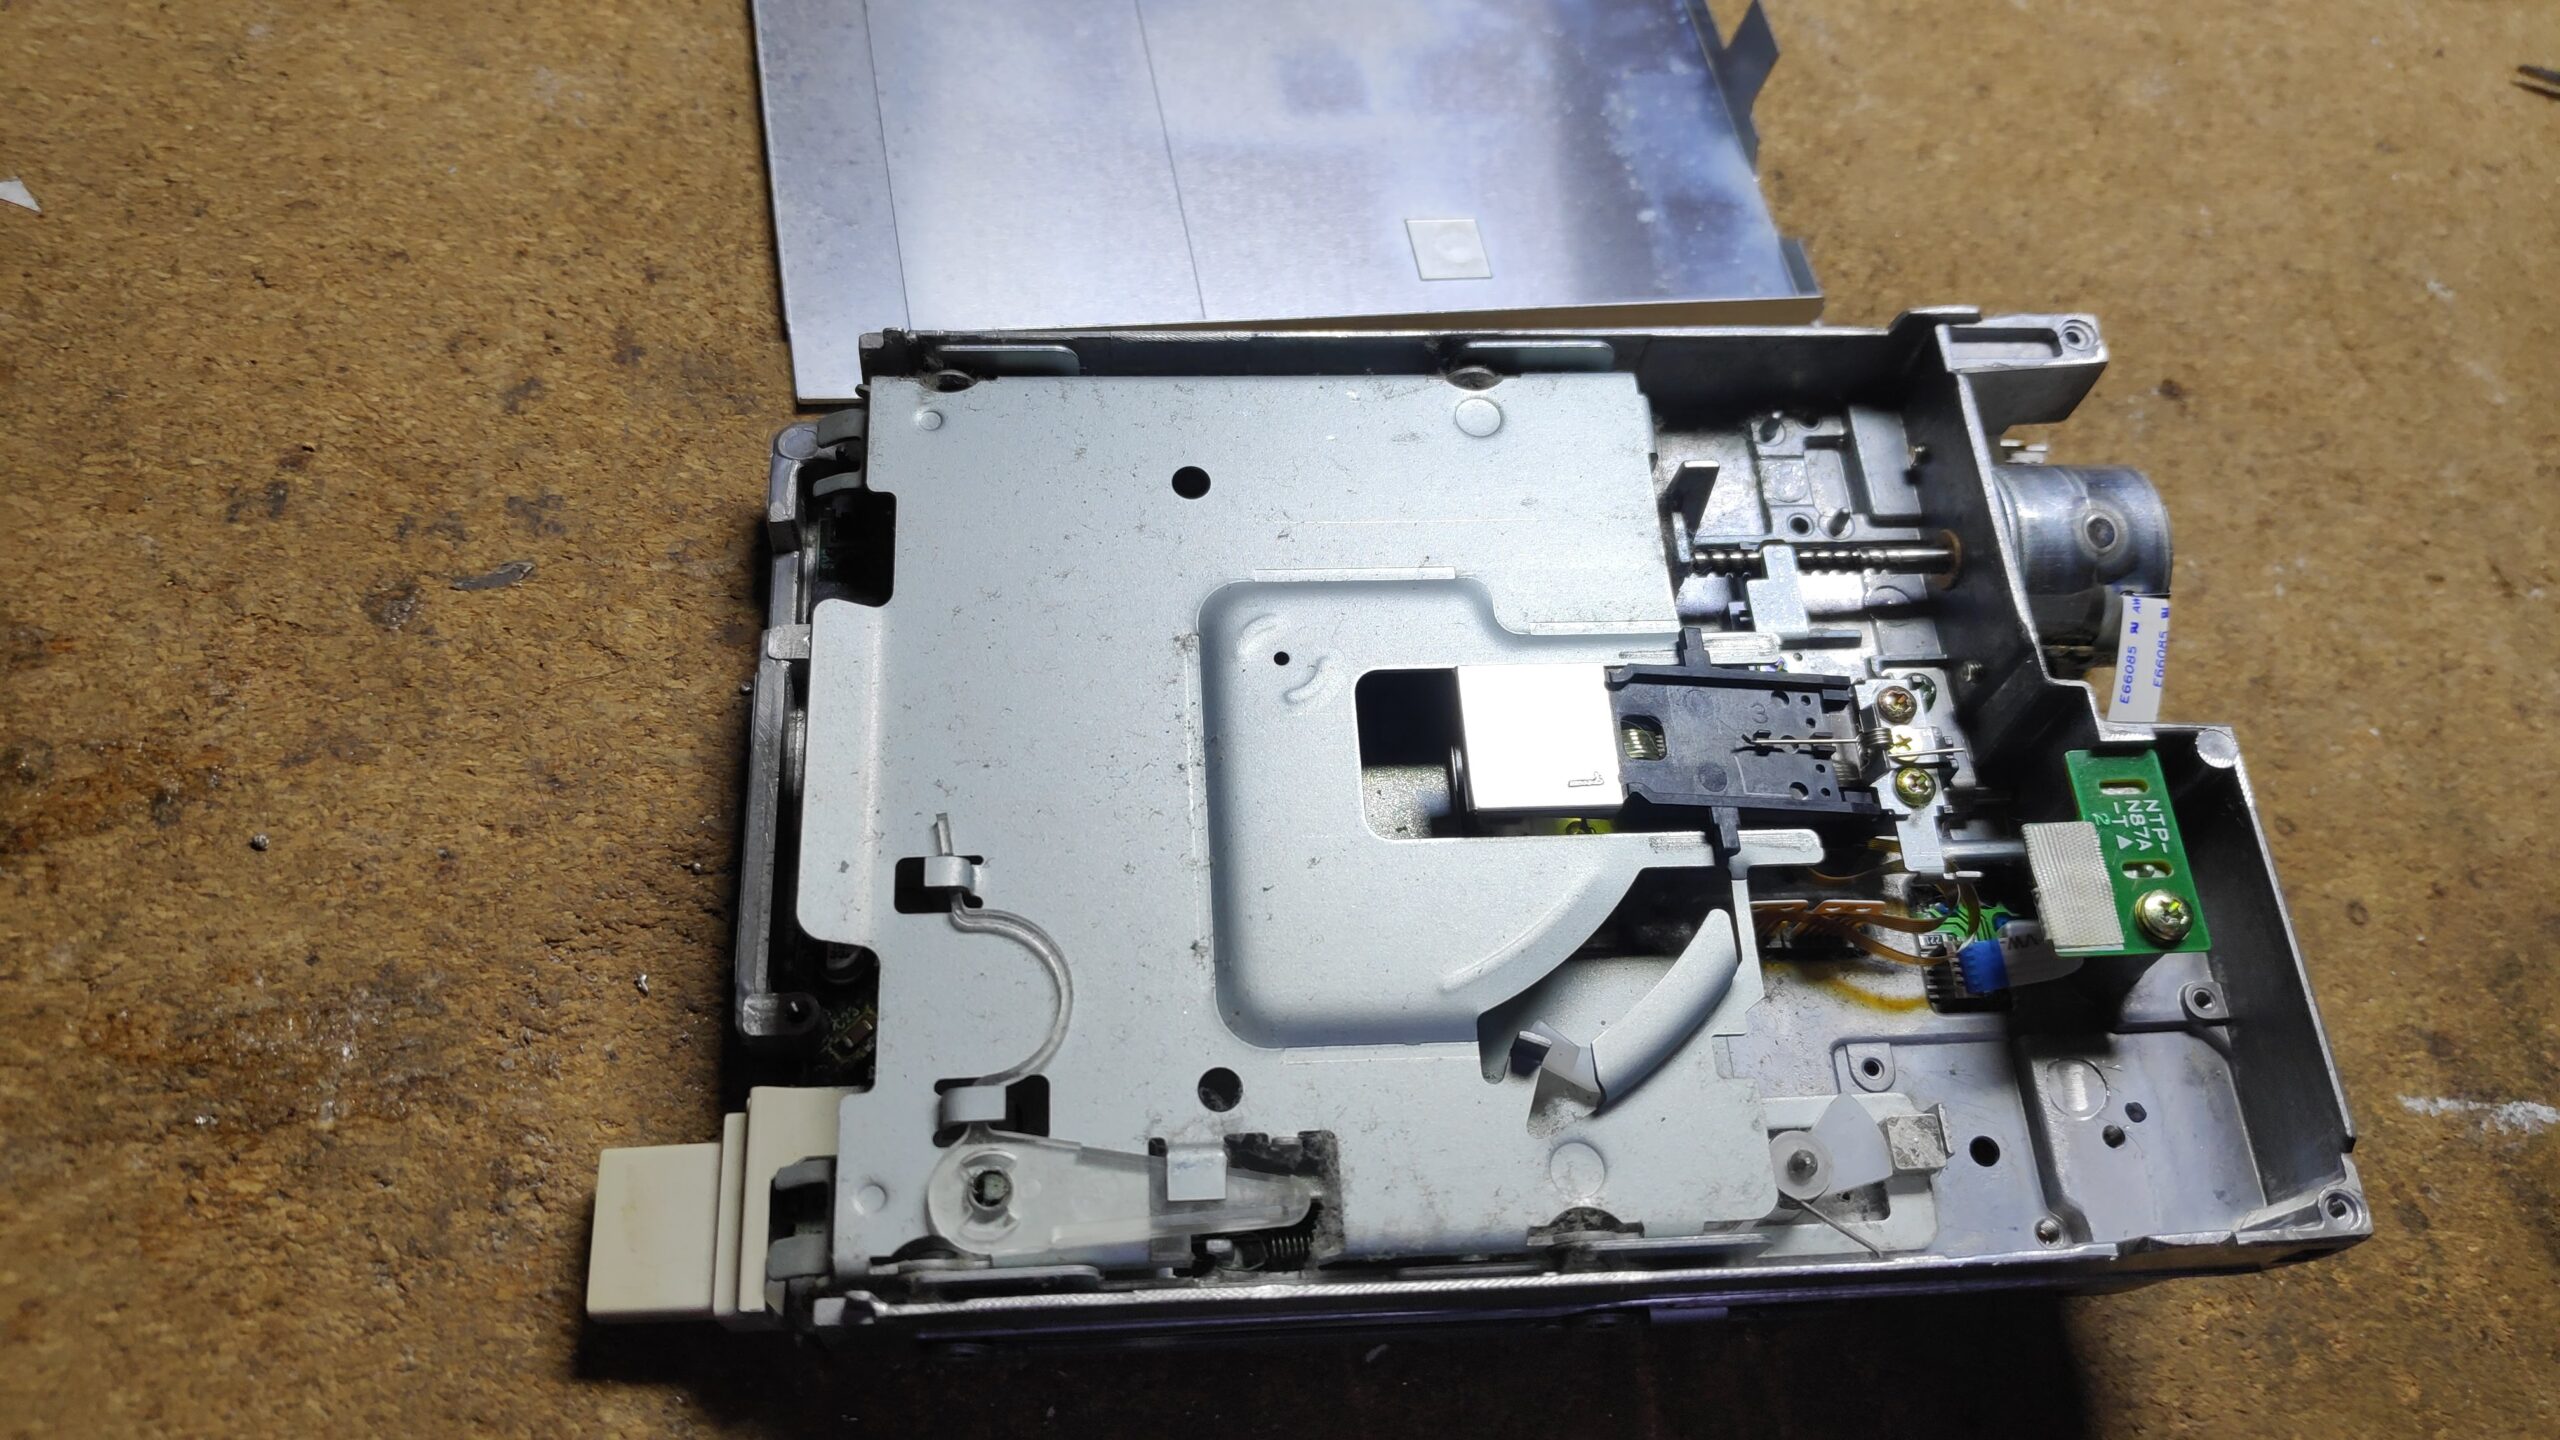
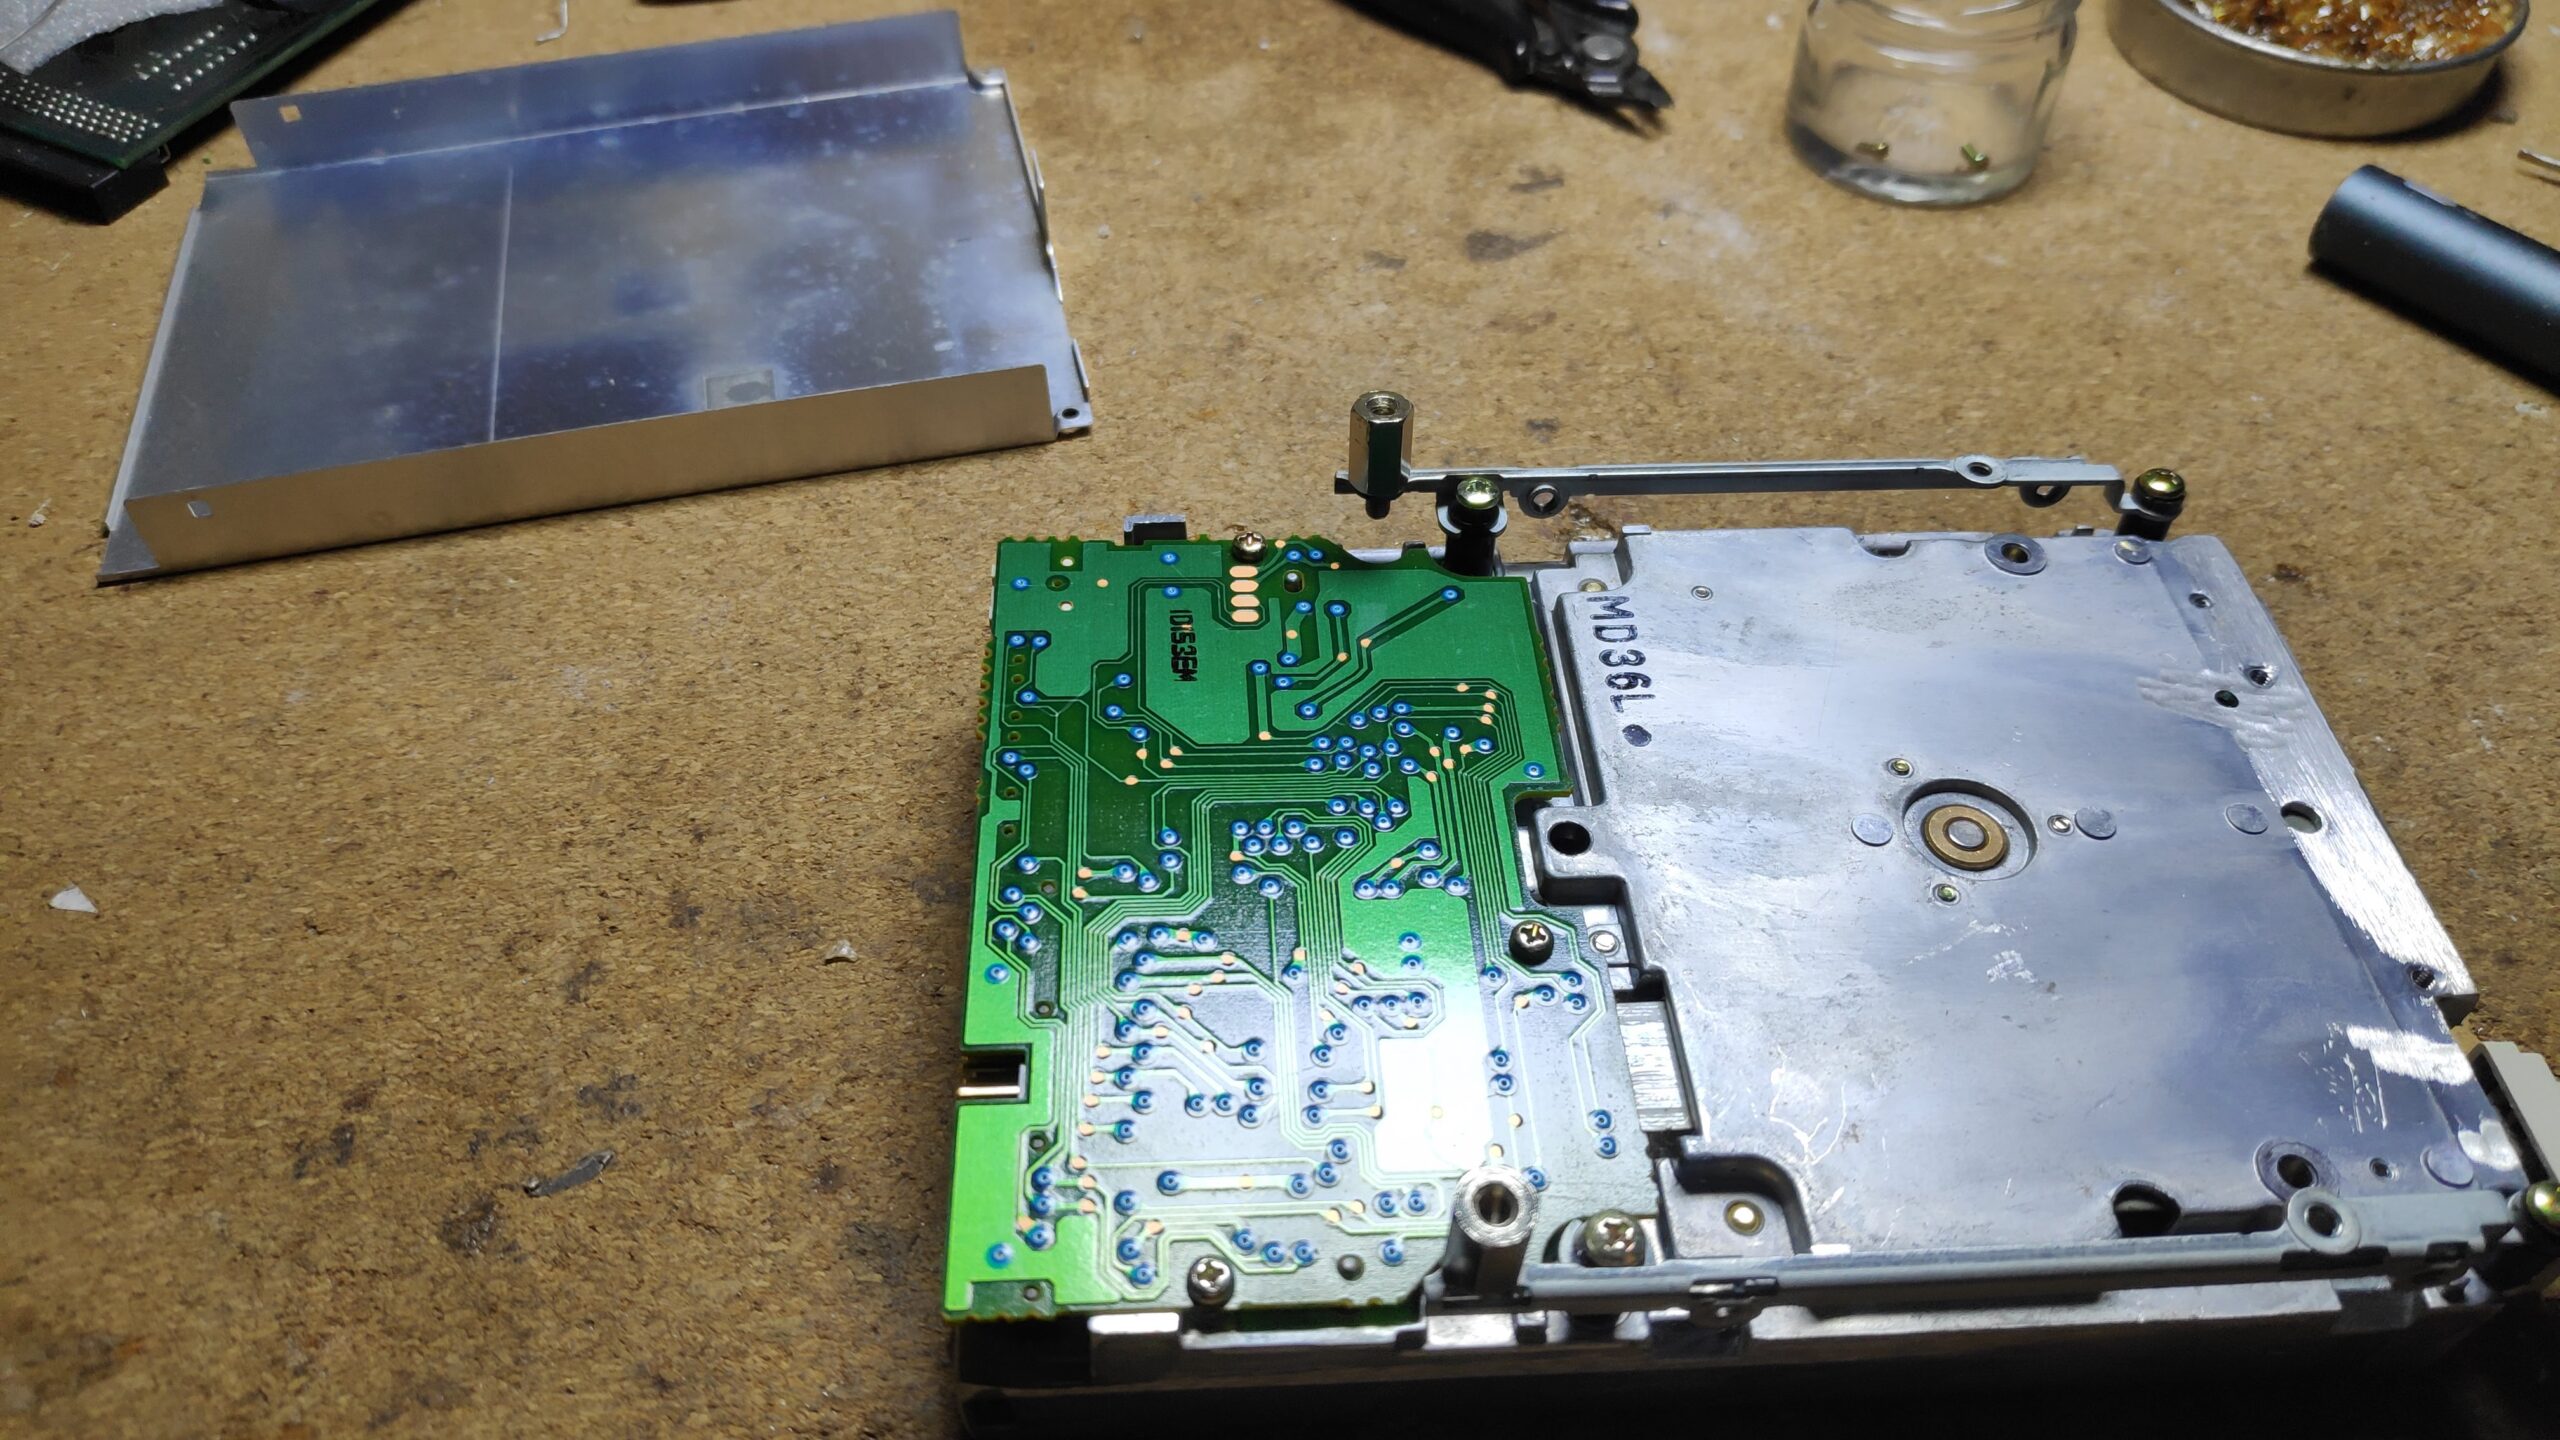
On first inspection there is a lot of dust so a proper clean out was required. Its always good policy to clean the heads with some isopropyl
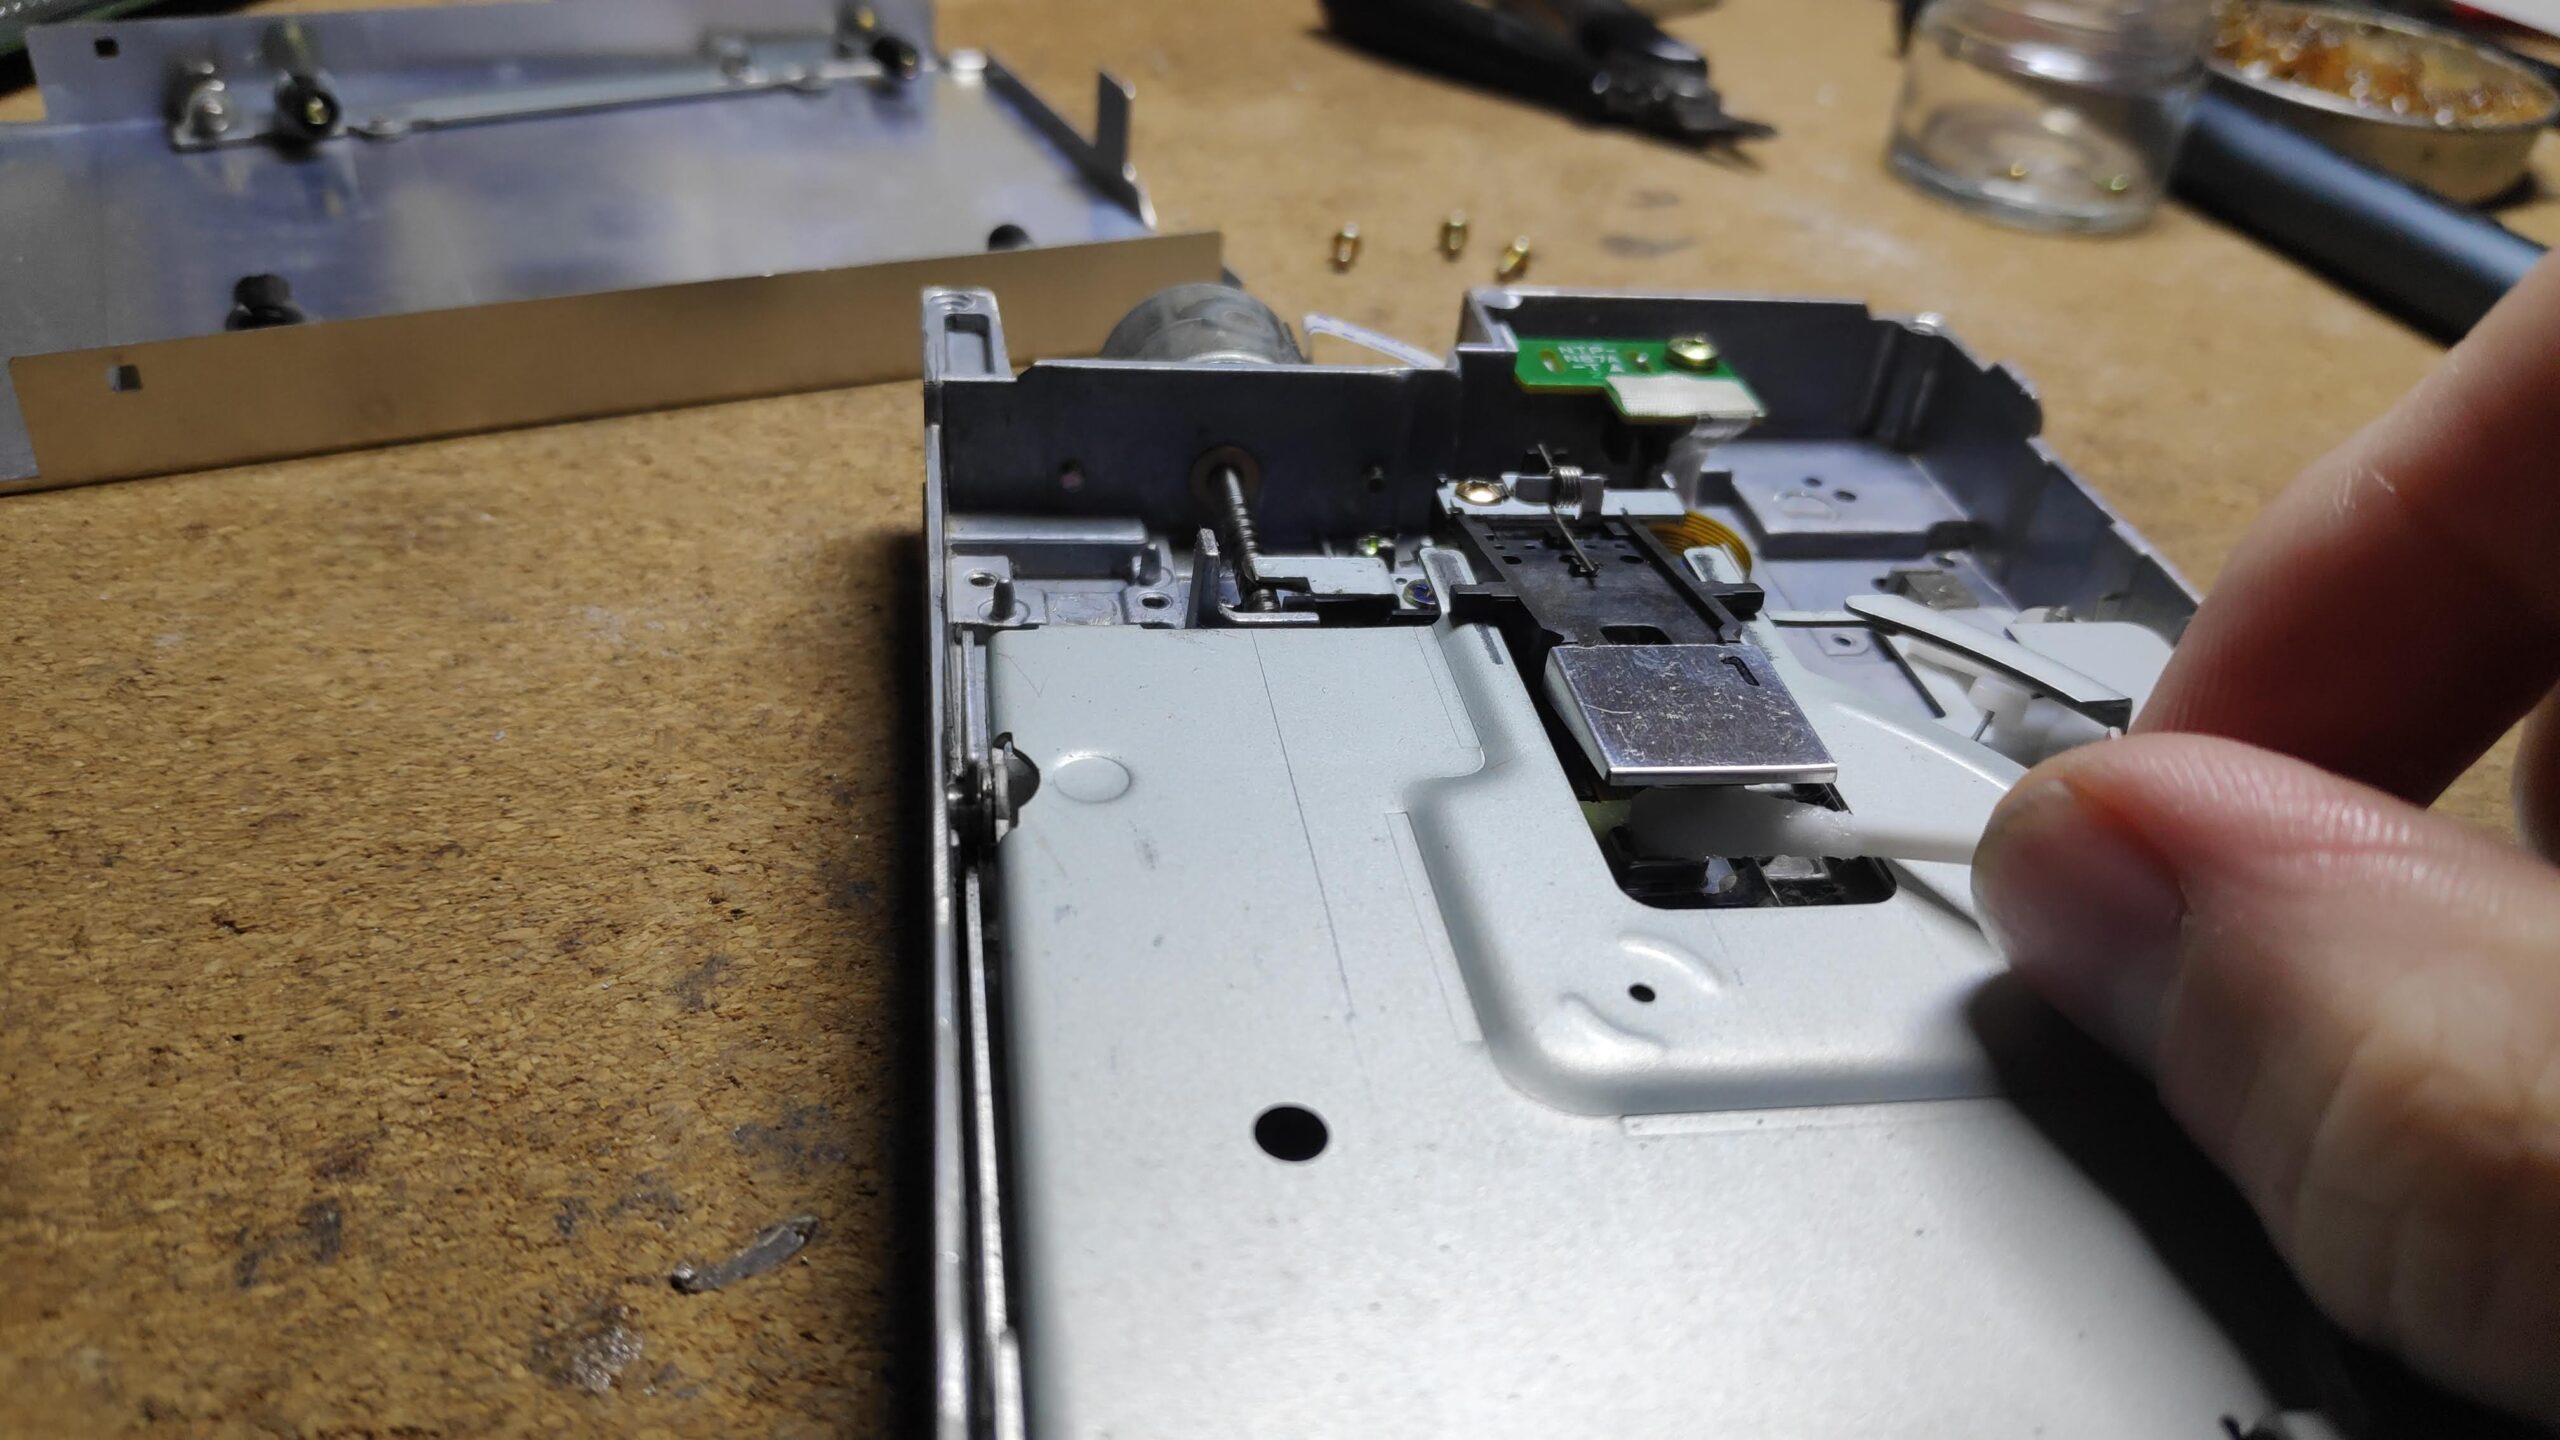
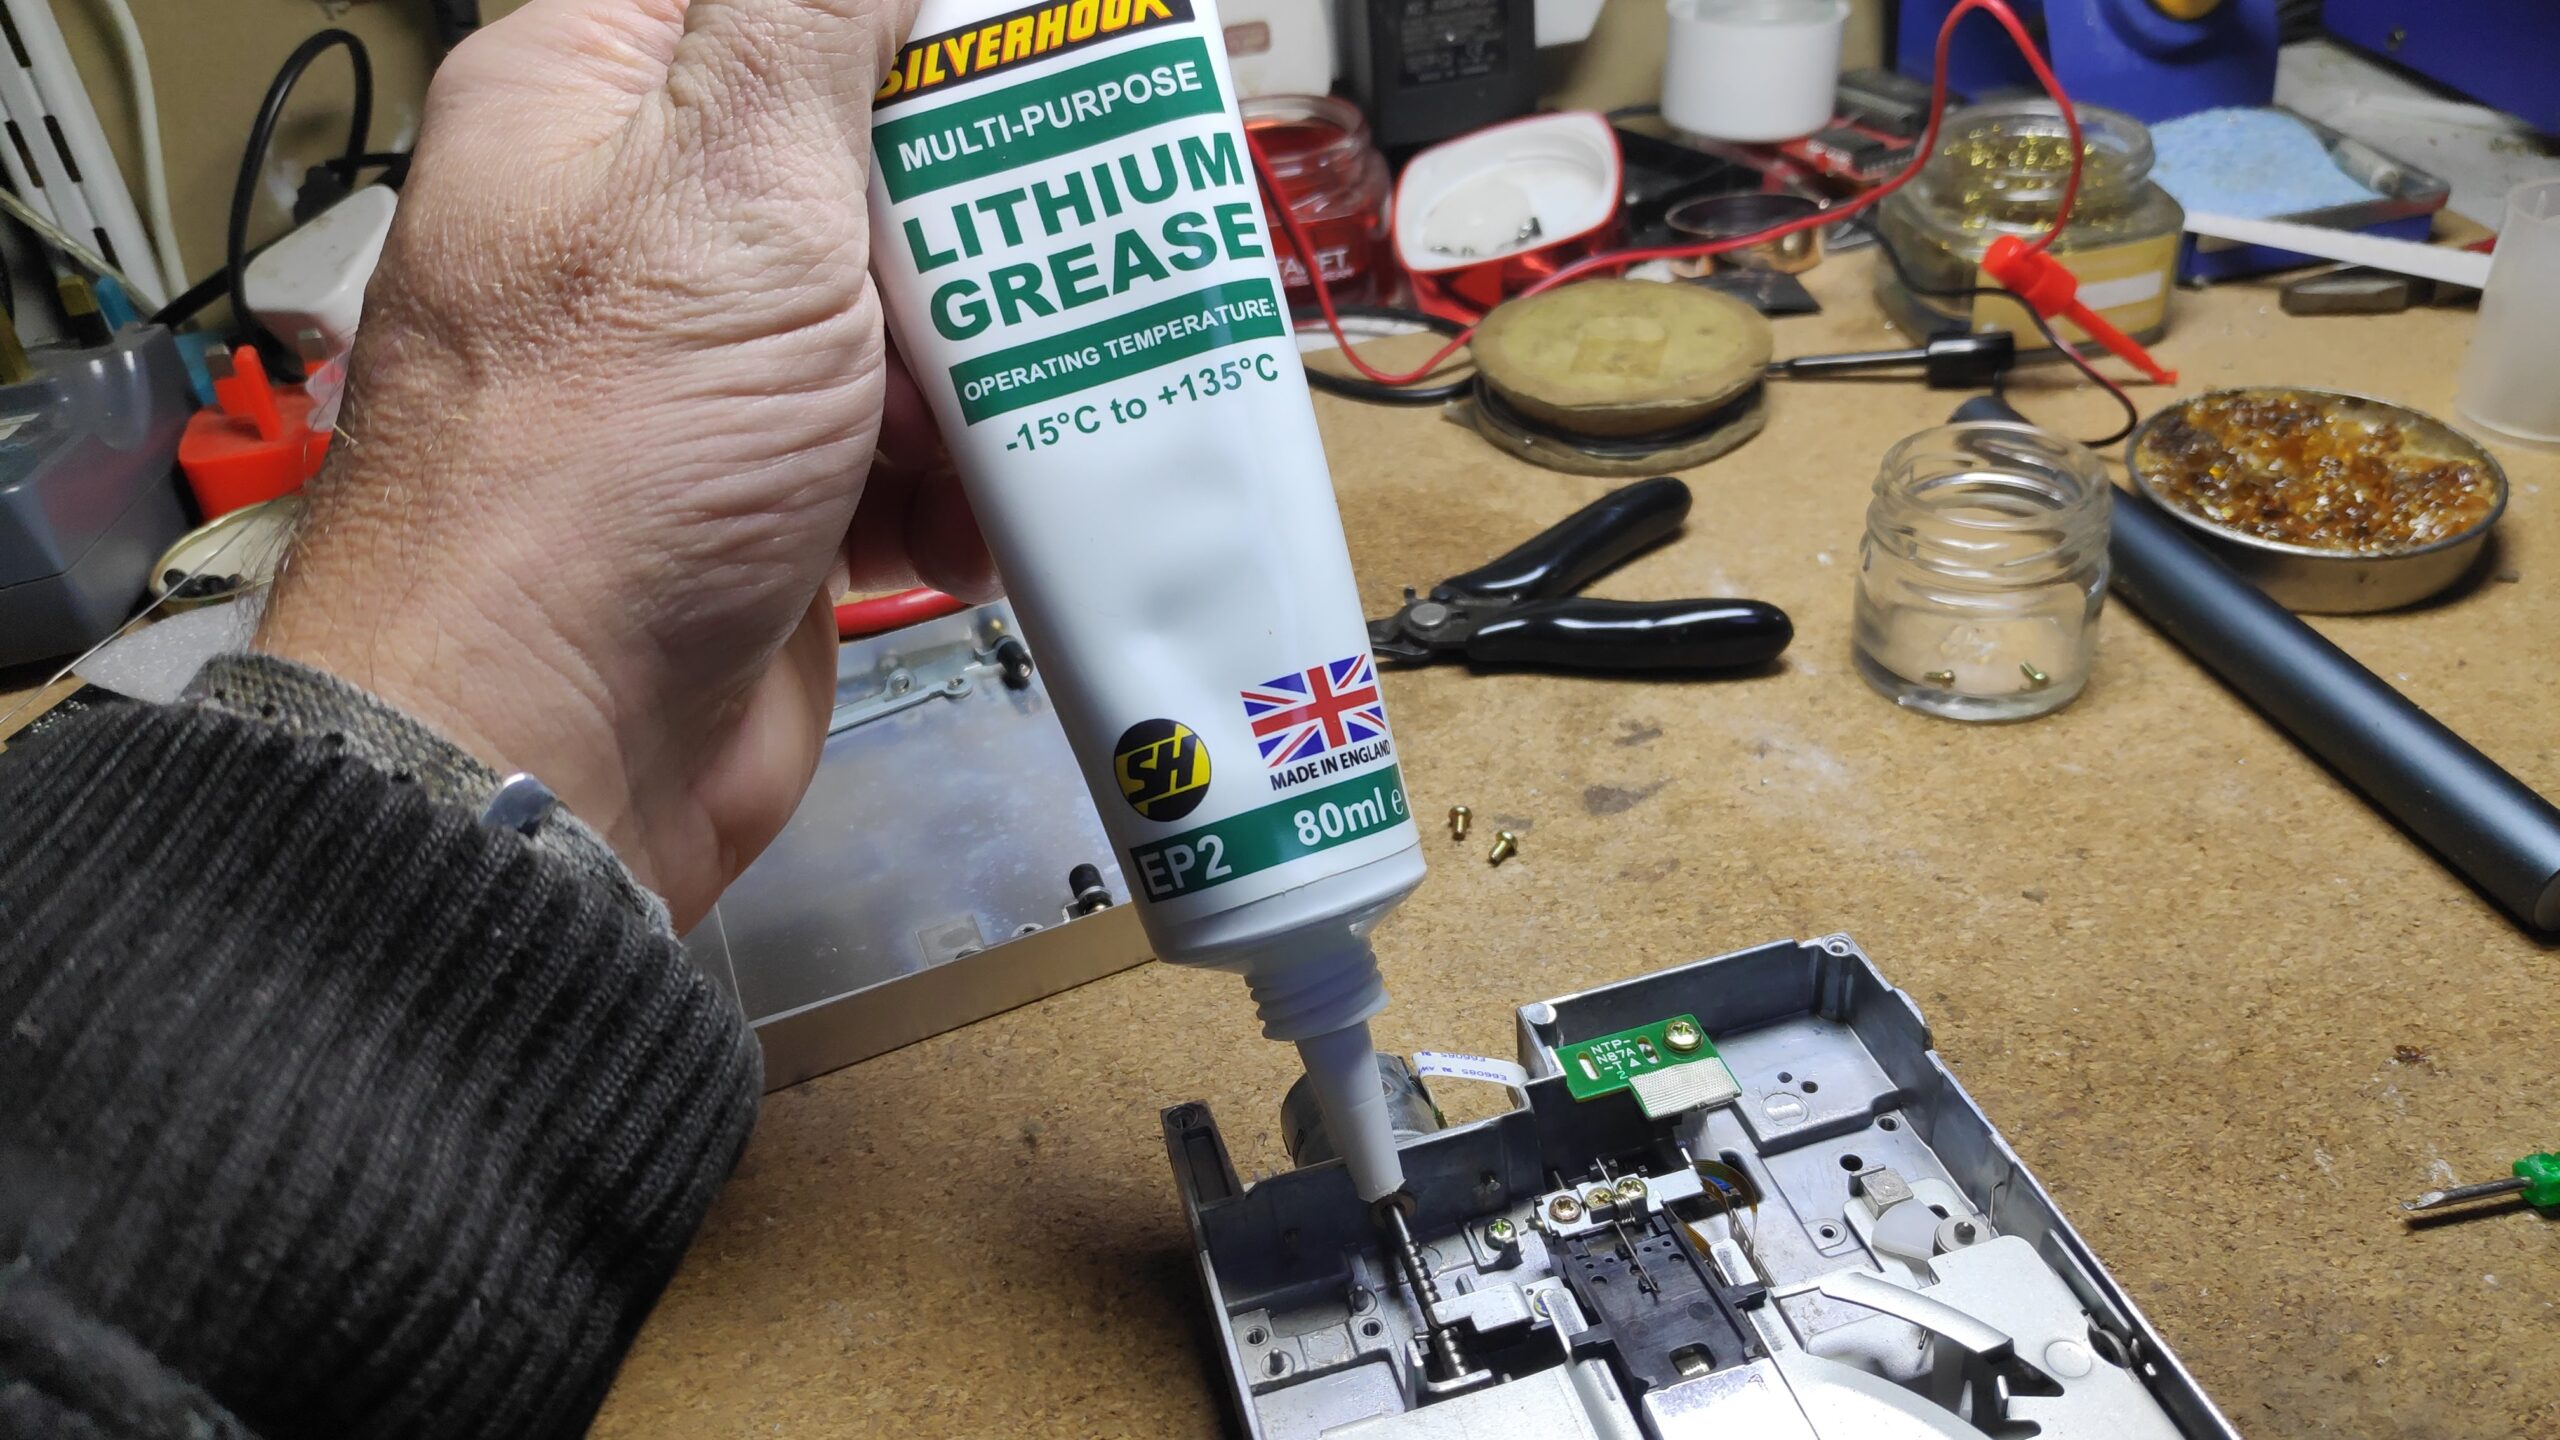
Also its a good idea to add some lithium grease to the moving parts especially the head motor and the eject mechanism.
The drive is purring like a kitten. I should have taken a video of the noise before and after. Its a satisfying sound even though the actual disks haven’t aged as well.
Spit and Polish
I couldn’t put these back on like this
So a quick polish
Thats looks better.
Thought I would retrobrite the mouse first. These are the before images. Notice the mouse ball holder which wont be retrobrited for reference.
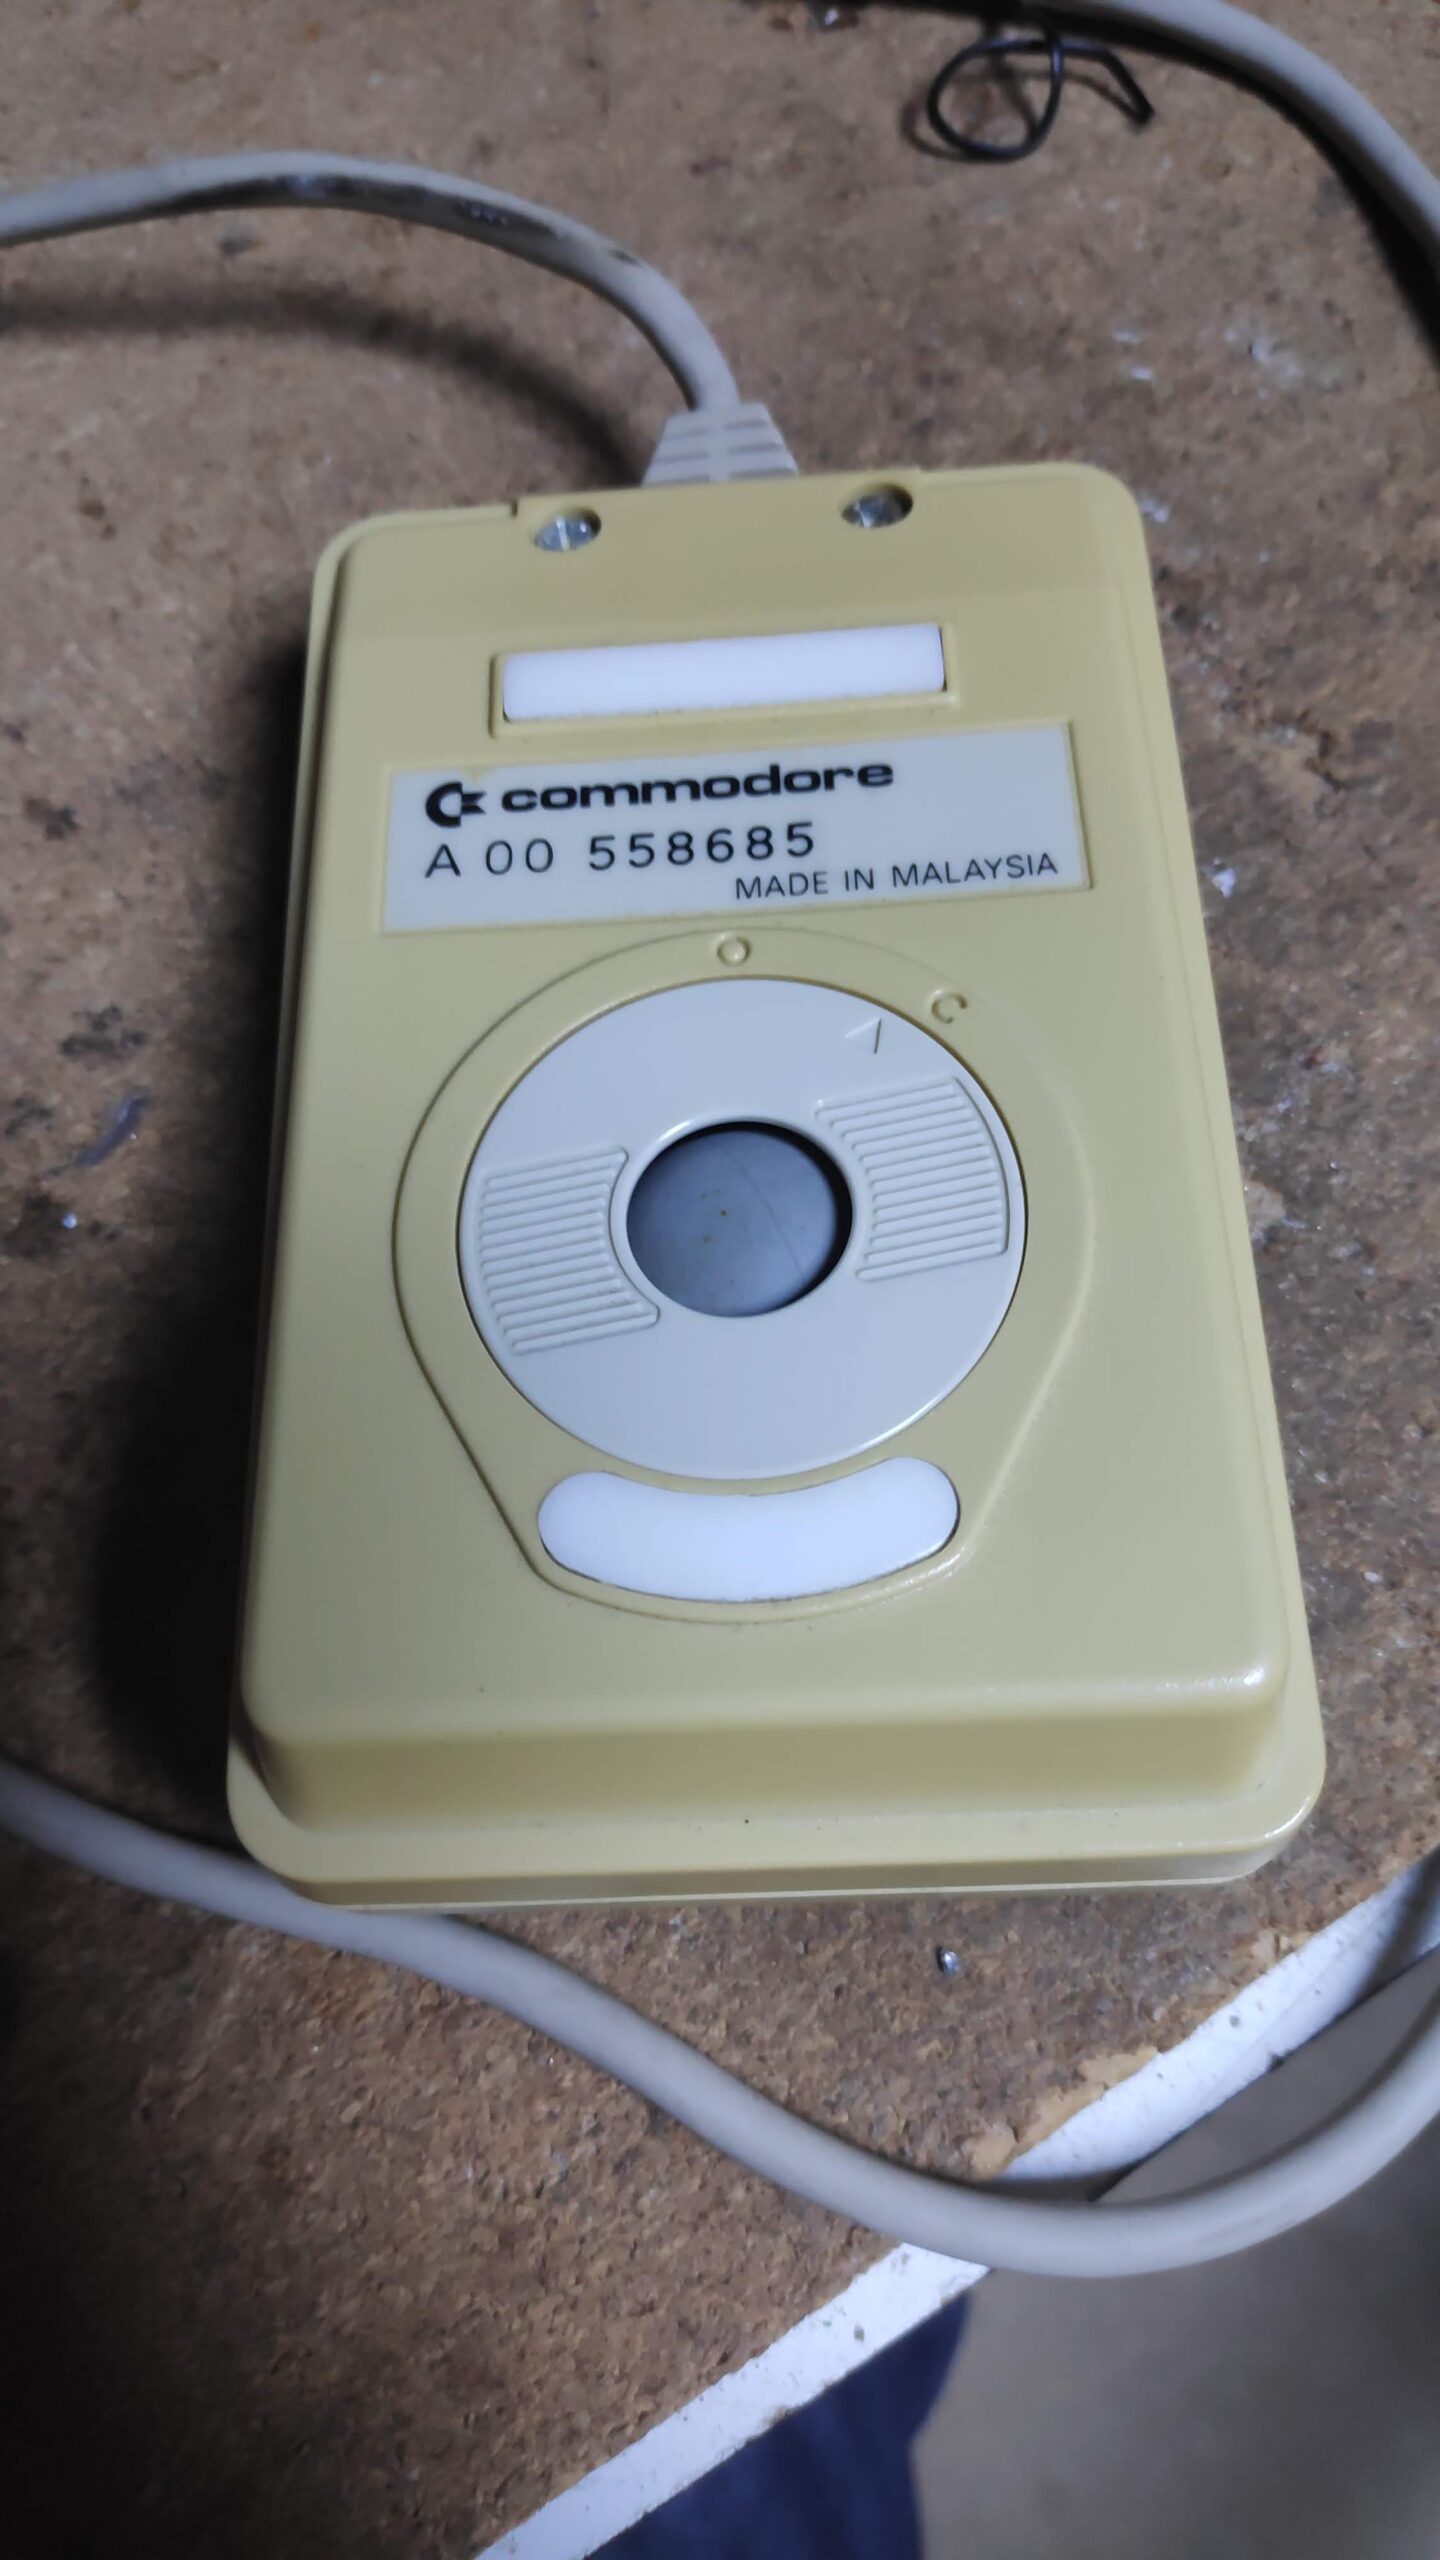
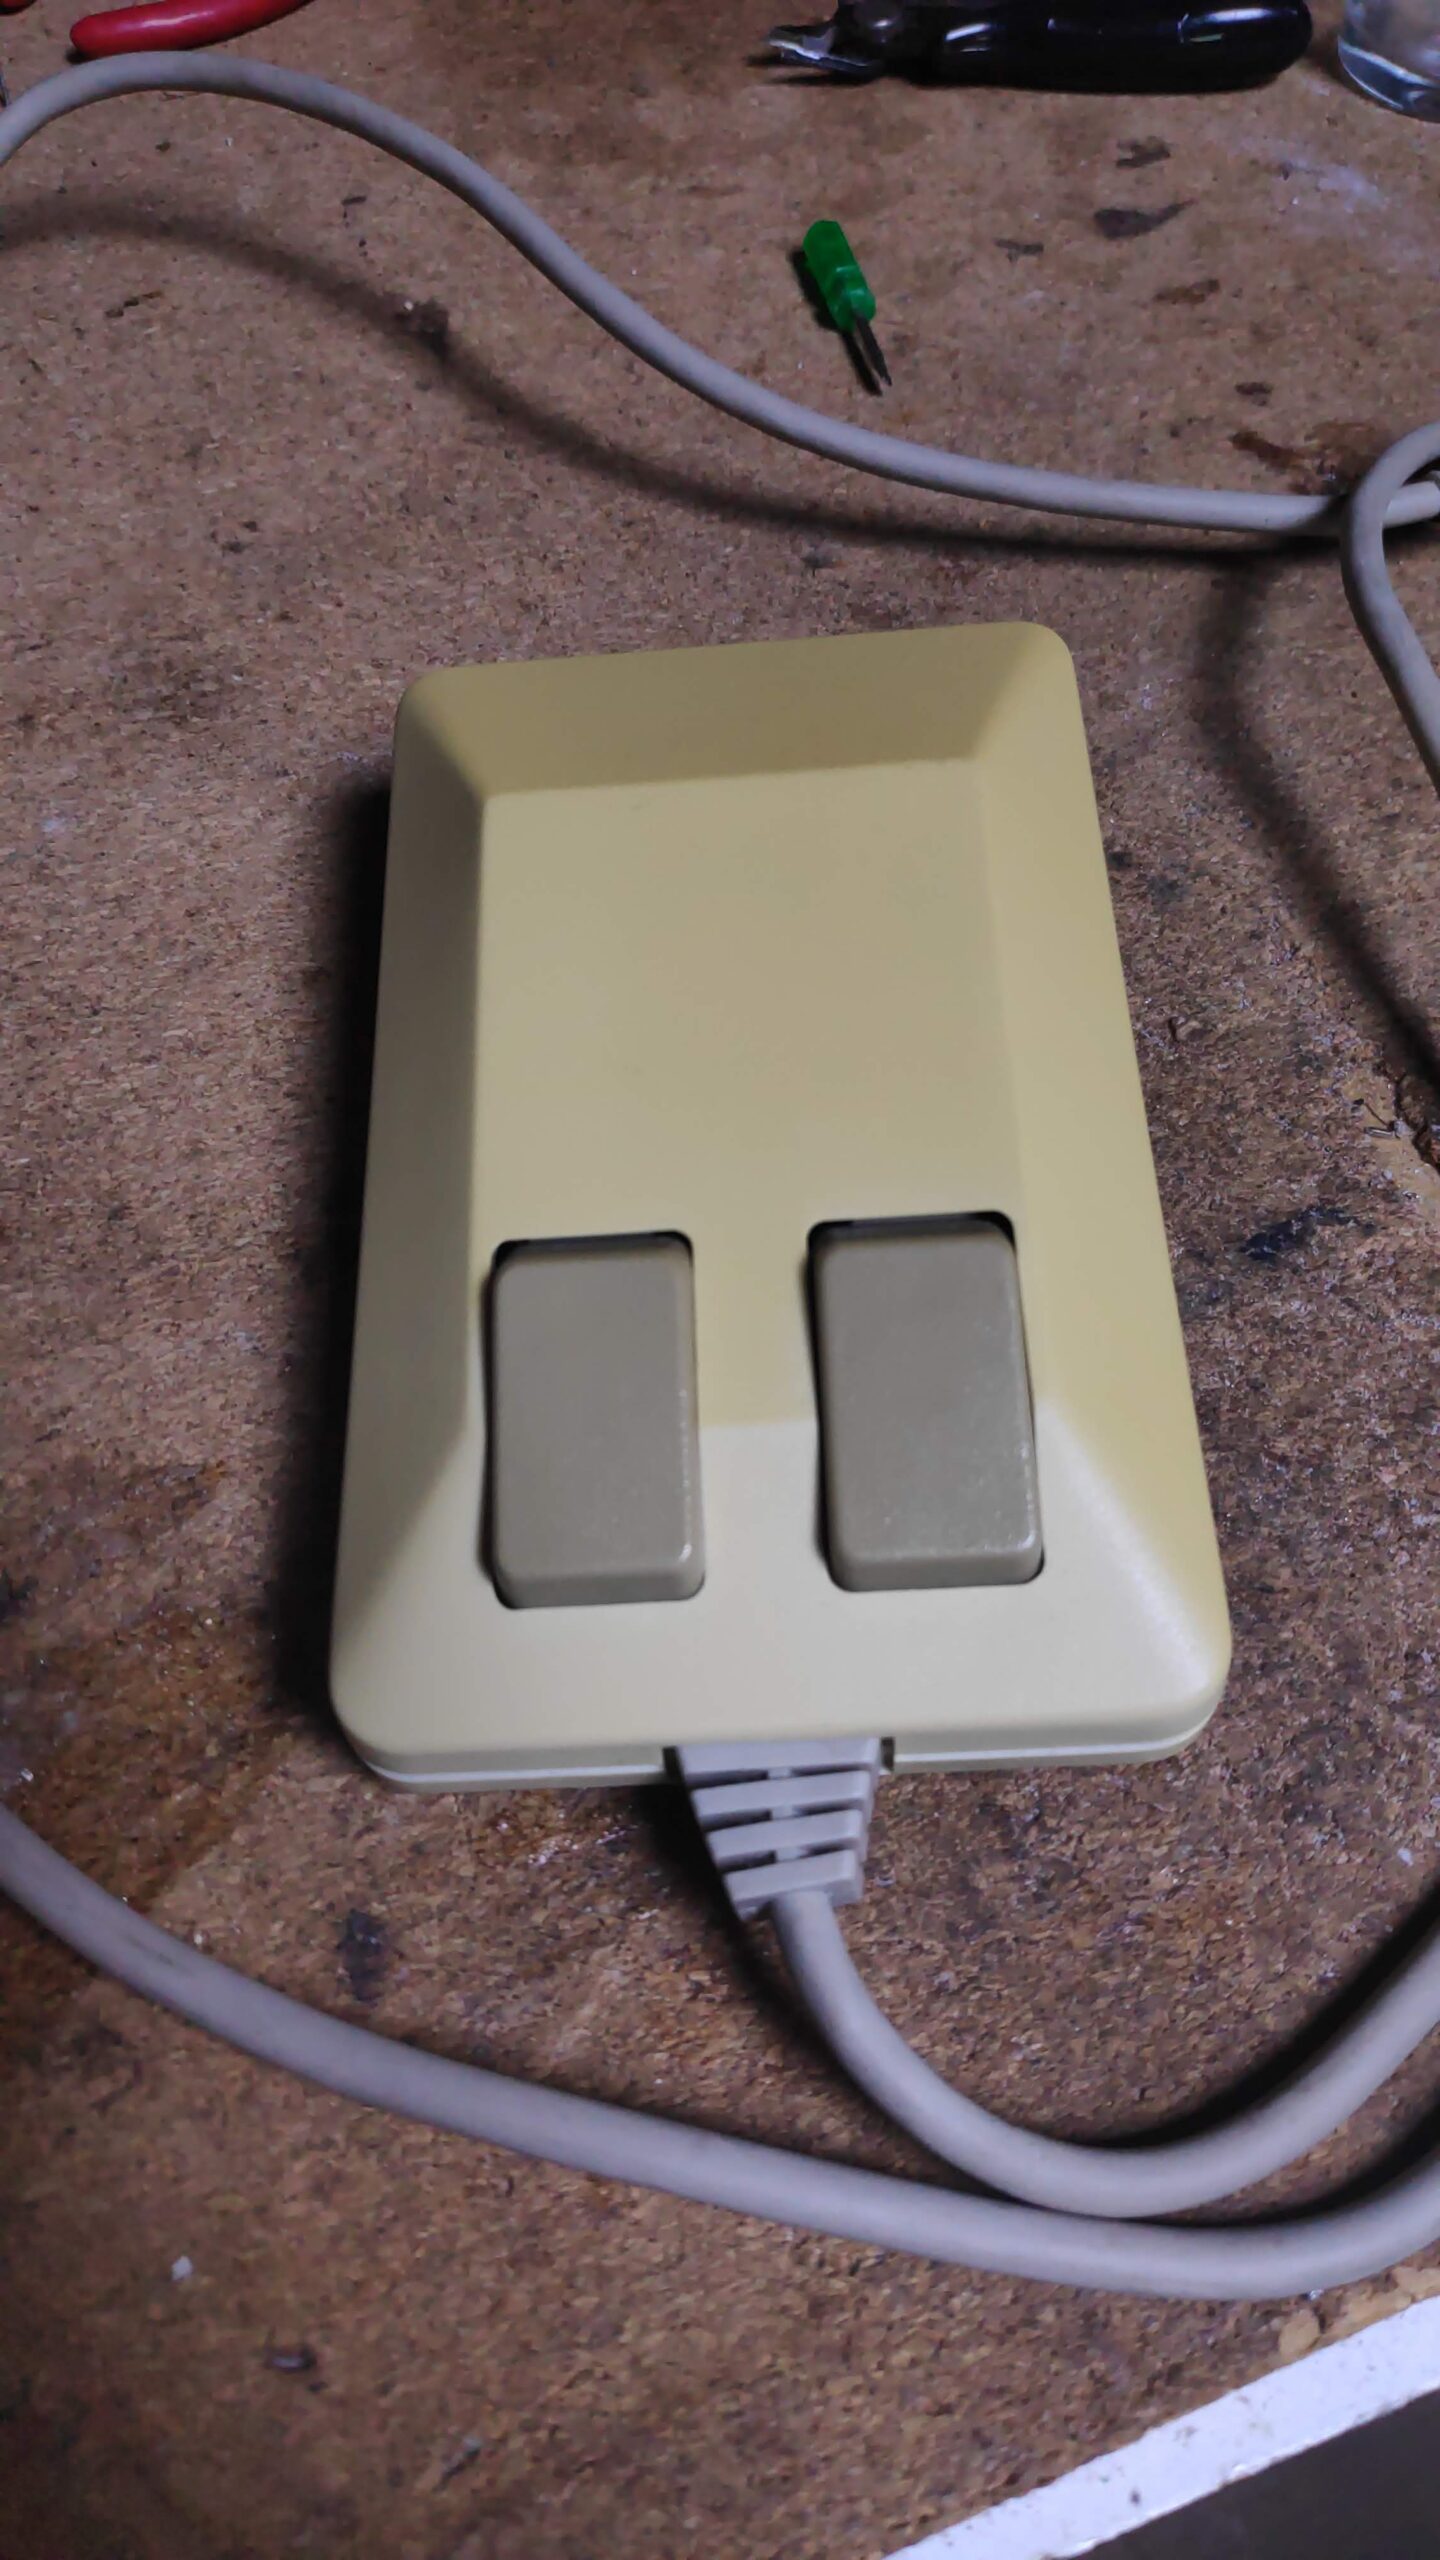
And these are the after. I tried my best to match the lighting of the photos and even placed the little green screwdriver to avoid any confusion 😉 although I hadn’t yet installed the cable and innards on one of the photos.
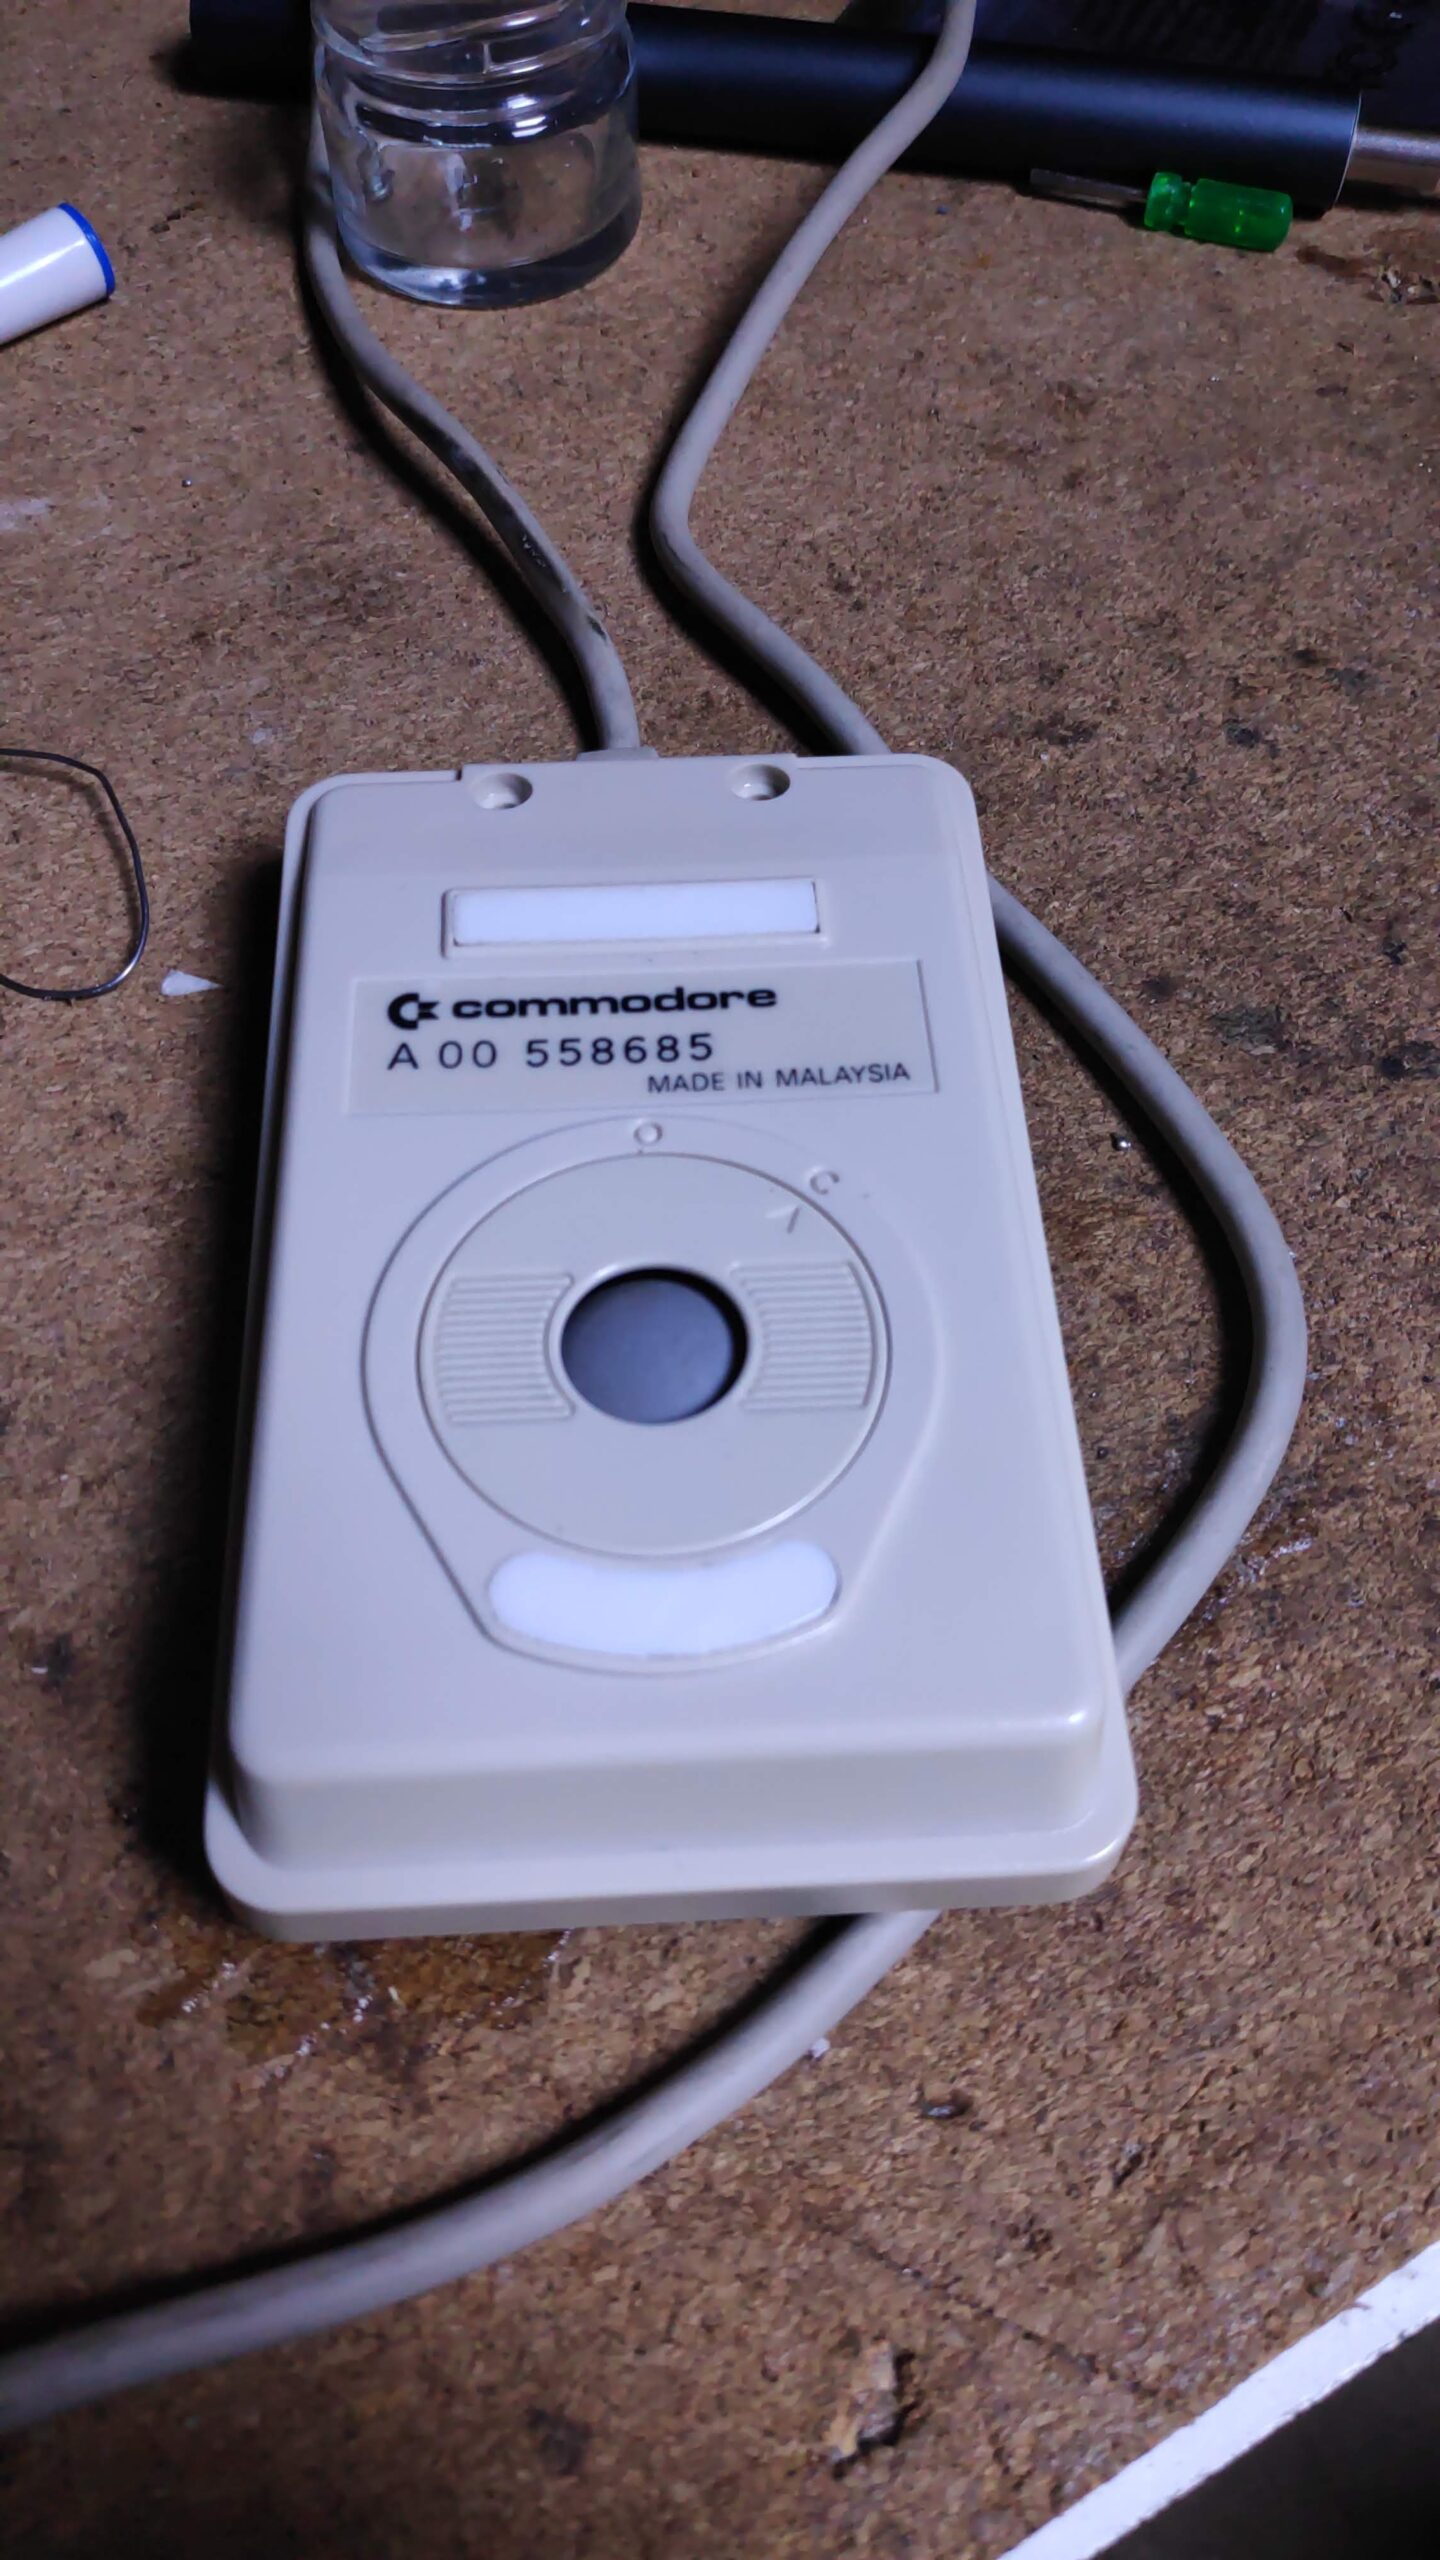
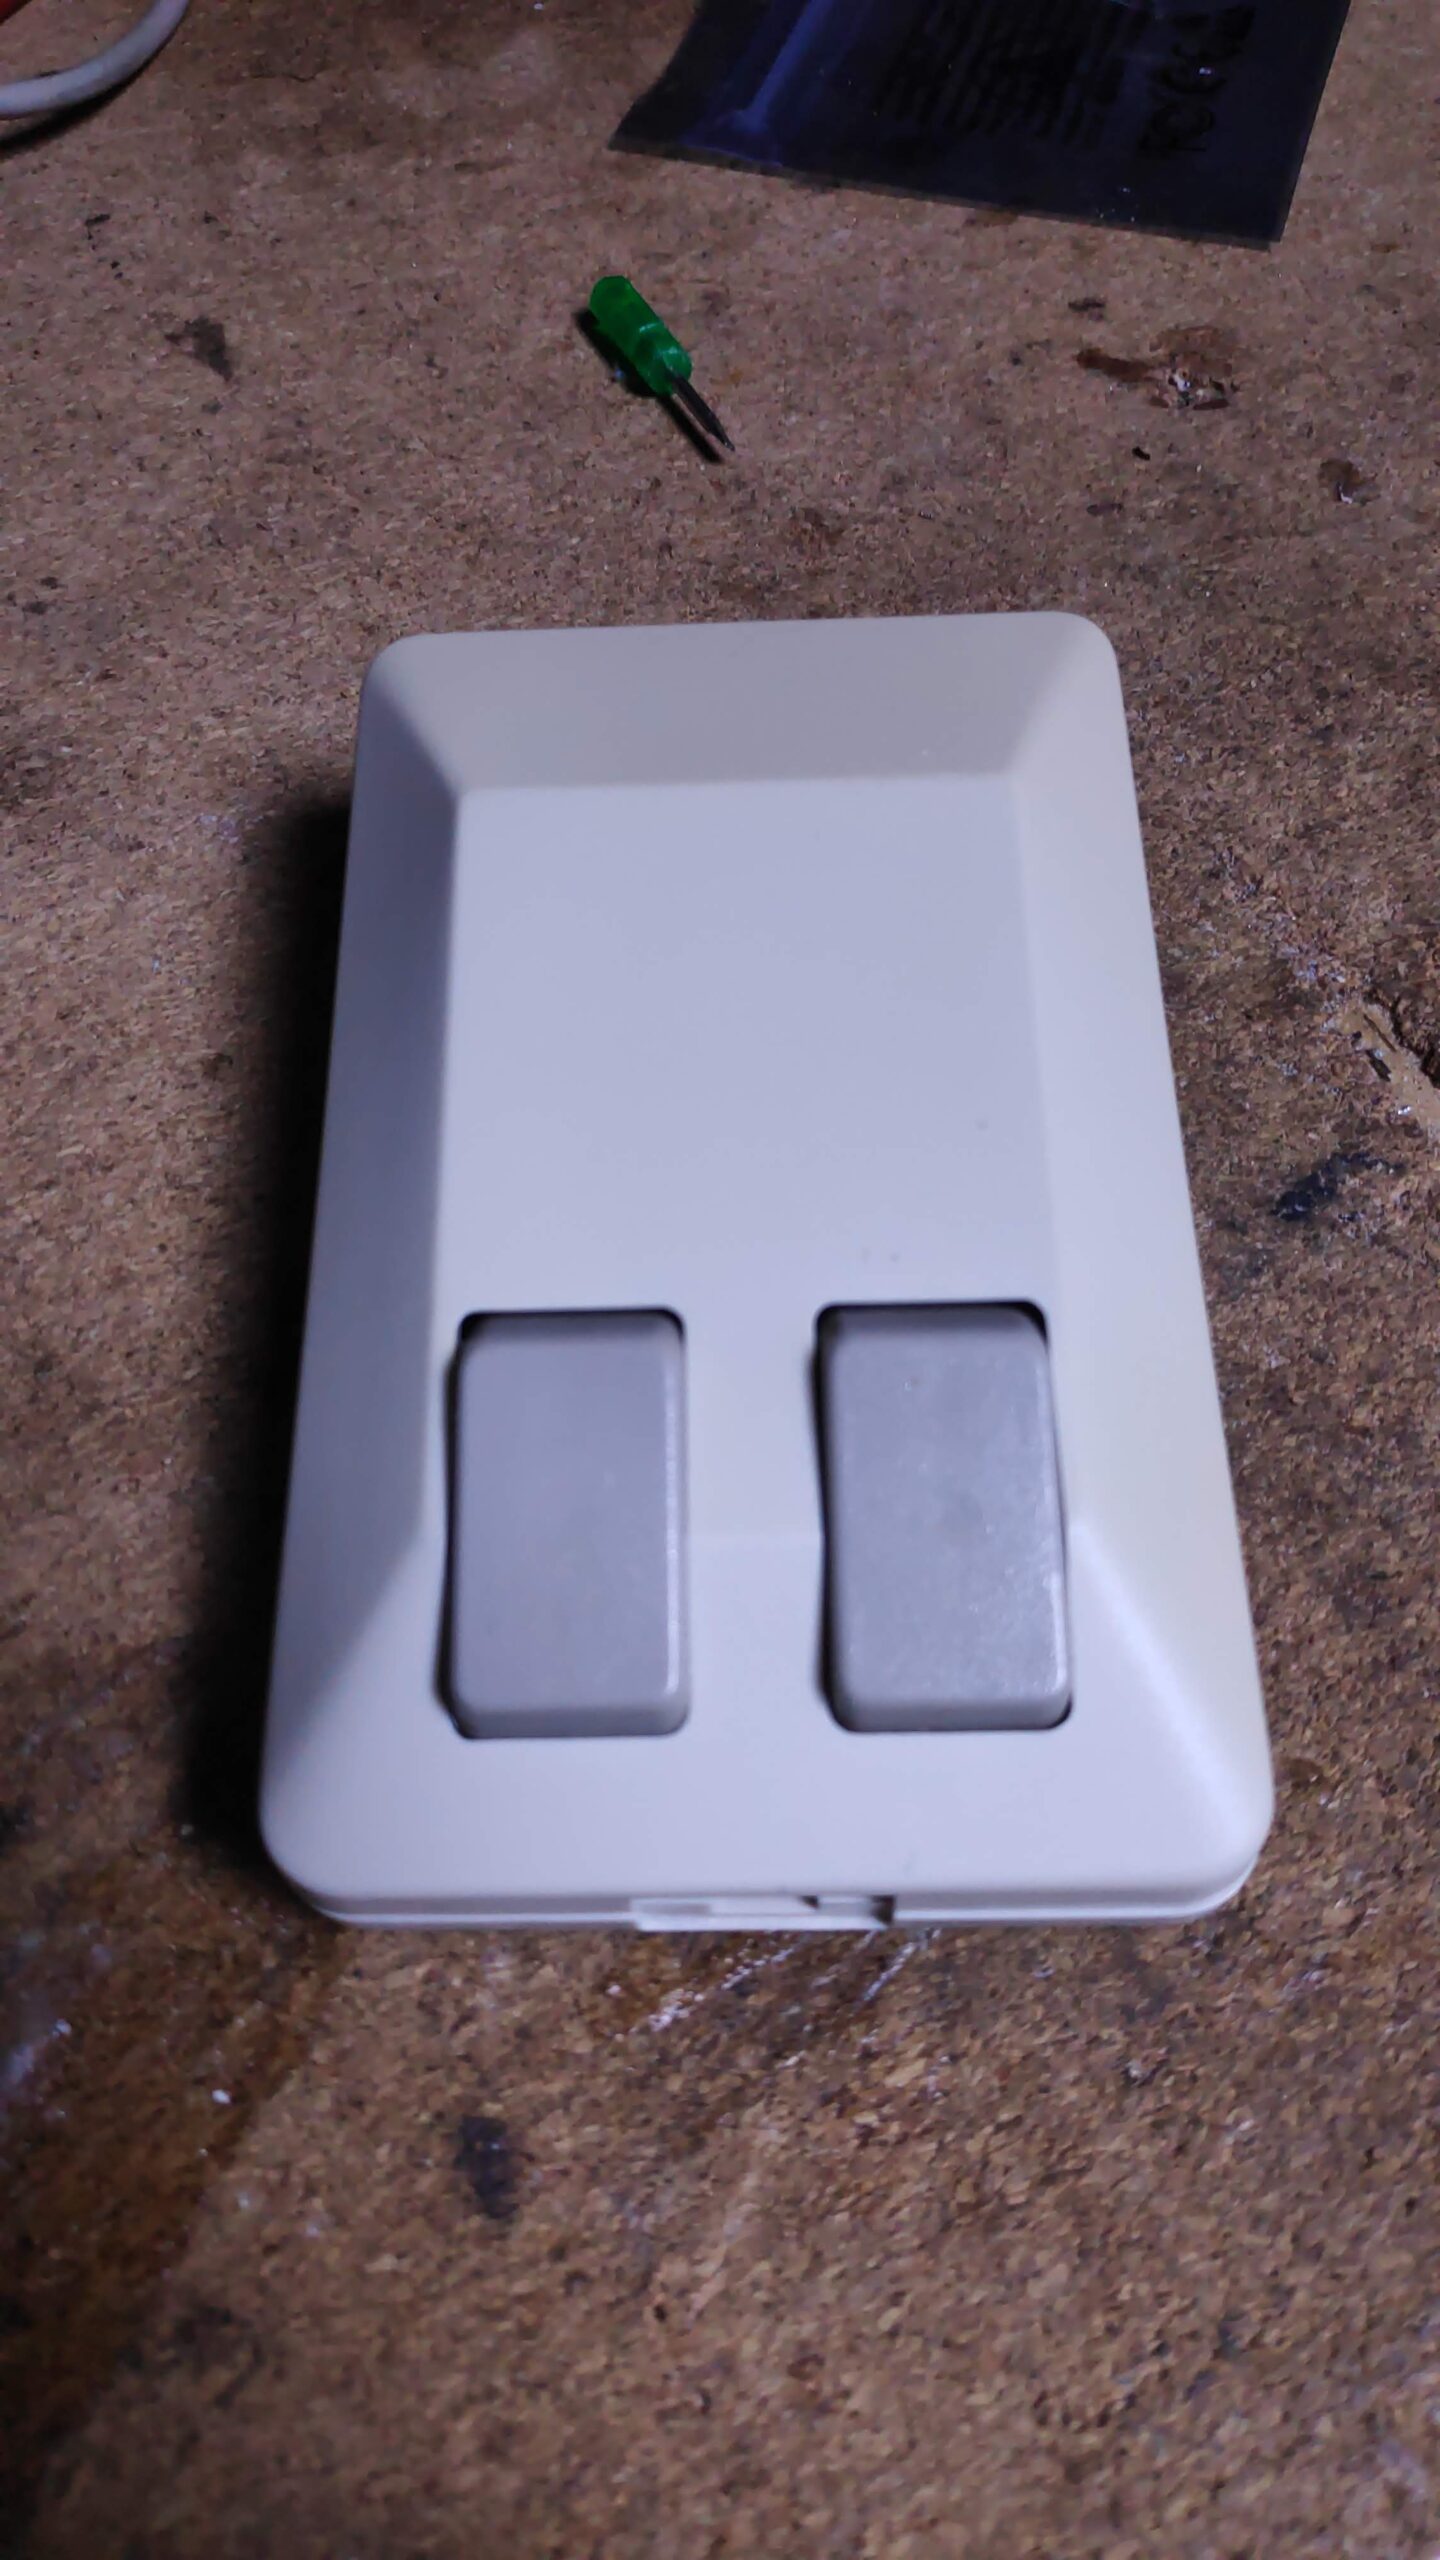
The mouse ball holder actually matches up quite well now.
Pistorm
I’ll return to retrobriting shortly but in the mean time I decided to get the pistorm working.
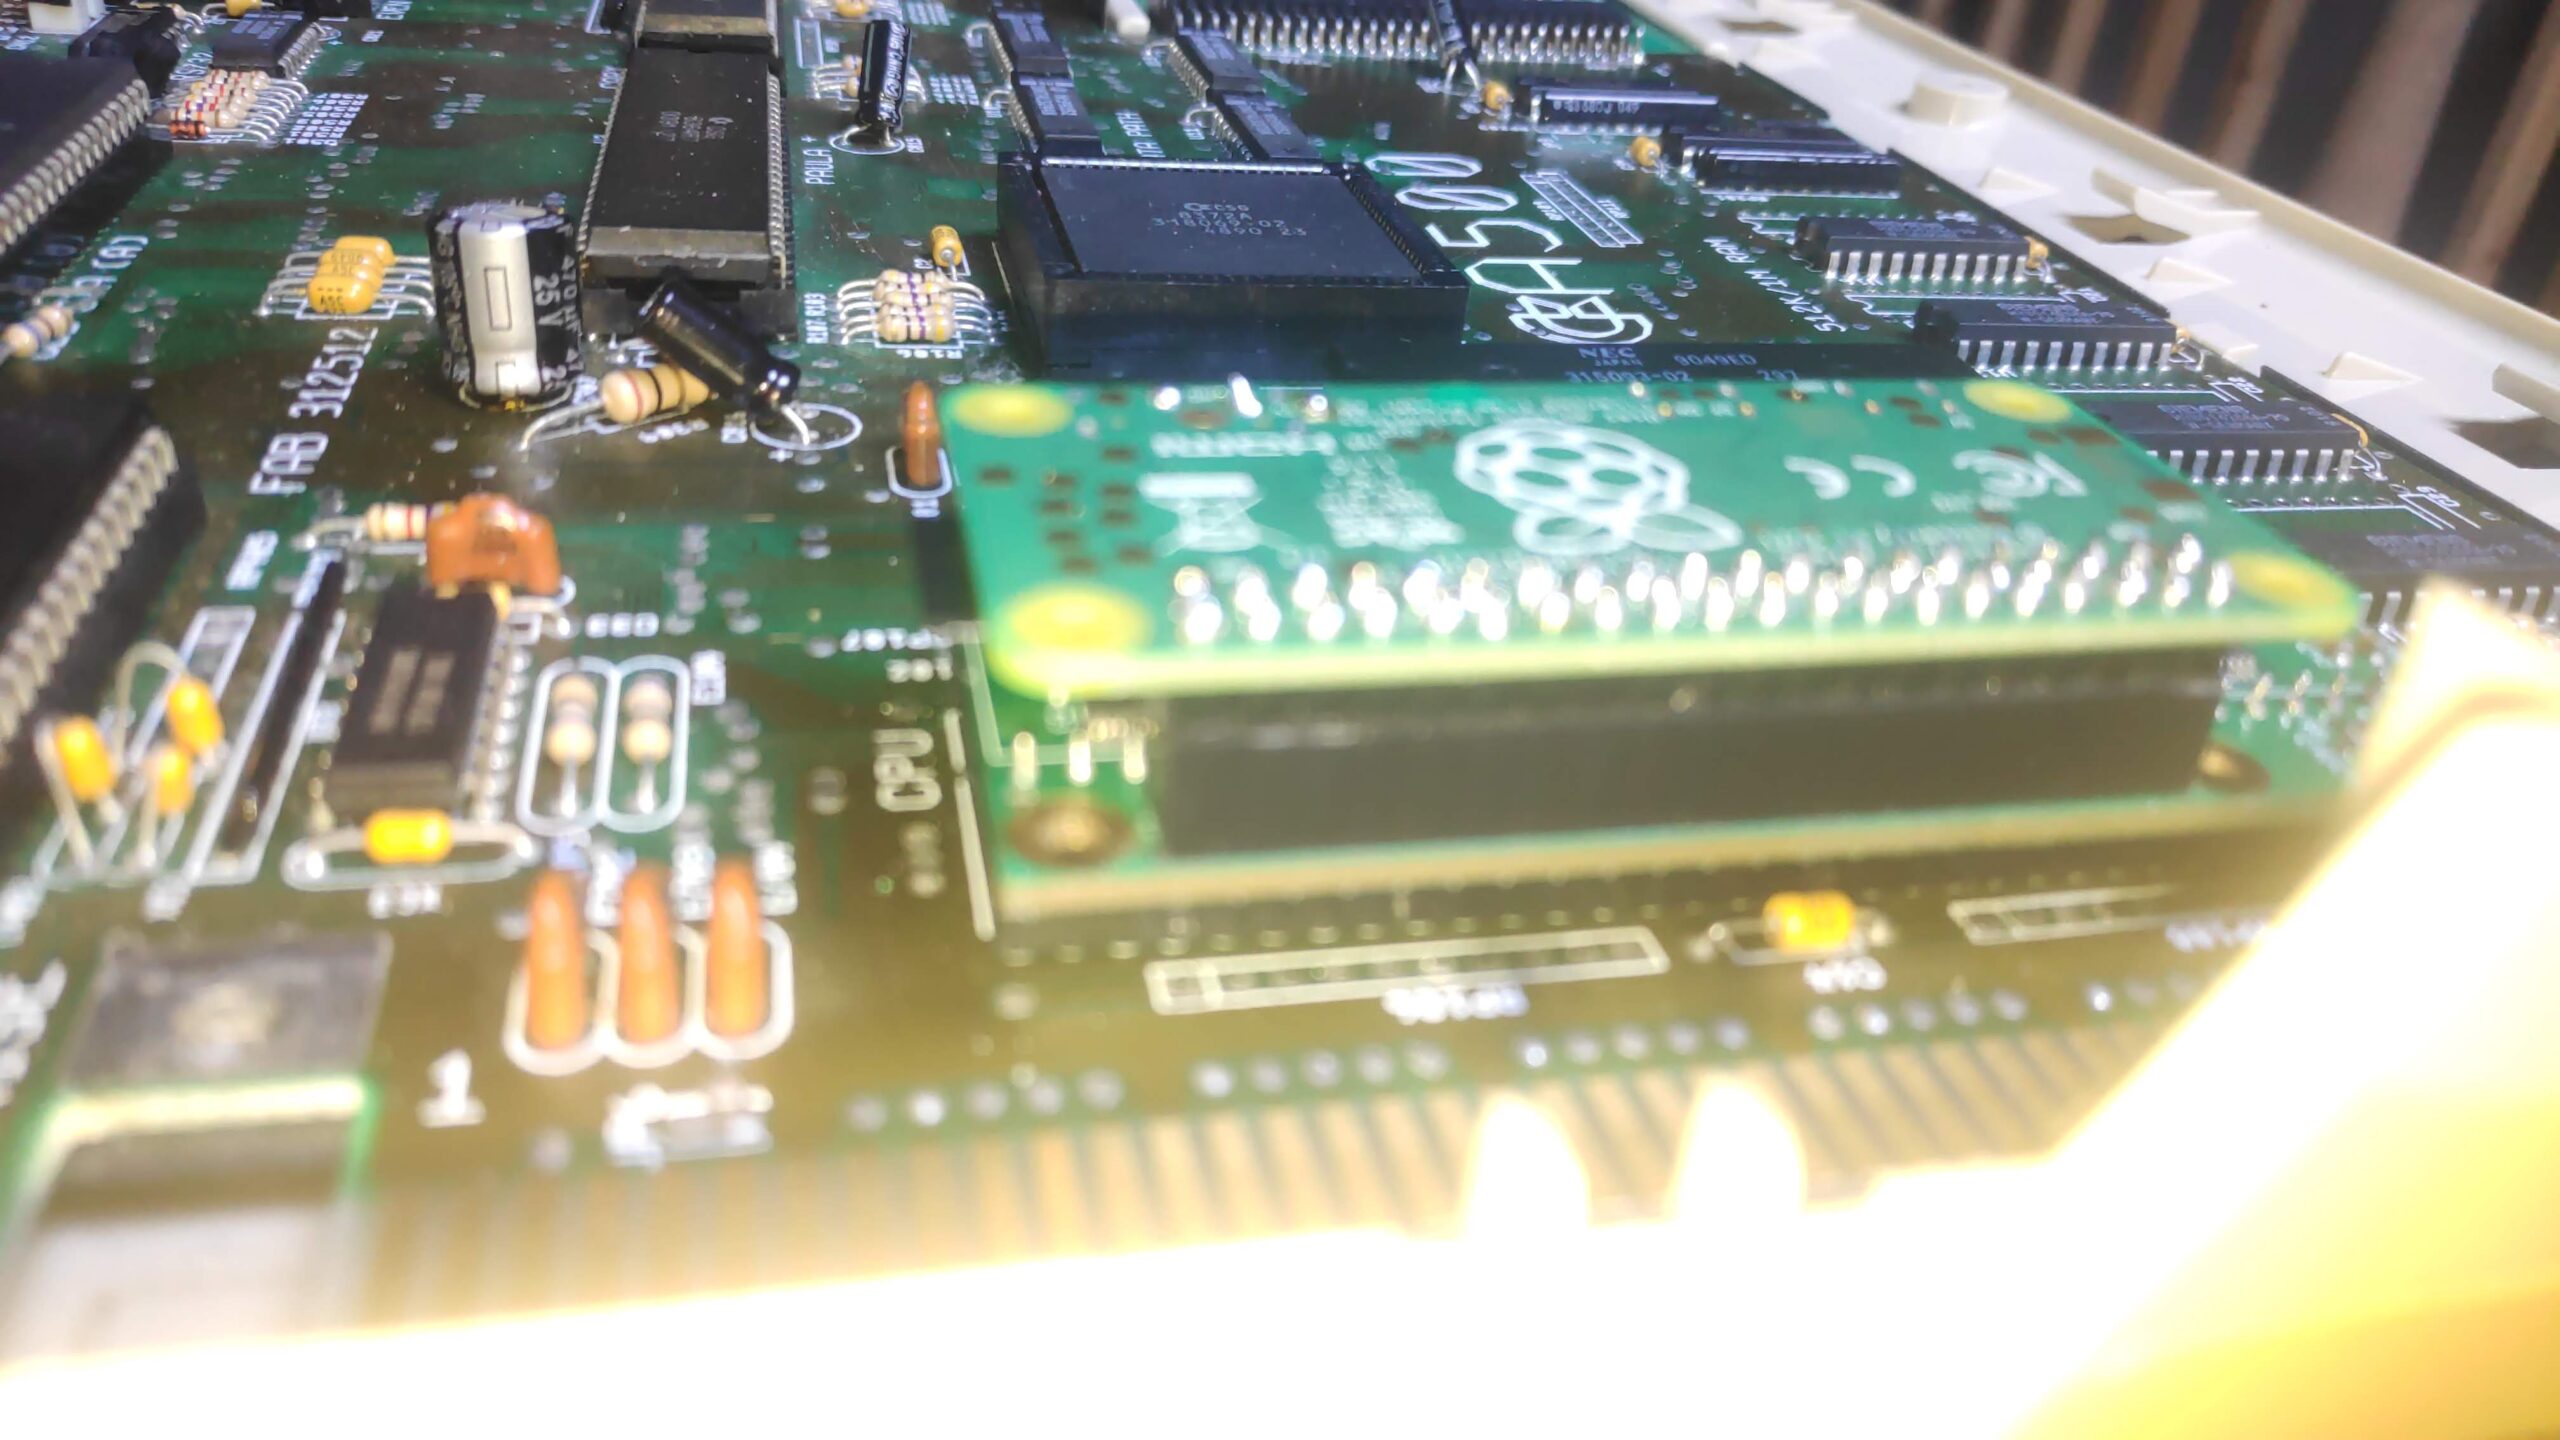
A couple of issues manifested.
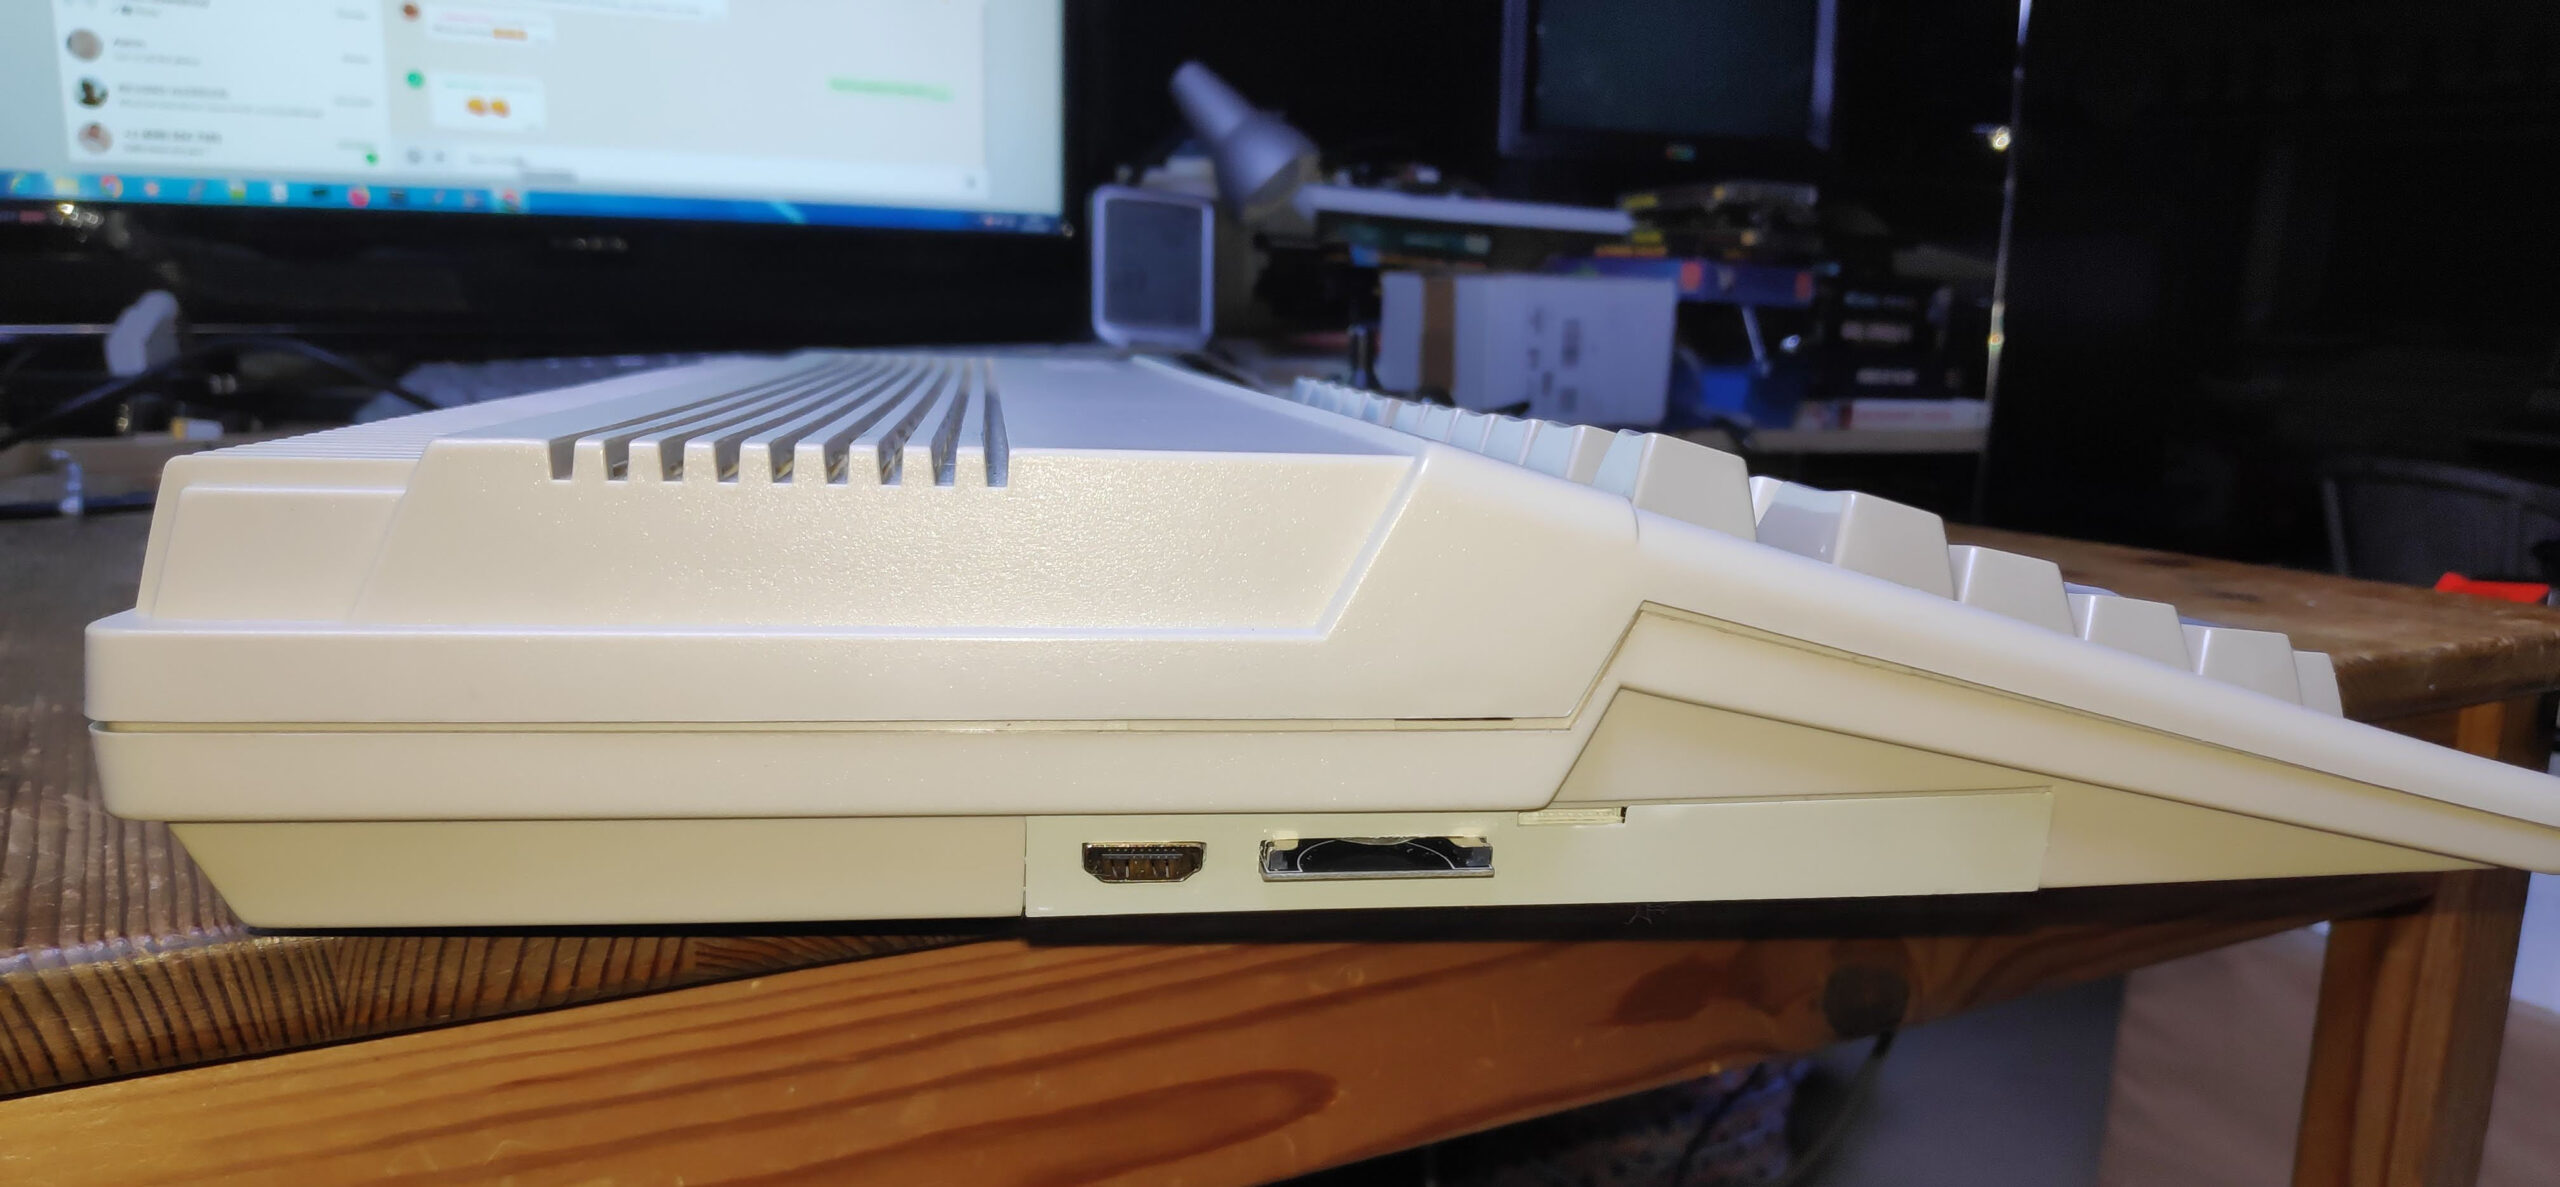
The first was physical where that lovely gun metal shield would no longer fit back over the pistorm. This was due to the connector socket on the pistorm was quite tall and also the header installed on the raspberry pi wasn’t low profile. The solution was to sand down the socket a couple of mm and cut the pins on the pi down a couple of mm.
After height reduction the shield now fits nicely.
The second was the OS installation.
The Raspberry pi requires the buster OS image which worked fine in the past with other Amiga’s but this time I couldn’t get it to update. I ended up down a huge rabbit hole due to buster OS moving to inrelease which meant the update wasn’t updating. There were some solutions which suggested altering the suite value in the sources file or altering the date and various other alterations all of which failed.
All this was also compounded by my wanting to create a multiboot Amiga pistorm. I have created a few Pistorm Amiga’s Musashi and Emu68 which both have their pros/cons and I wanted the option of both so was playing with multiple partitions to achieve a multiboot.
After a couple of days I decided to try buster archive 2021-01-12 which finally completed a update and so I was able to progress with the install with my multiple partitions.
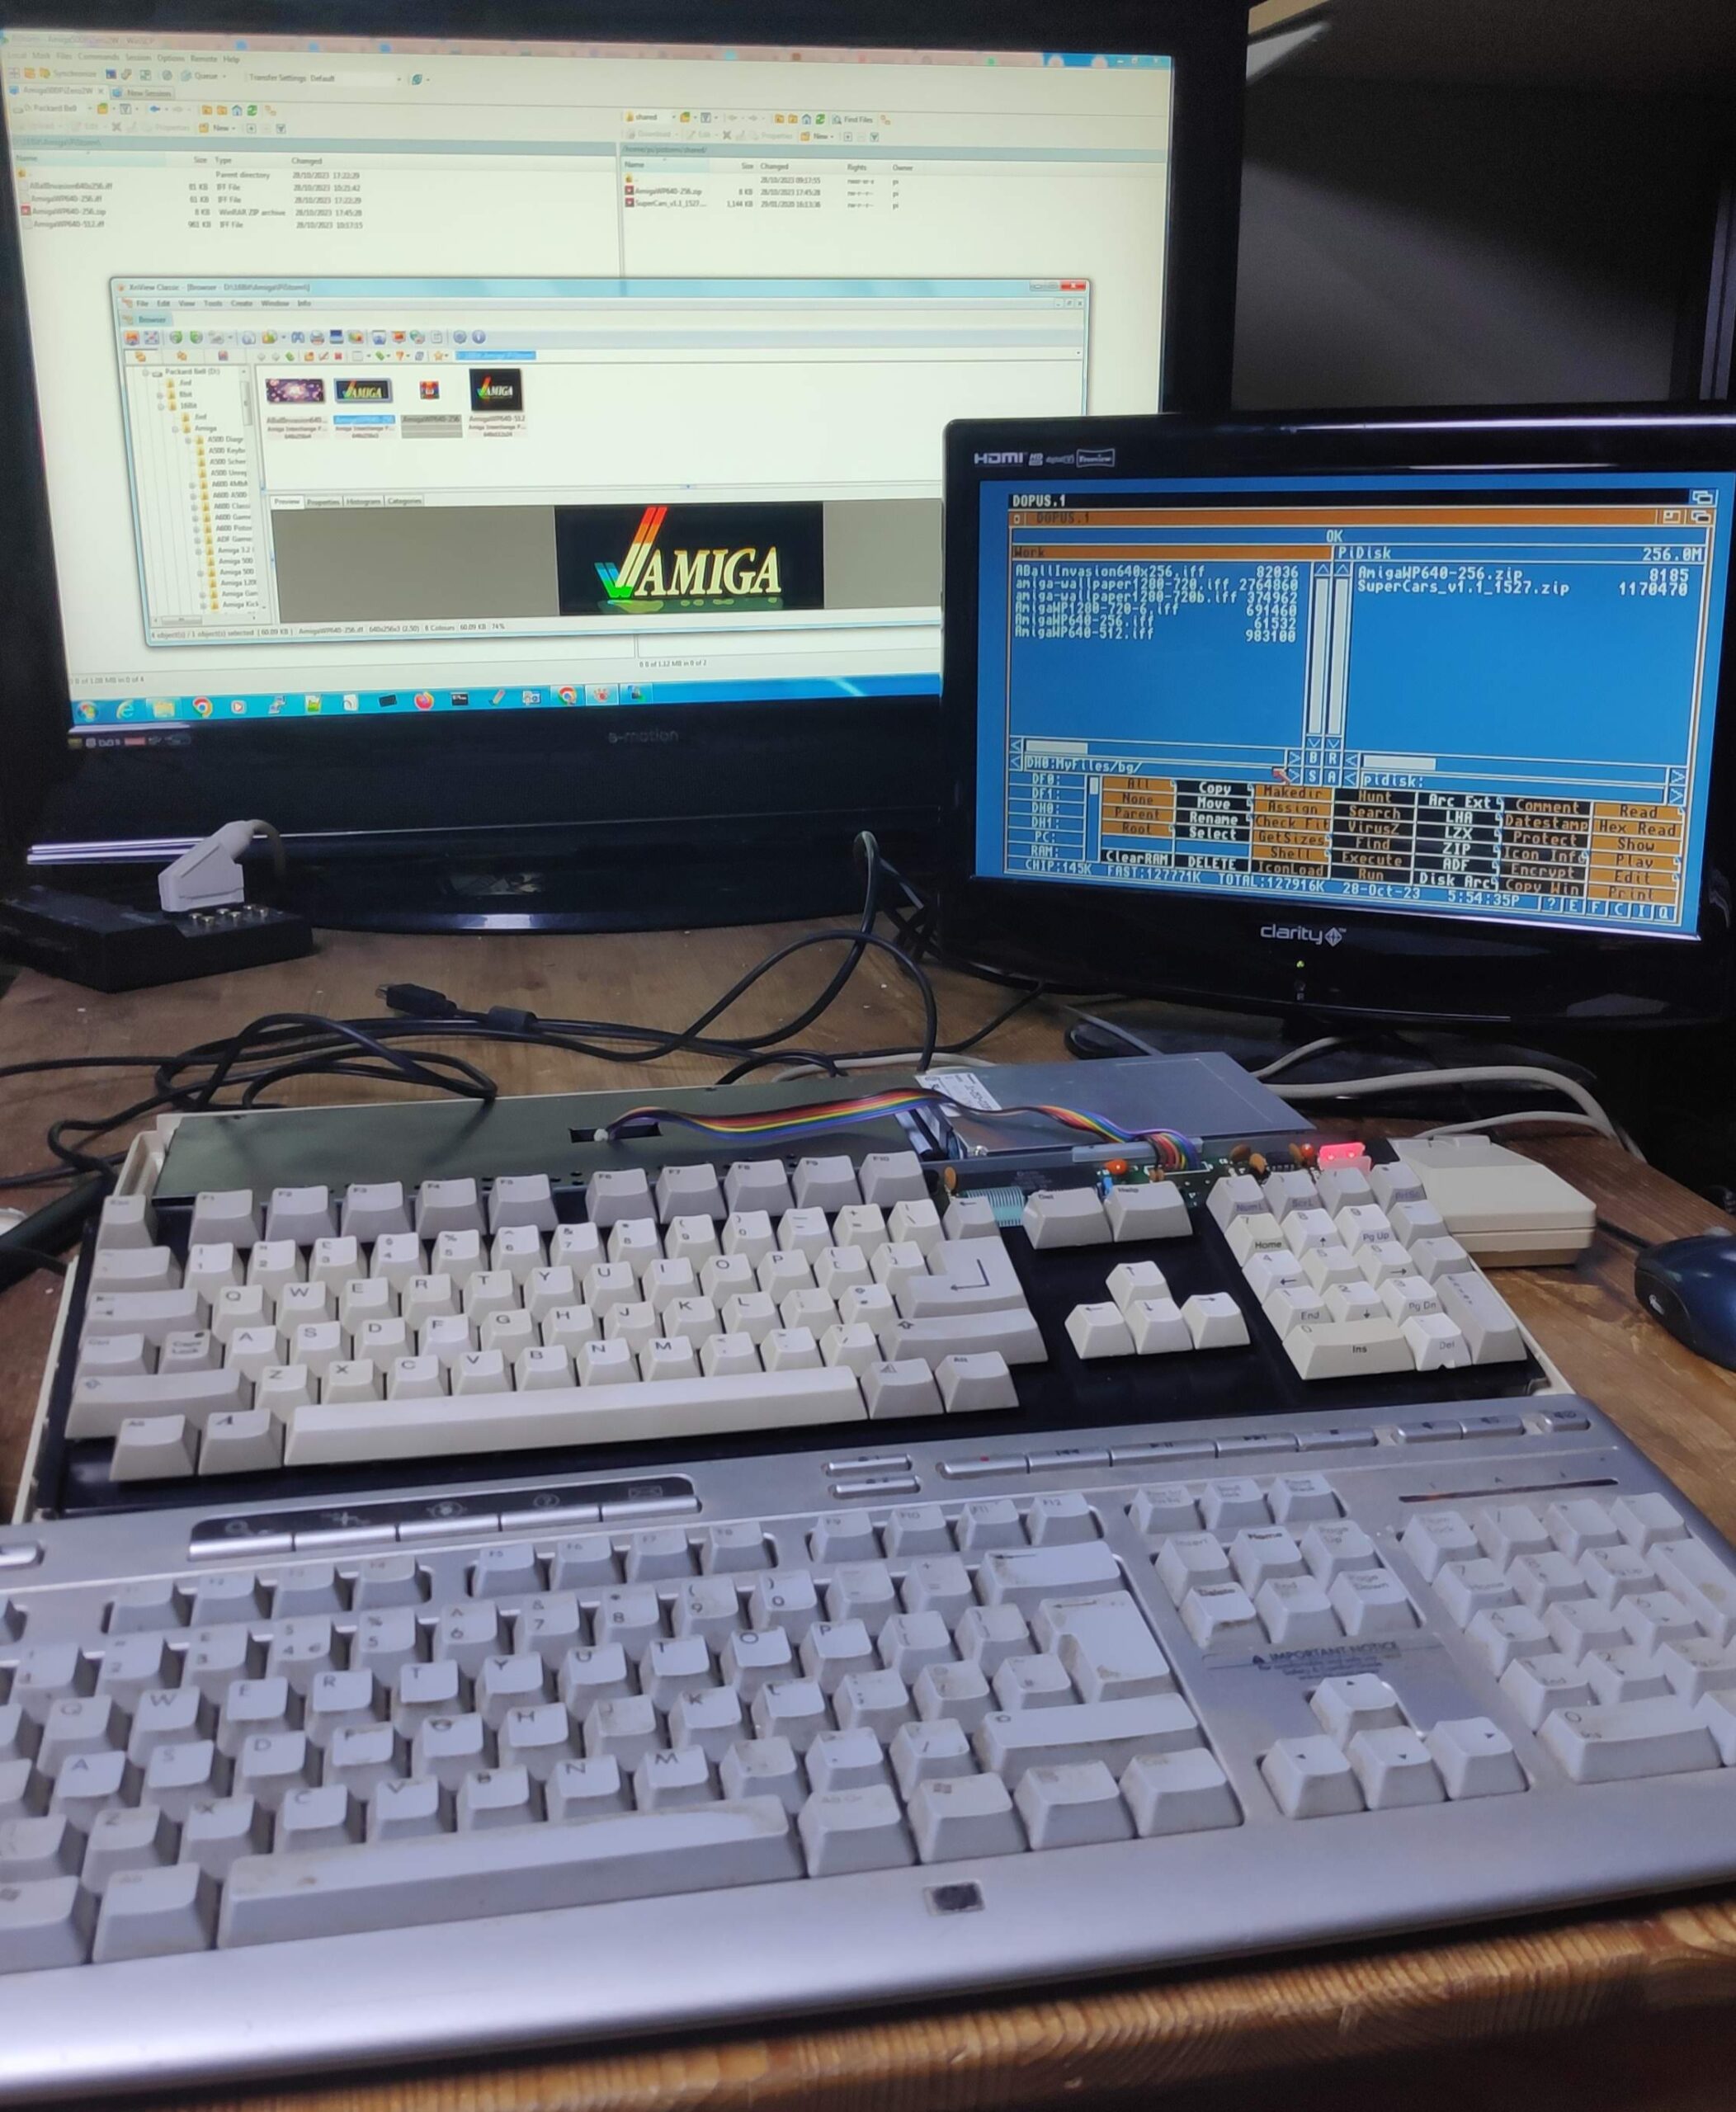
Managed to configure pistorm file sharing across the Zero2W wifi and a a314 “Pidisk” shared drive so transfer of files is now as easy as copy and paste.
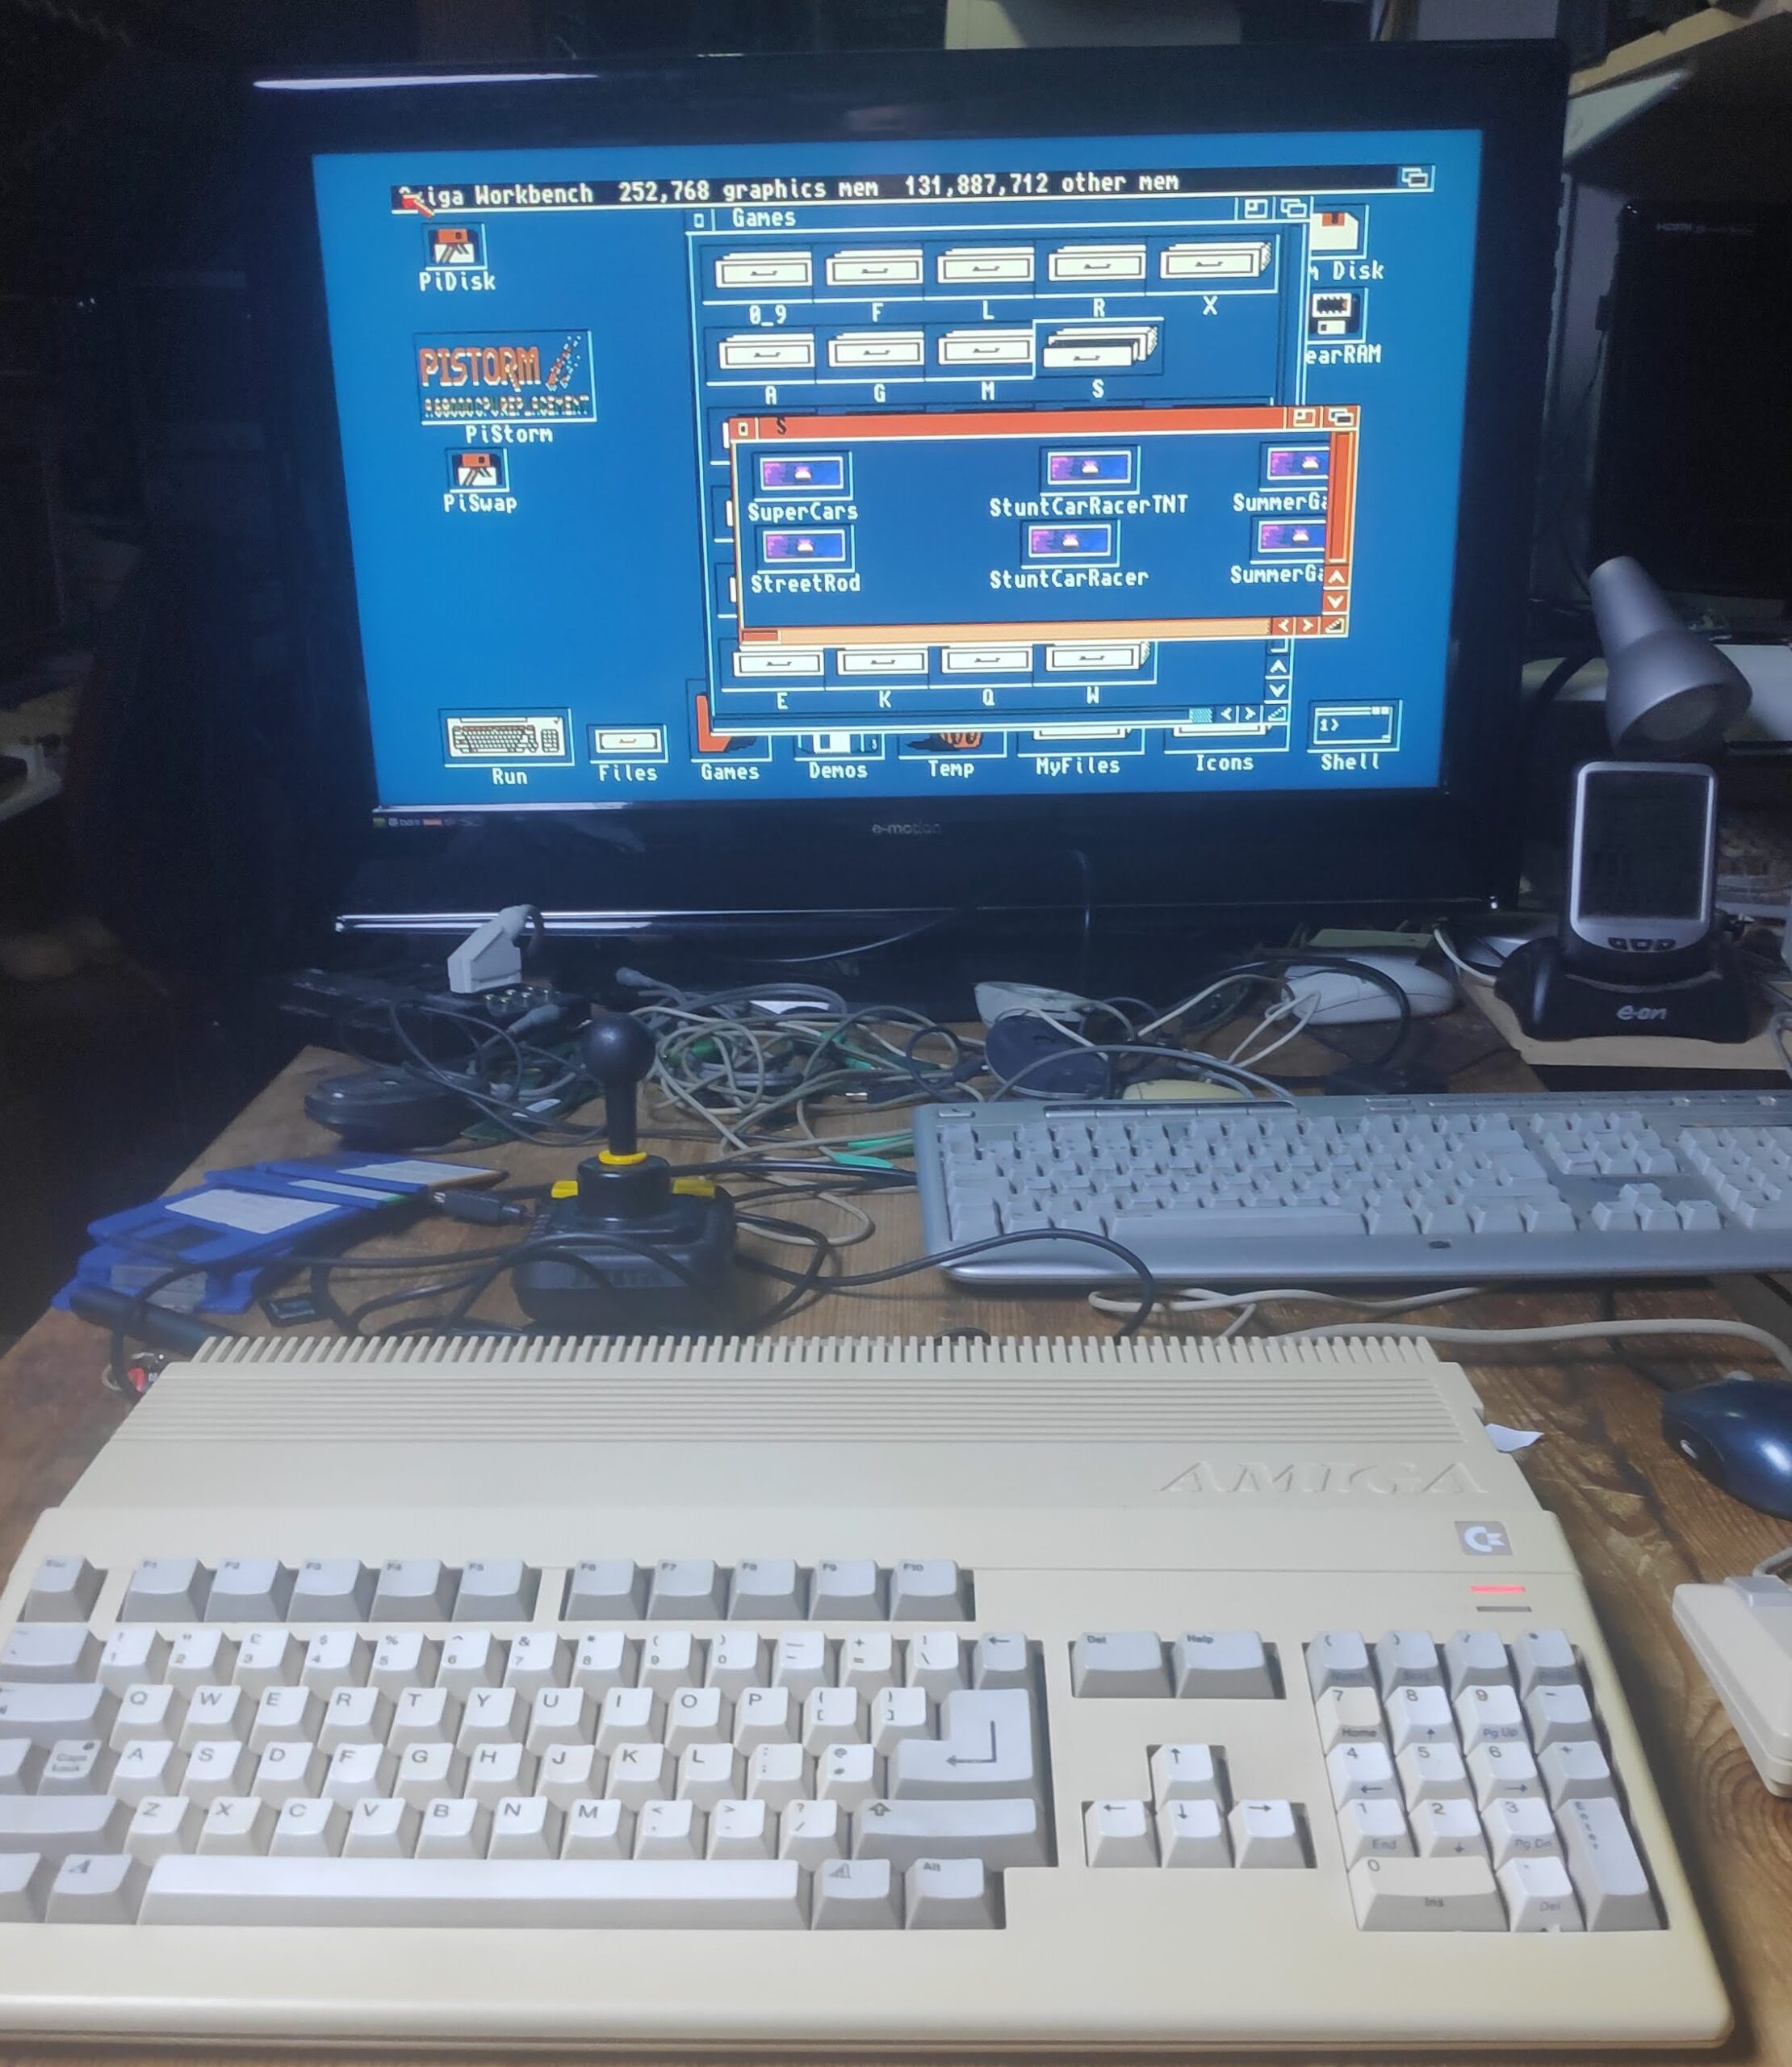
The top case is being retrobrighted so I’m playing with transferring backgrounds to the Amiga using nView to convert images and WinSCP to transfer to the shared RPi drive.
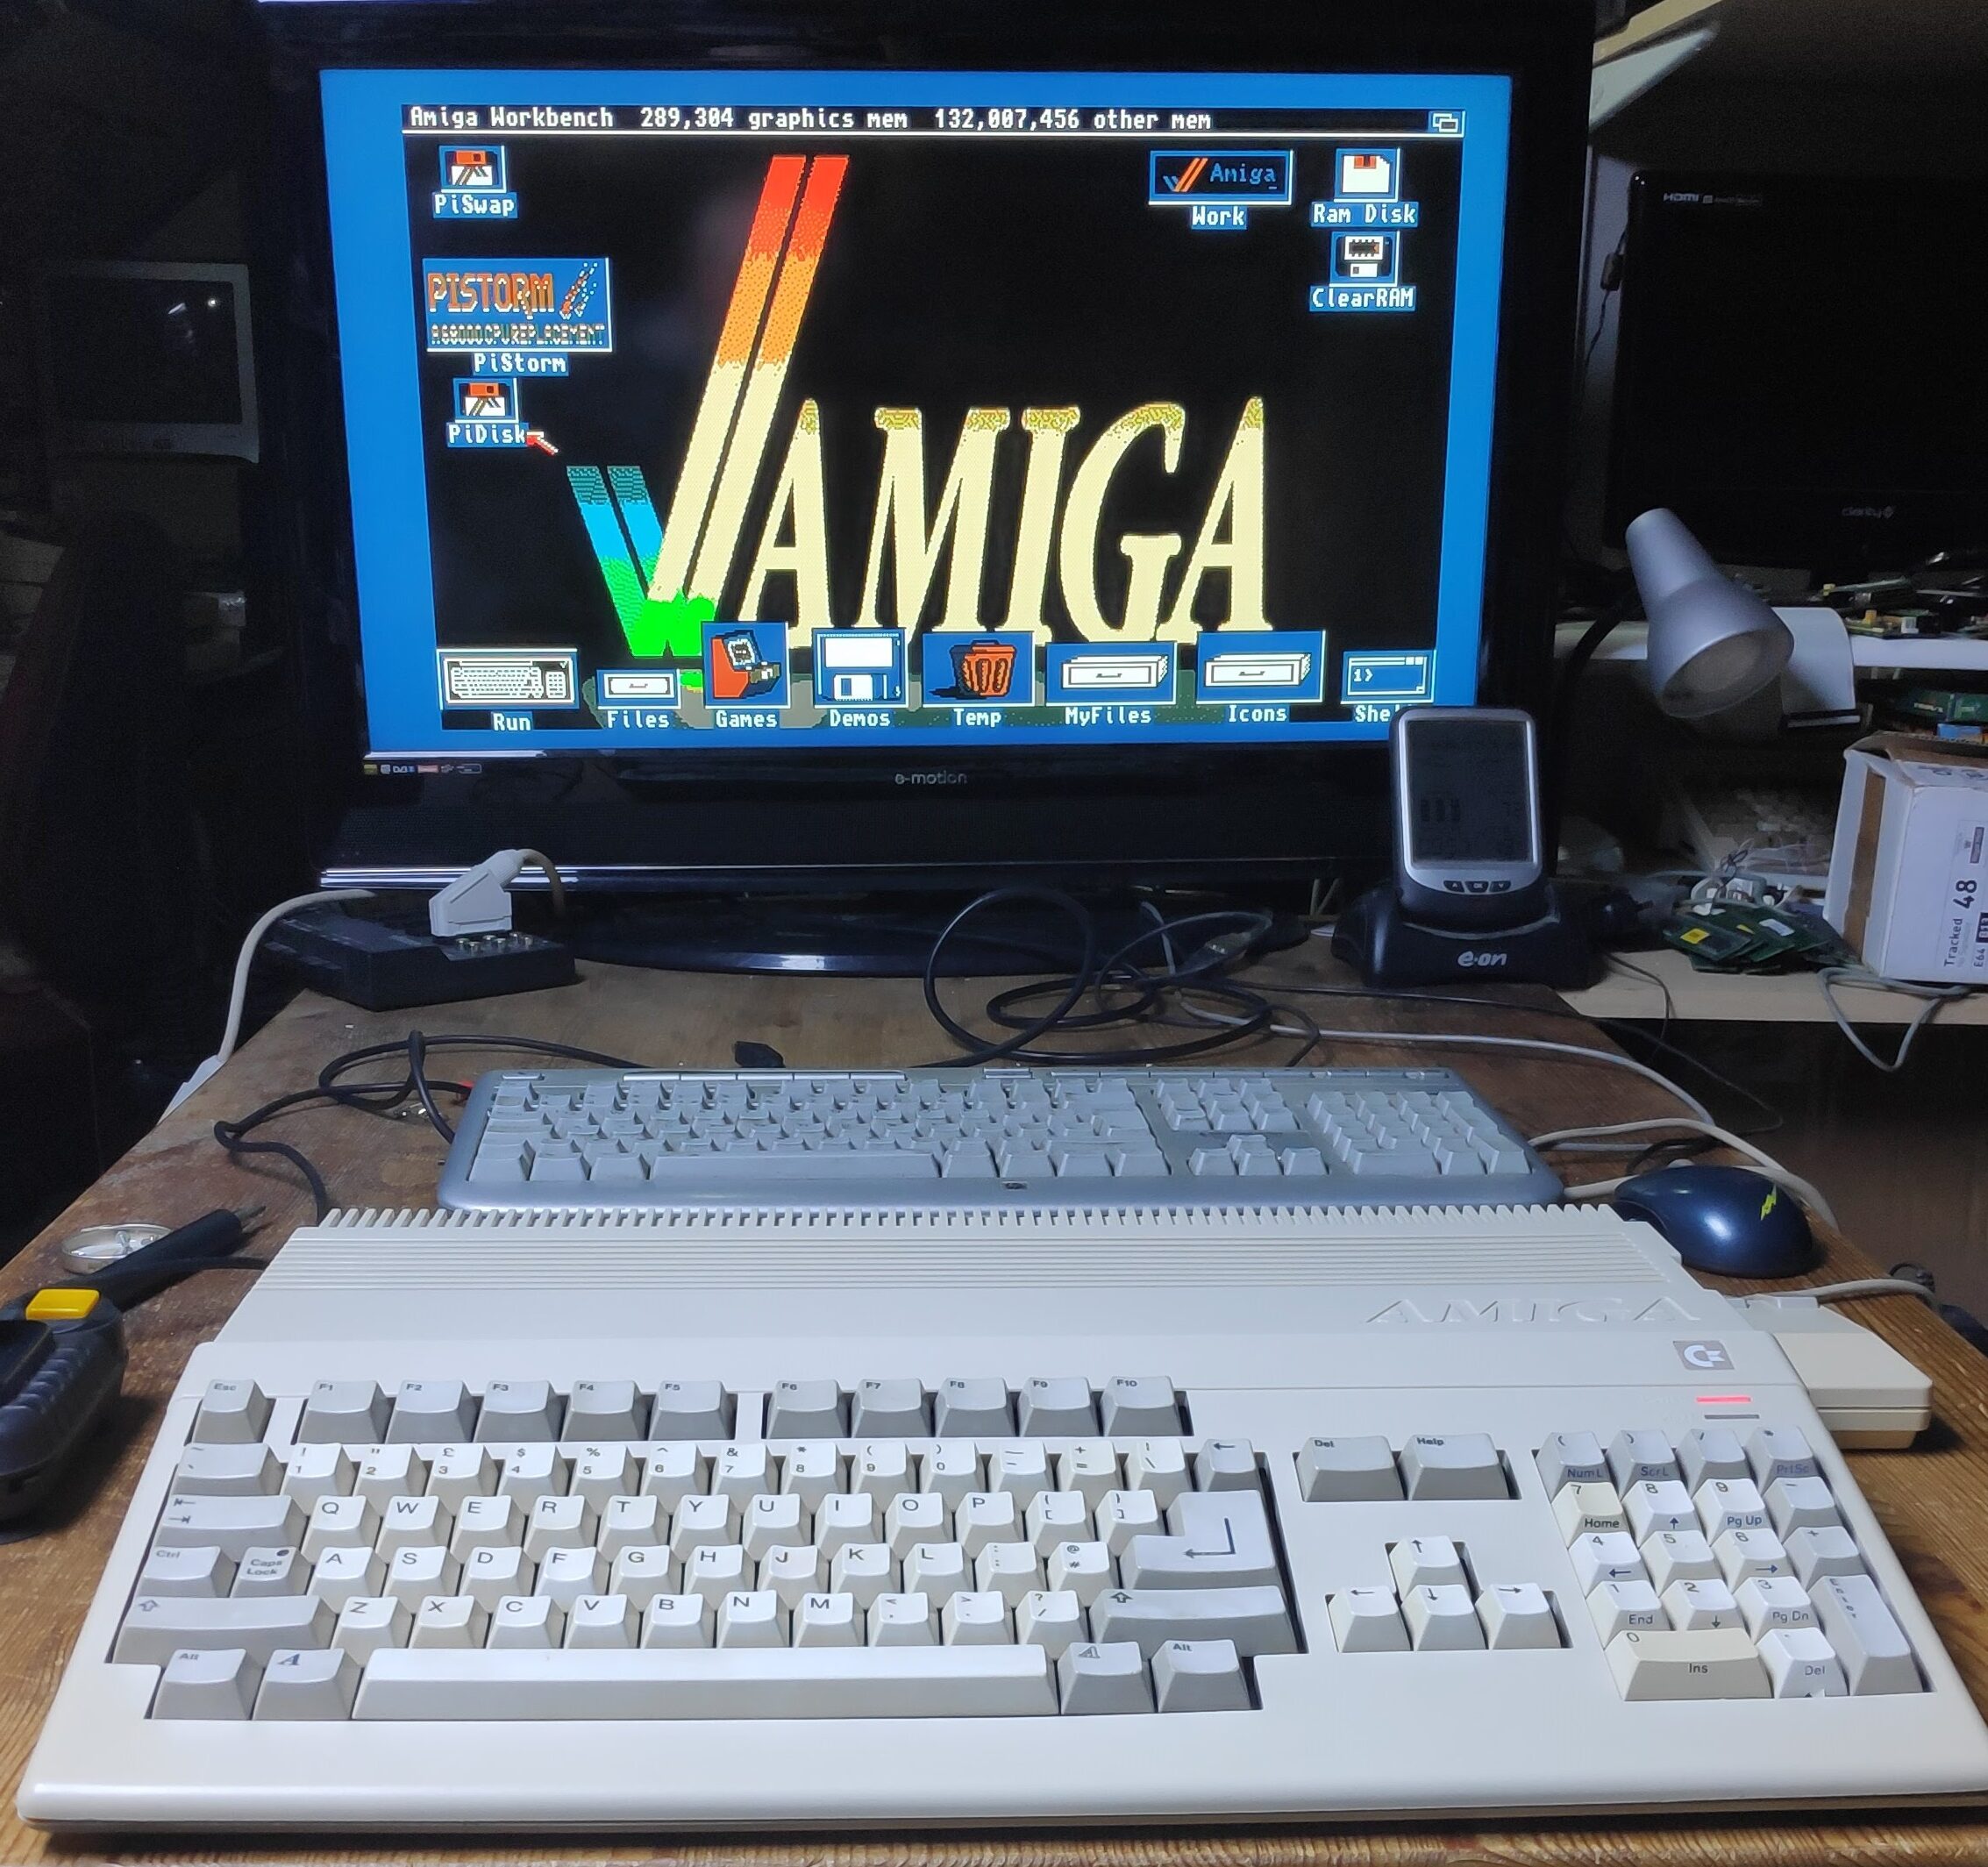
Case retrobrite complete.

I suppose I’d better do the keys, but first!, I’d like to get Emu68 working.
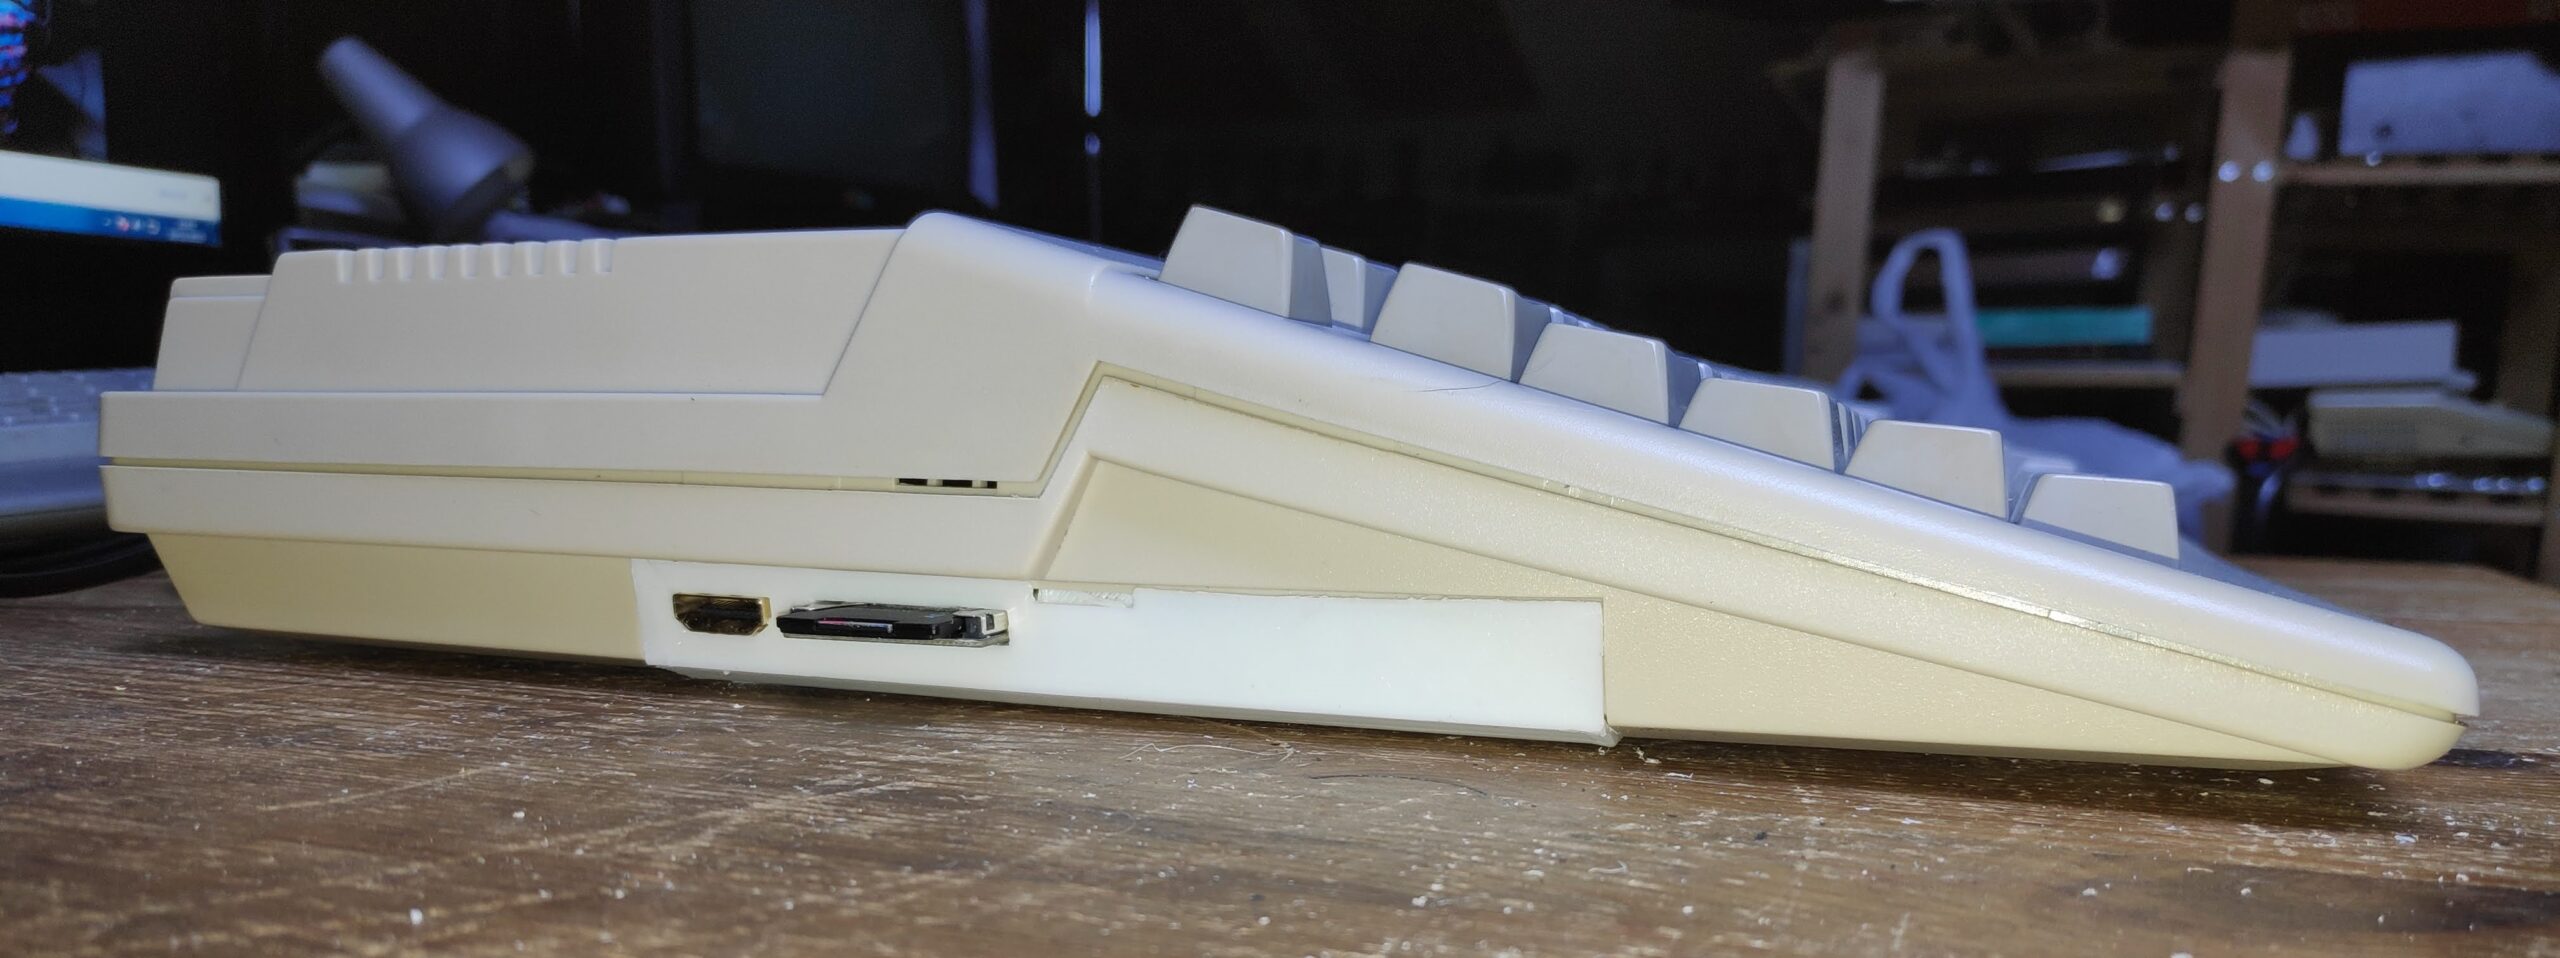
I decided to get a SD card extension the only thing is I would like to mount it a little better.

I suppose I could 3D print a new cover with a slot but still need to figure out how best to fix it into the slot so it holds its position.
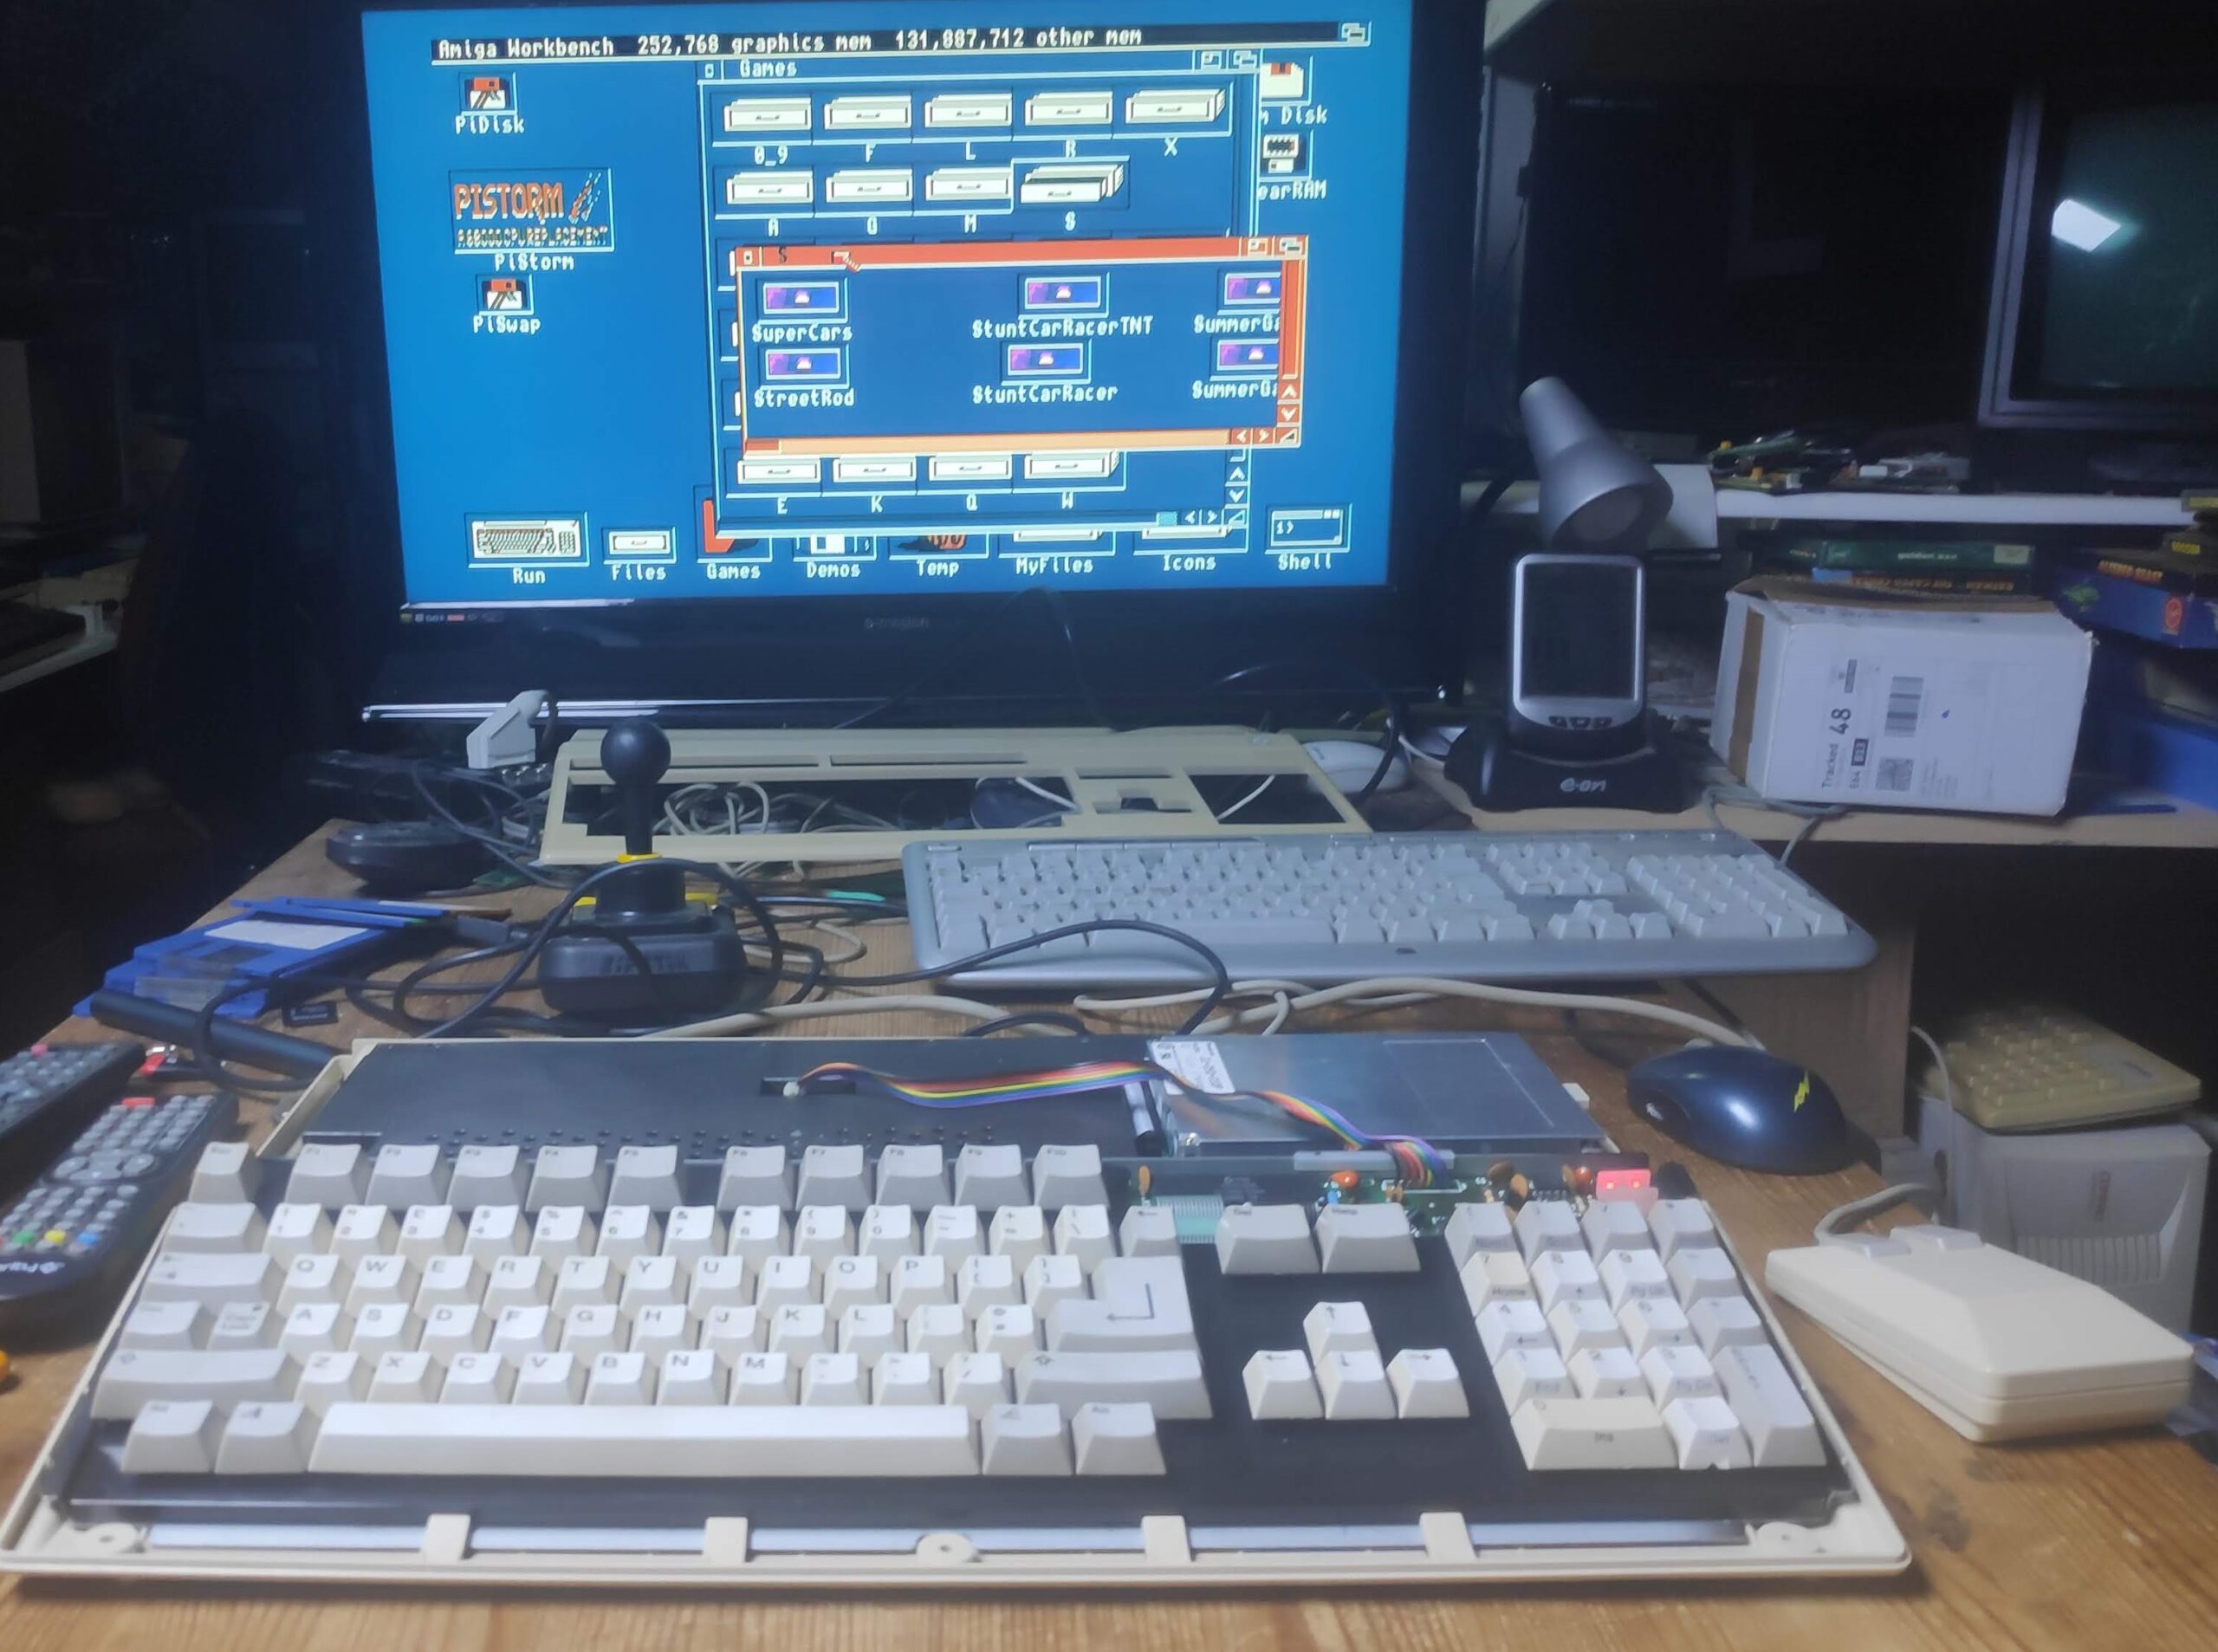
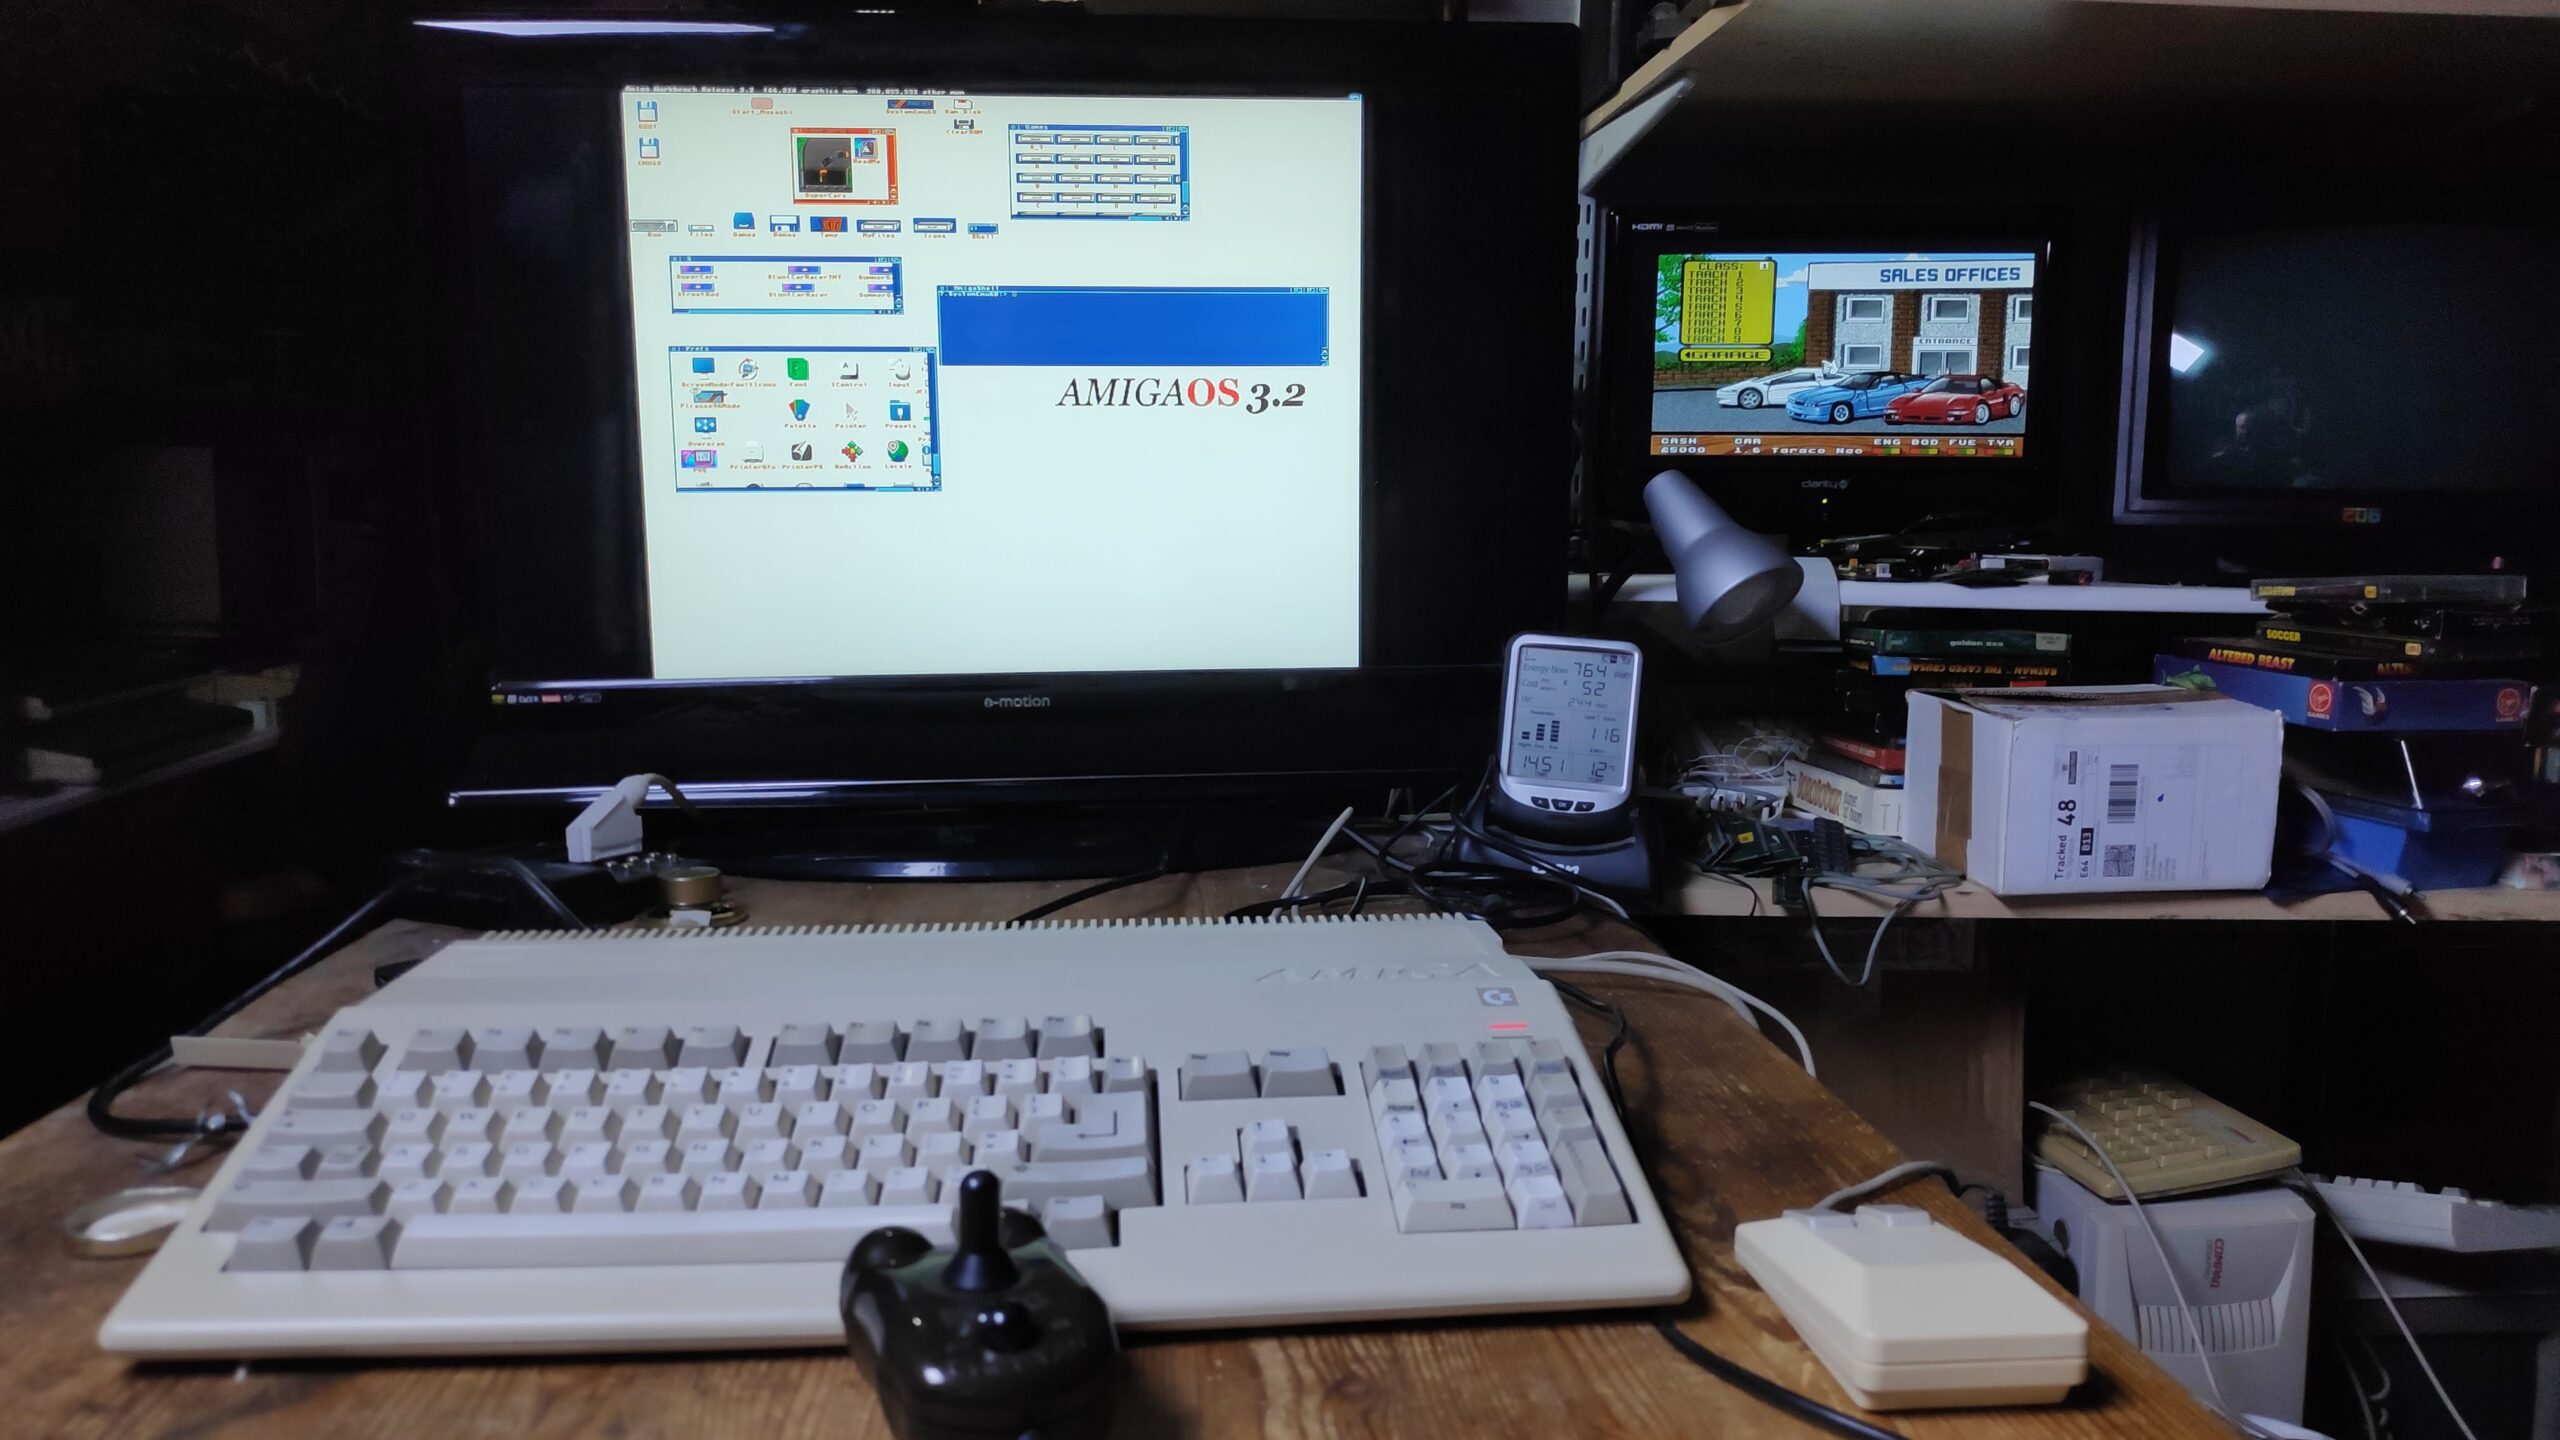
Finally got multiboot working between Emu68 and Musashi so have the best of both worlds with speed vs flexibility. Took a while for me to improve my Amiga scripting skills and to get the partitioning right but it works quite well as seen here
The keys could do with another retrobright. The Grey keys haven’t been retrobrighted yet as they look like they have had some bad treatment previously and have resulted in a chalk effect. After some experimentation I have corrected this on the keypad grey keys with a bit of polish which makes them look a little better but will also need some retrobrighting at some point.
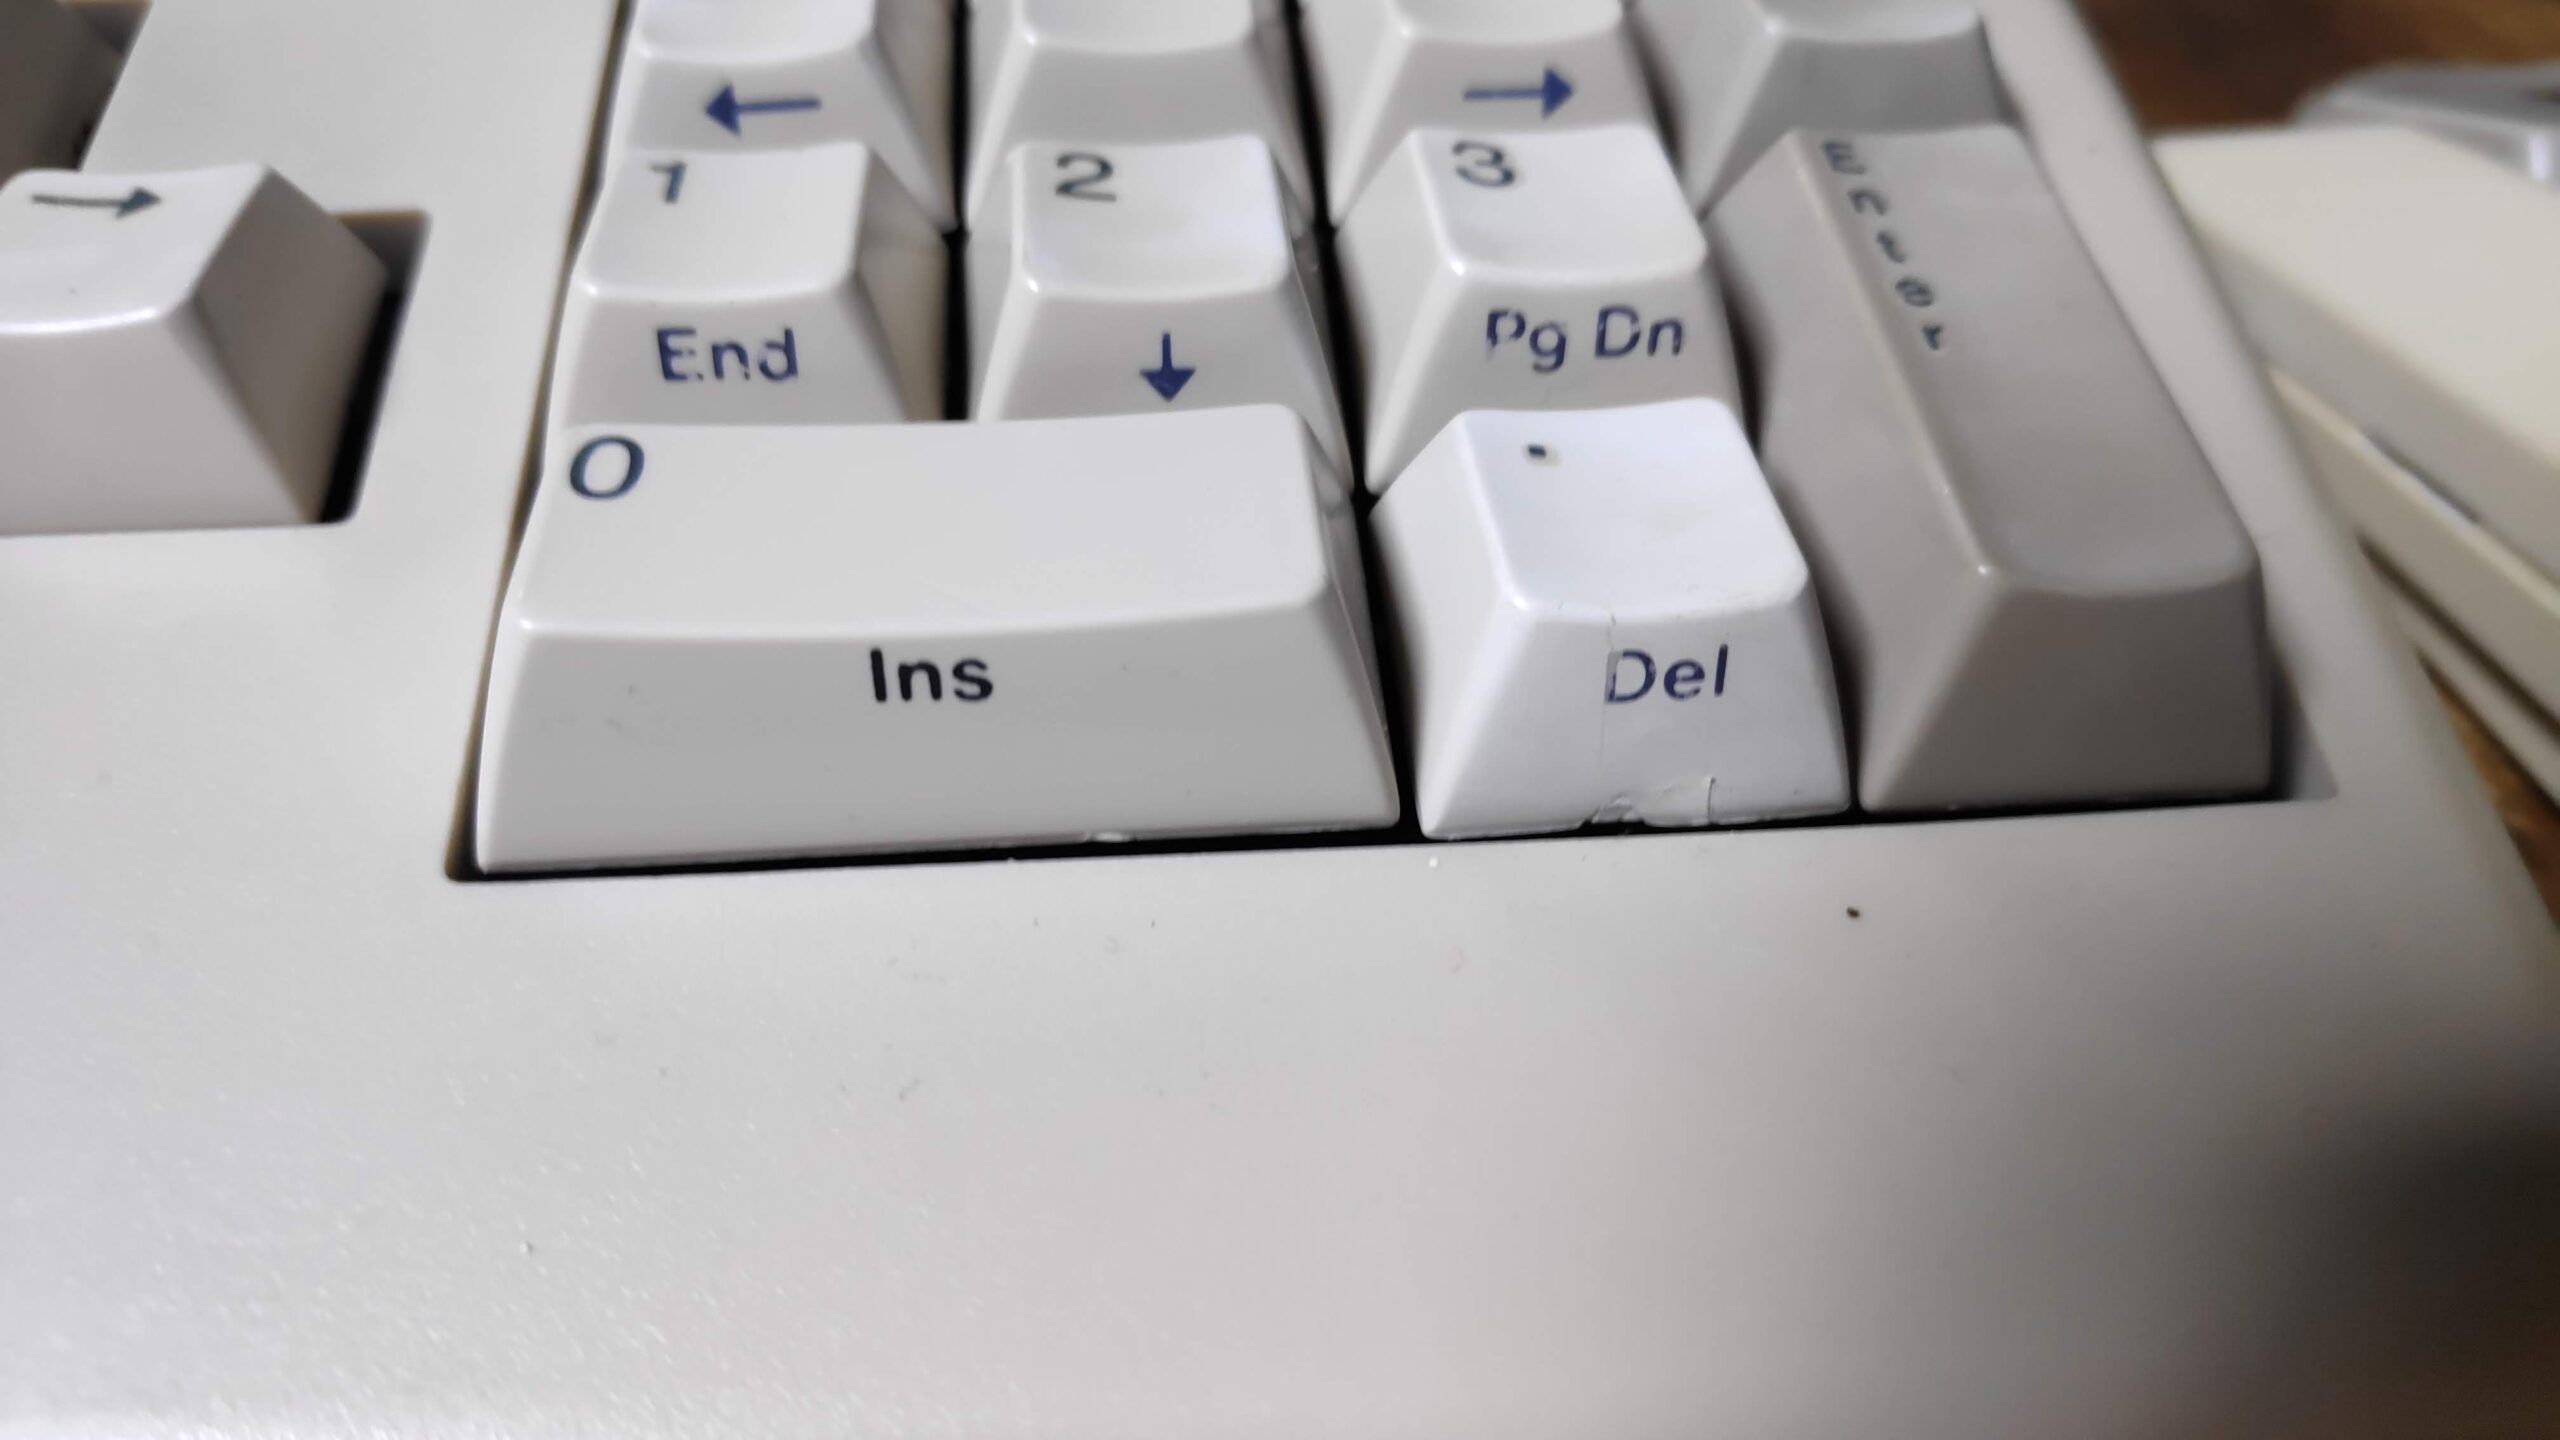
The difference of polishing can be seen below with the ‘+’,’Enter’ keys polished below which has restored back to the original colour.
I’ve repaired the keypad fullstop key on the keypad with a bit of grafting. It looks better than it did.
The rest of the grey keys need a polish and then a full retrobright for them all.
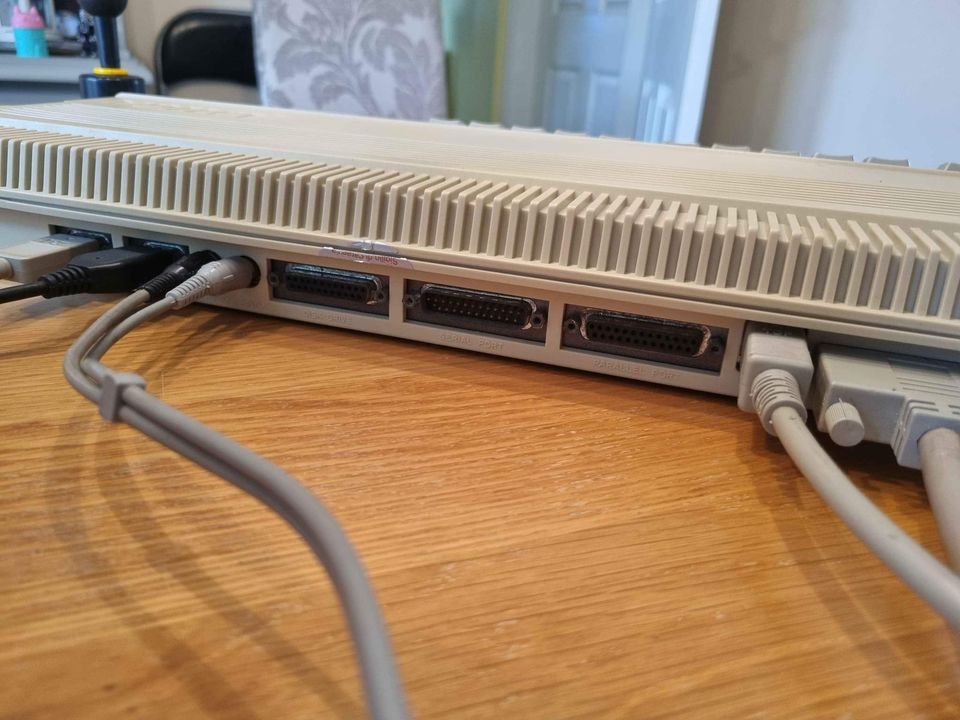
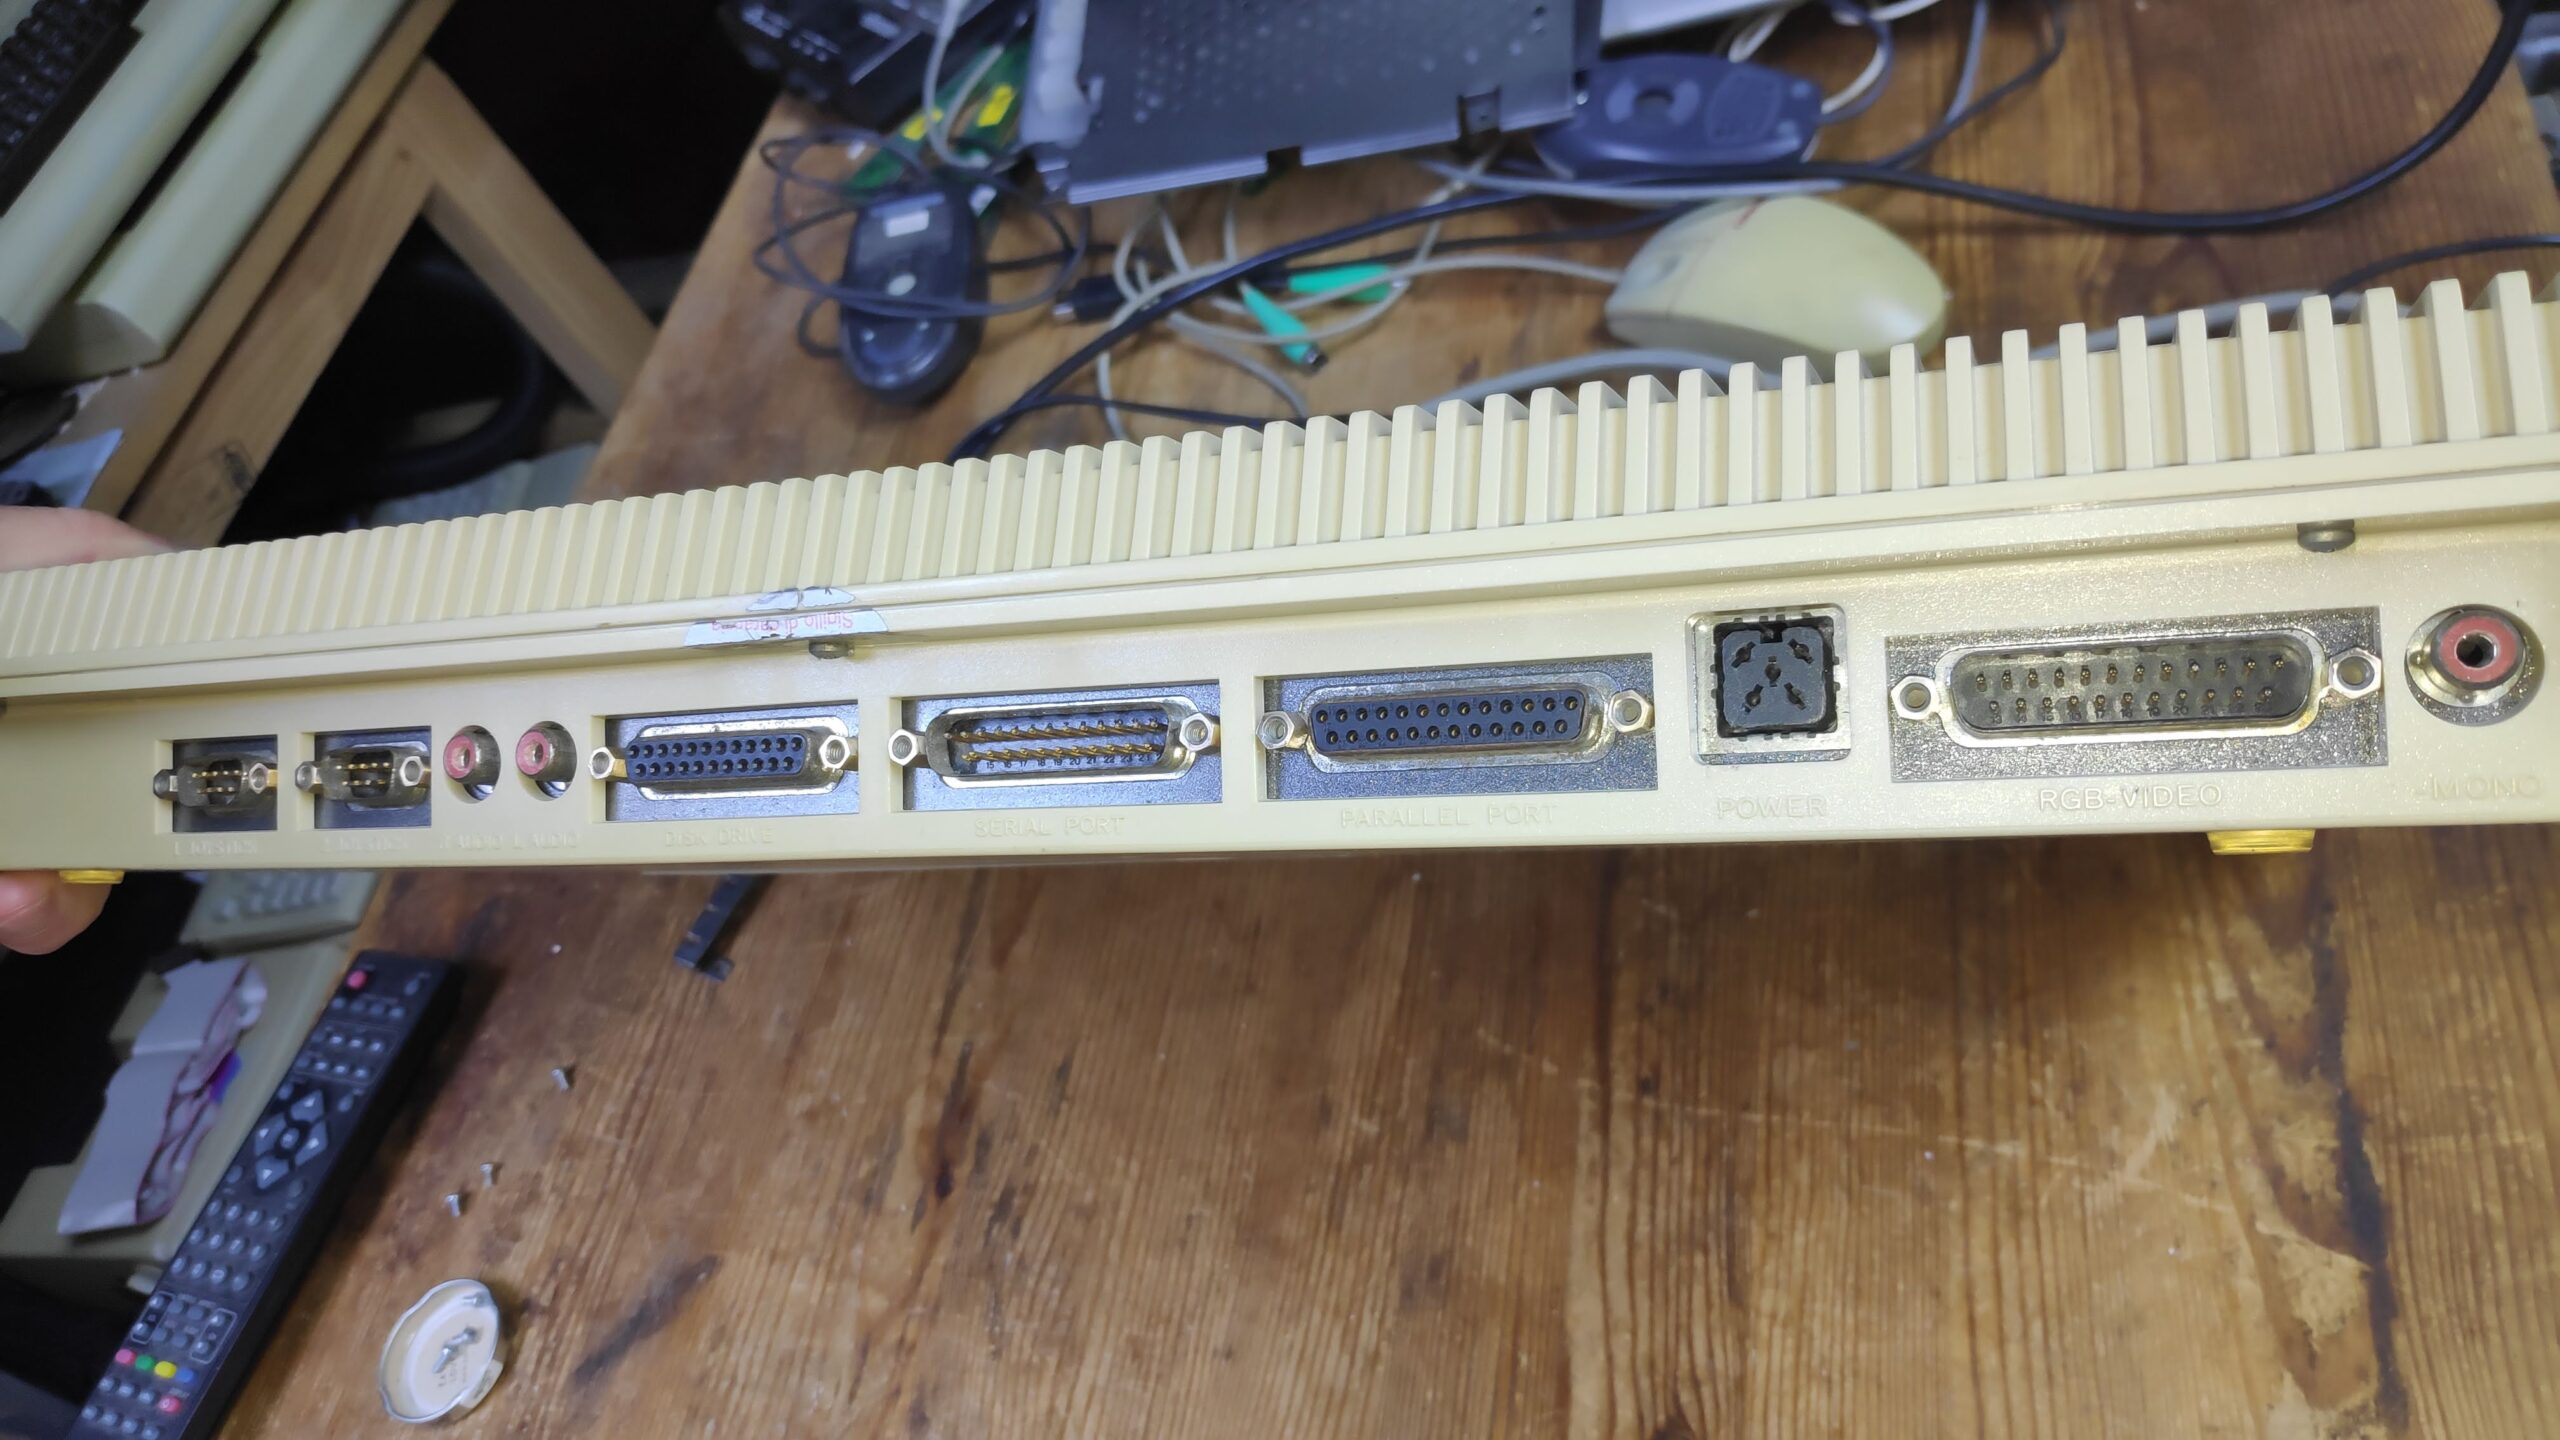
Decided to make a 3D Expansion port cover exposing the HDMI and the SD Card which makes things alot more convenient. Just waiting for a closer colour match PLA to arrive.
And now with HDMI and Scart on dual screen
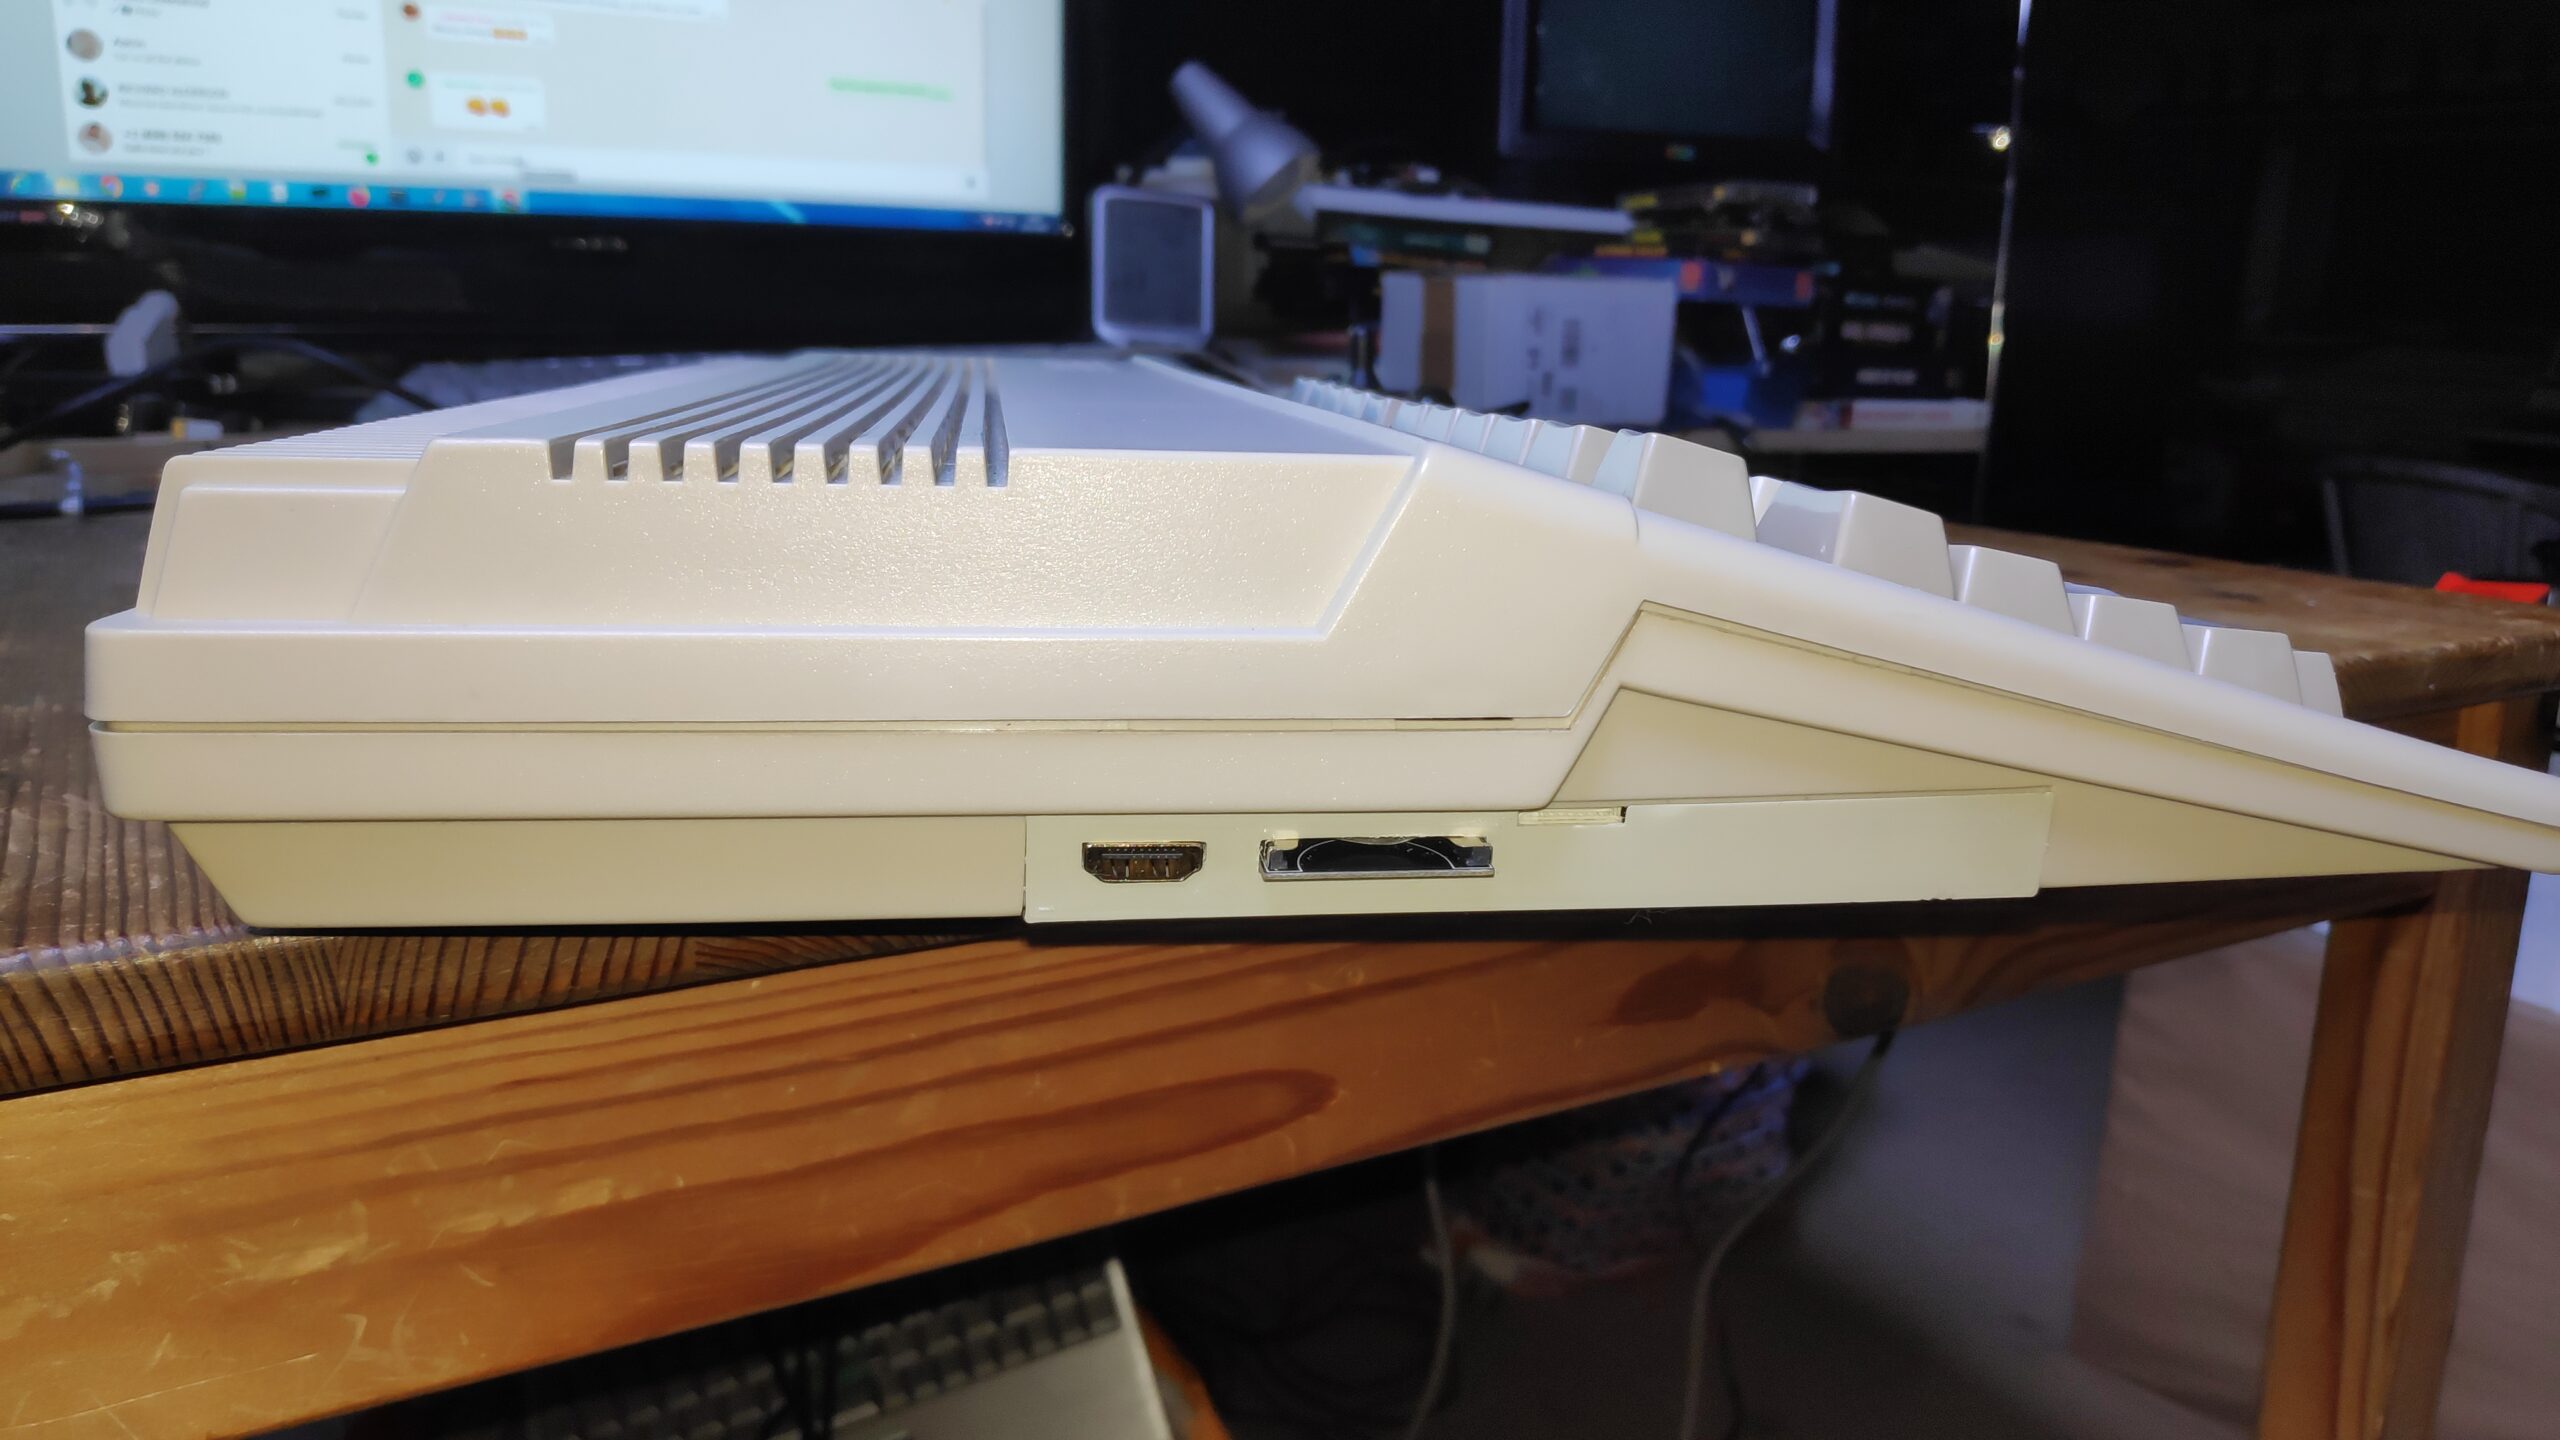
A slight colour improvement on the 3D printed side port cover.


