
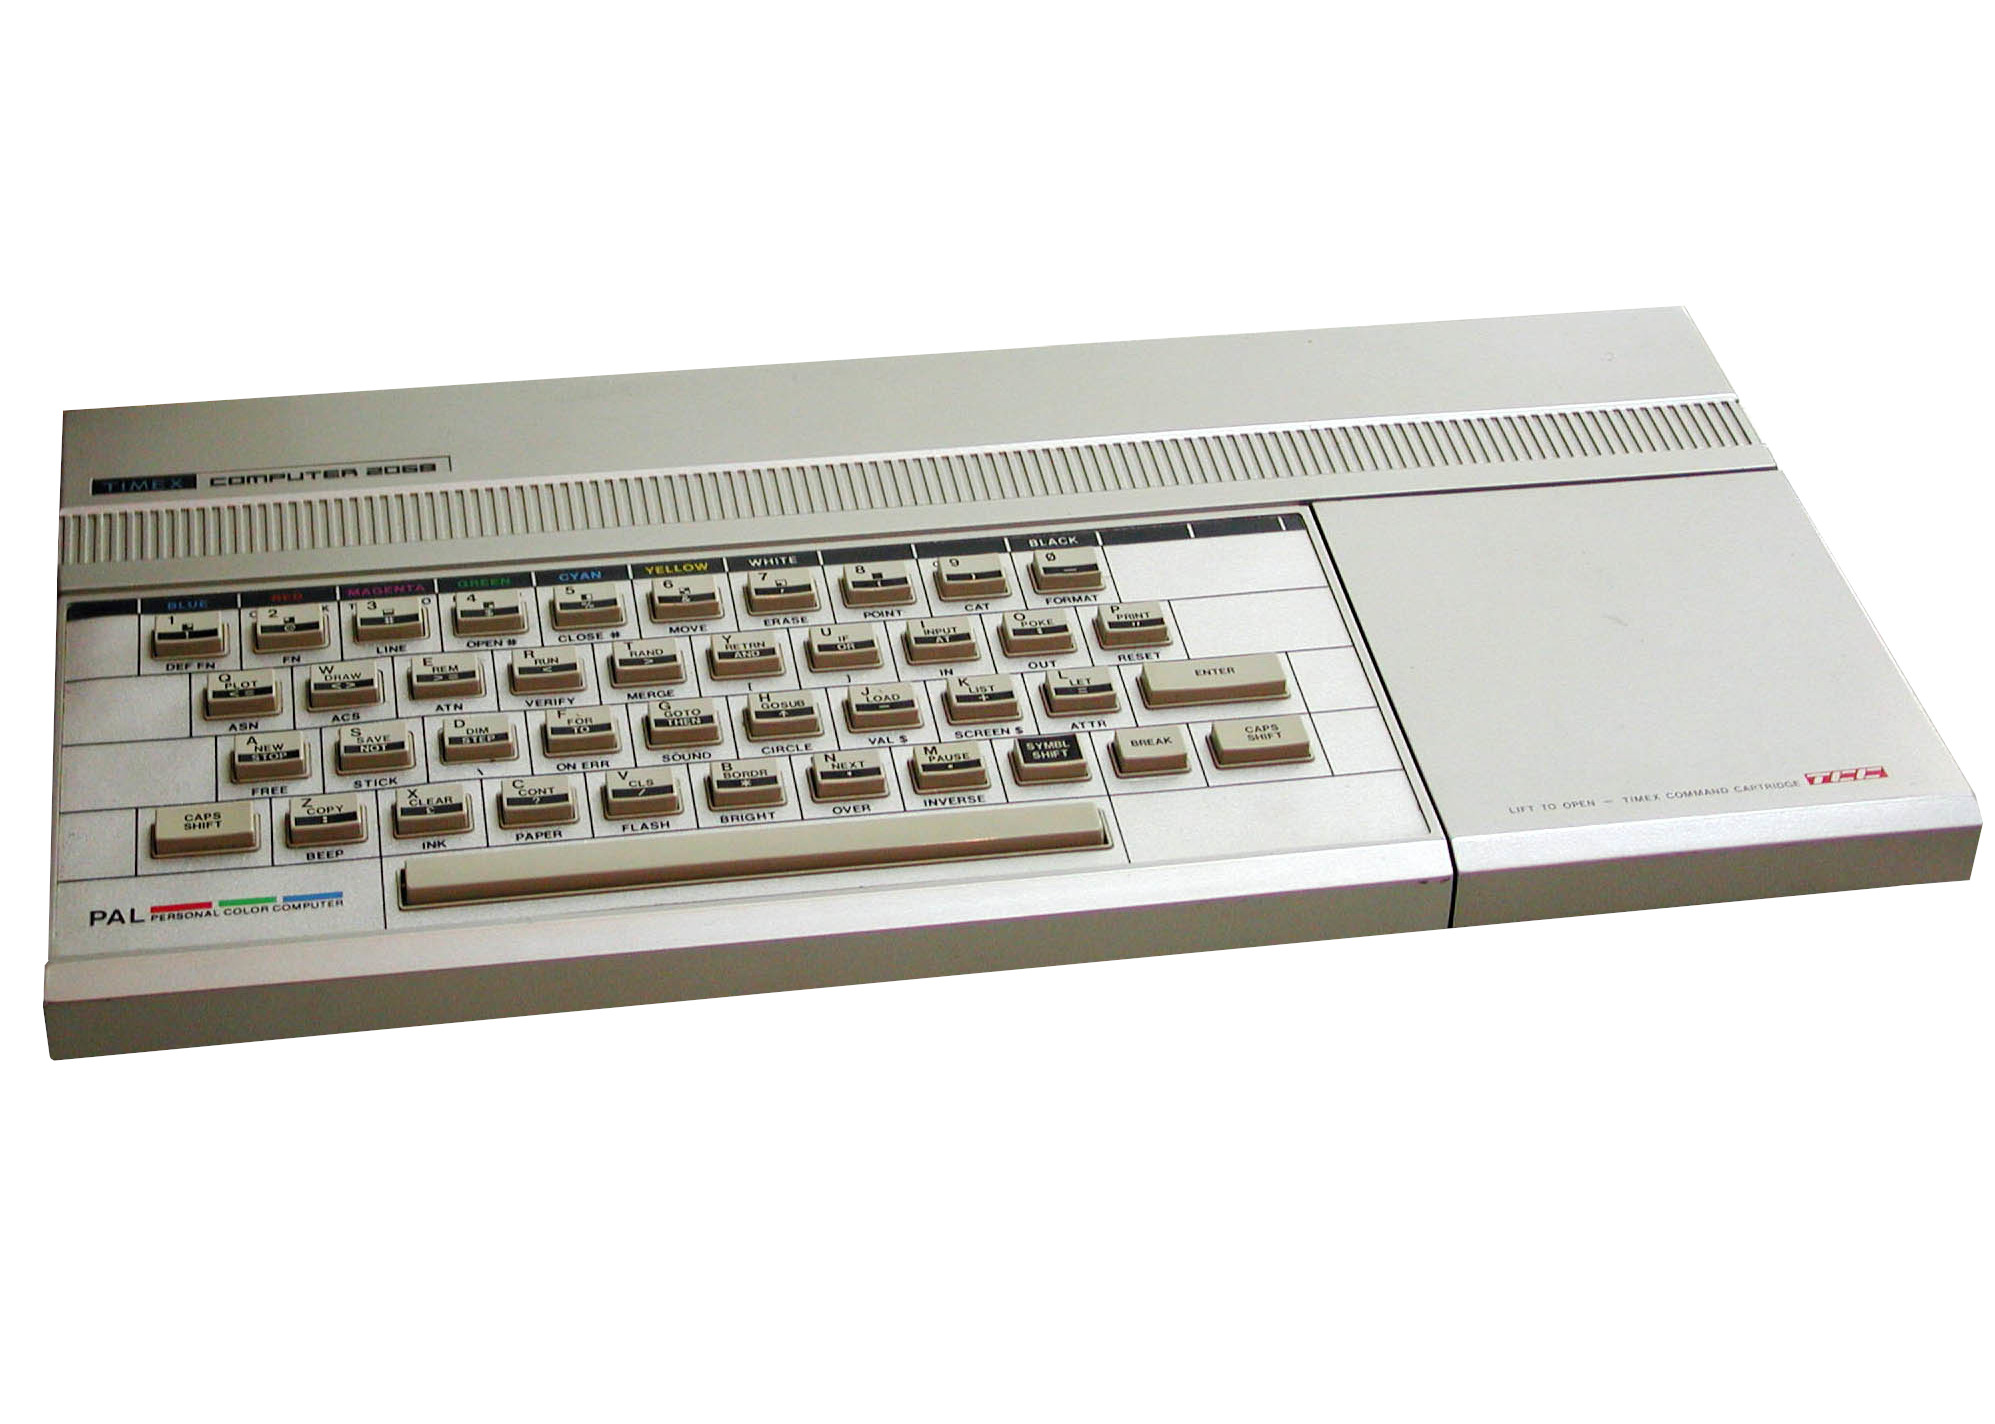


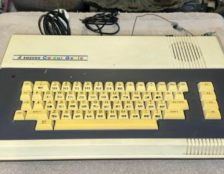


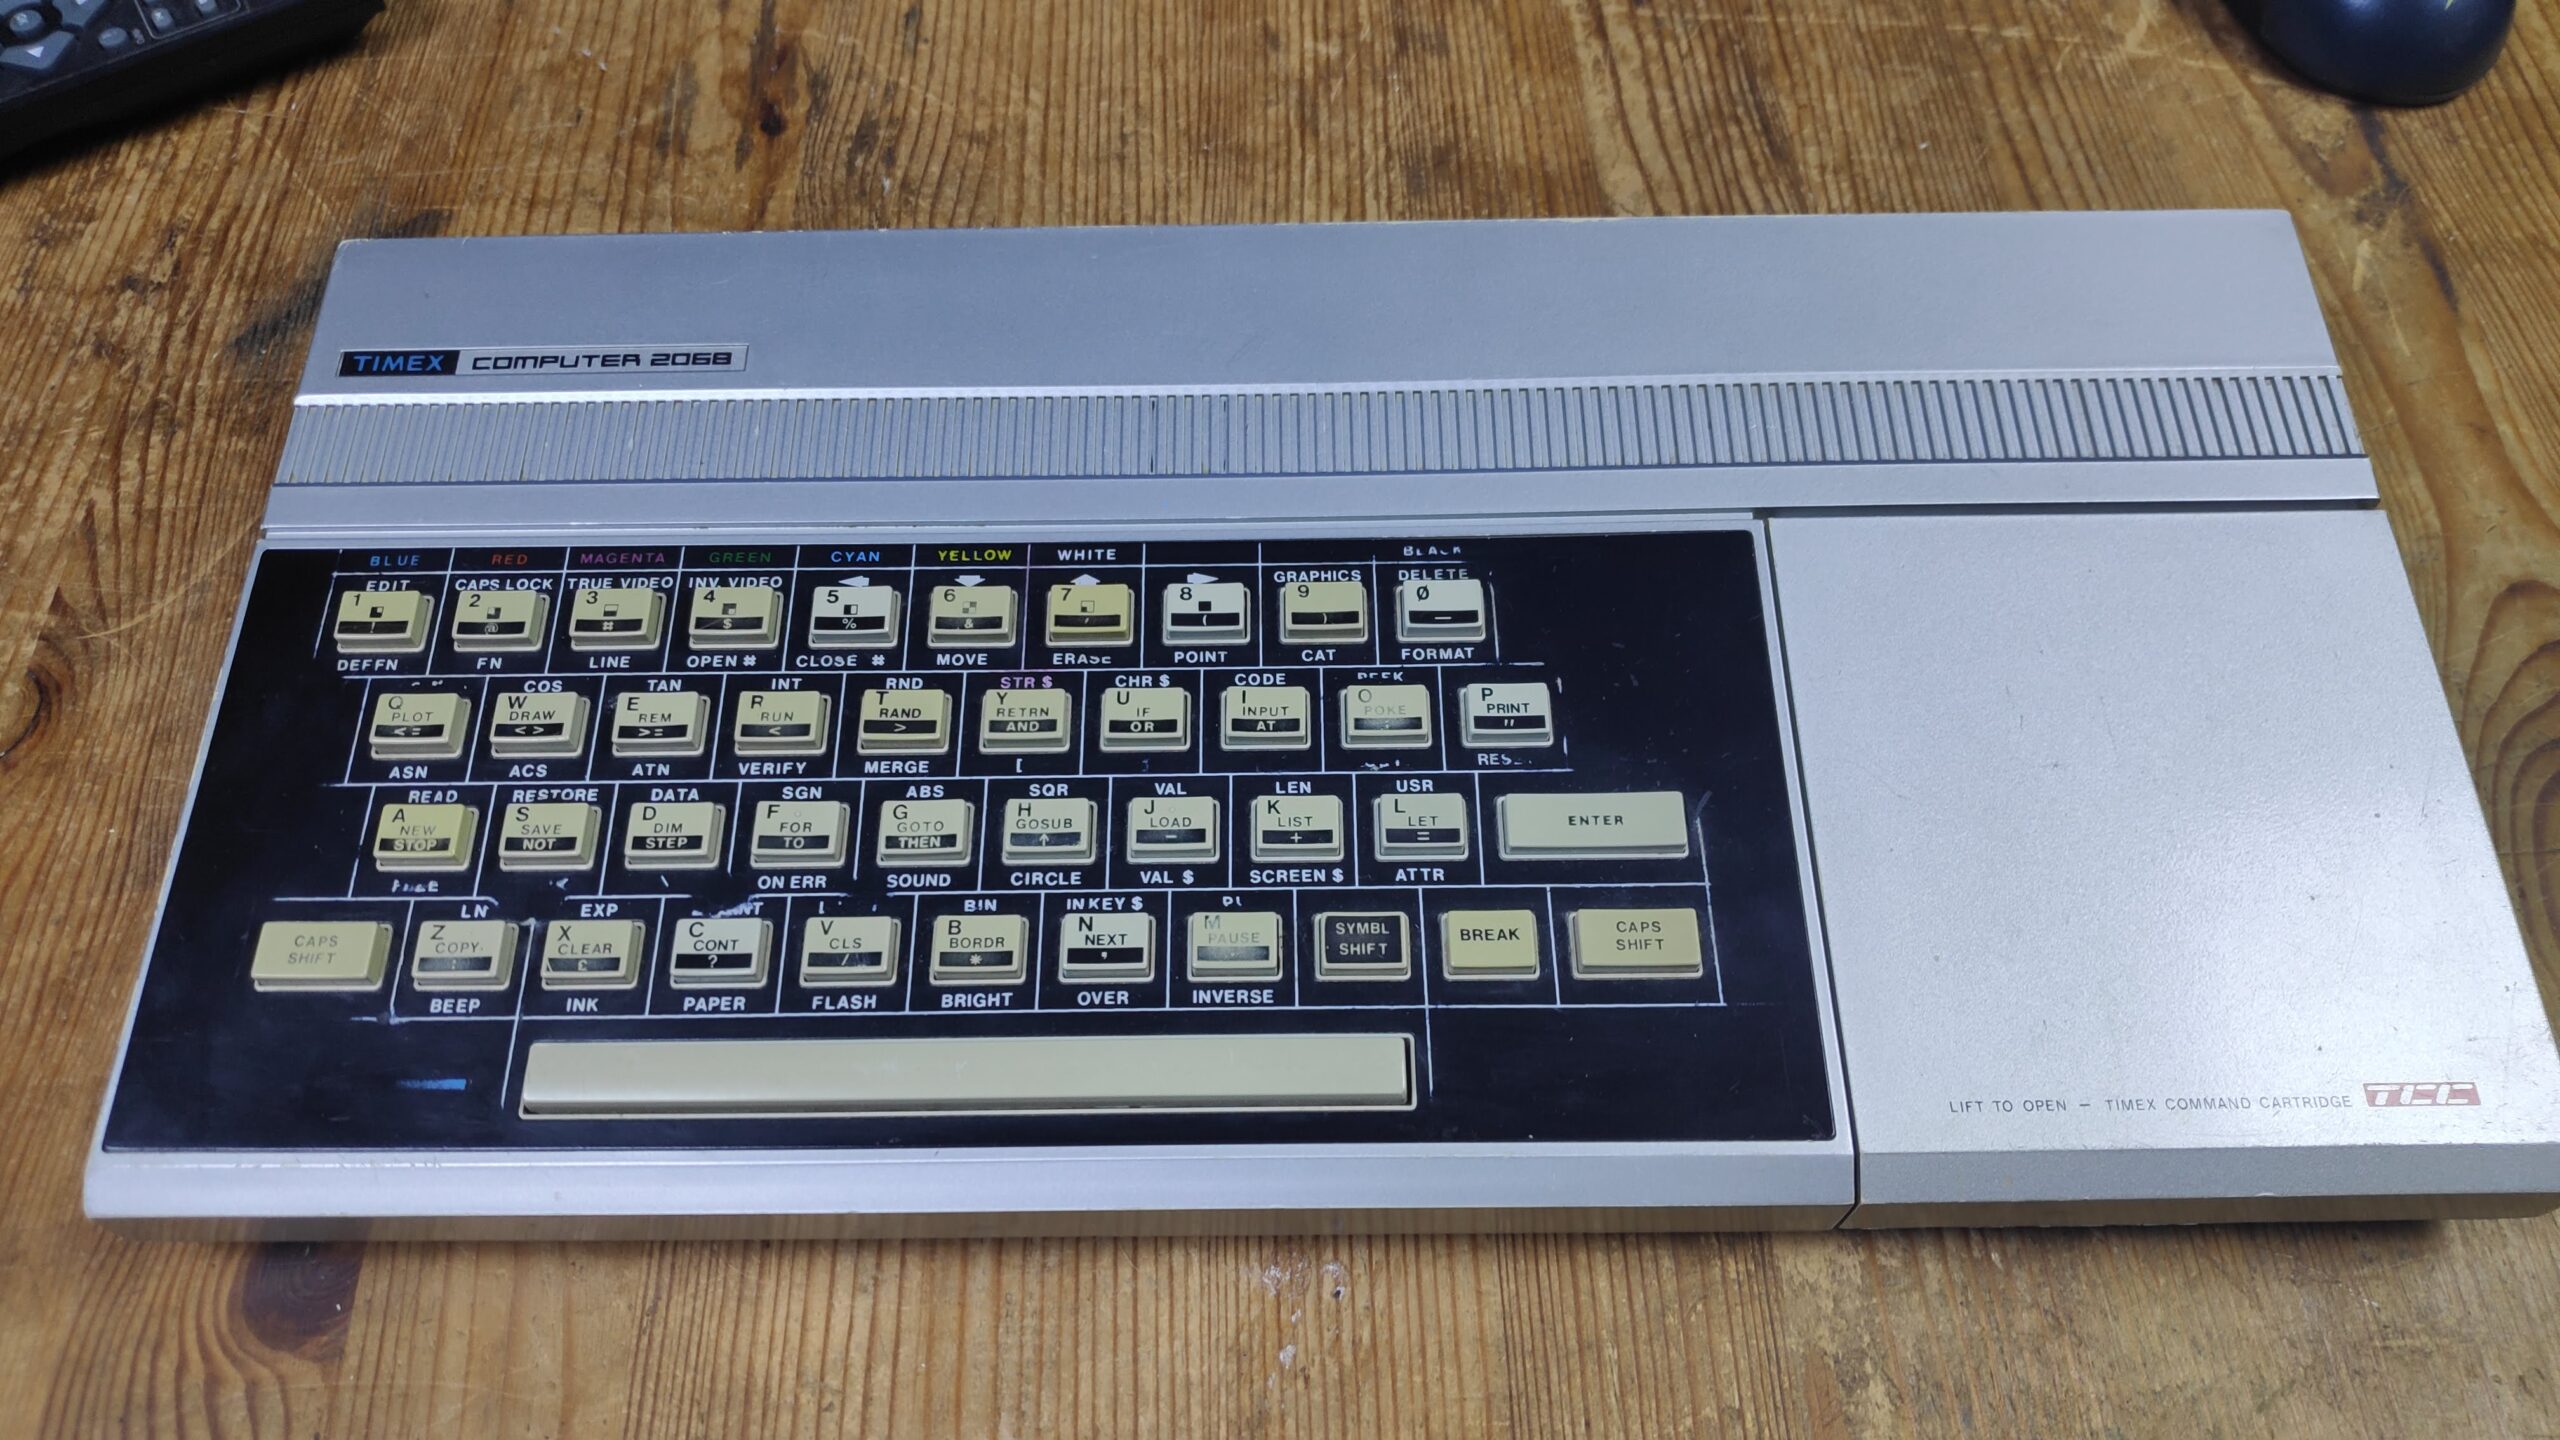
I finally received my much sought after Timex TS2068 or so I thought. I wasn’t sure if it was American made which requires a 15v supply or Portuguese which requires 9v supply so had to do some investigation.
There was no psu supplied just the unit so I first had to figure the polarity of the power connector which was the same as a the standard Spectrum 48k one pin barrel plug. A continuity test from center pin to the ground heat sink on the composite video out confirmed the polarity was center negative.
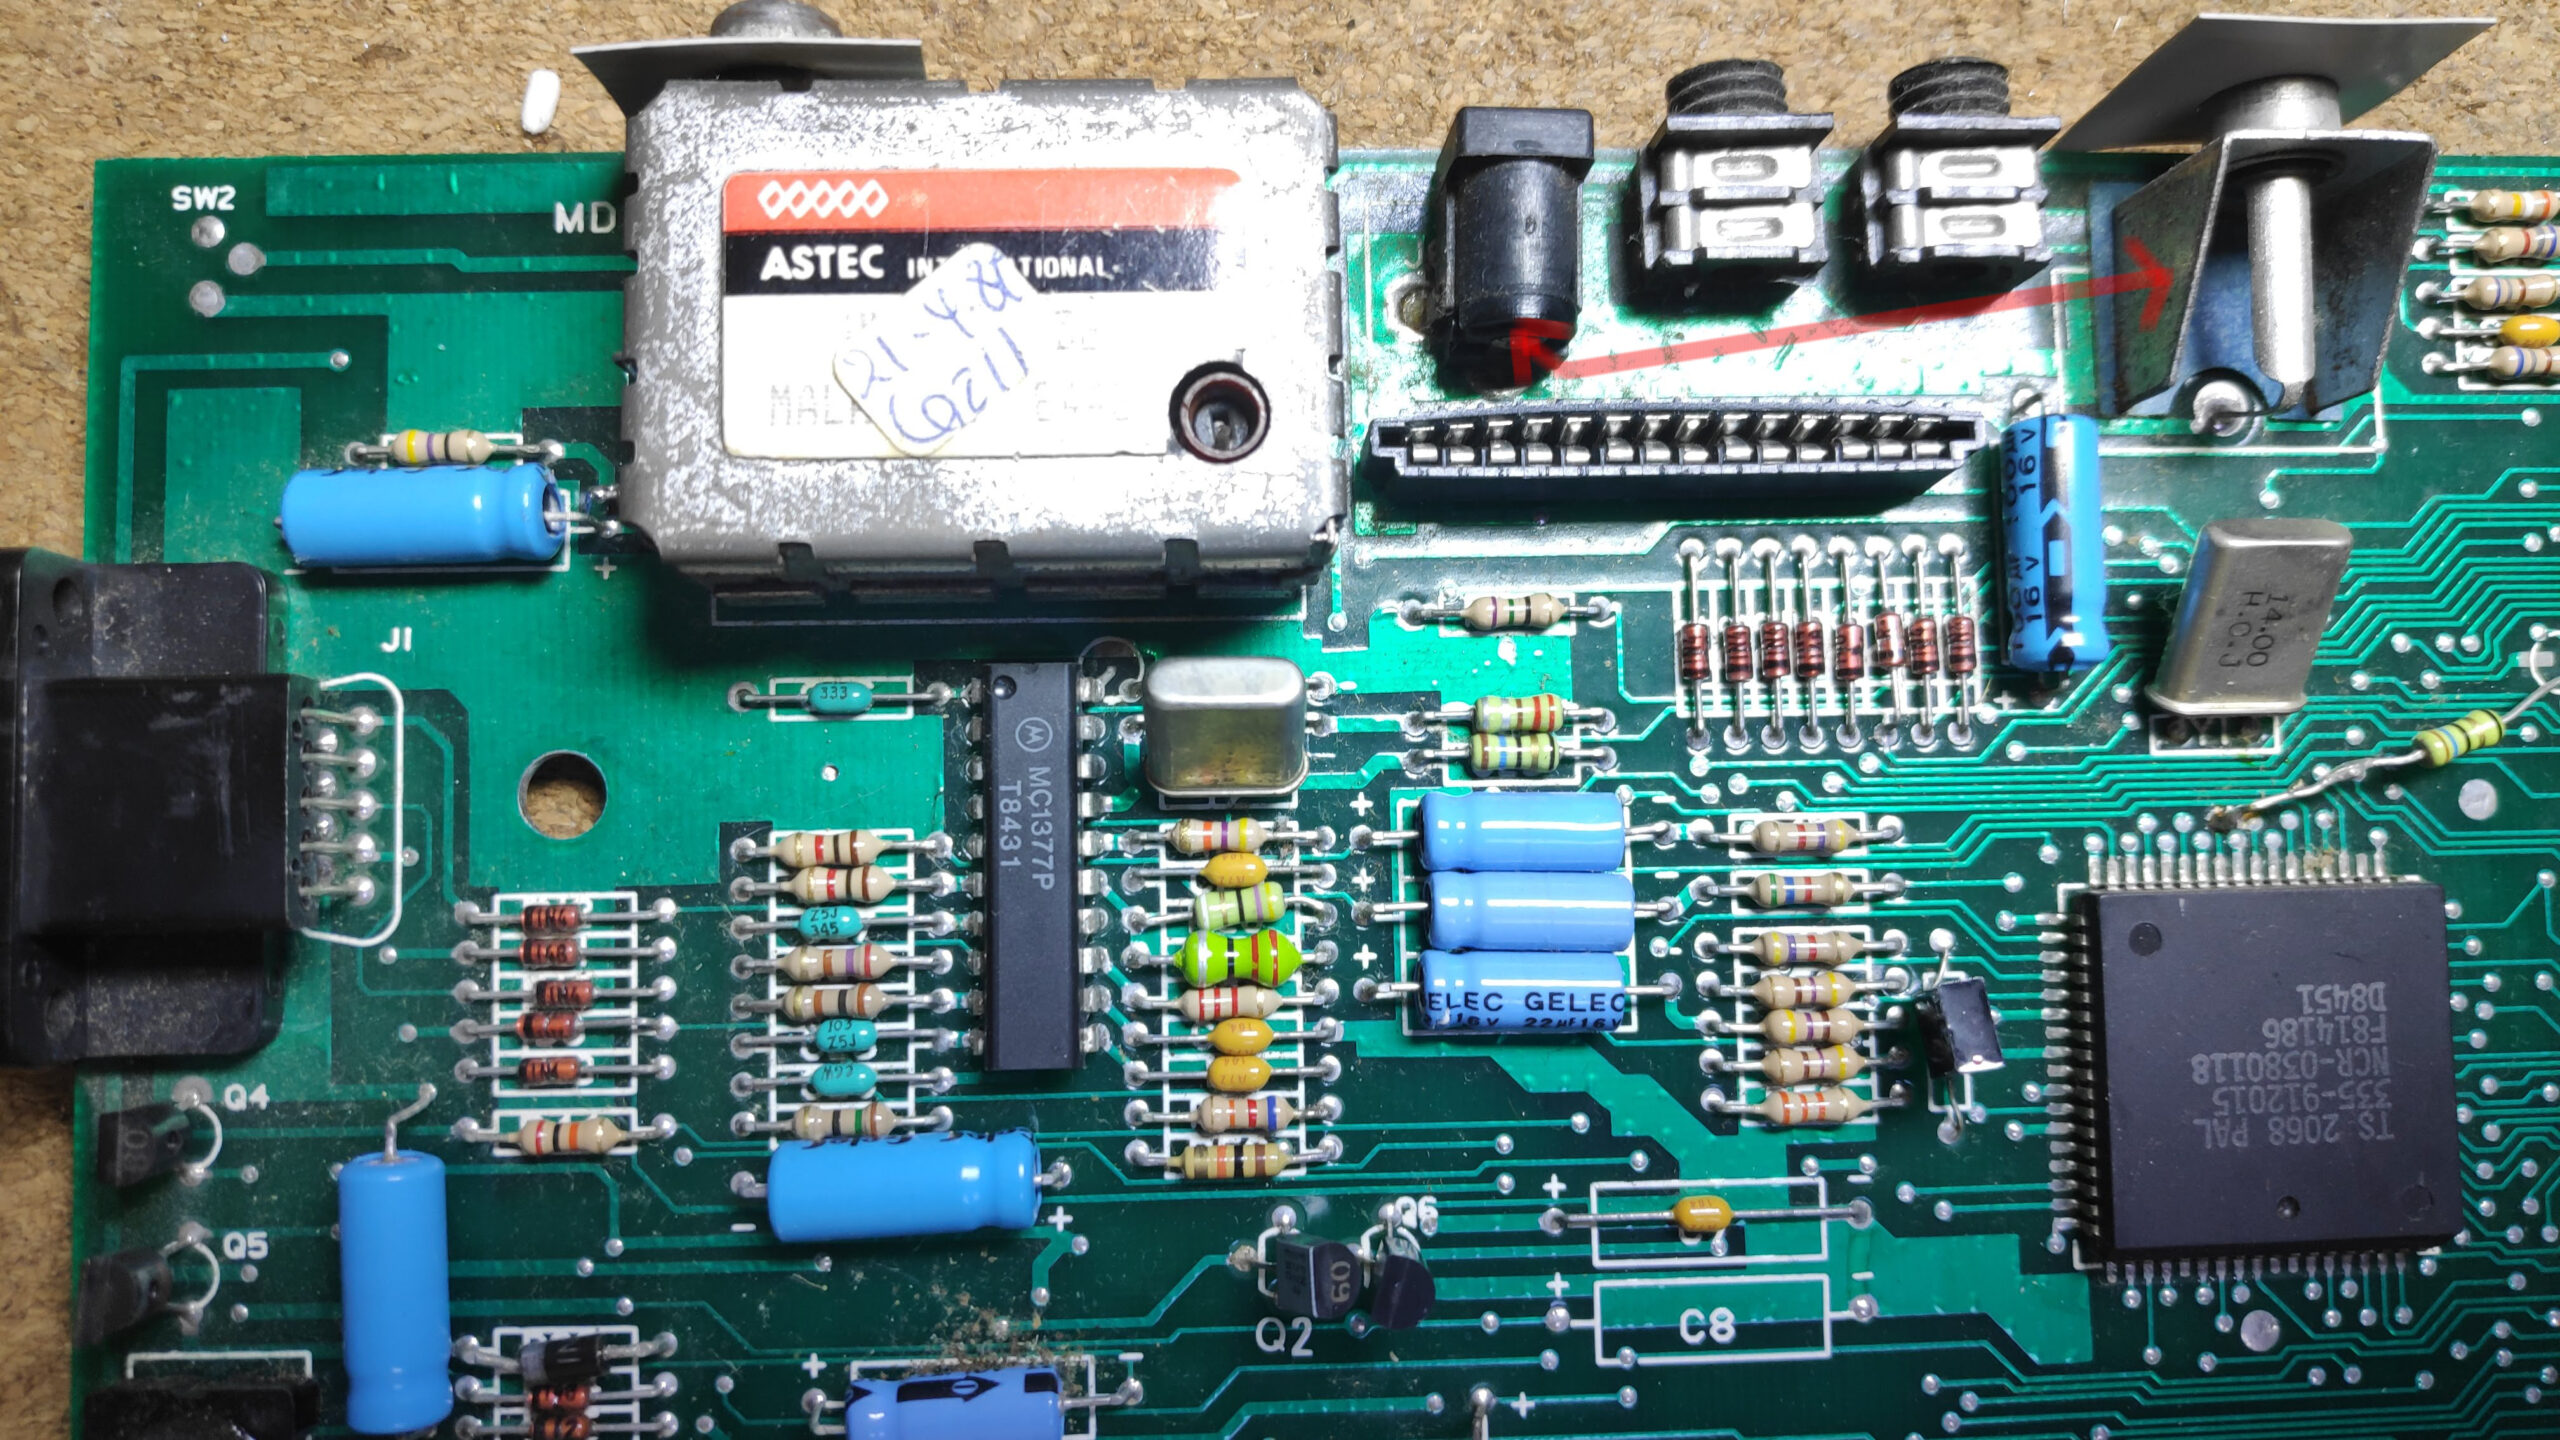
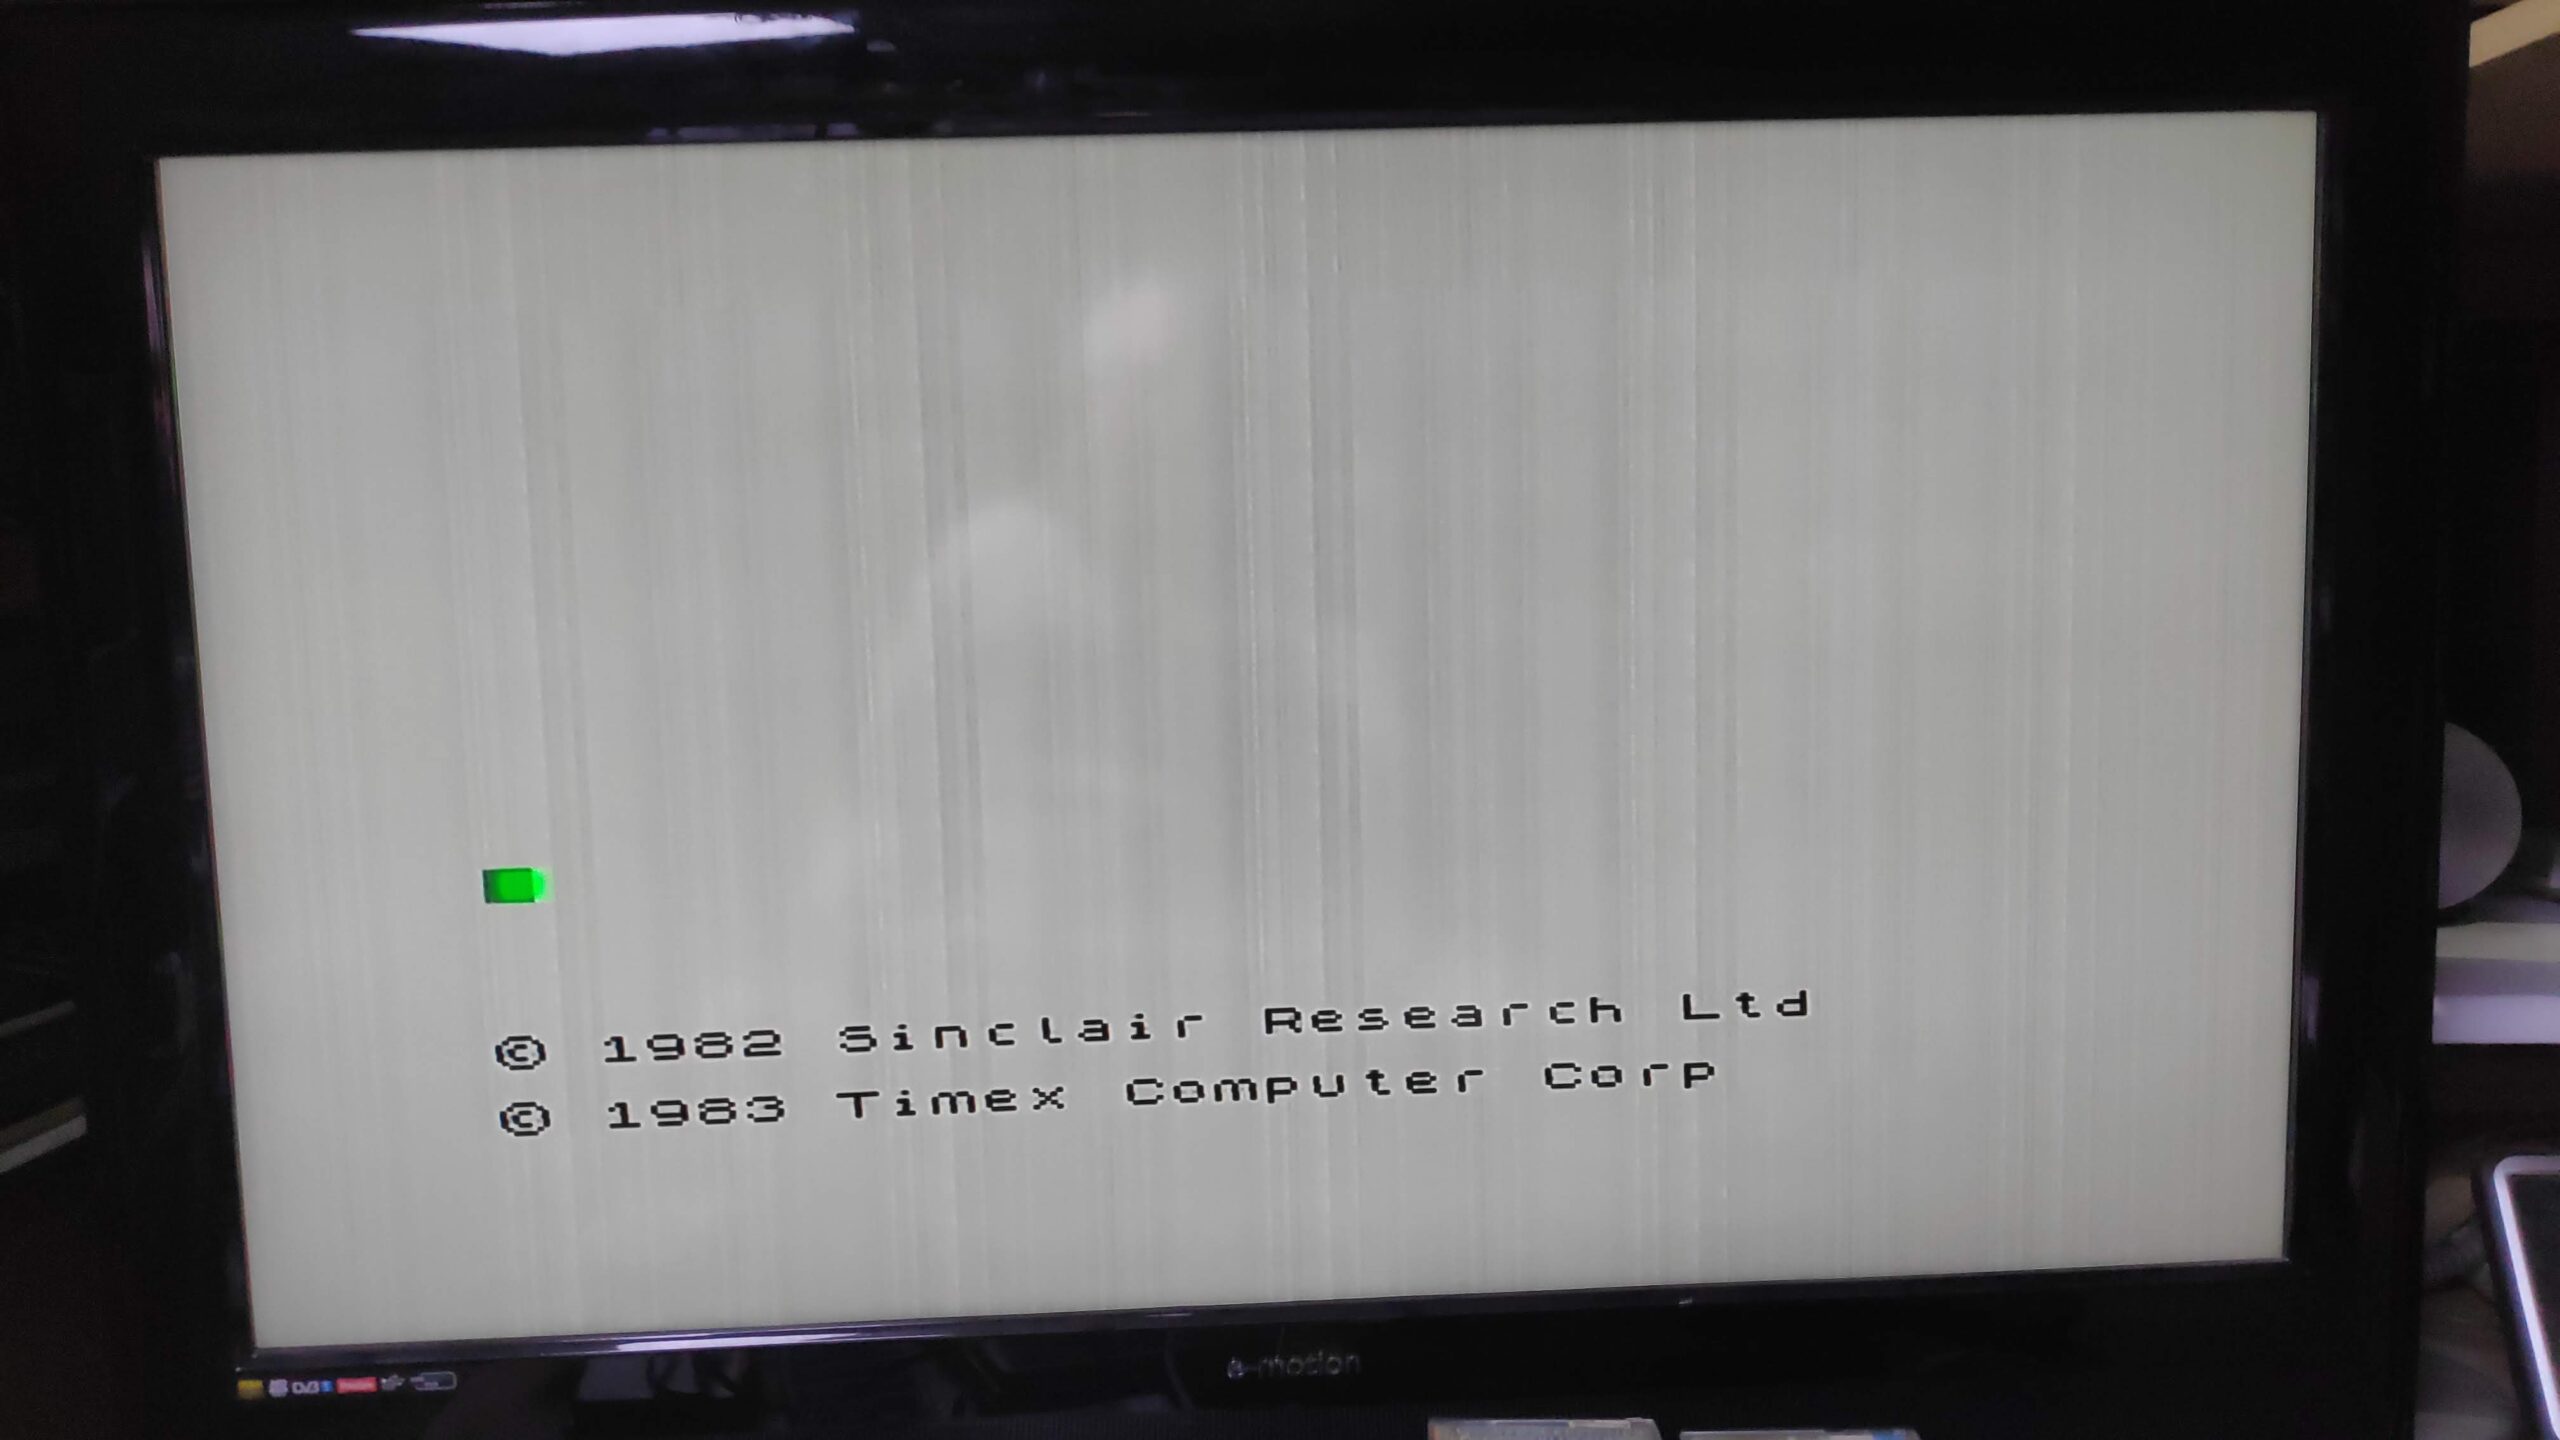
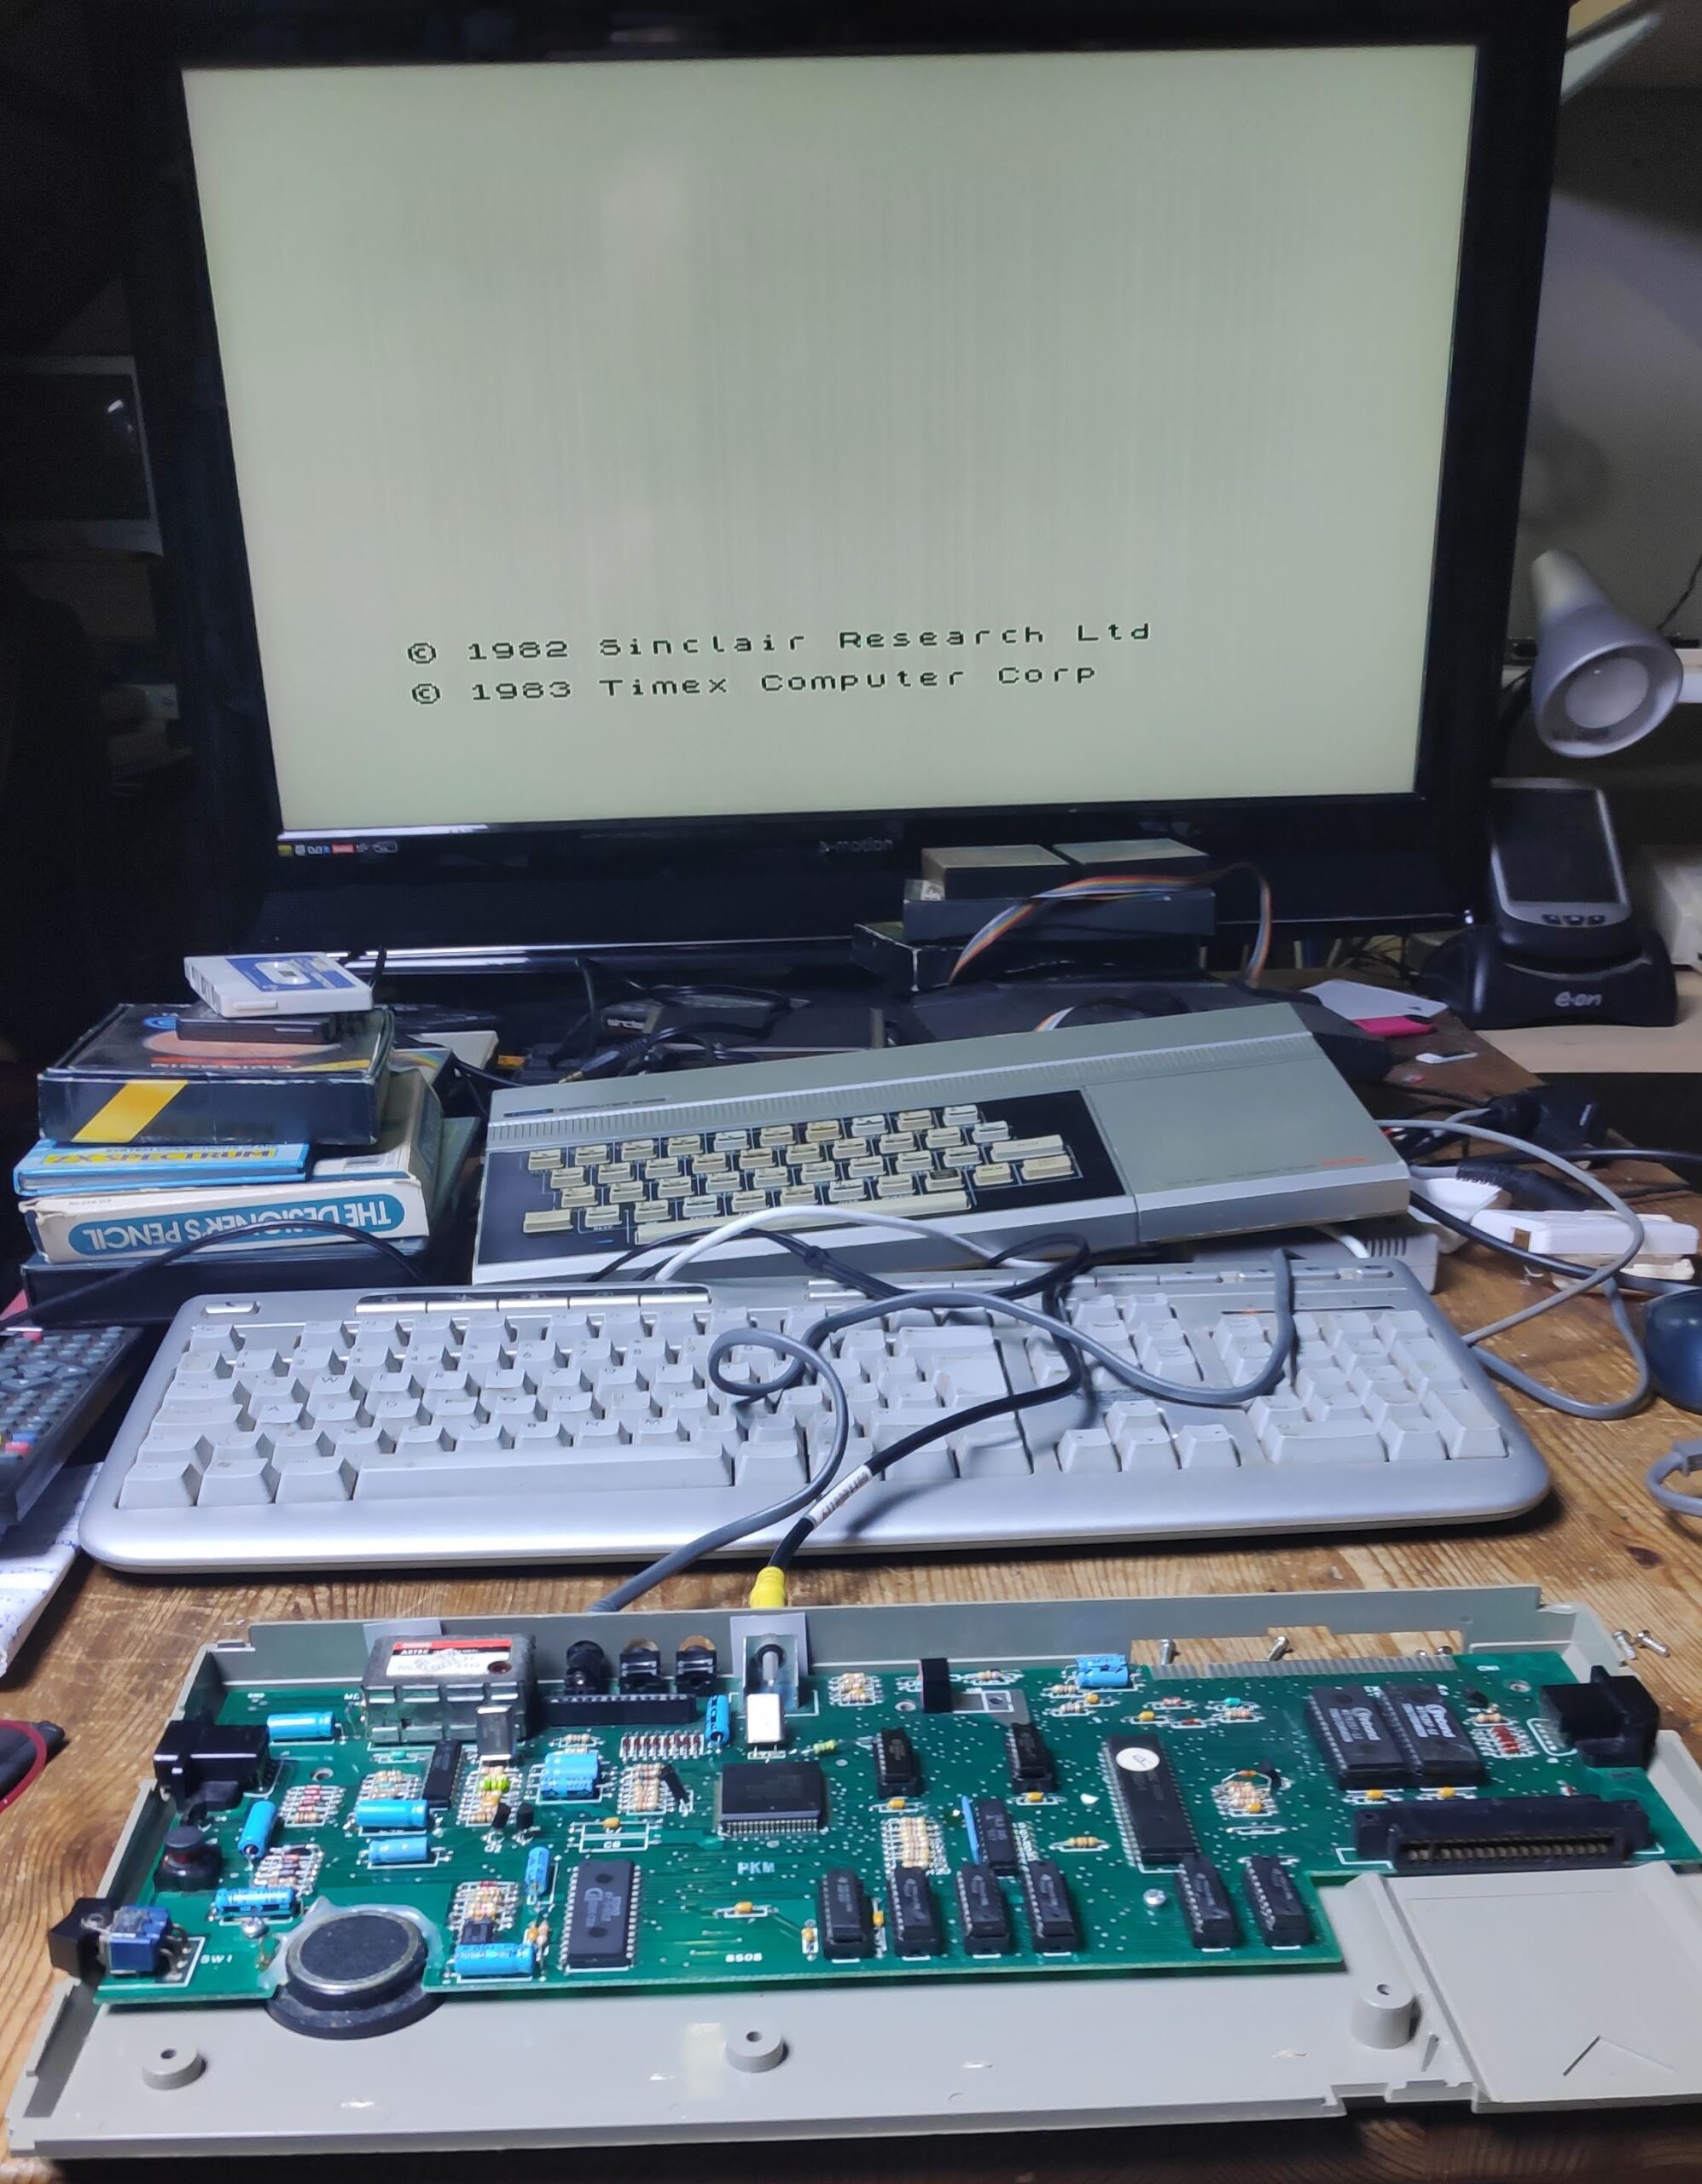
I noticed the voltage regulator was a 7805 so it was likely this was a 9v machine as the 15v machine typically has a 78L12 regulator. As a precaution I decided to swap out the regulator for a modern reliable and cool running equivalent the TSR1-2450. This also allows the heat sink to be removed permanently. Once swapped I decided to go with a 9v test which shouldn’t damage anything if 15v is required and I got a display as shown.
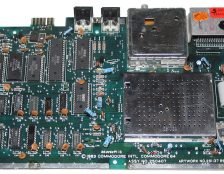
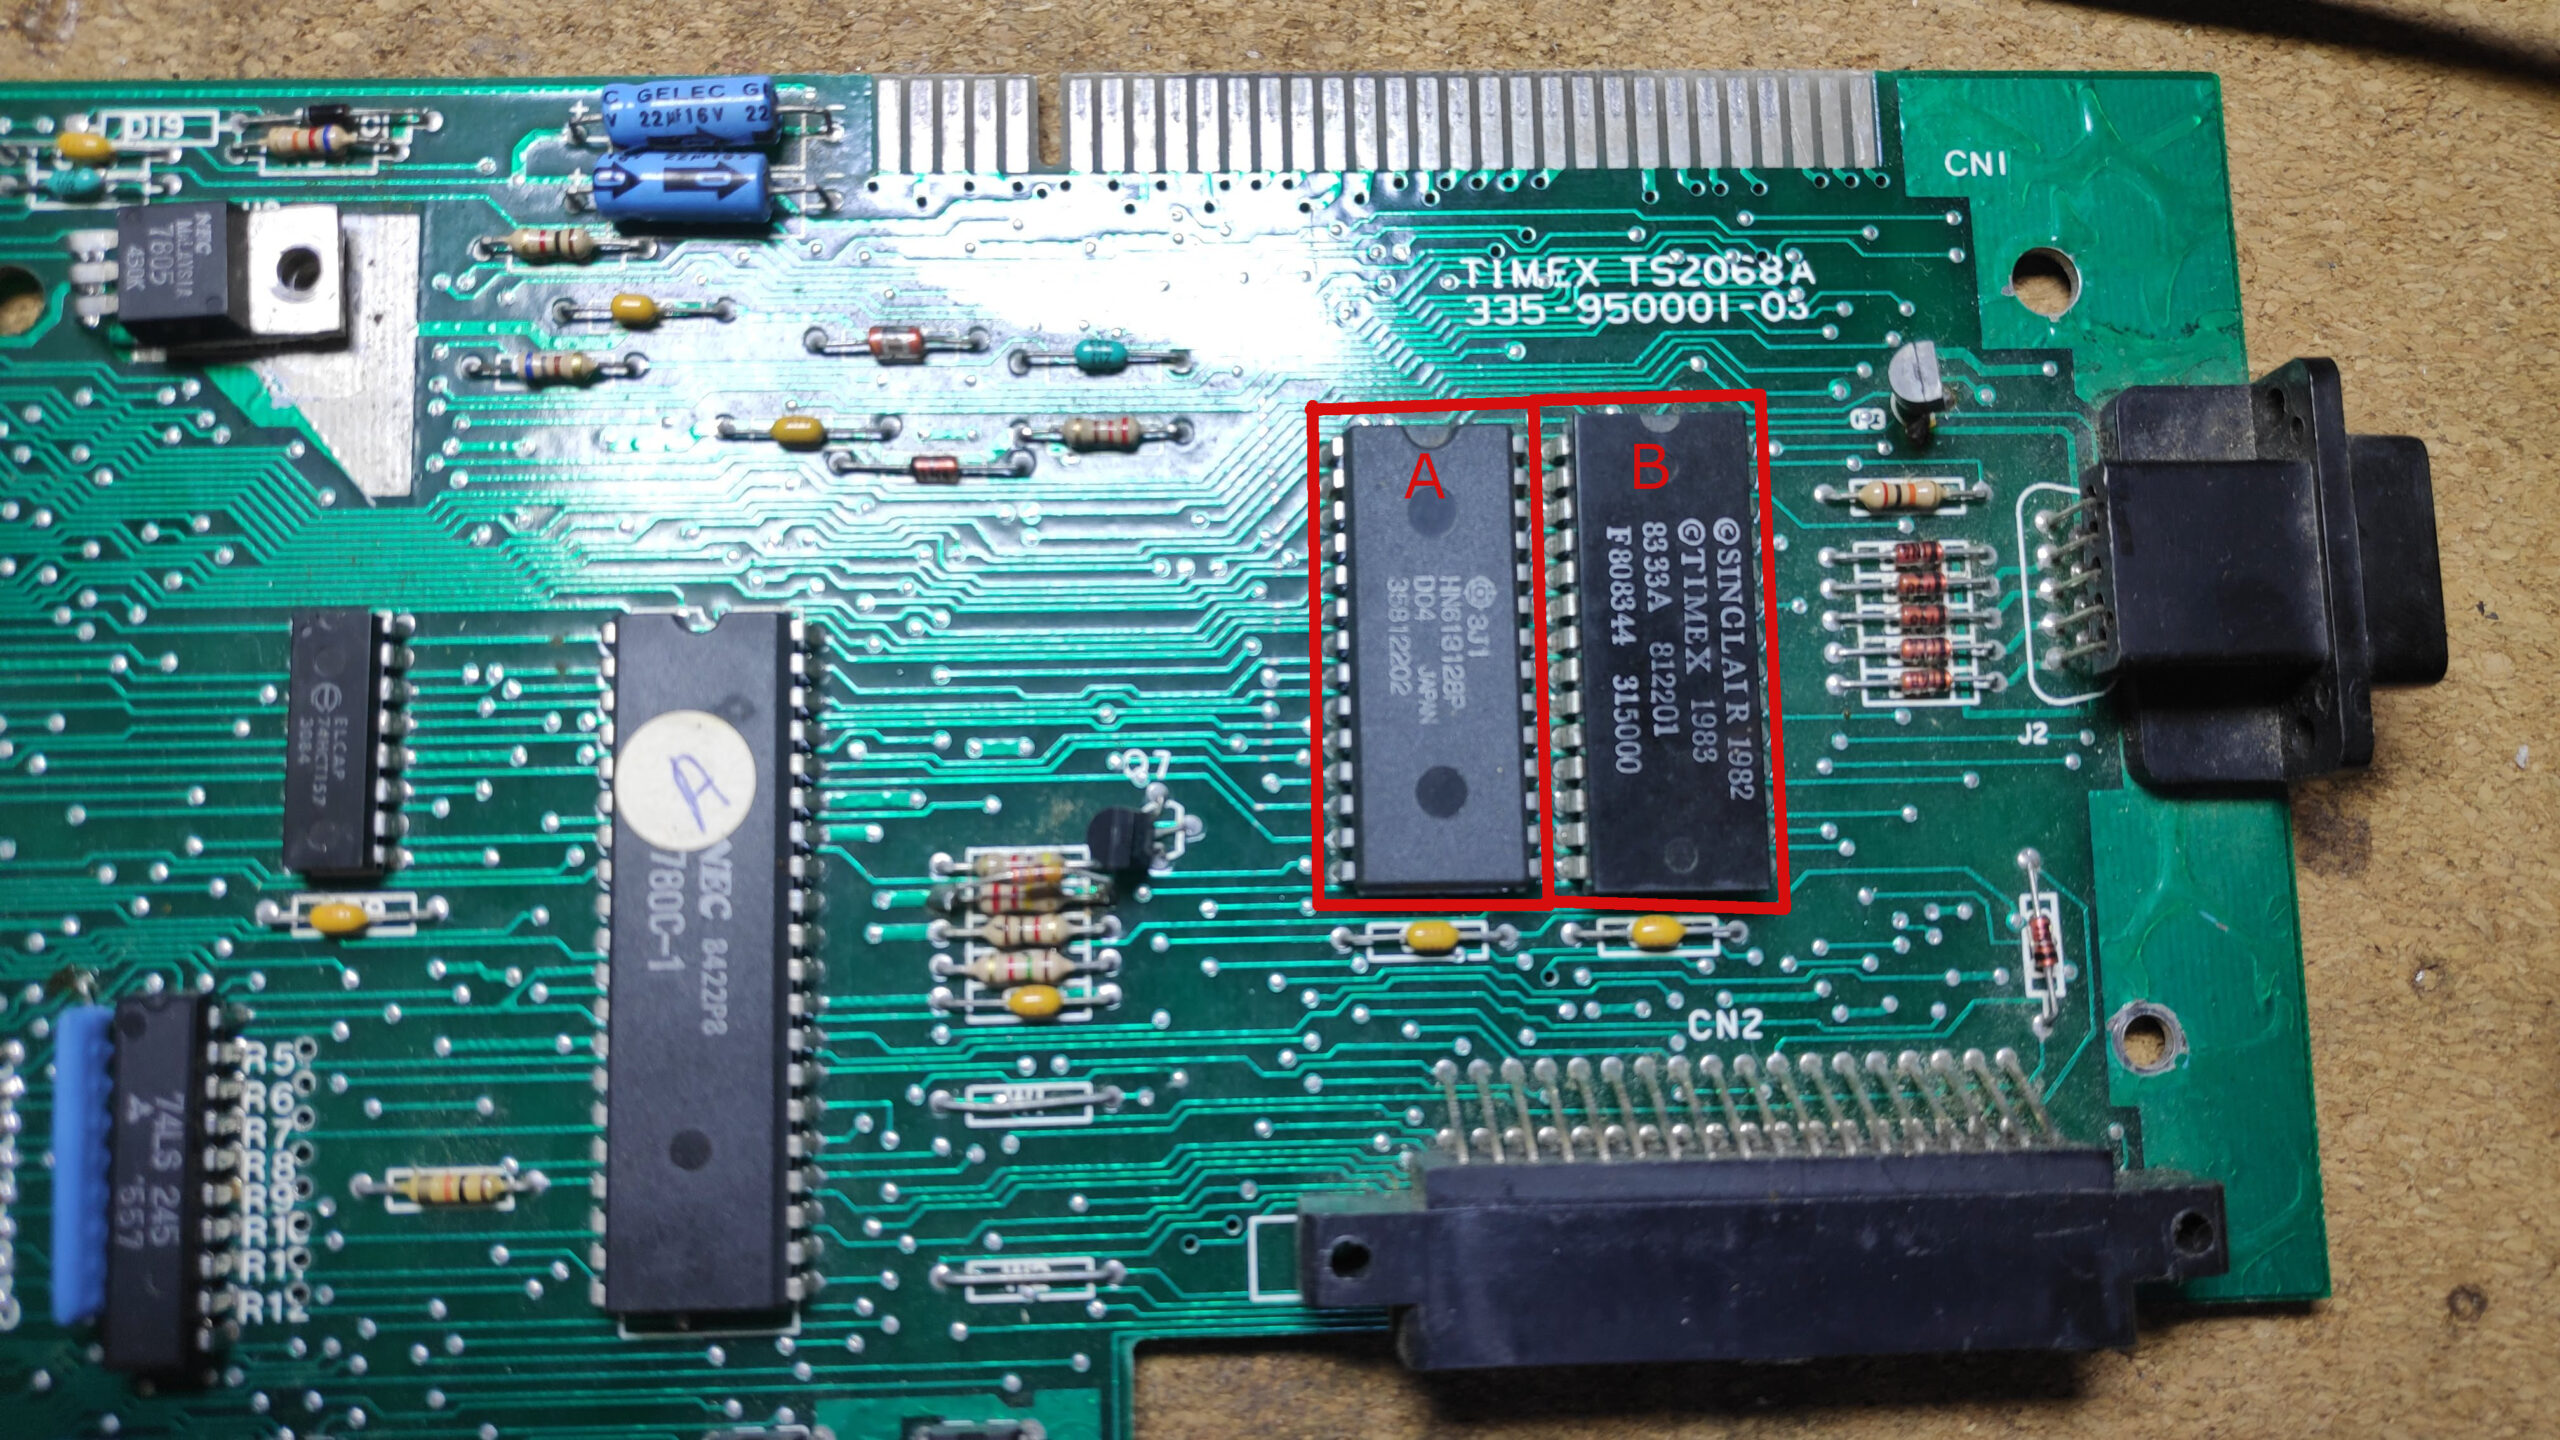
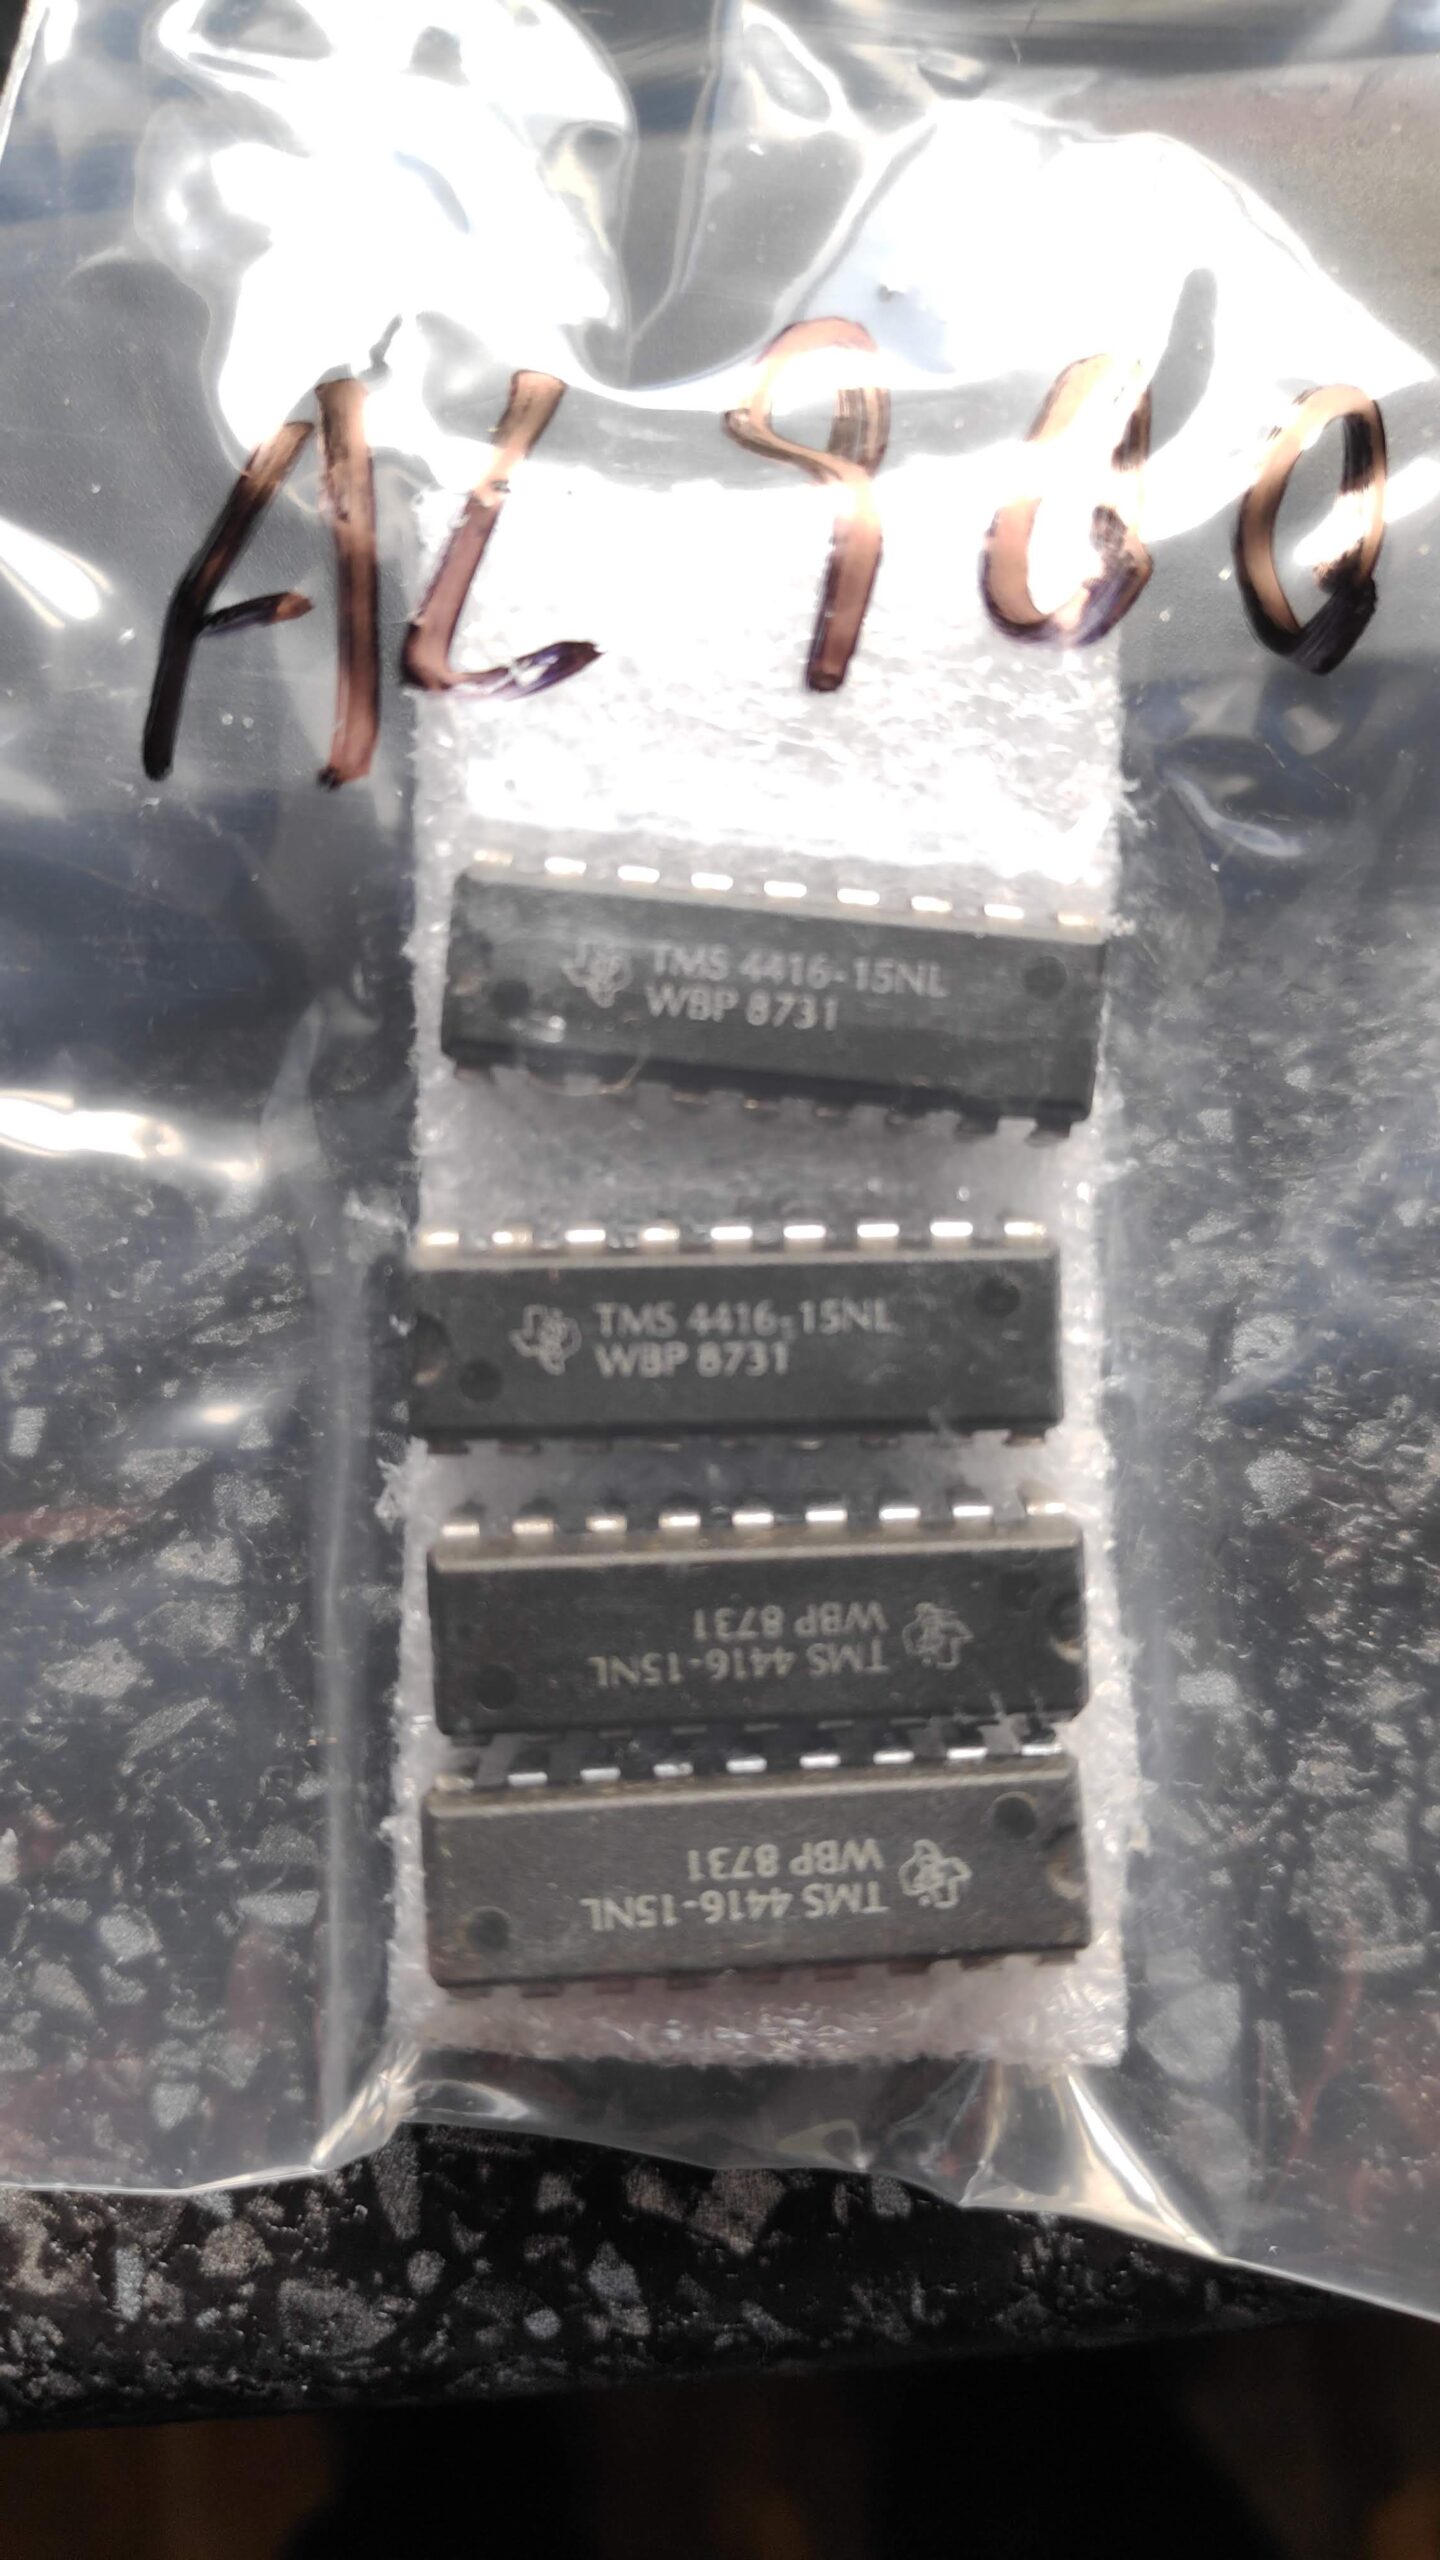
However the machine would reset about once every second so there was definitely something wrong. I upped the voltage a little but this had no effect and the machine would still reset. I tested the voltages on the ram chips which by the way are a unusual 4416 variety, still the voltages all read ok 5v on pin 9(bottom left). A diagnostic was probably going to be easiest to solve this problem unfortunately all the chips are soldered in so out with the desoldering gun. The main Rom is marked A in the picture below. ‘B’ is the shadow rom, more on that later. The diagnostic rom needs to replace ROM ‘A’
Once socketed the diagnostic revealed all the upper ram was at fault. I decided to socket all the ram and then retest. Removing the upper ram still allows the machine to work fine so by placing upper ram chips in lower ram (left 2 sockets) I was able to eliminate which individual chips were at fault. It turned out only two of the 4 upper ram chips were faulty. So although the diagnostic would work fine with the 4 good ram chips however it always reported all upper ram was faulty.
Putting the original rom back and the machine would still reset even with the upper ram removed. Similarly putting any combination of good chips in the lower ram gave the same result so something else was wrong. I ordered some 4416 chips which arrived a couple weeks later.
In they went and the diagnostic upper ram fault was solved but again with the original rom the reset issue remained.
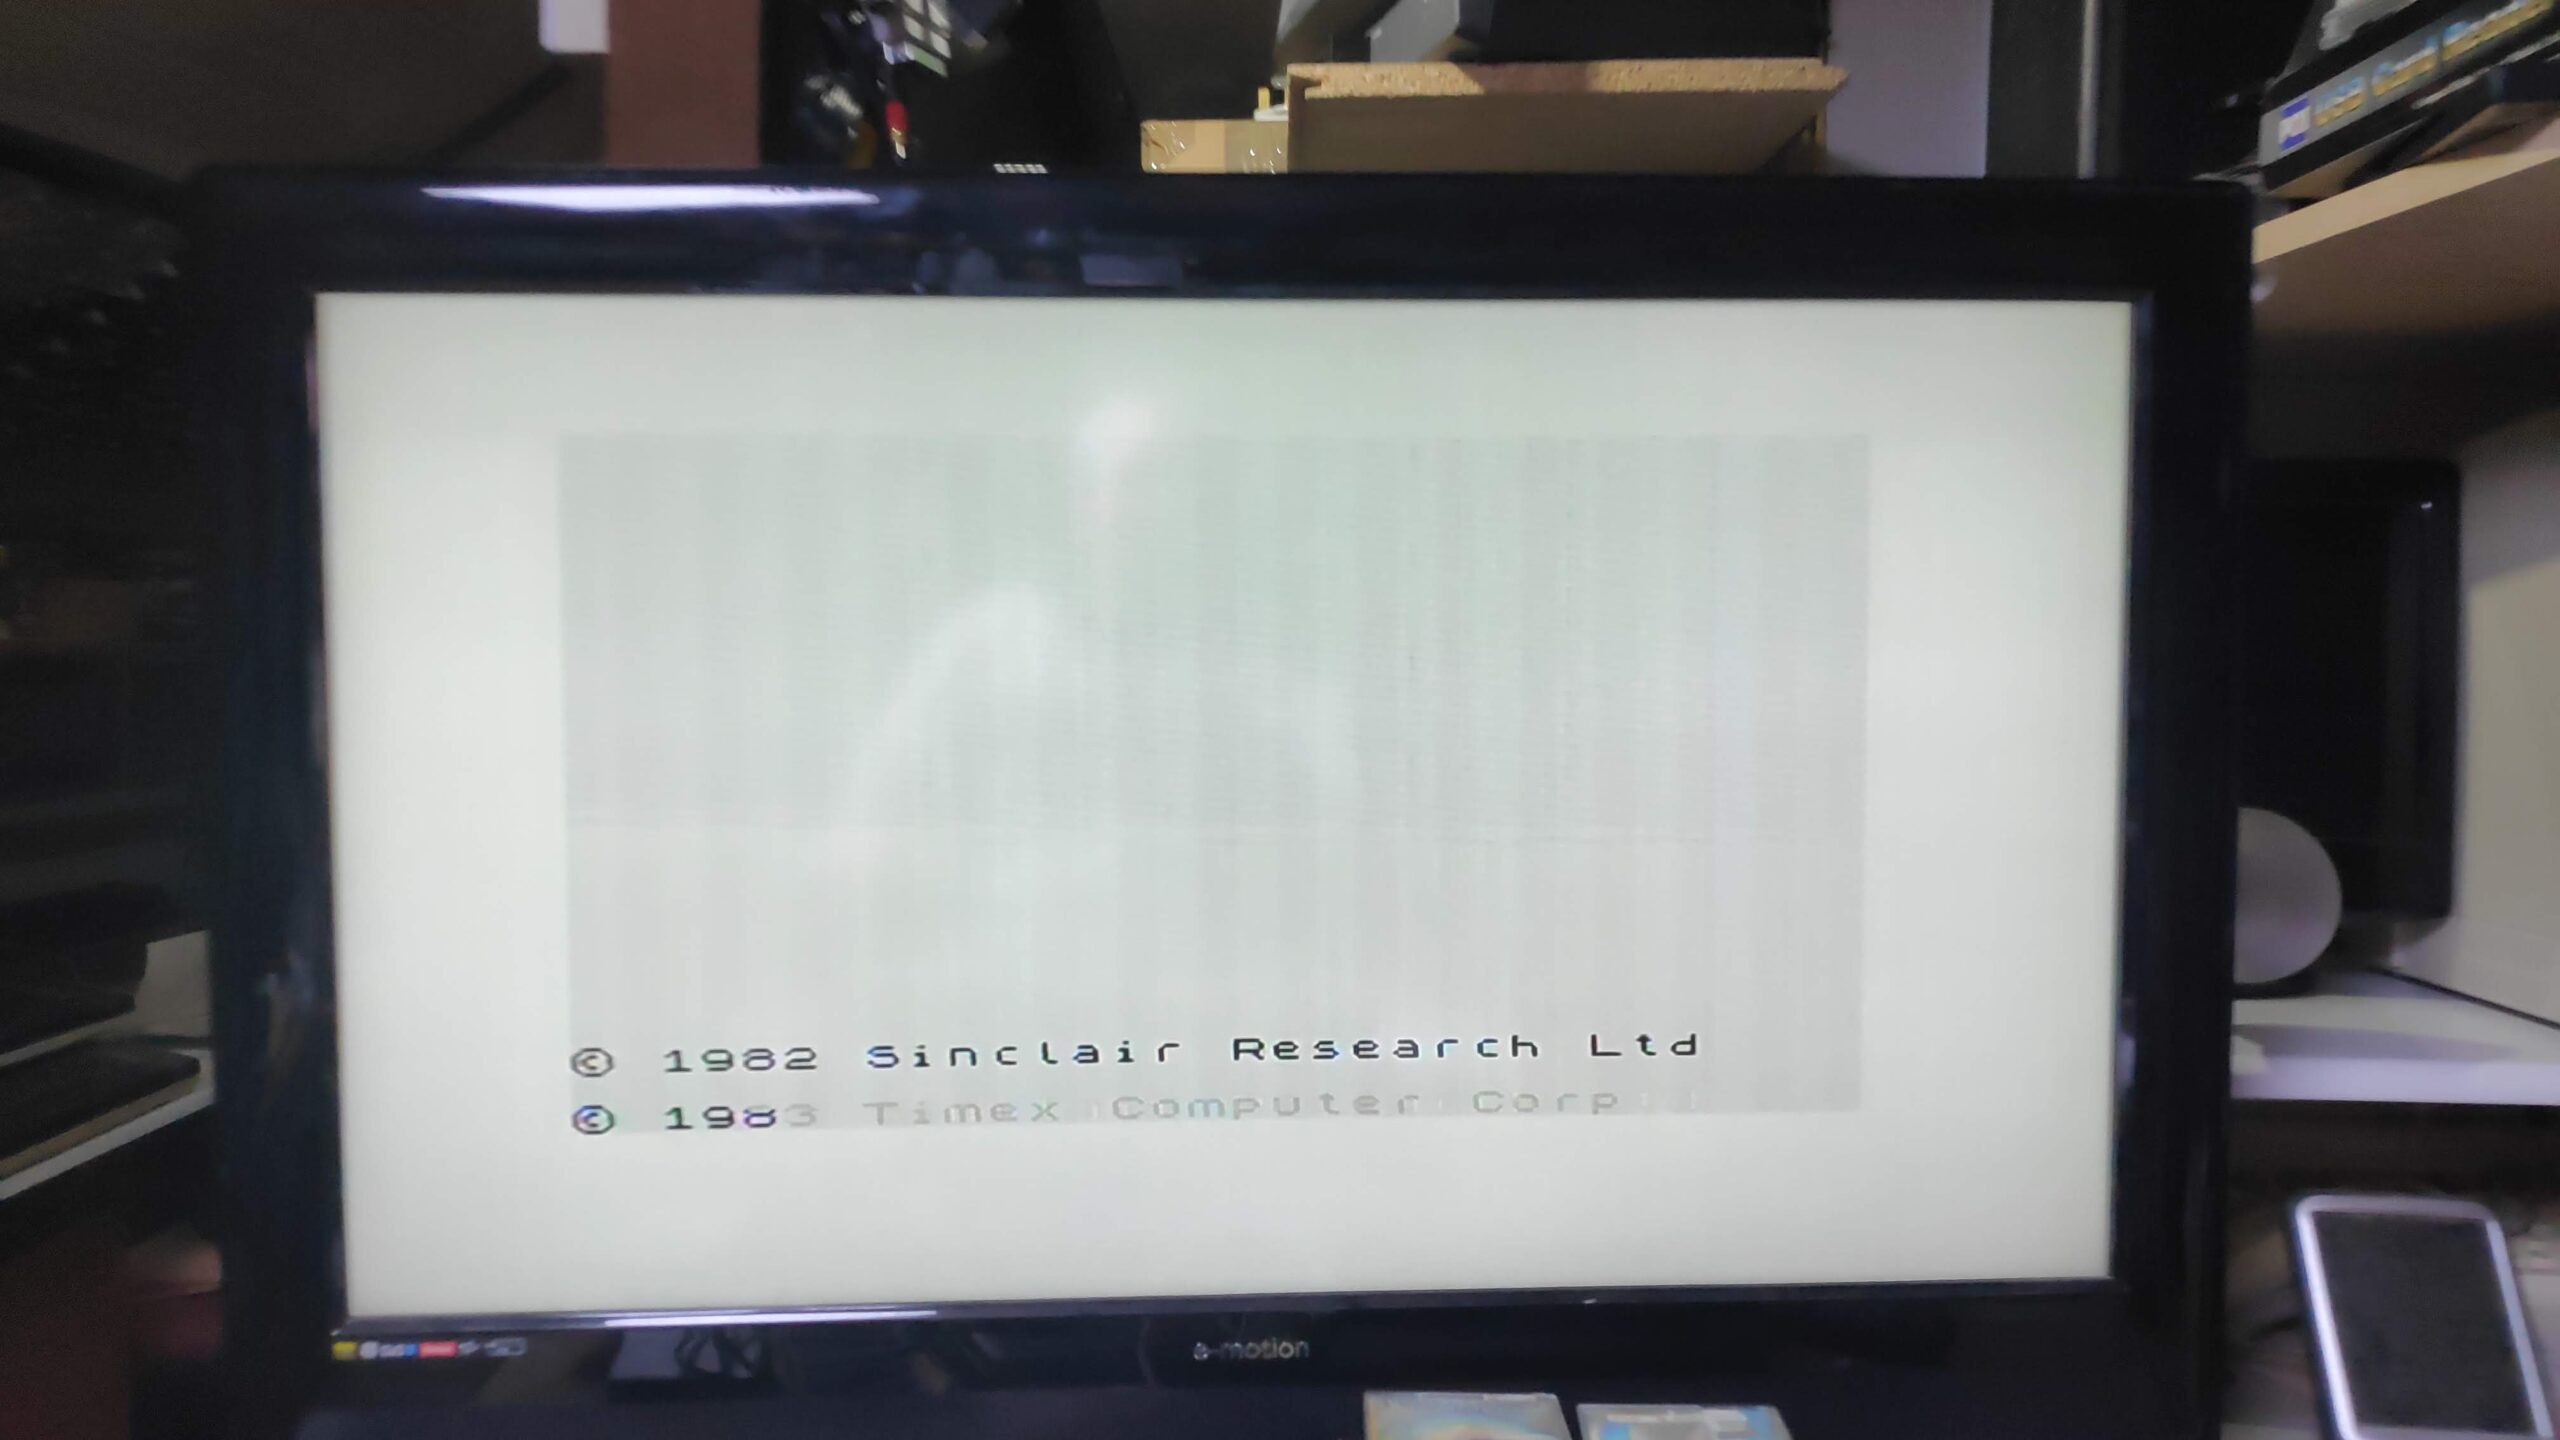
I tried swapping a couple of the logic chips and tested all the capacitors which were all good. Eventually I sourced the original ROM files so first tried the Main rom A but still the machine would reset. What was wrong with this machine!!. Eventually I socketed the Shadow rom (‘B’ in the picture above)and voila! a fully working and stable machine. I used Winbond W27C256-12 (120nano second) EEPROMS as ROM replacements although you can also use SST 27SF256. I’m sure you can use 128 variants also just check the pin configuration matches the W27C256.
The original main rom was also ok so it was just the shadow rom that was faulty and a couple of ram chips.
Rom files are available to download below
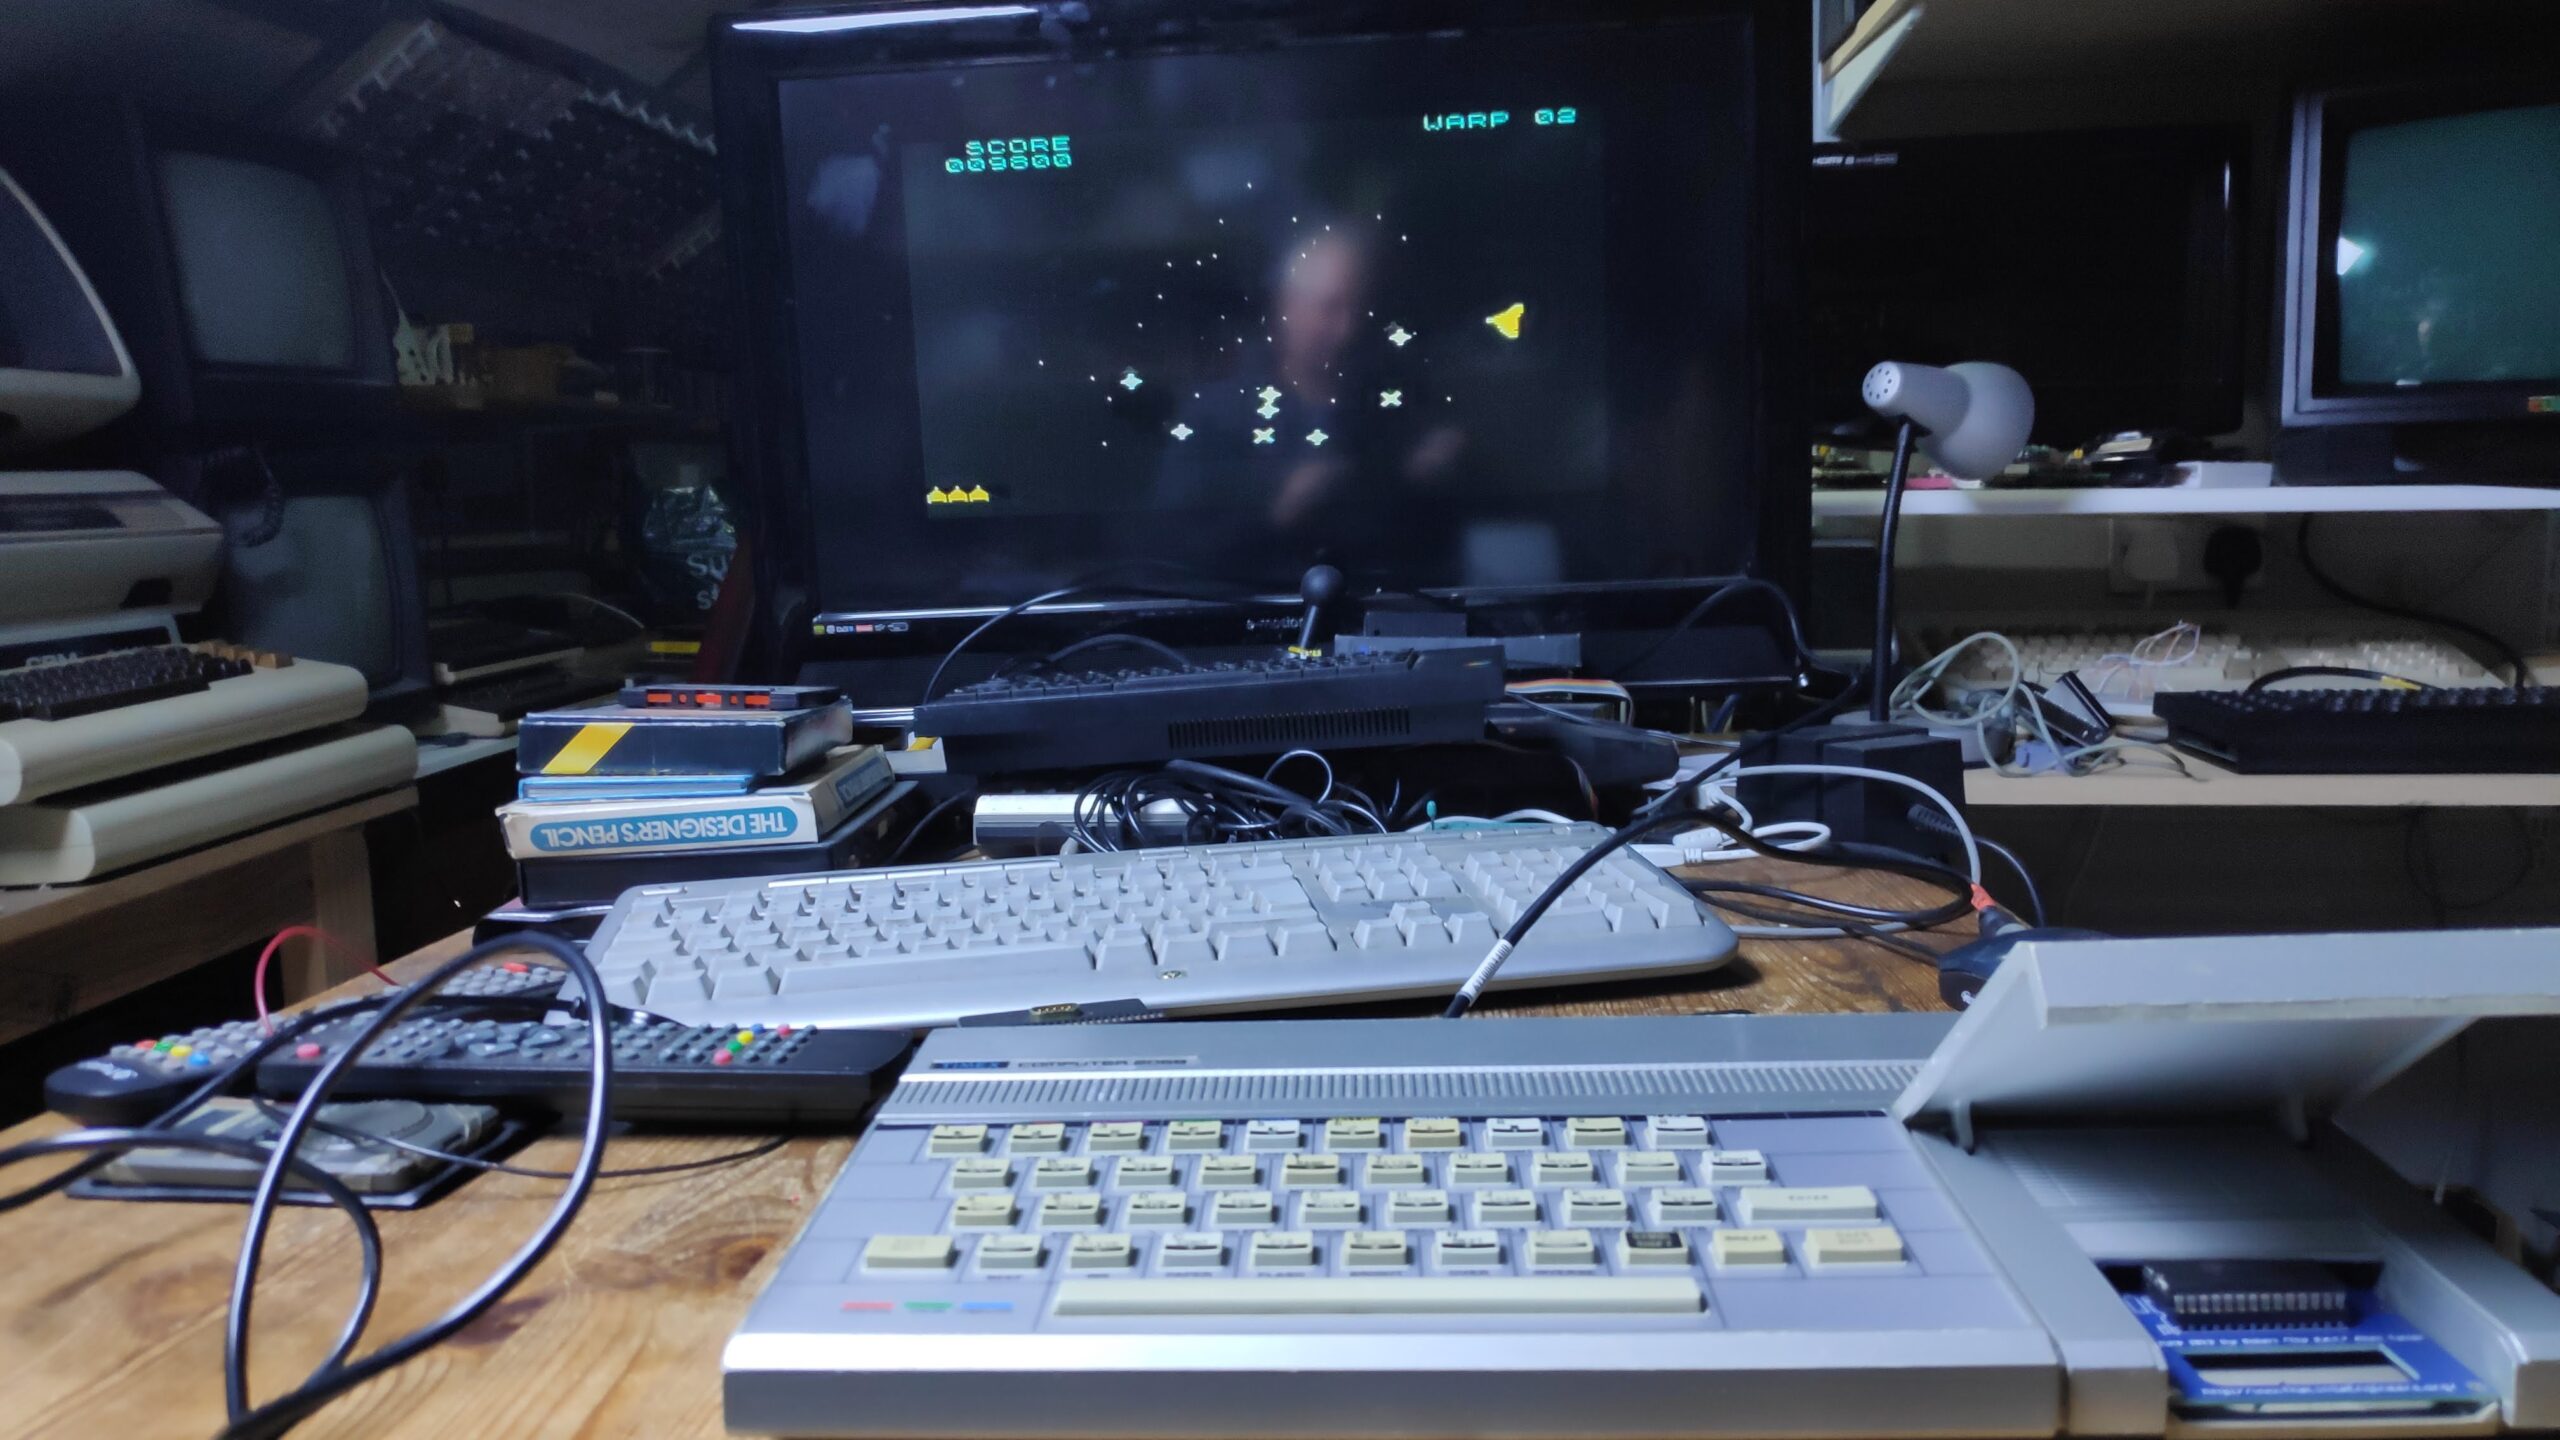
Time to test some games 🙂
By the way, after some serious checking of the joystick ports I can confirm that Atari standard joysticks work fine with this machine. Probably don’t try the auto fire though as I haven’t tested that.
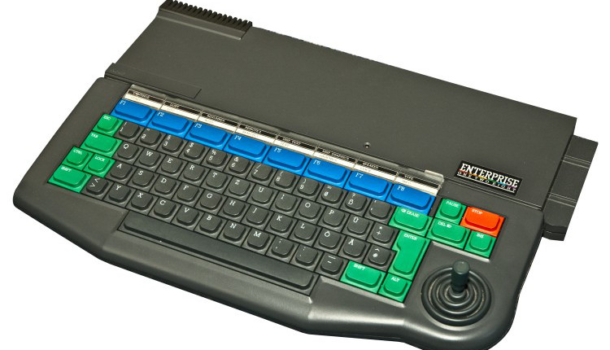
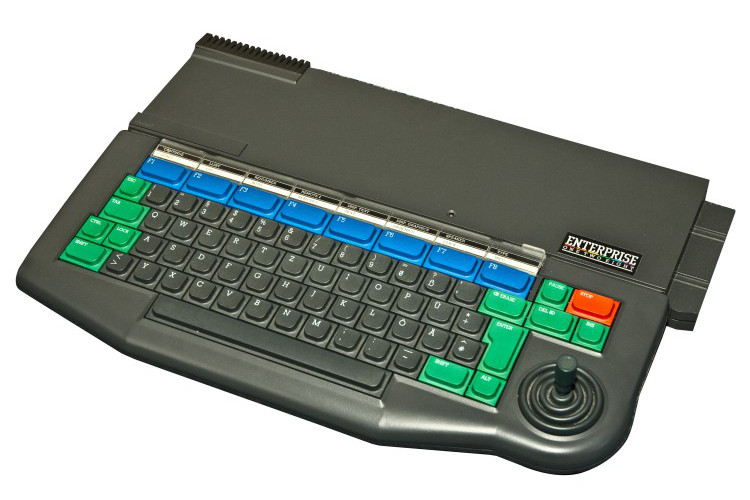
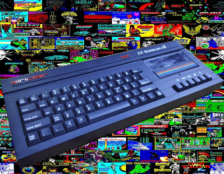
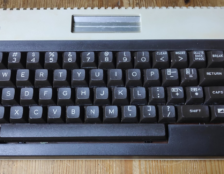
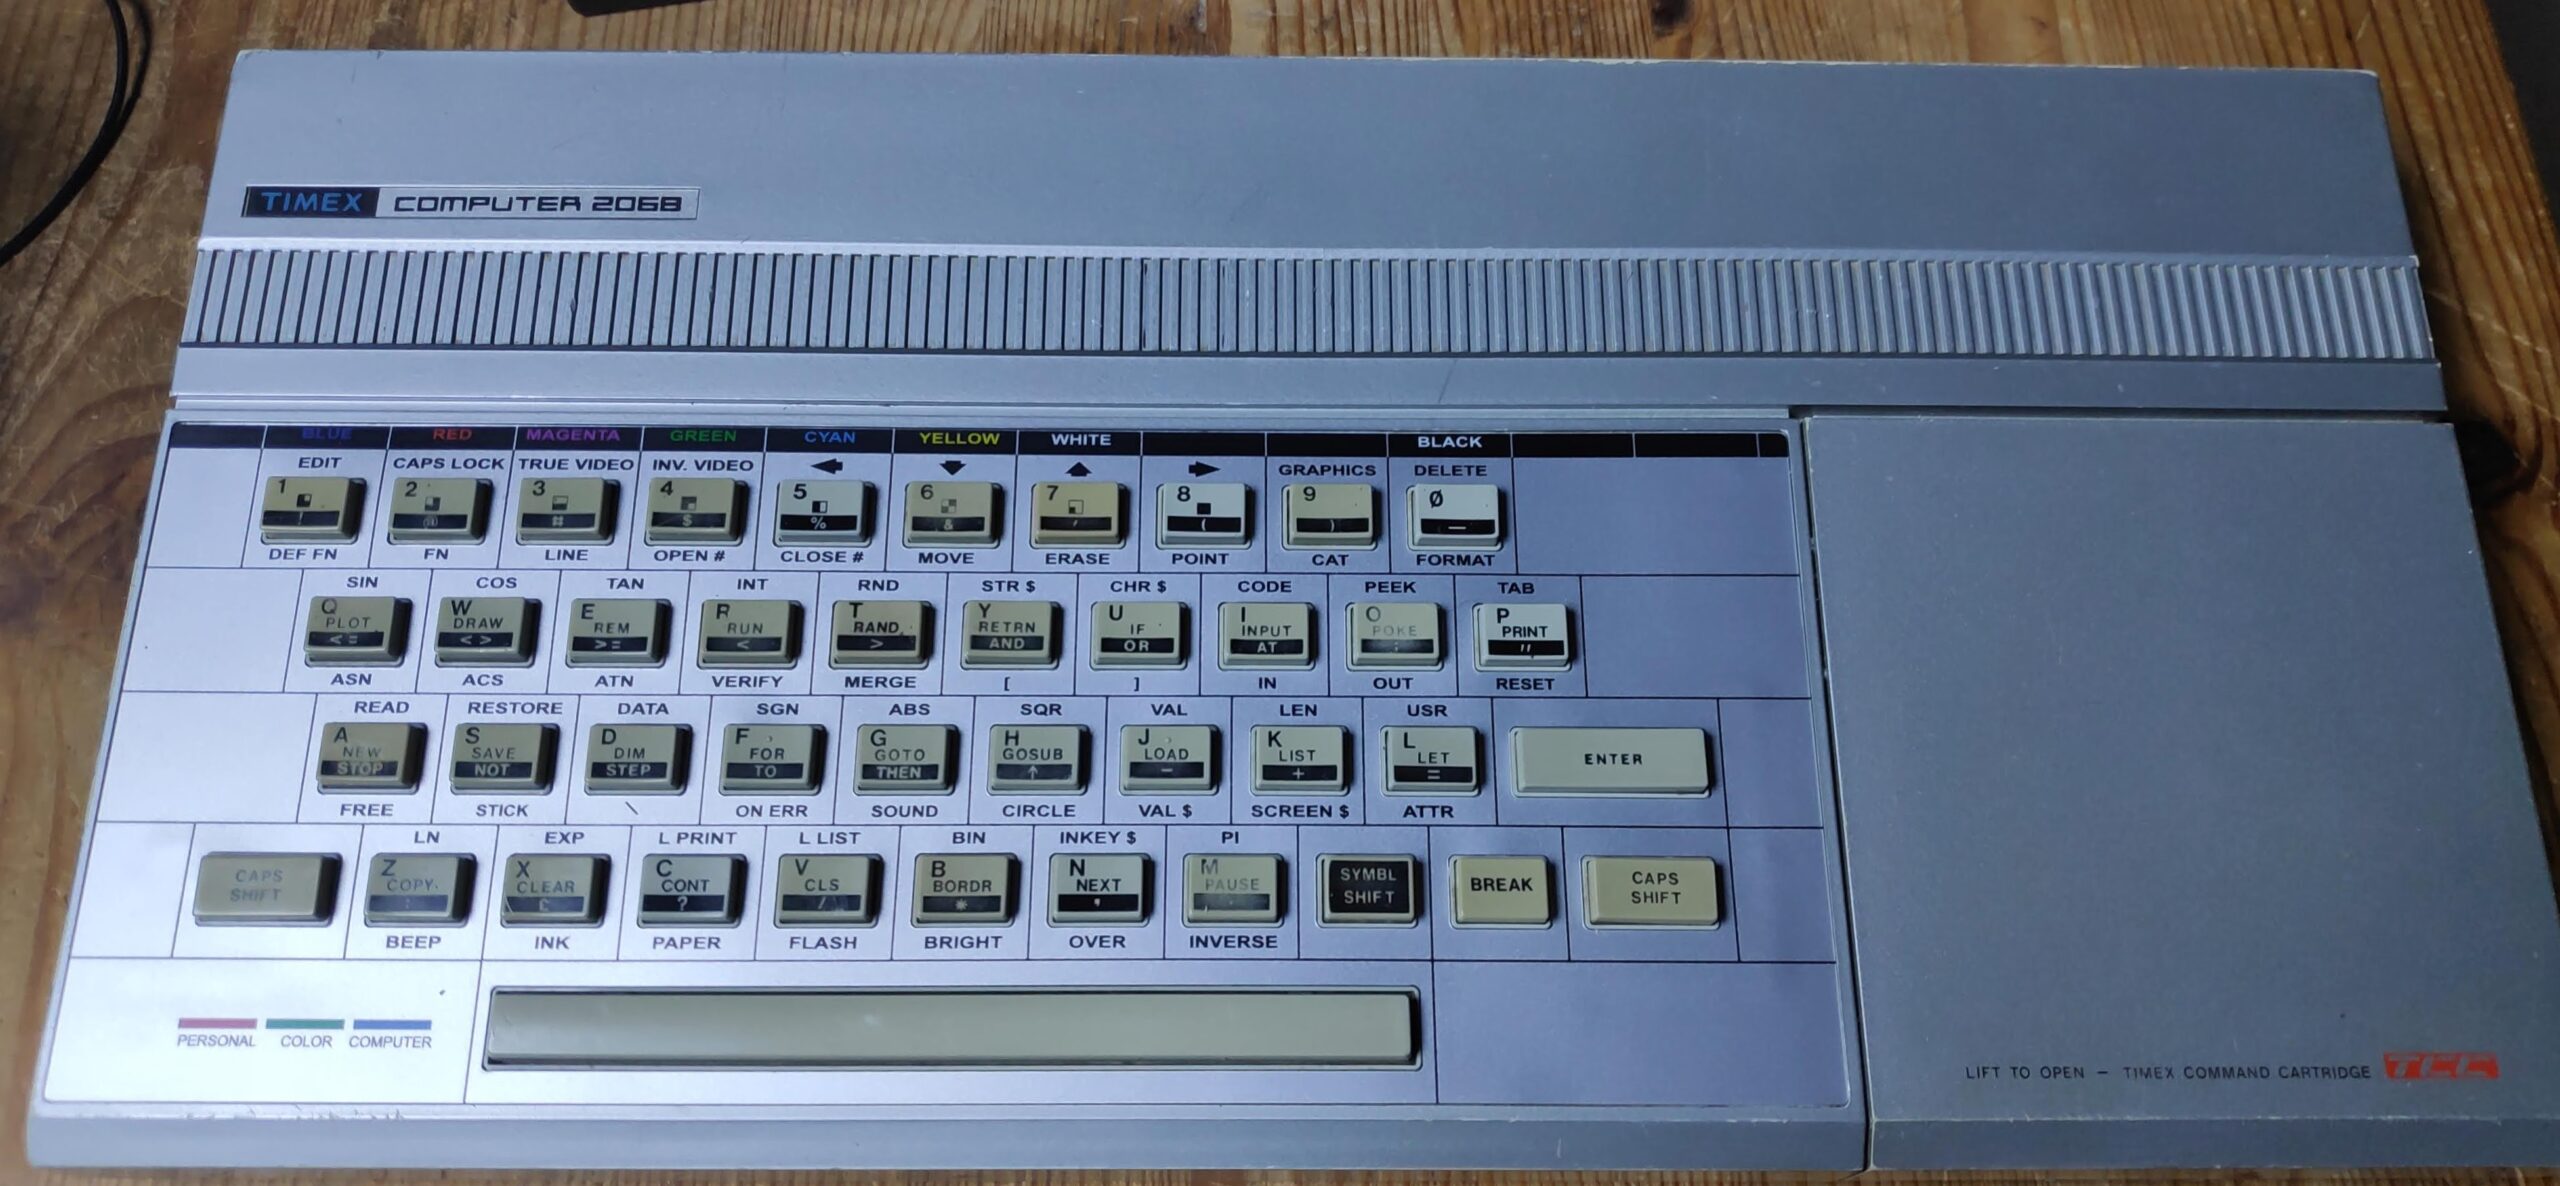
Decided to replace the worn and aging black facia for a brand new silver version. Looks much better!
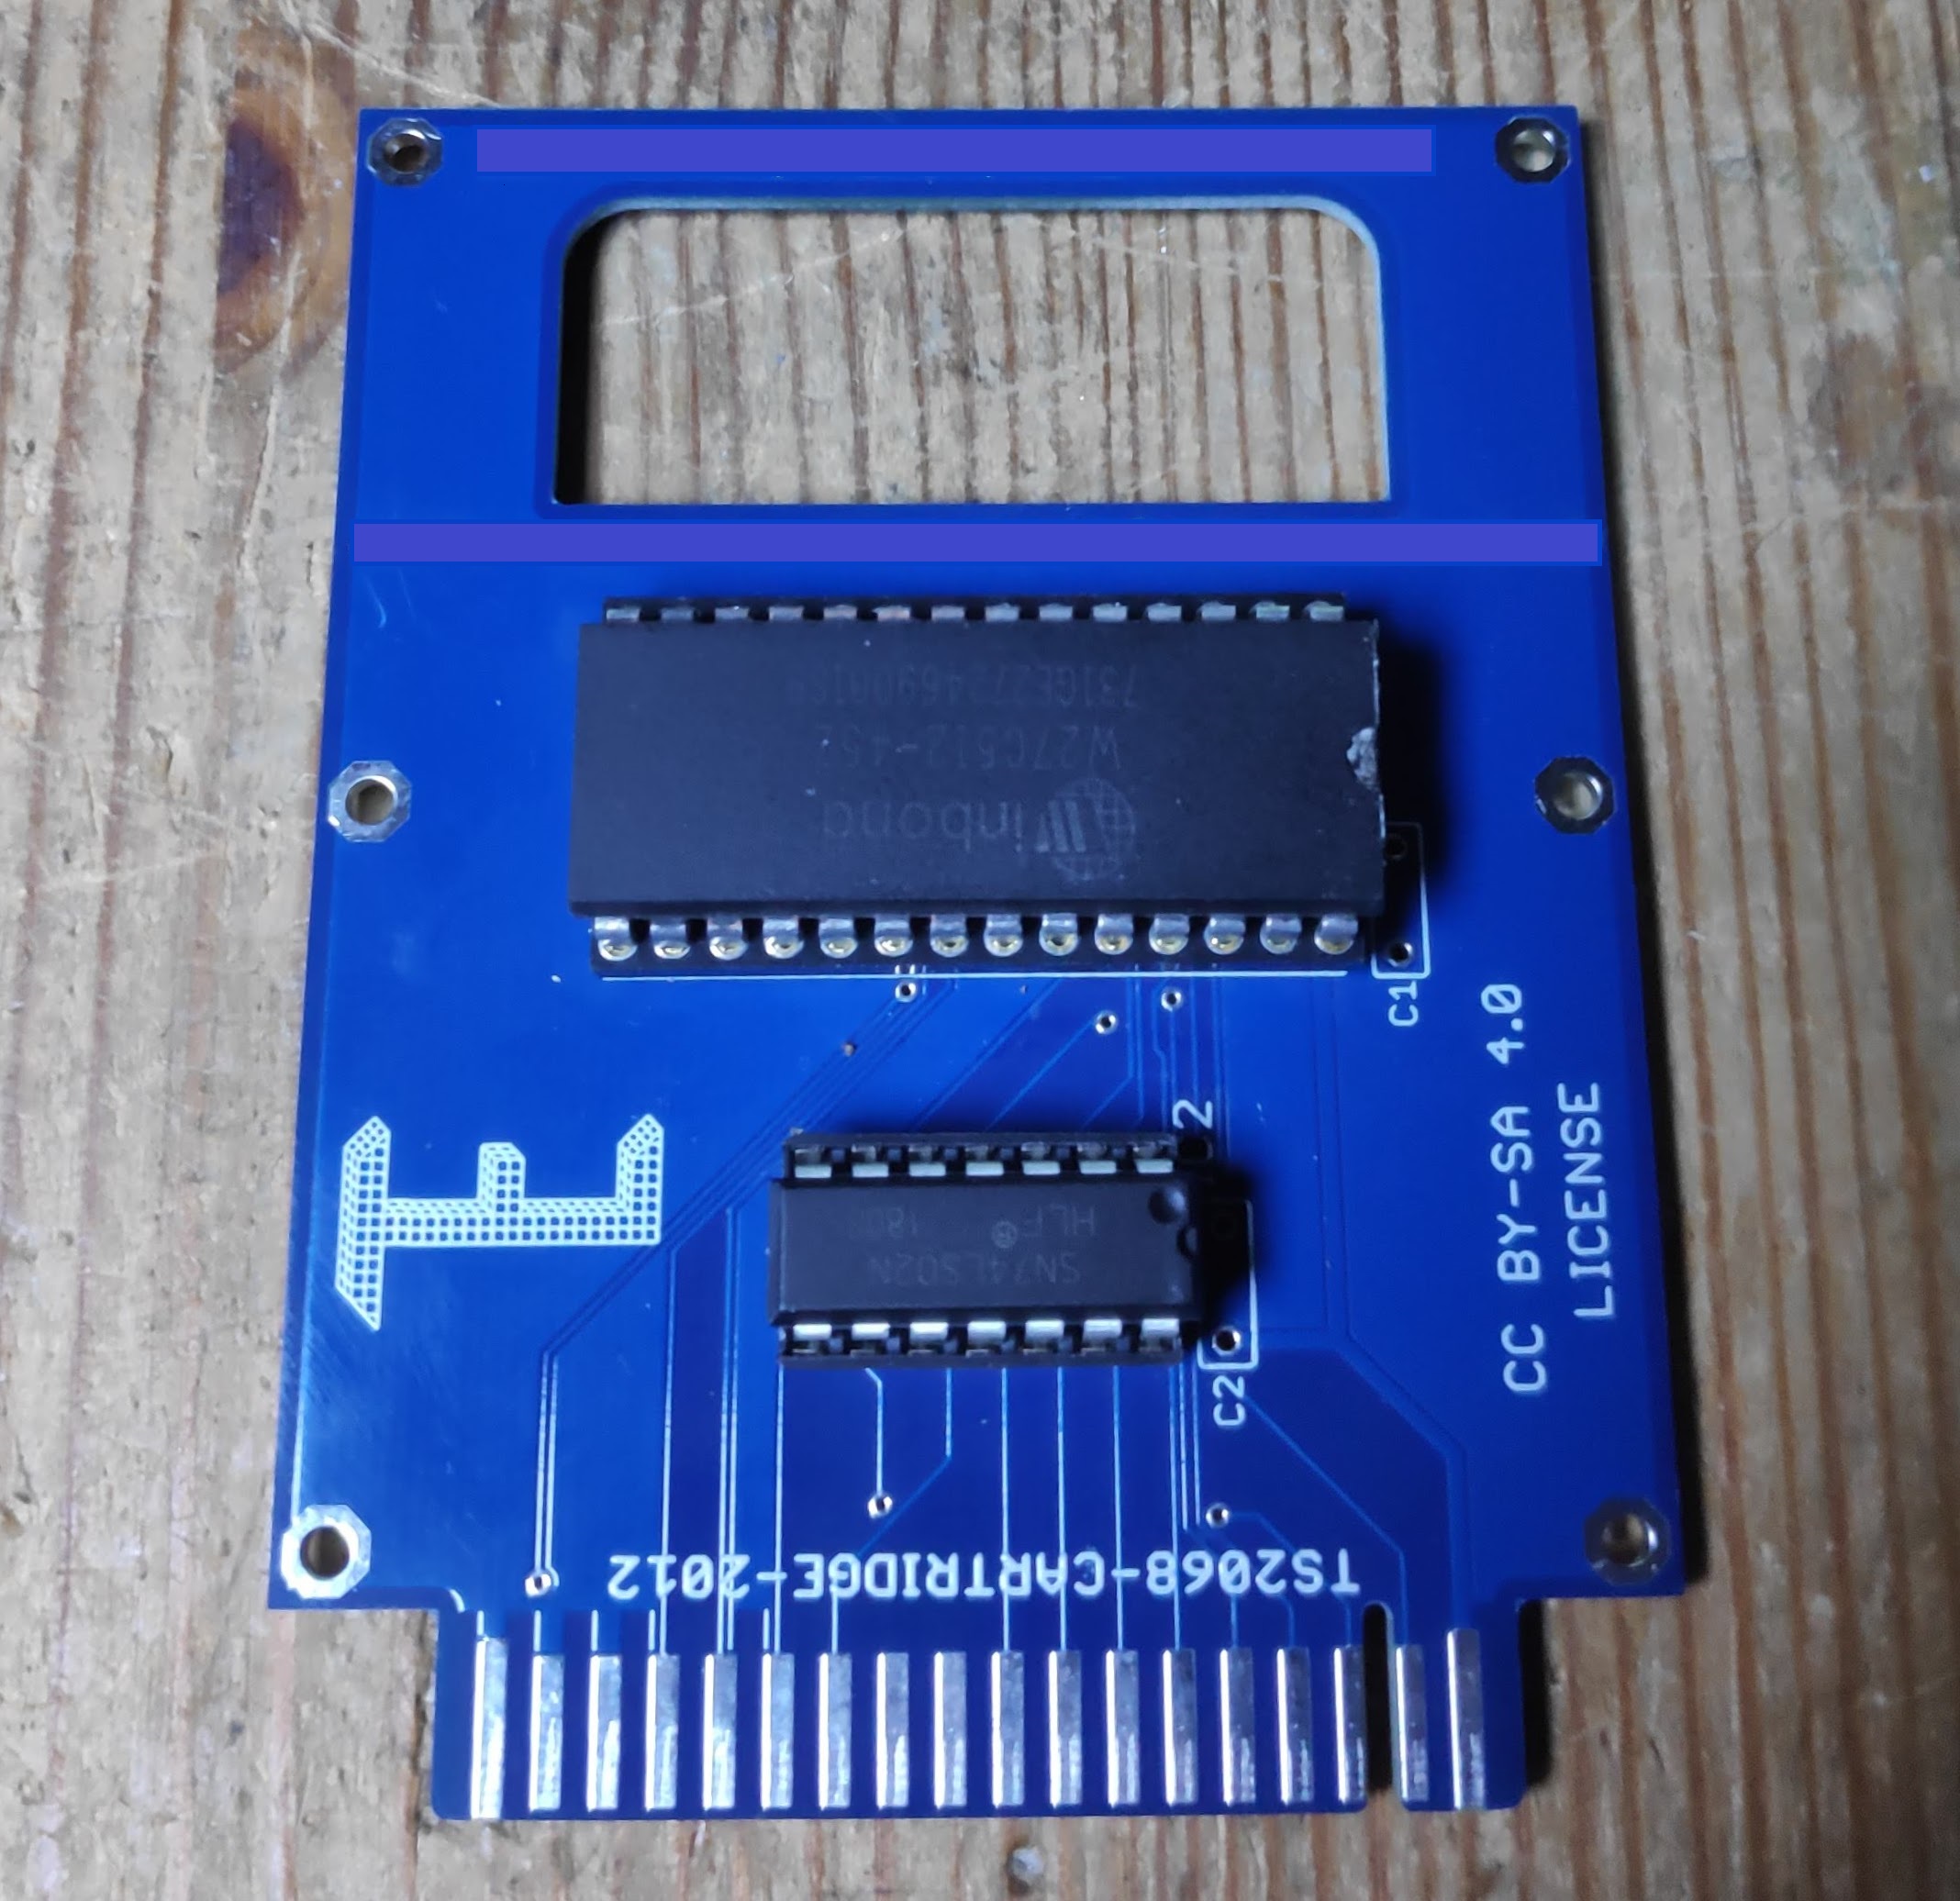
Additionally I managed to build some cartridges which transform the machine. I’d forgotten how addictive gyruss was.