


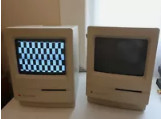
Here are a couple of classic Macs which were in desperate need of attention. This is a write up progress so far. This Apple Mac Classic renovation is not a tutorial but a log of the steps involved. Excuse the photo as I forgot to take detailed photos when they arrived. The classic is on the left. I’ve also tackled the classic 2 but thats another story.
I’ve now decided to sell this Mac. Interested ? see description at the bottom and make me an offer. Just use the contact page.
Assessment, Clean and Repair
Needless to say that they both dont work very well when turned on. The classic 1 is left in the photo above.
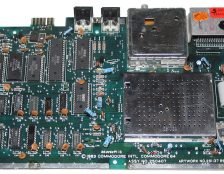
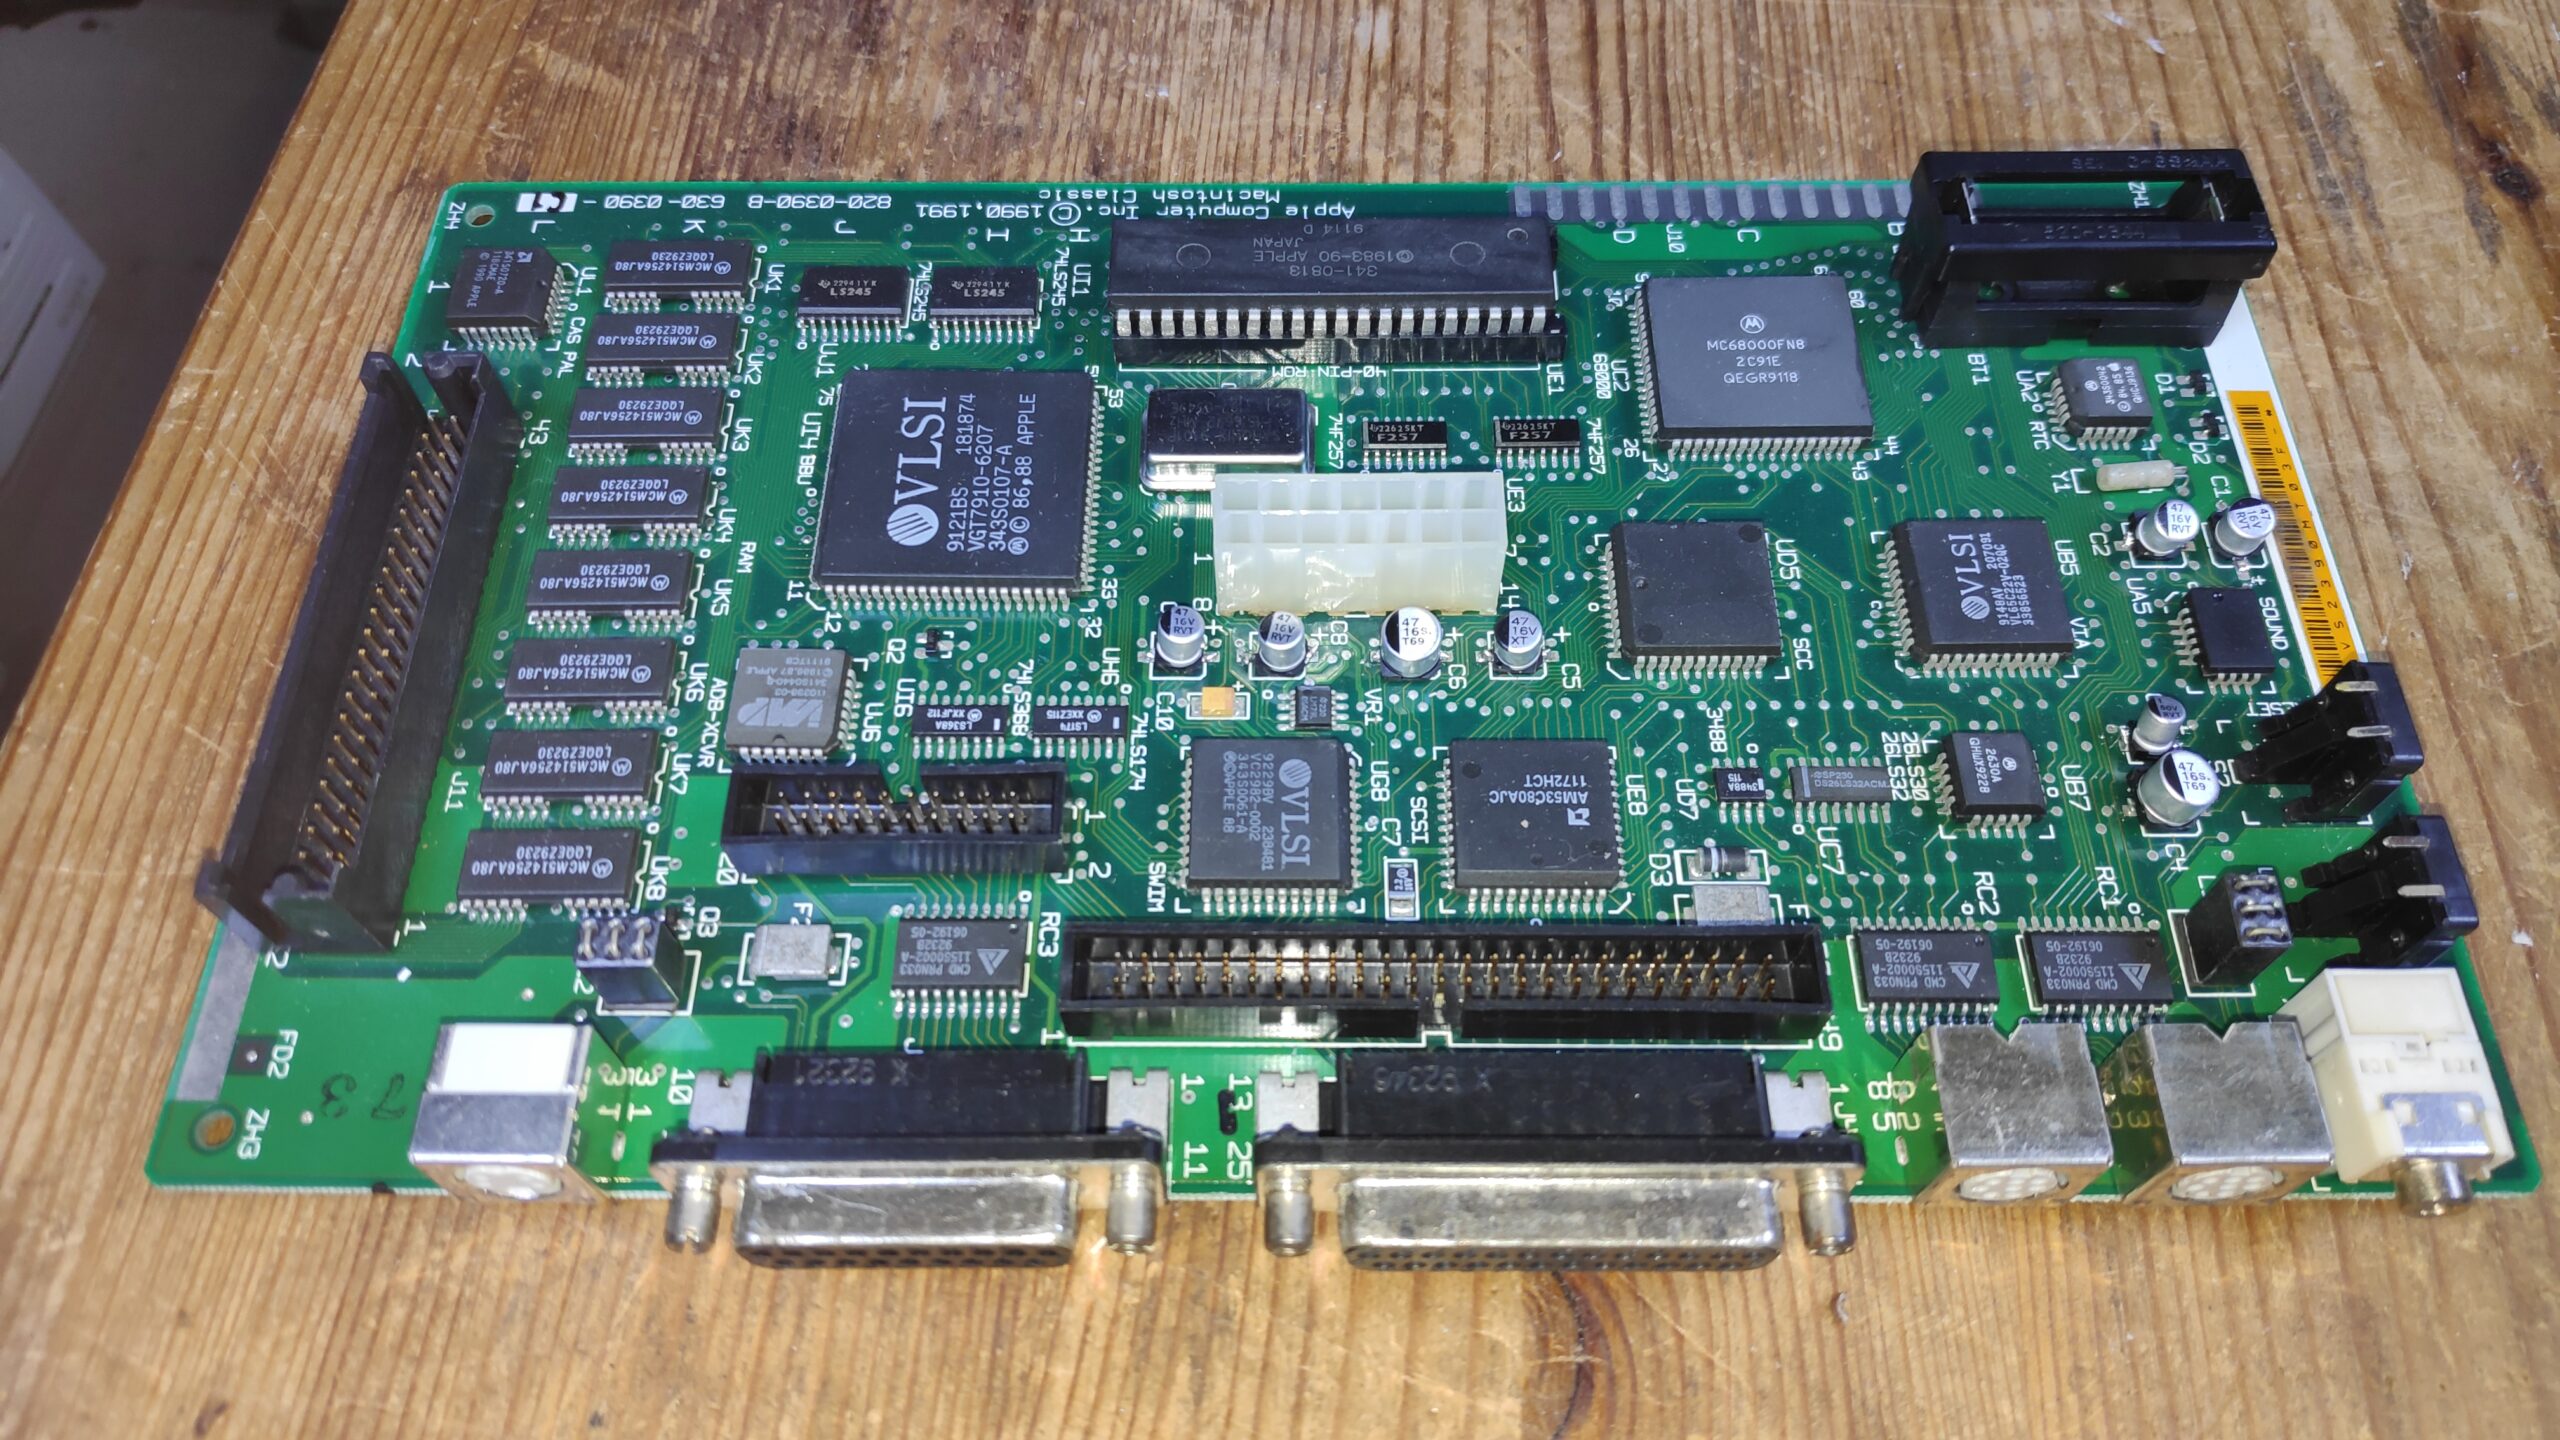
I decided to tackle the Classic 1 first by removing its motherboard as the chequered pattern is generally a sign of motherboard issues. Sure enough the board was a mess as the capacitors had leaked. Carefully I removed them using plenty of flux and a heat gun. Its best to use heat resistant tape to protect other areas of the board from the heat. The battery was removed as its 30 years old plus any removable chips. The board was then washed and cleaned to remove the electrolytes, soaked in alcohol and left it to dry.
All clean and after three days of drying, indoors I might add as the weather in England has been known to provide a bit of rain, I added new capacitors.
Time to give it a try and hey presto!. Plus the hard drive still works! but for how long. I have made devices which replace the aging hard disks and use a simple SD. More on this later.
Screen Geometry Adjustment
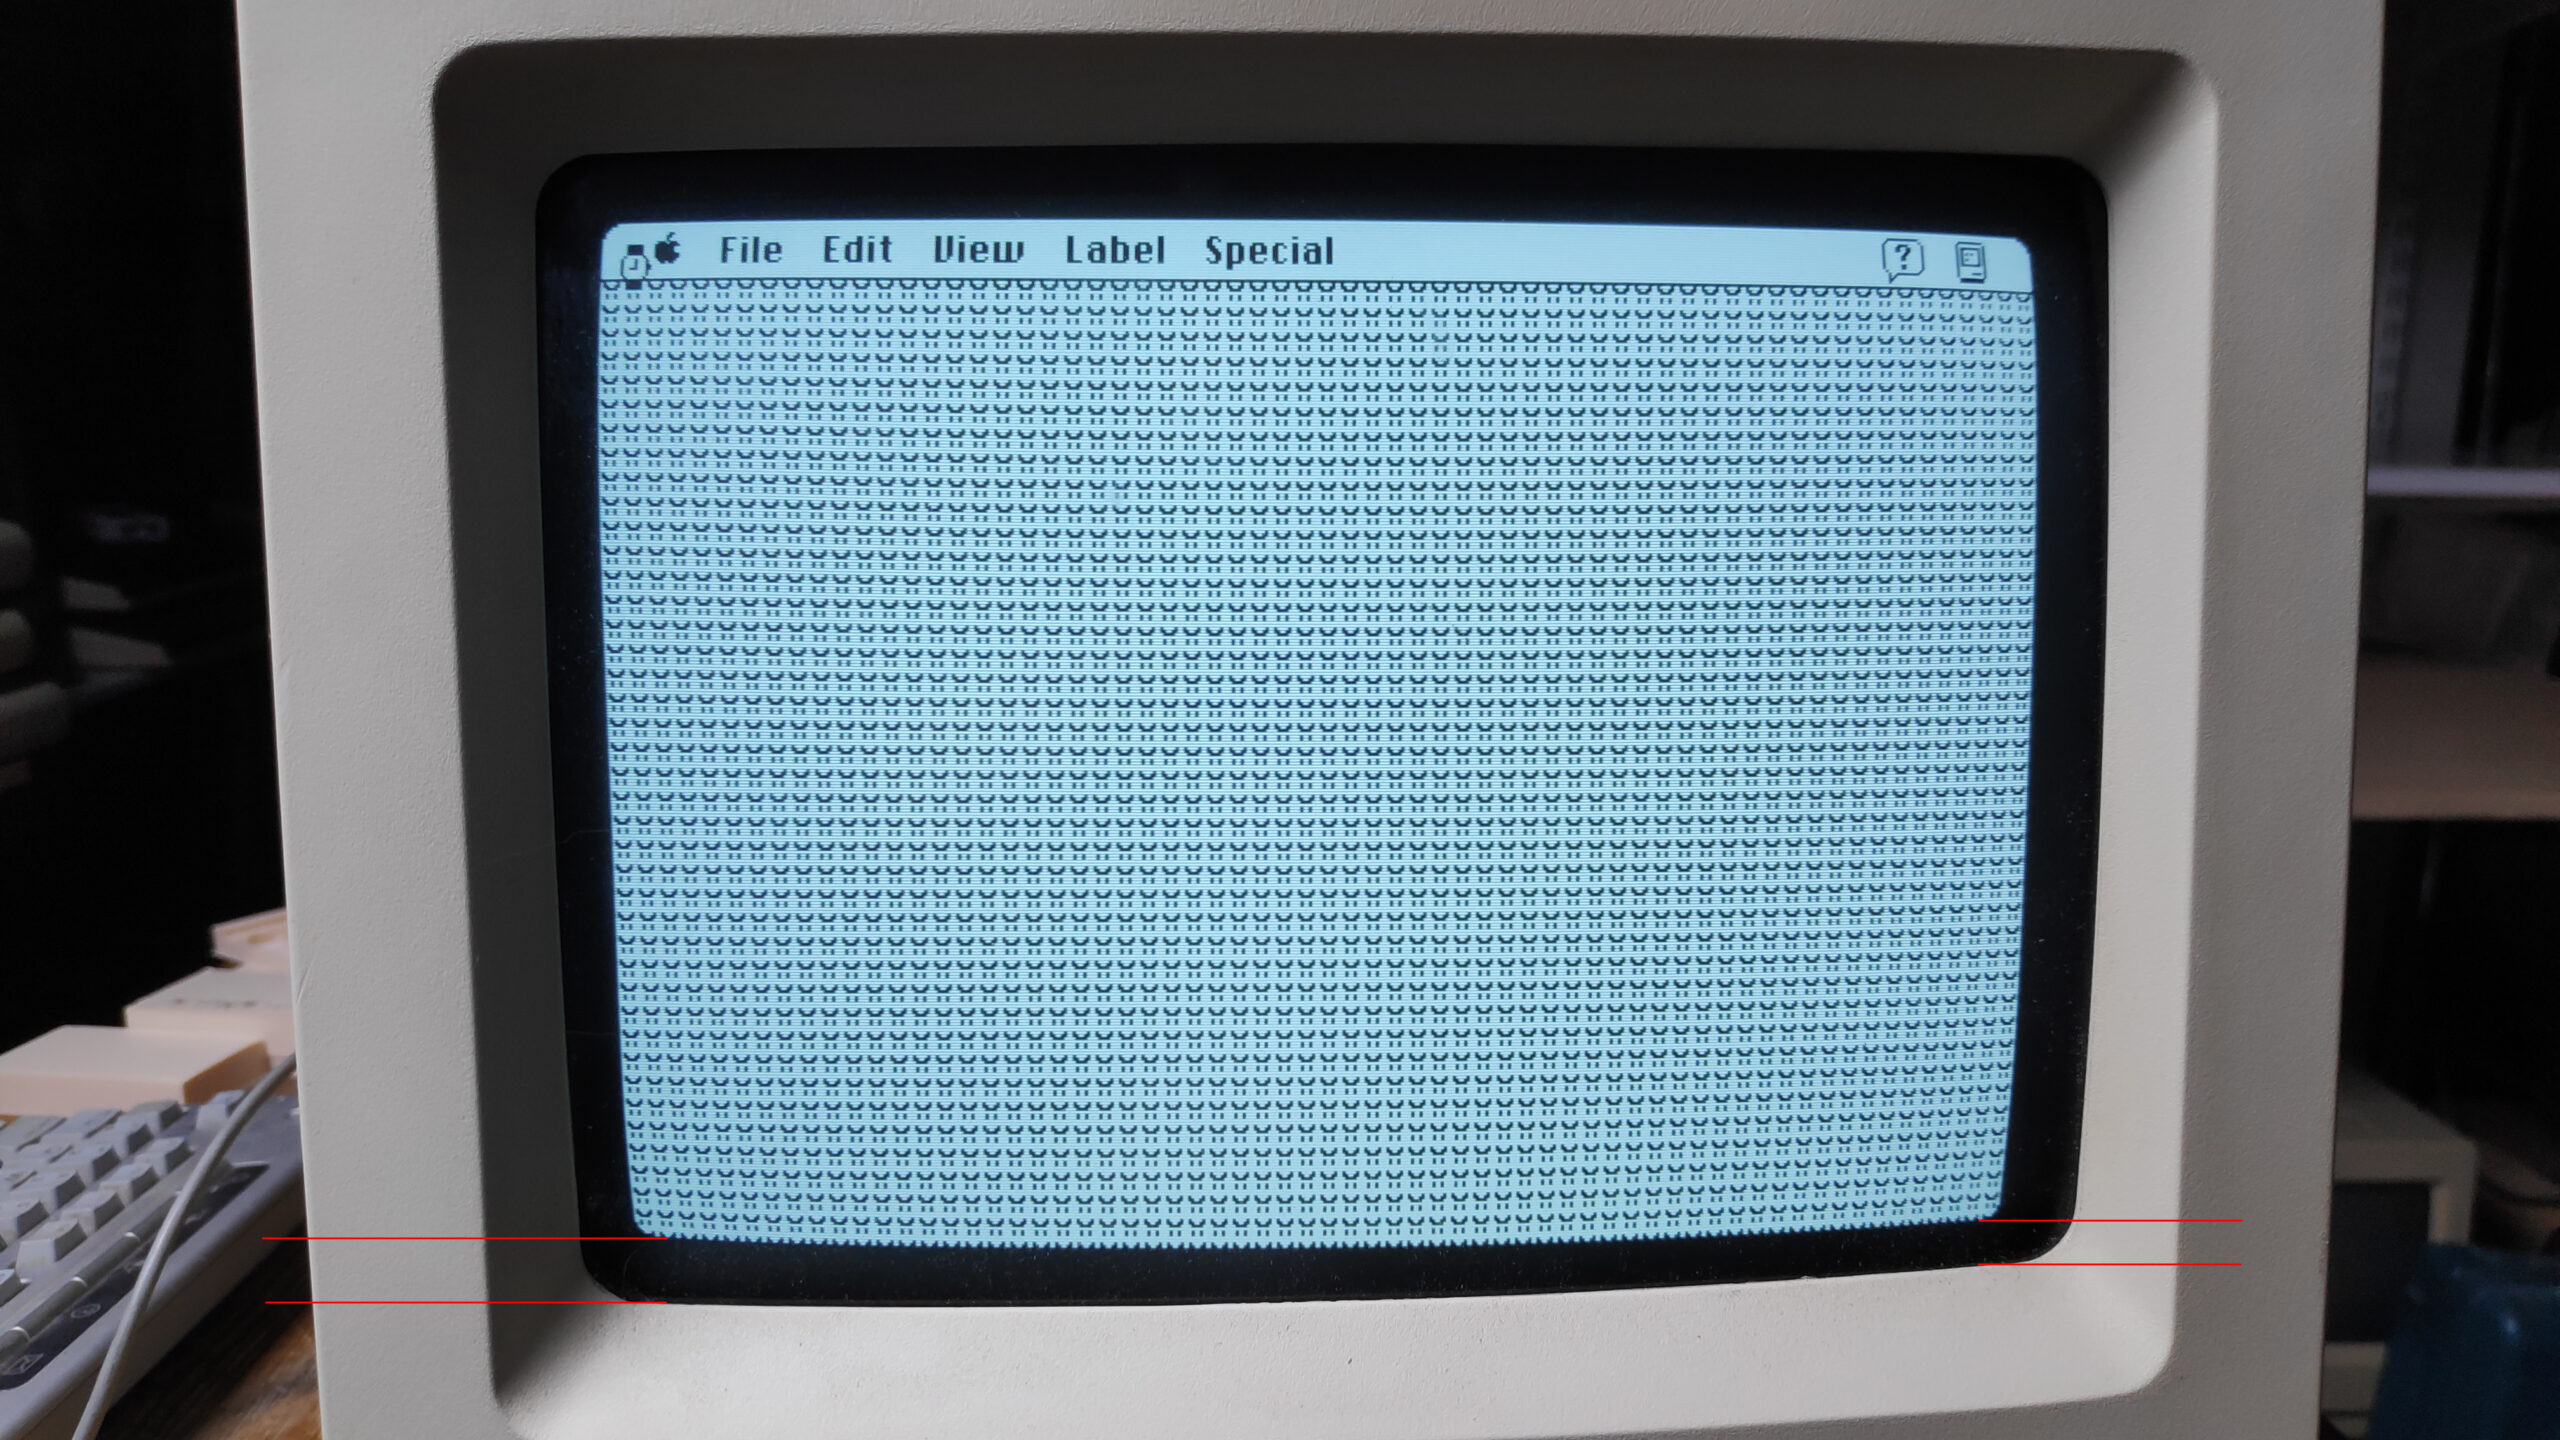
The next issue is the screen. It is slightly twisted clockwise as seen here. Note the red markings at the bottom identifying the issue.
Due to the danger level of altering this I left it for quite some time until I felt confident with my retro repair abilities.
The voltages involved on the back of a crt run into the 10’s of thousands so care needed to be taken.
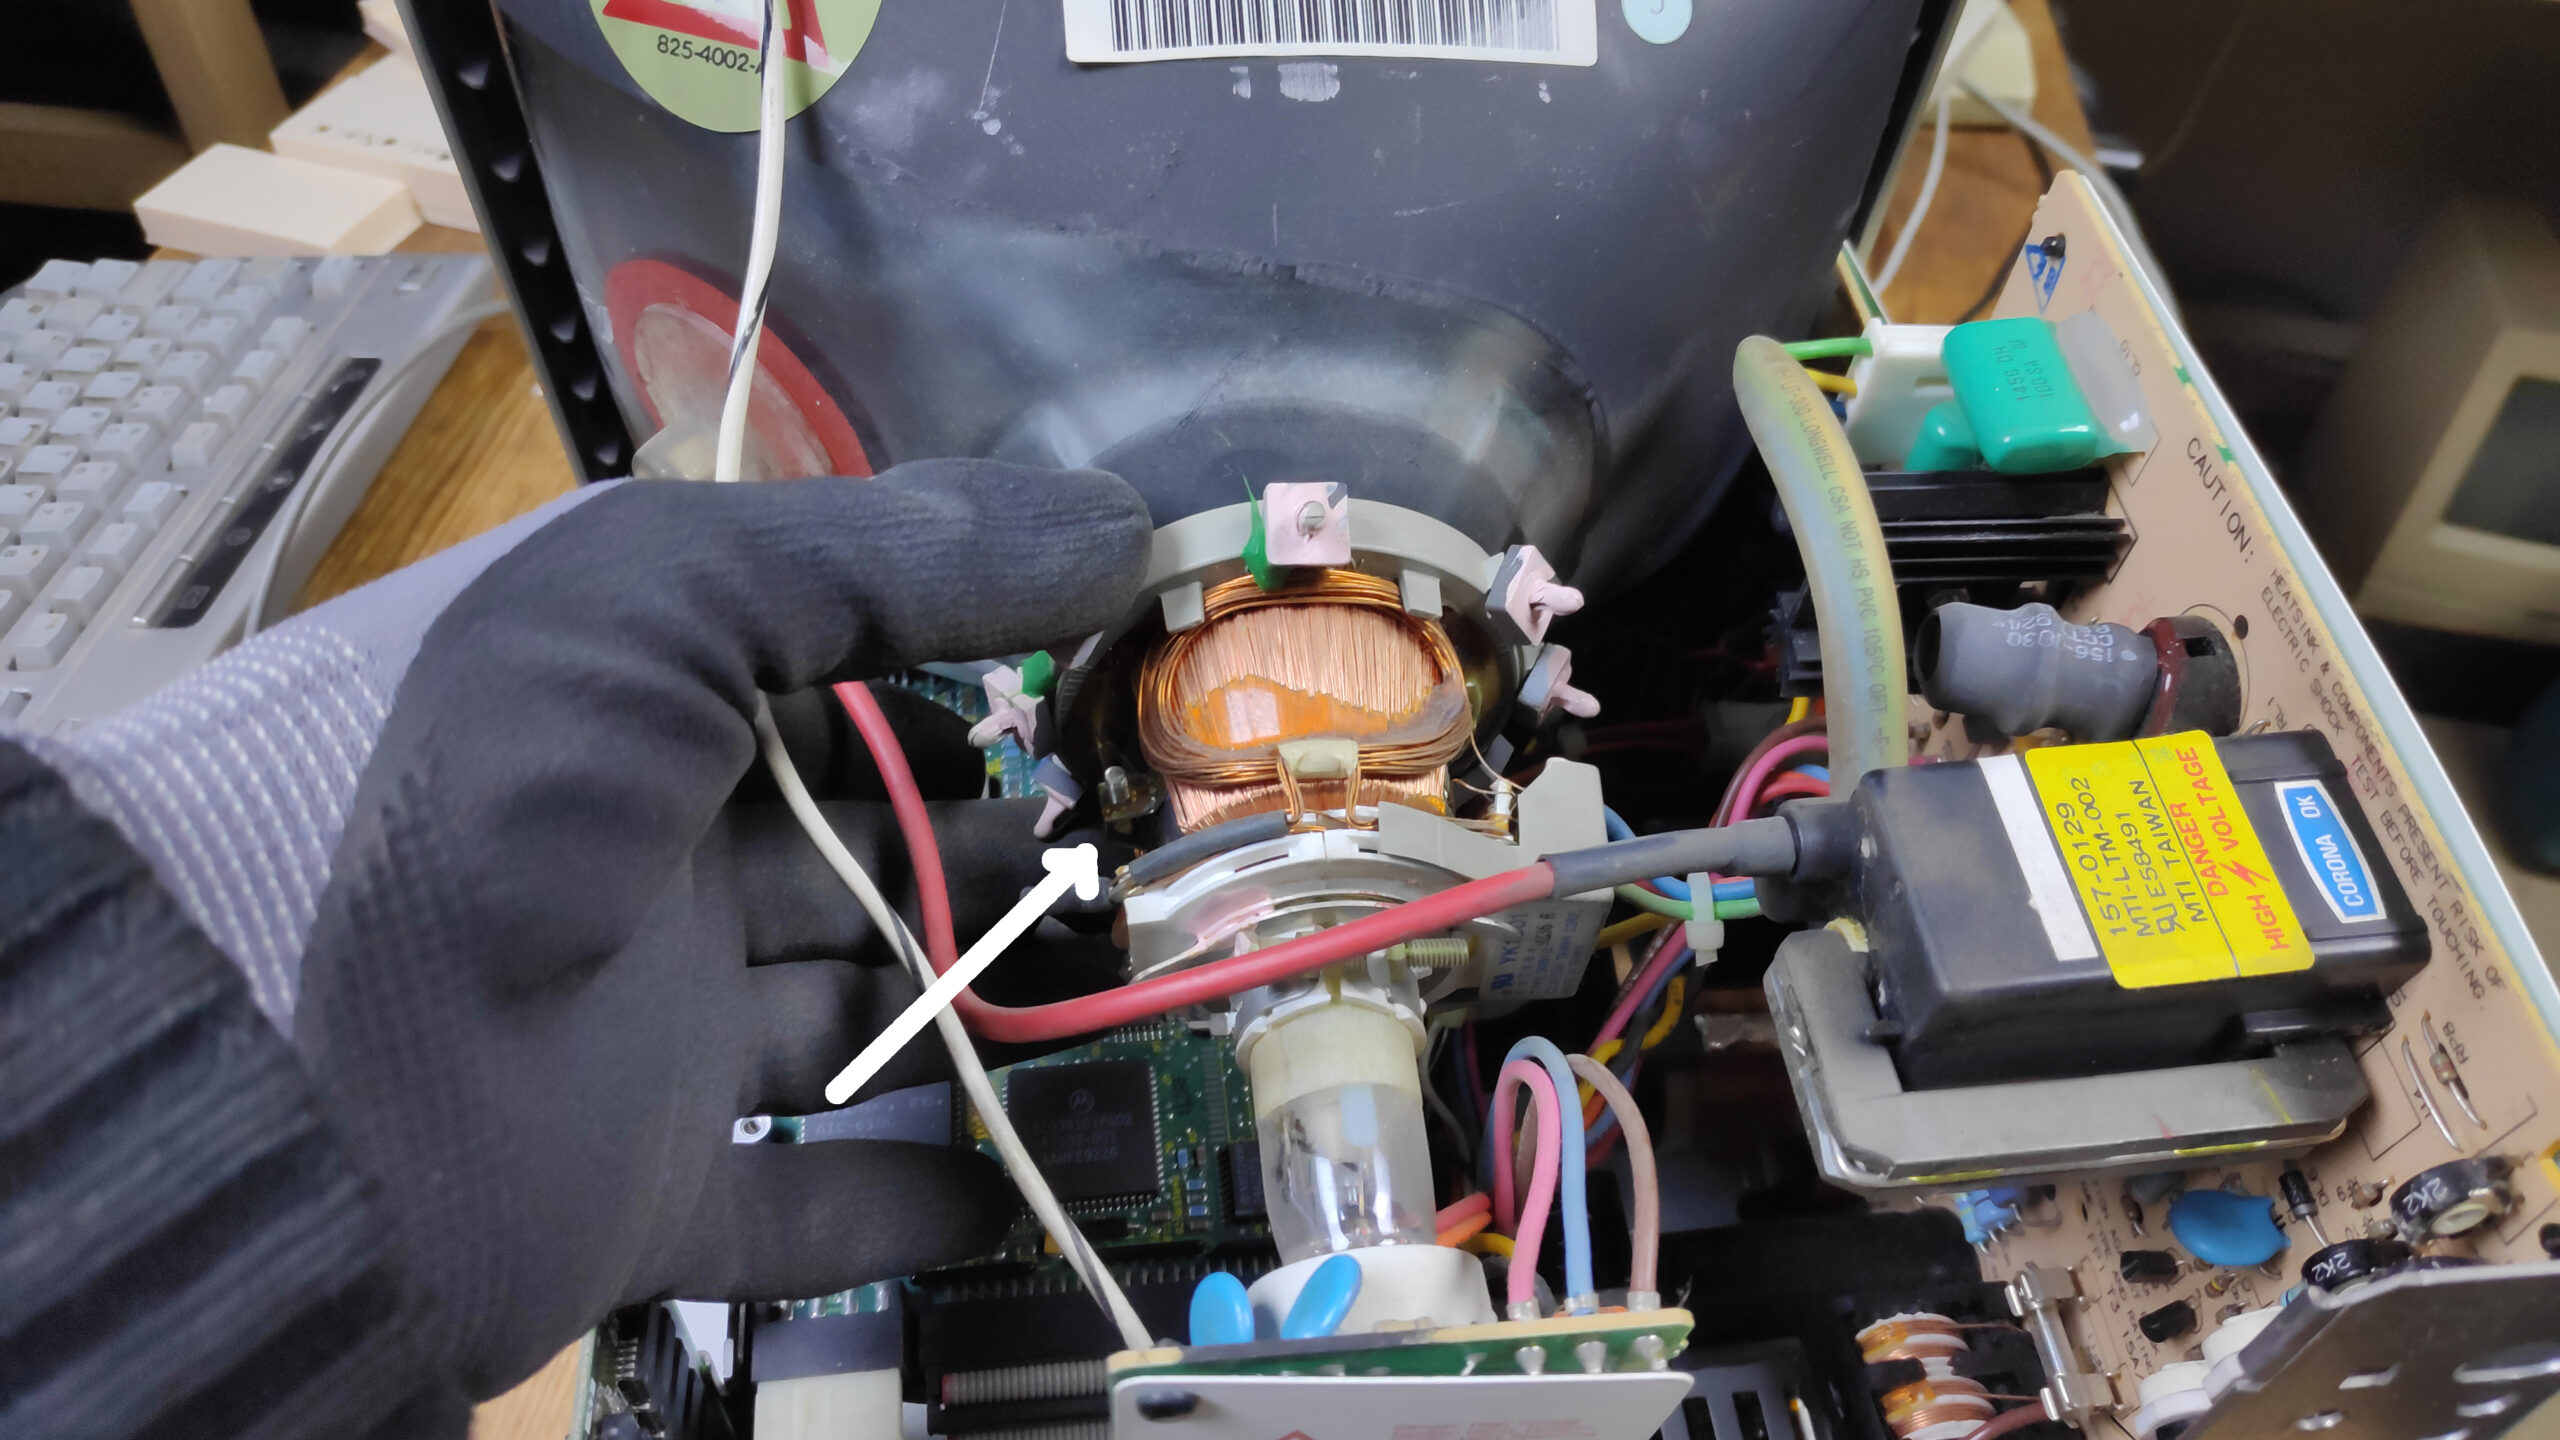
The solution is quite simple and just needs a rotational adjustment on the yoke collar seen here which has a clamping screw marked in the image. The screw may need to be slightly undone or you may get lucky and be able to make the slight adjustment without. Best to power off and discharge the CRT before undoing the screw. The yoke adjustment unfortunately requires power on to view the screen. Luckily only a very slight adjustment is required.
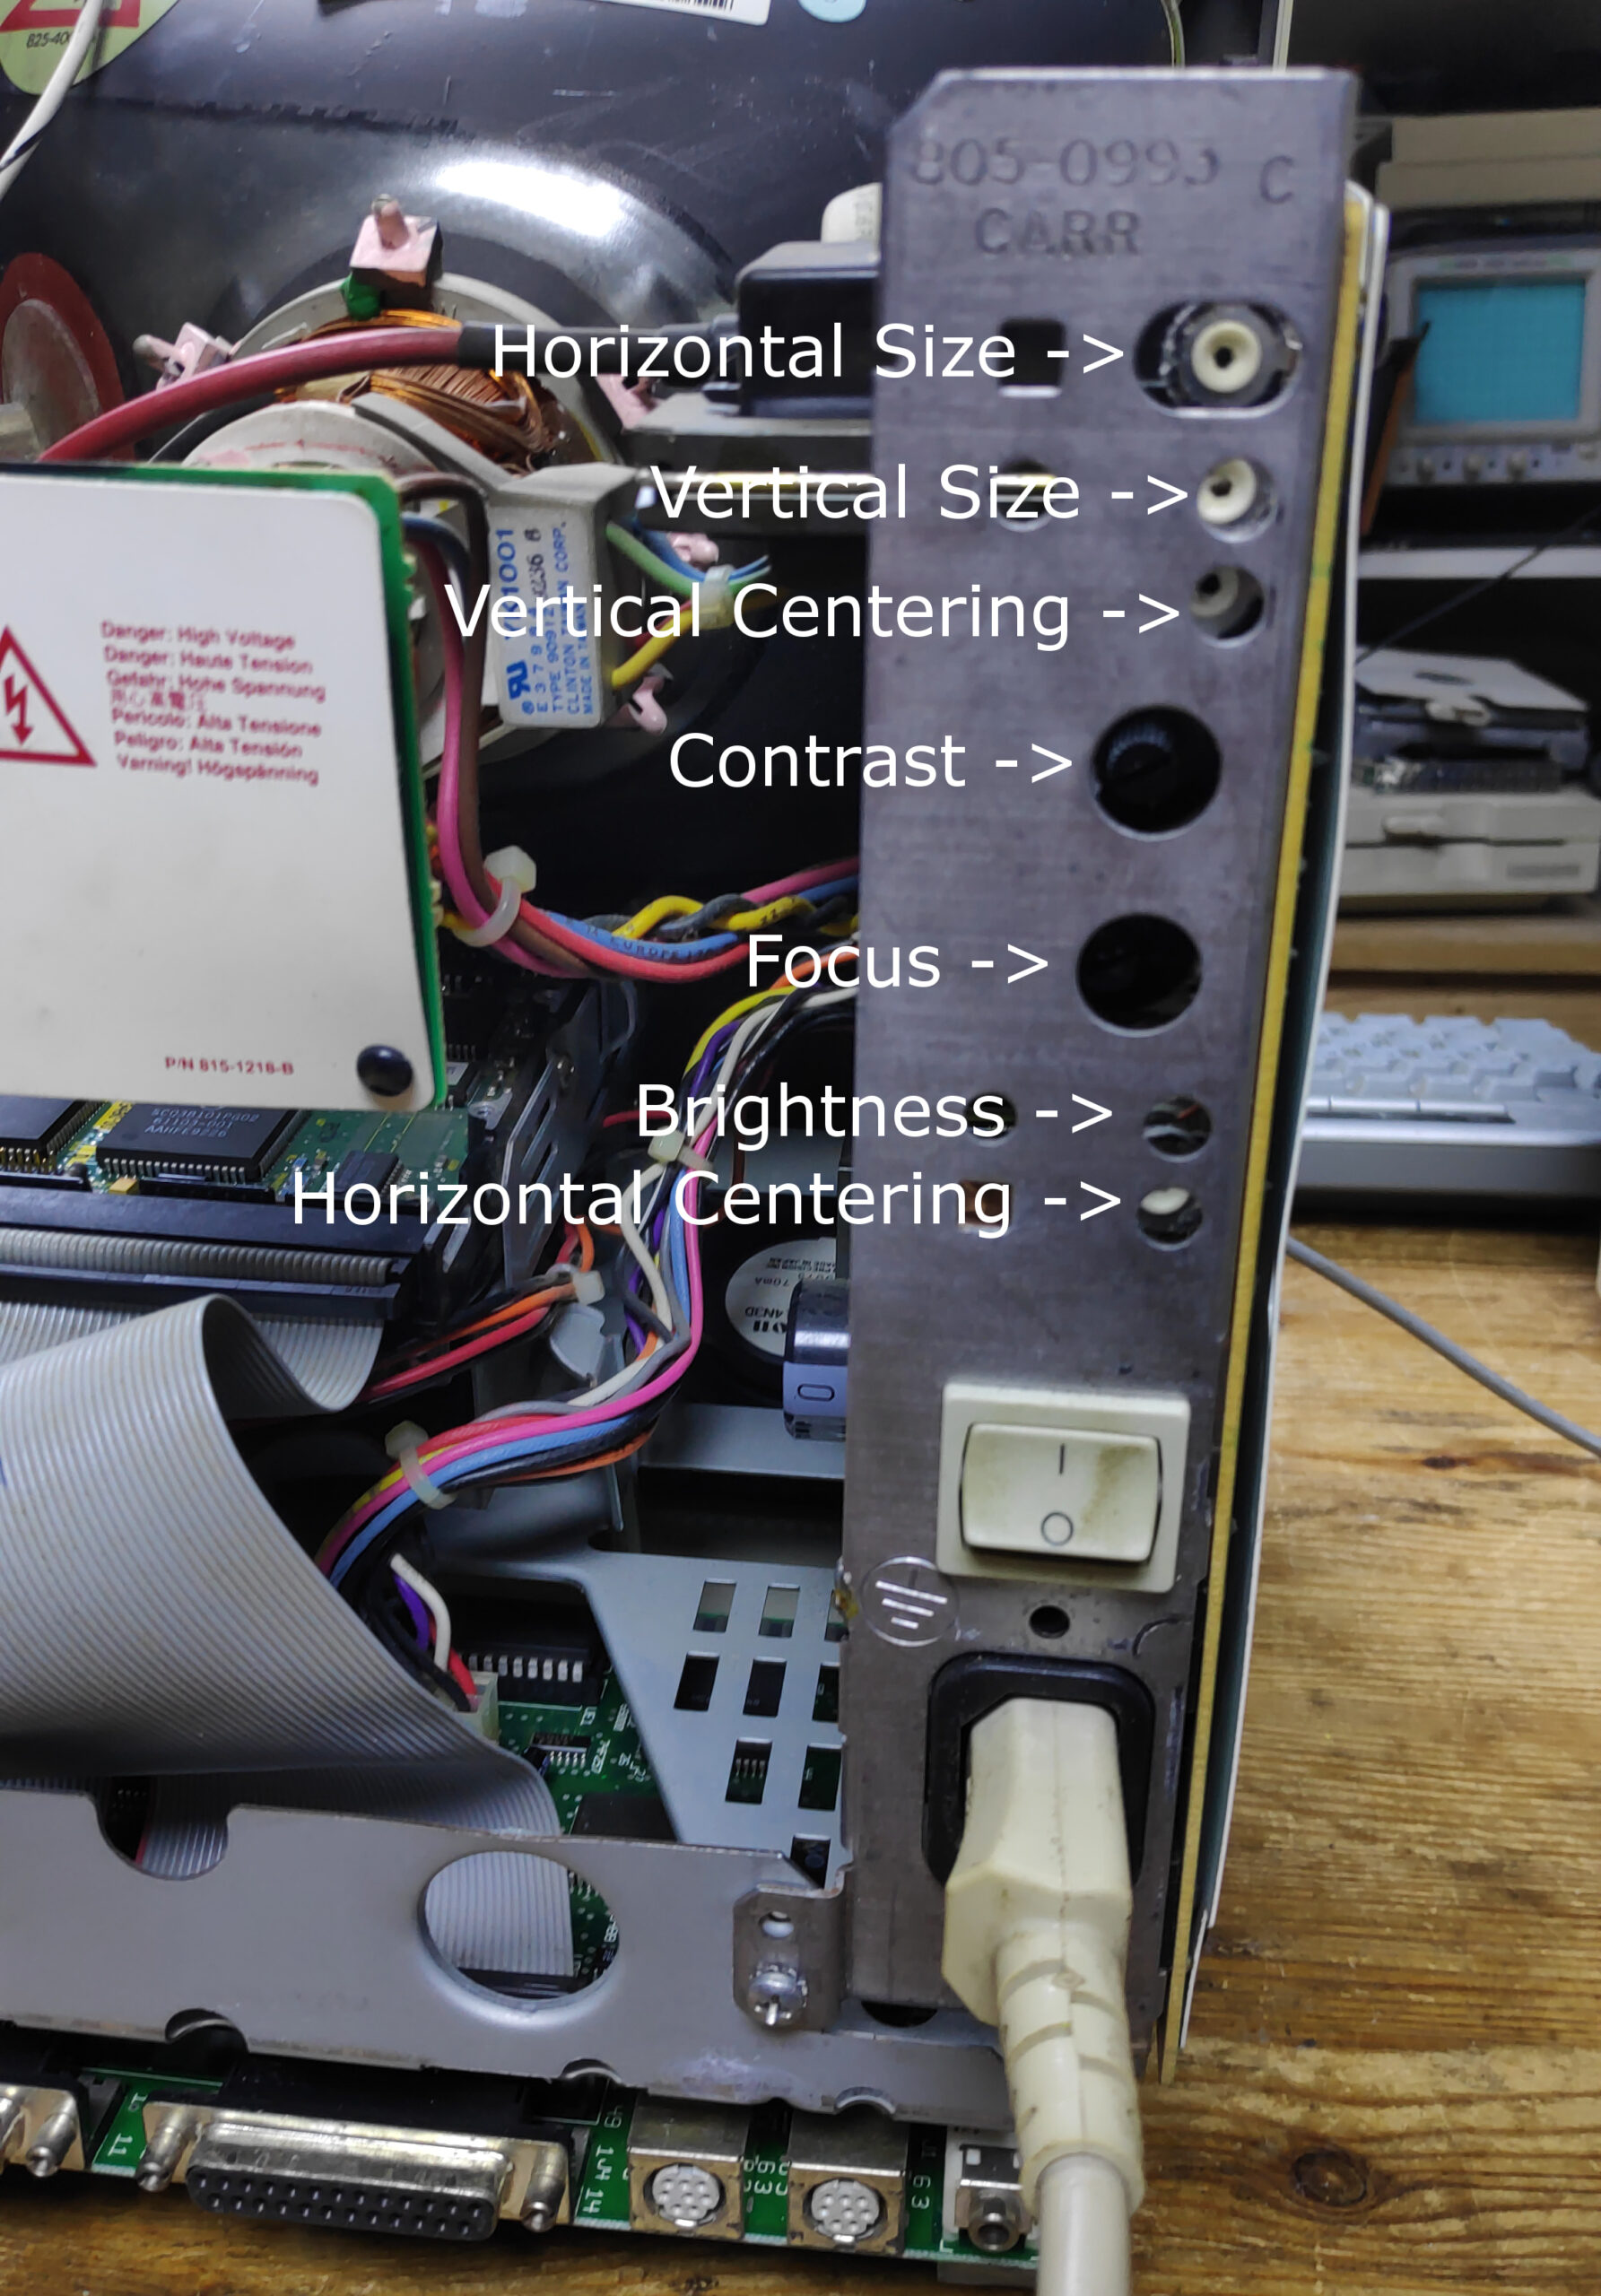
Some screen centering and size adjustment can be done by adjusters on the back of the power board seen here. A small flat head screw driver was required to make the adjustments being careful not to insert the screw driver too far so as not to touch any of the power board components behind.
Conclusion
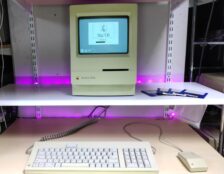
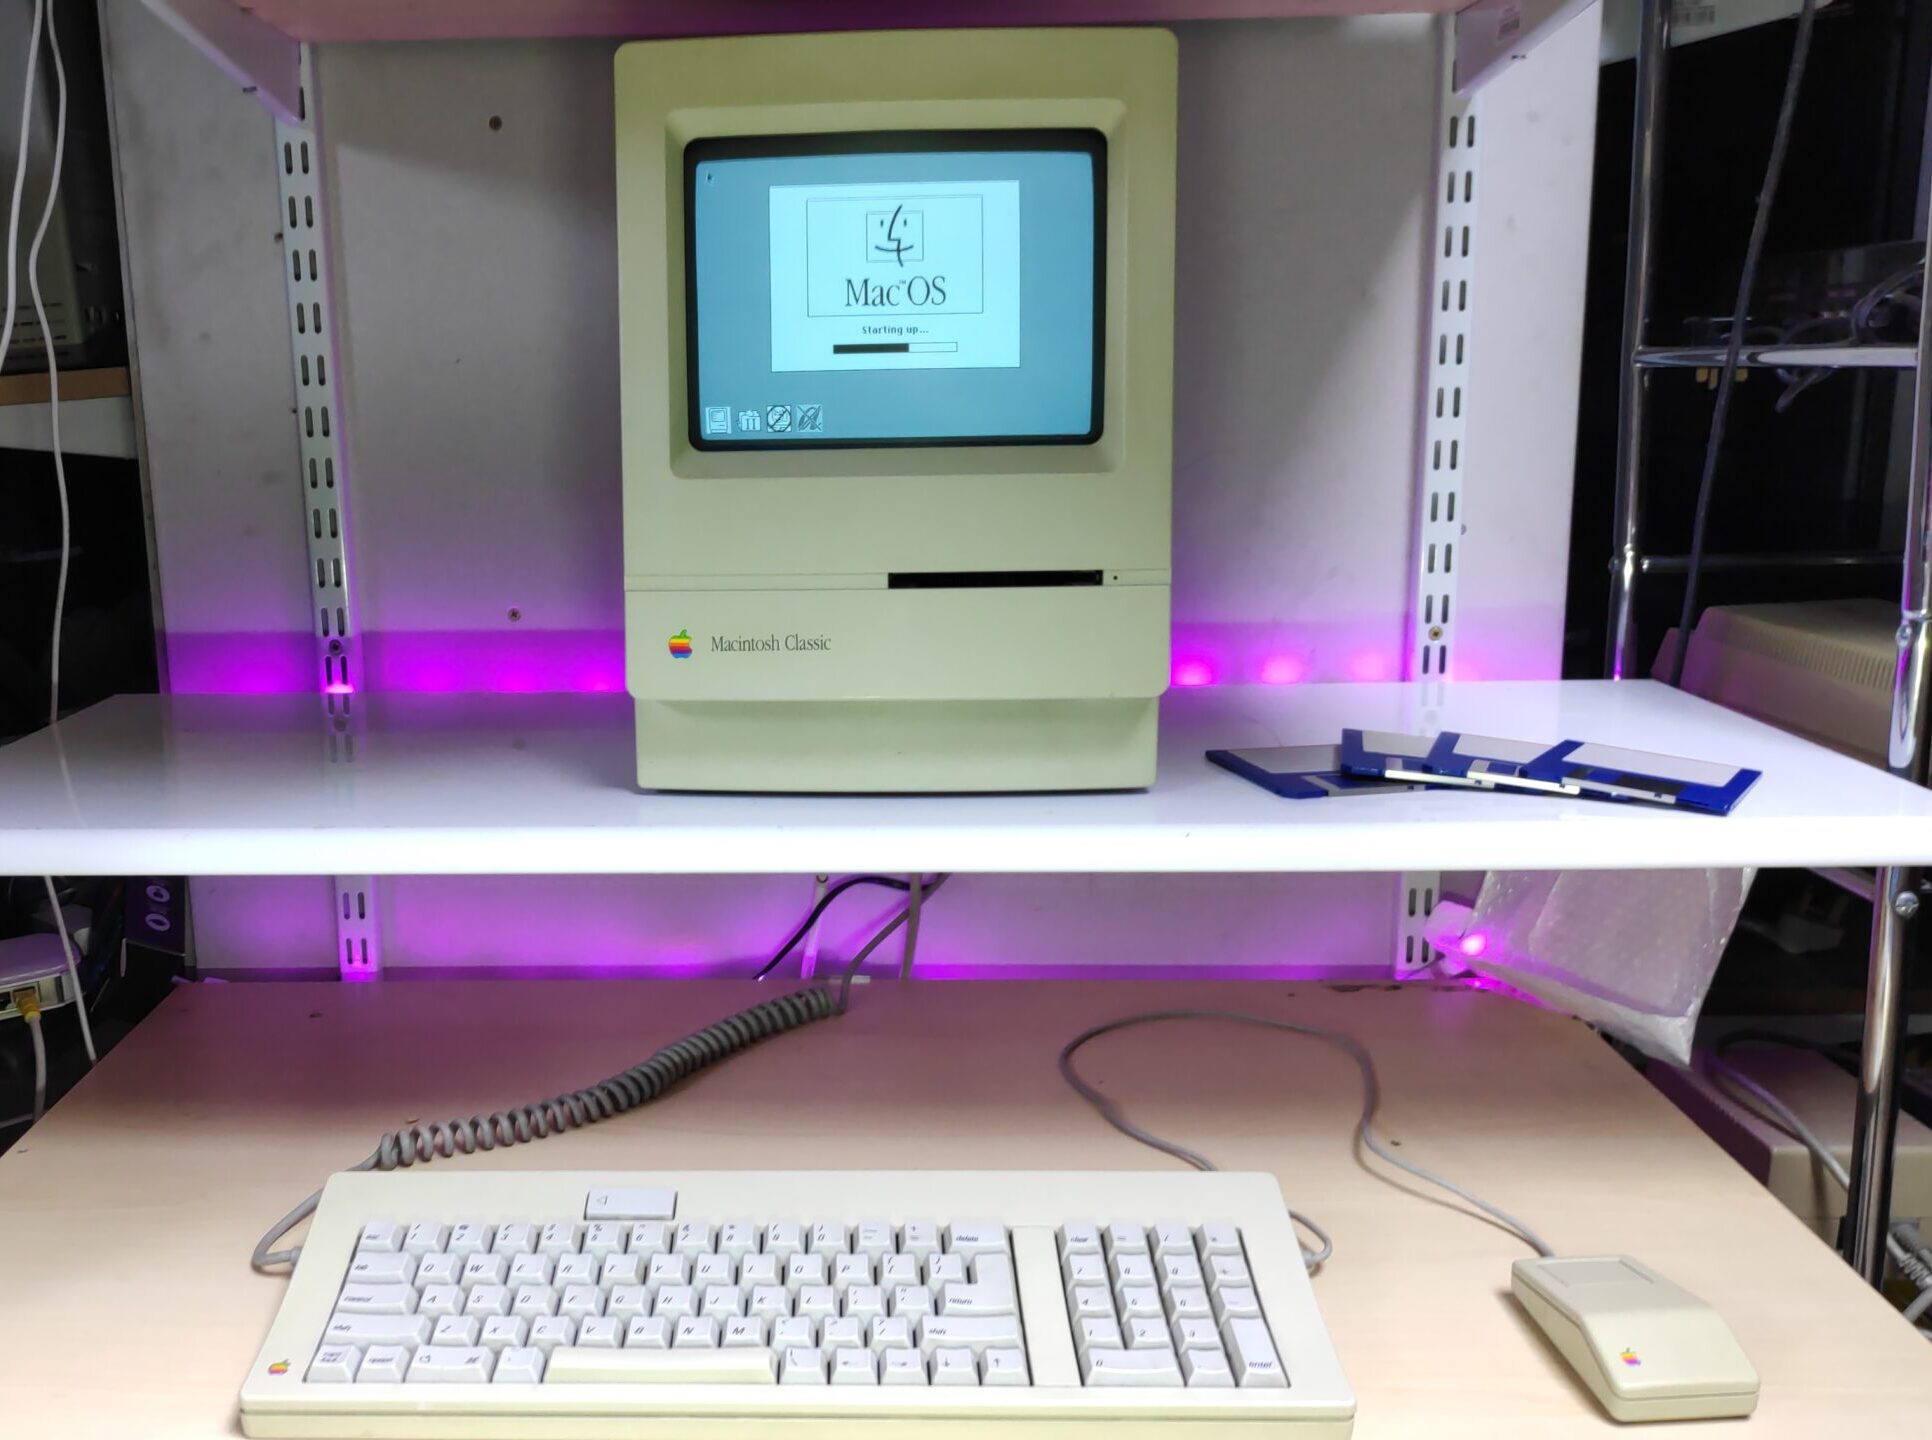
Finally after sitting on my shelf for a half a year its back to its former glory

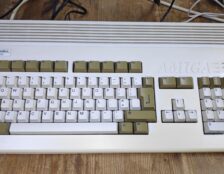
I even managed to source an original keyboard and mouse
So thats the end of this Apple Mac Classic Renovation for now. I’m just finishing off a SD SCSI interface which should give a nice conclusion to this project.
I may decide to sell this Classic Mac with BlueScsi Micro SD card interface. It comes with floppy disks and the Micro SD is filled with OS6, 7, 7.5, games , apps, Basilisk Mac Emulator, manuals, schematics and lots of Classic Mac magazines and memorabilia
The Scsi interface is a fantastic Micro SD card based Scsi drive which just plugs in at the back or can be installed internally and is effectively a super quick hard disk or many hard disks. Easy to transfer files to and from modern Macs or PC.
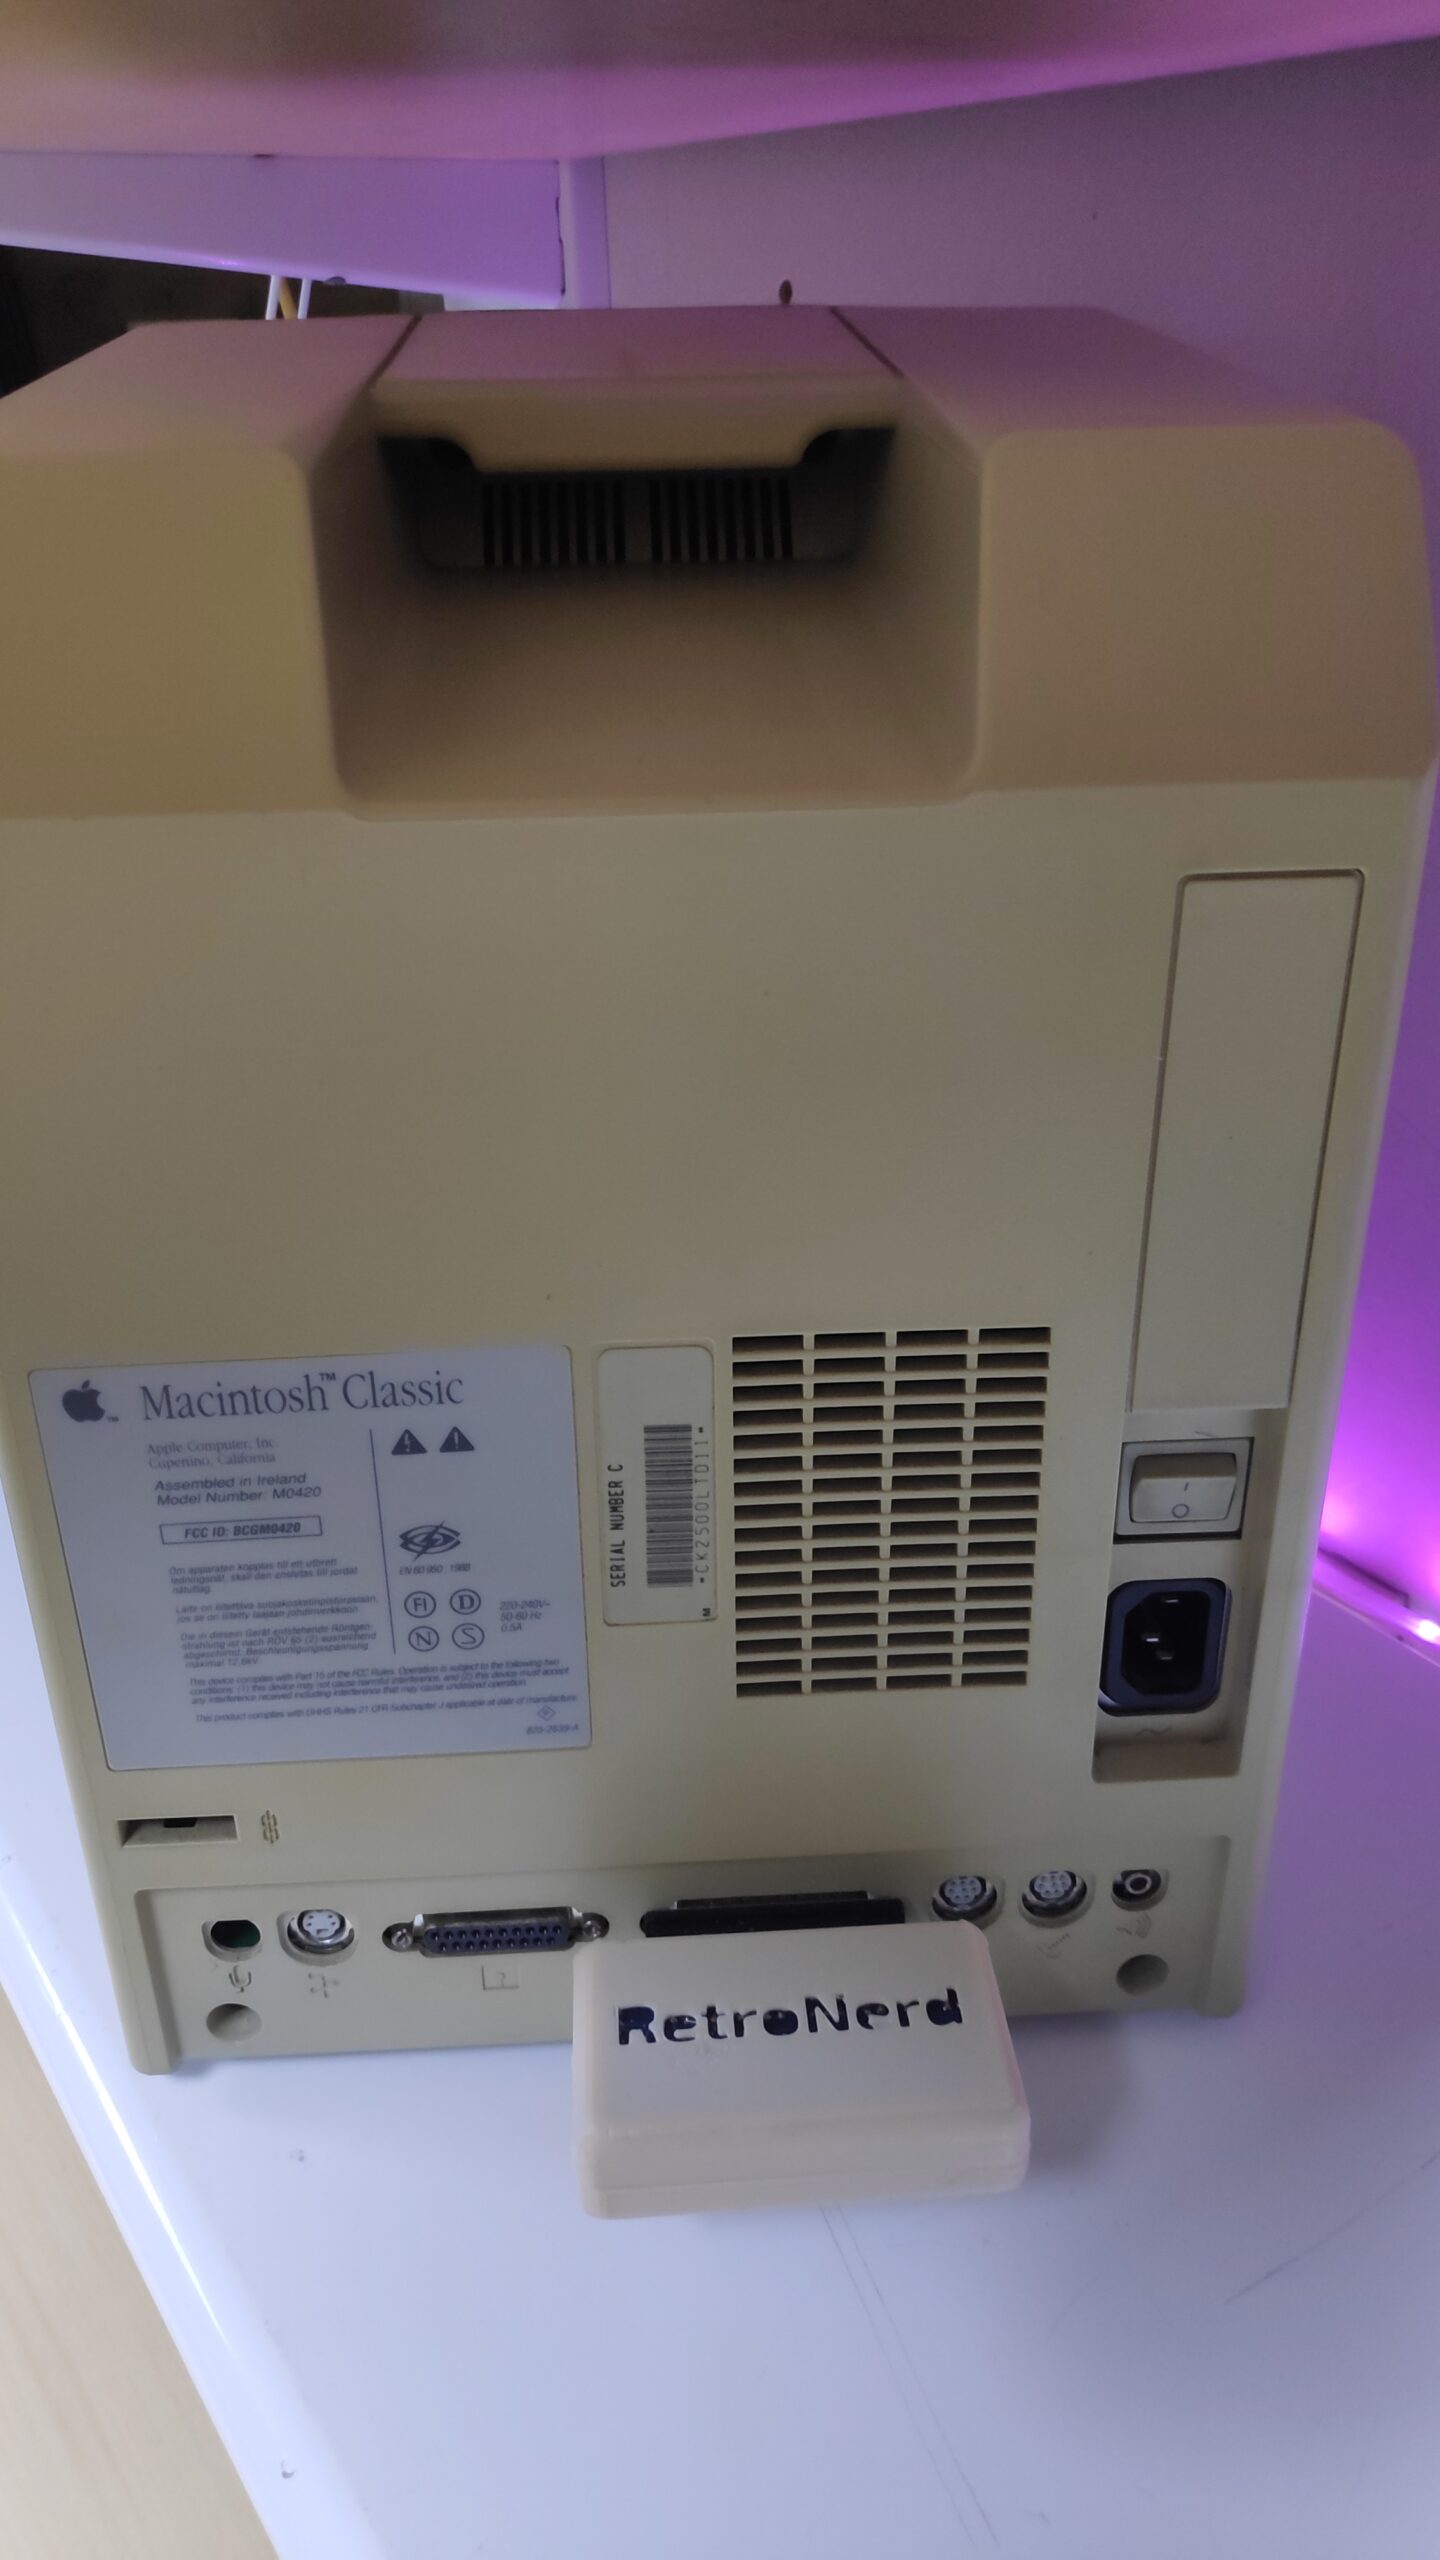
This Mac is fully loaded with the M1420 Ram expansion board, 4Mb Ram, original Scsi HD , Scsi Micro SD interface so you can have up to 7 hard disks by just adding a file. There are three 2GB HD’s setup already.
This Mac has recently been given a new home to another happy enthusiast. However there is a similar Mac SE FDHD available which has been given the same care and attention here.
Any questions feel free to drop me a line on the contact page.


