


I needed to document this repair just to recover my sanity.
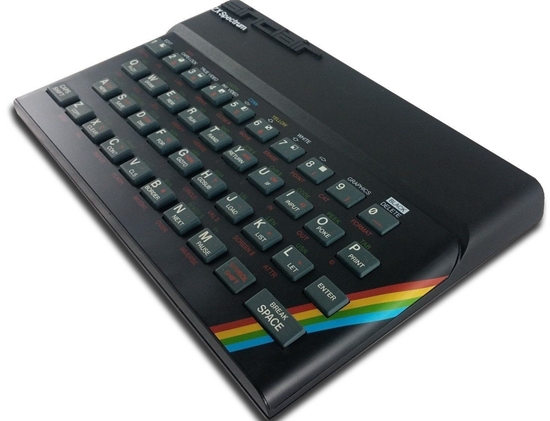
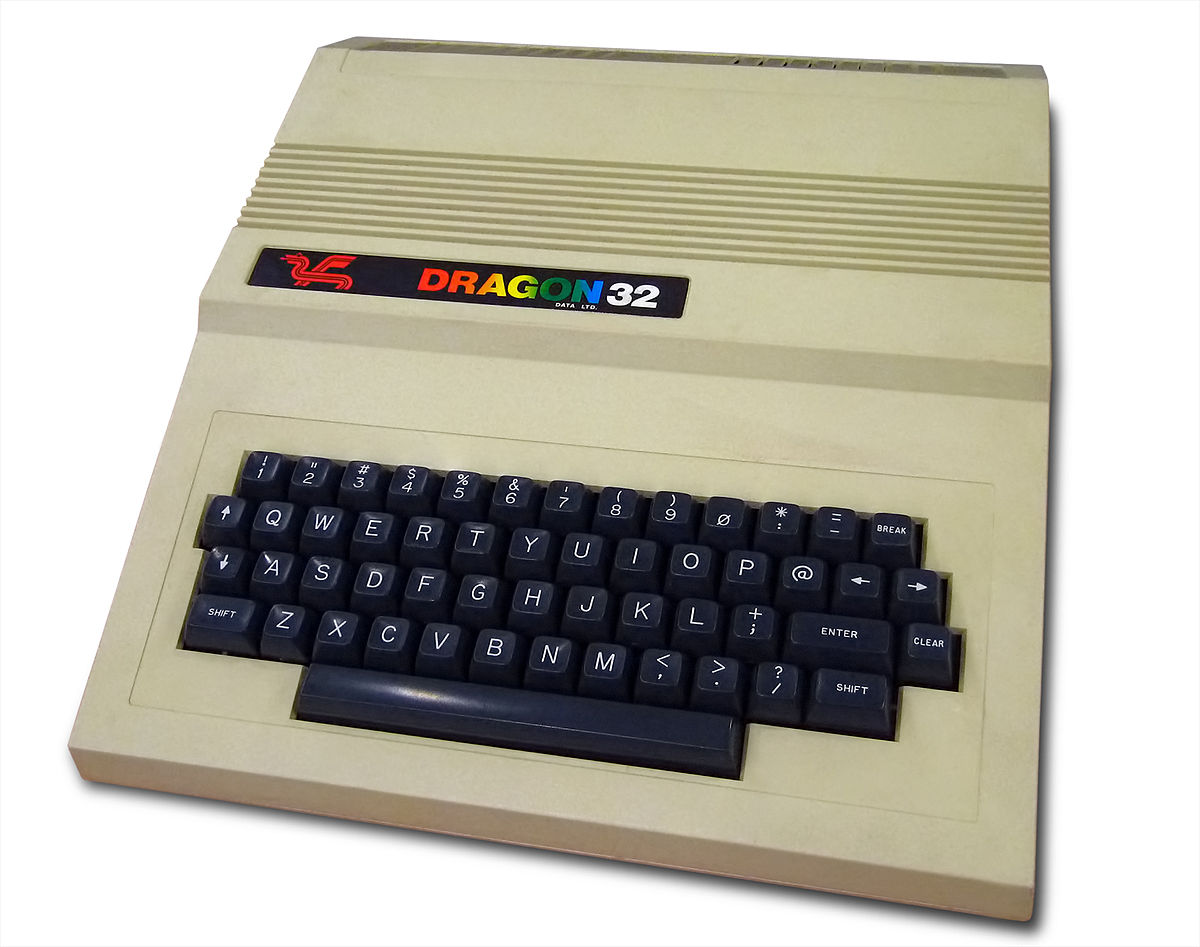
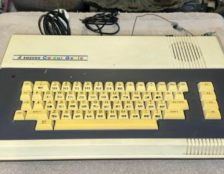
This ZX Spectrum+ was purchased right at the beginning of my Retro collecting adventure back in 2018. However back then there were lots of old retros being sold and I purchased many Commodore 64’s , Dragon 32’s, BBC micros, Oric’s and various others as they were going really cheap compared to now and my attention was easily diverted to all sorts of retro projects and other repairs until now.
I checked this Spectrum when first bought and got nothing so added it to the list of repairs and stuck it on the shelf.
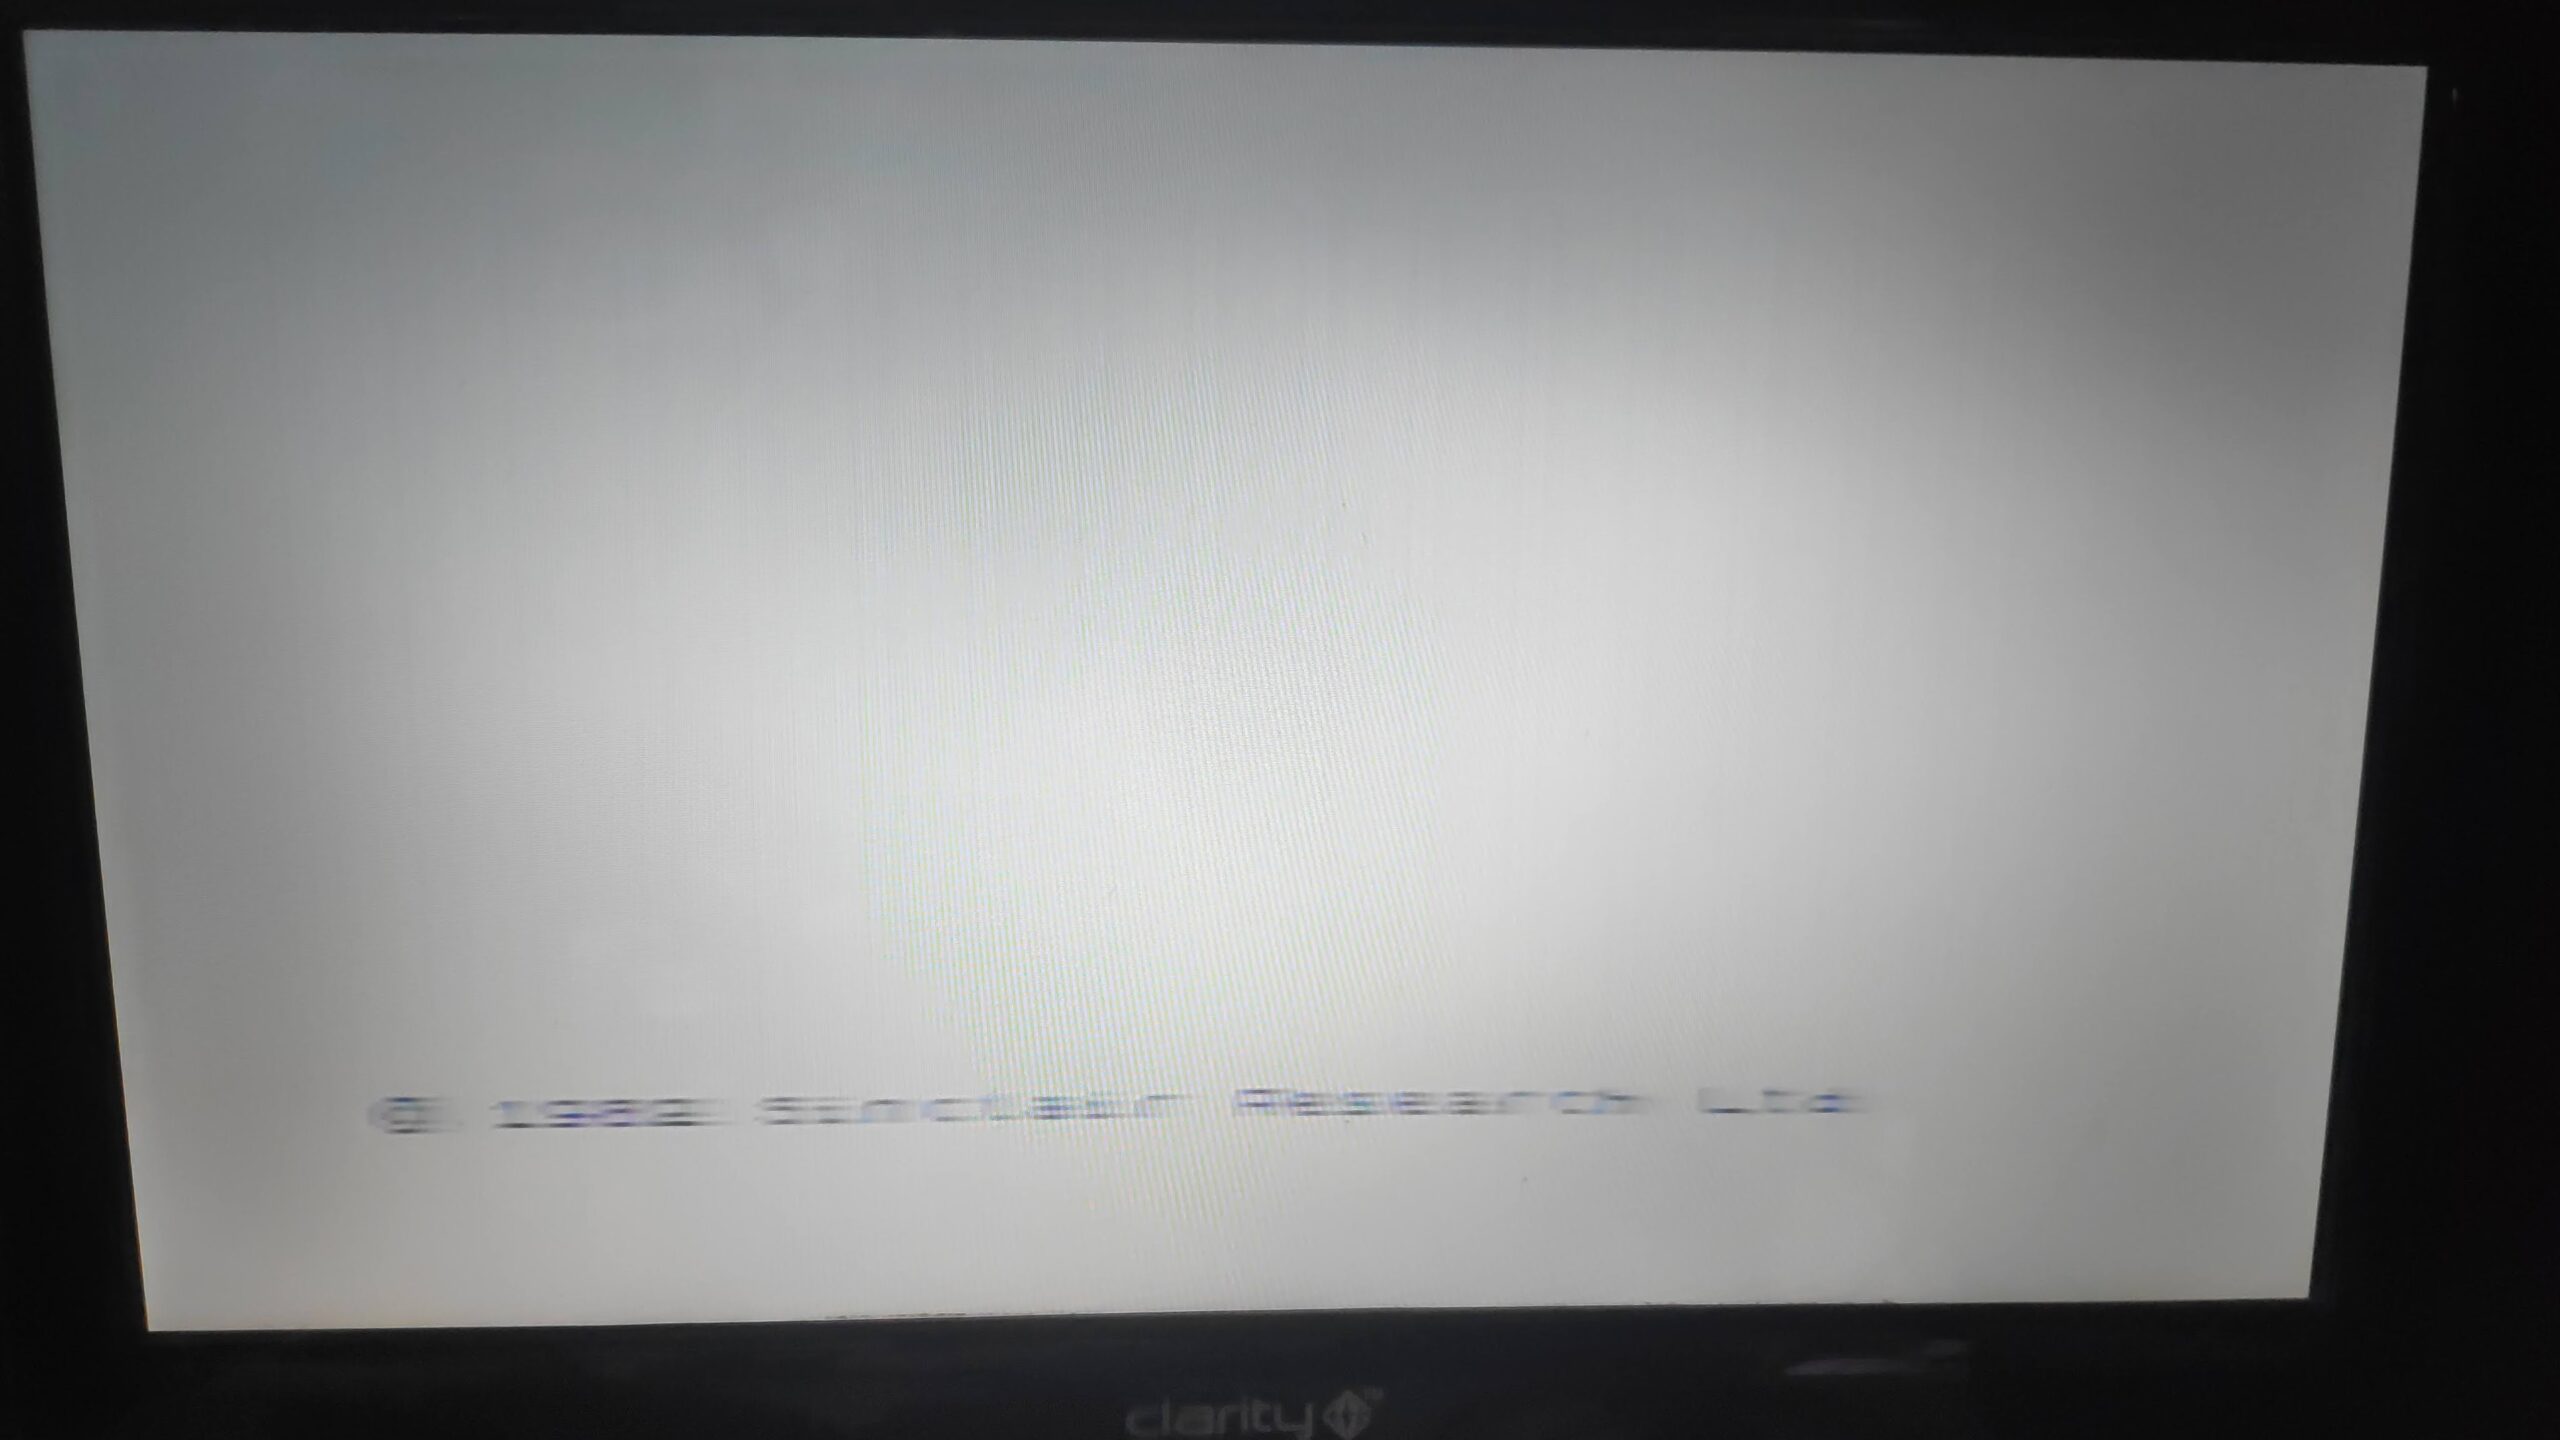
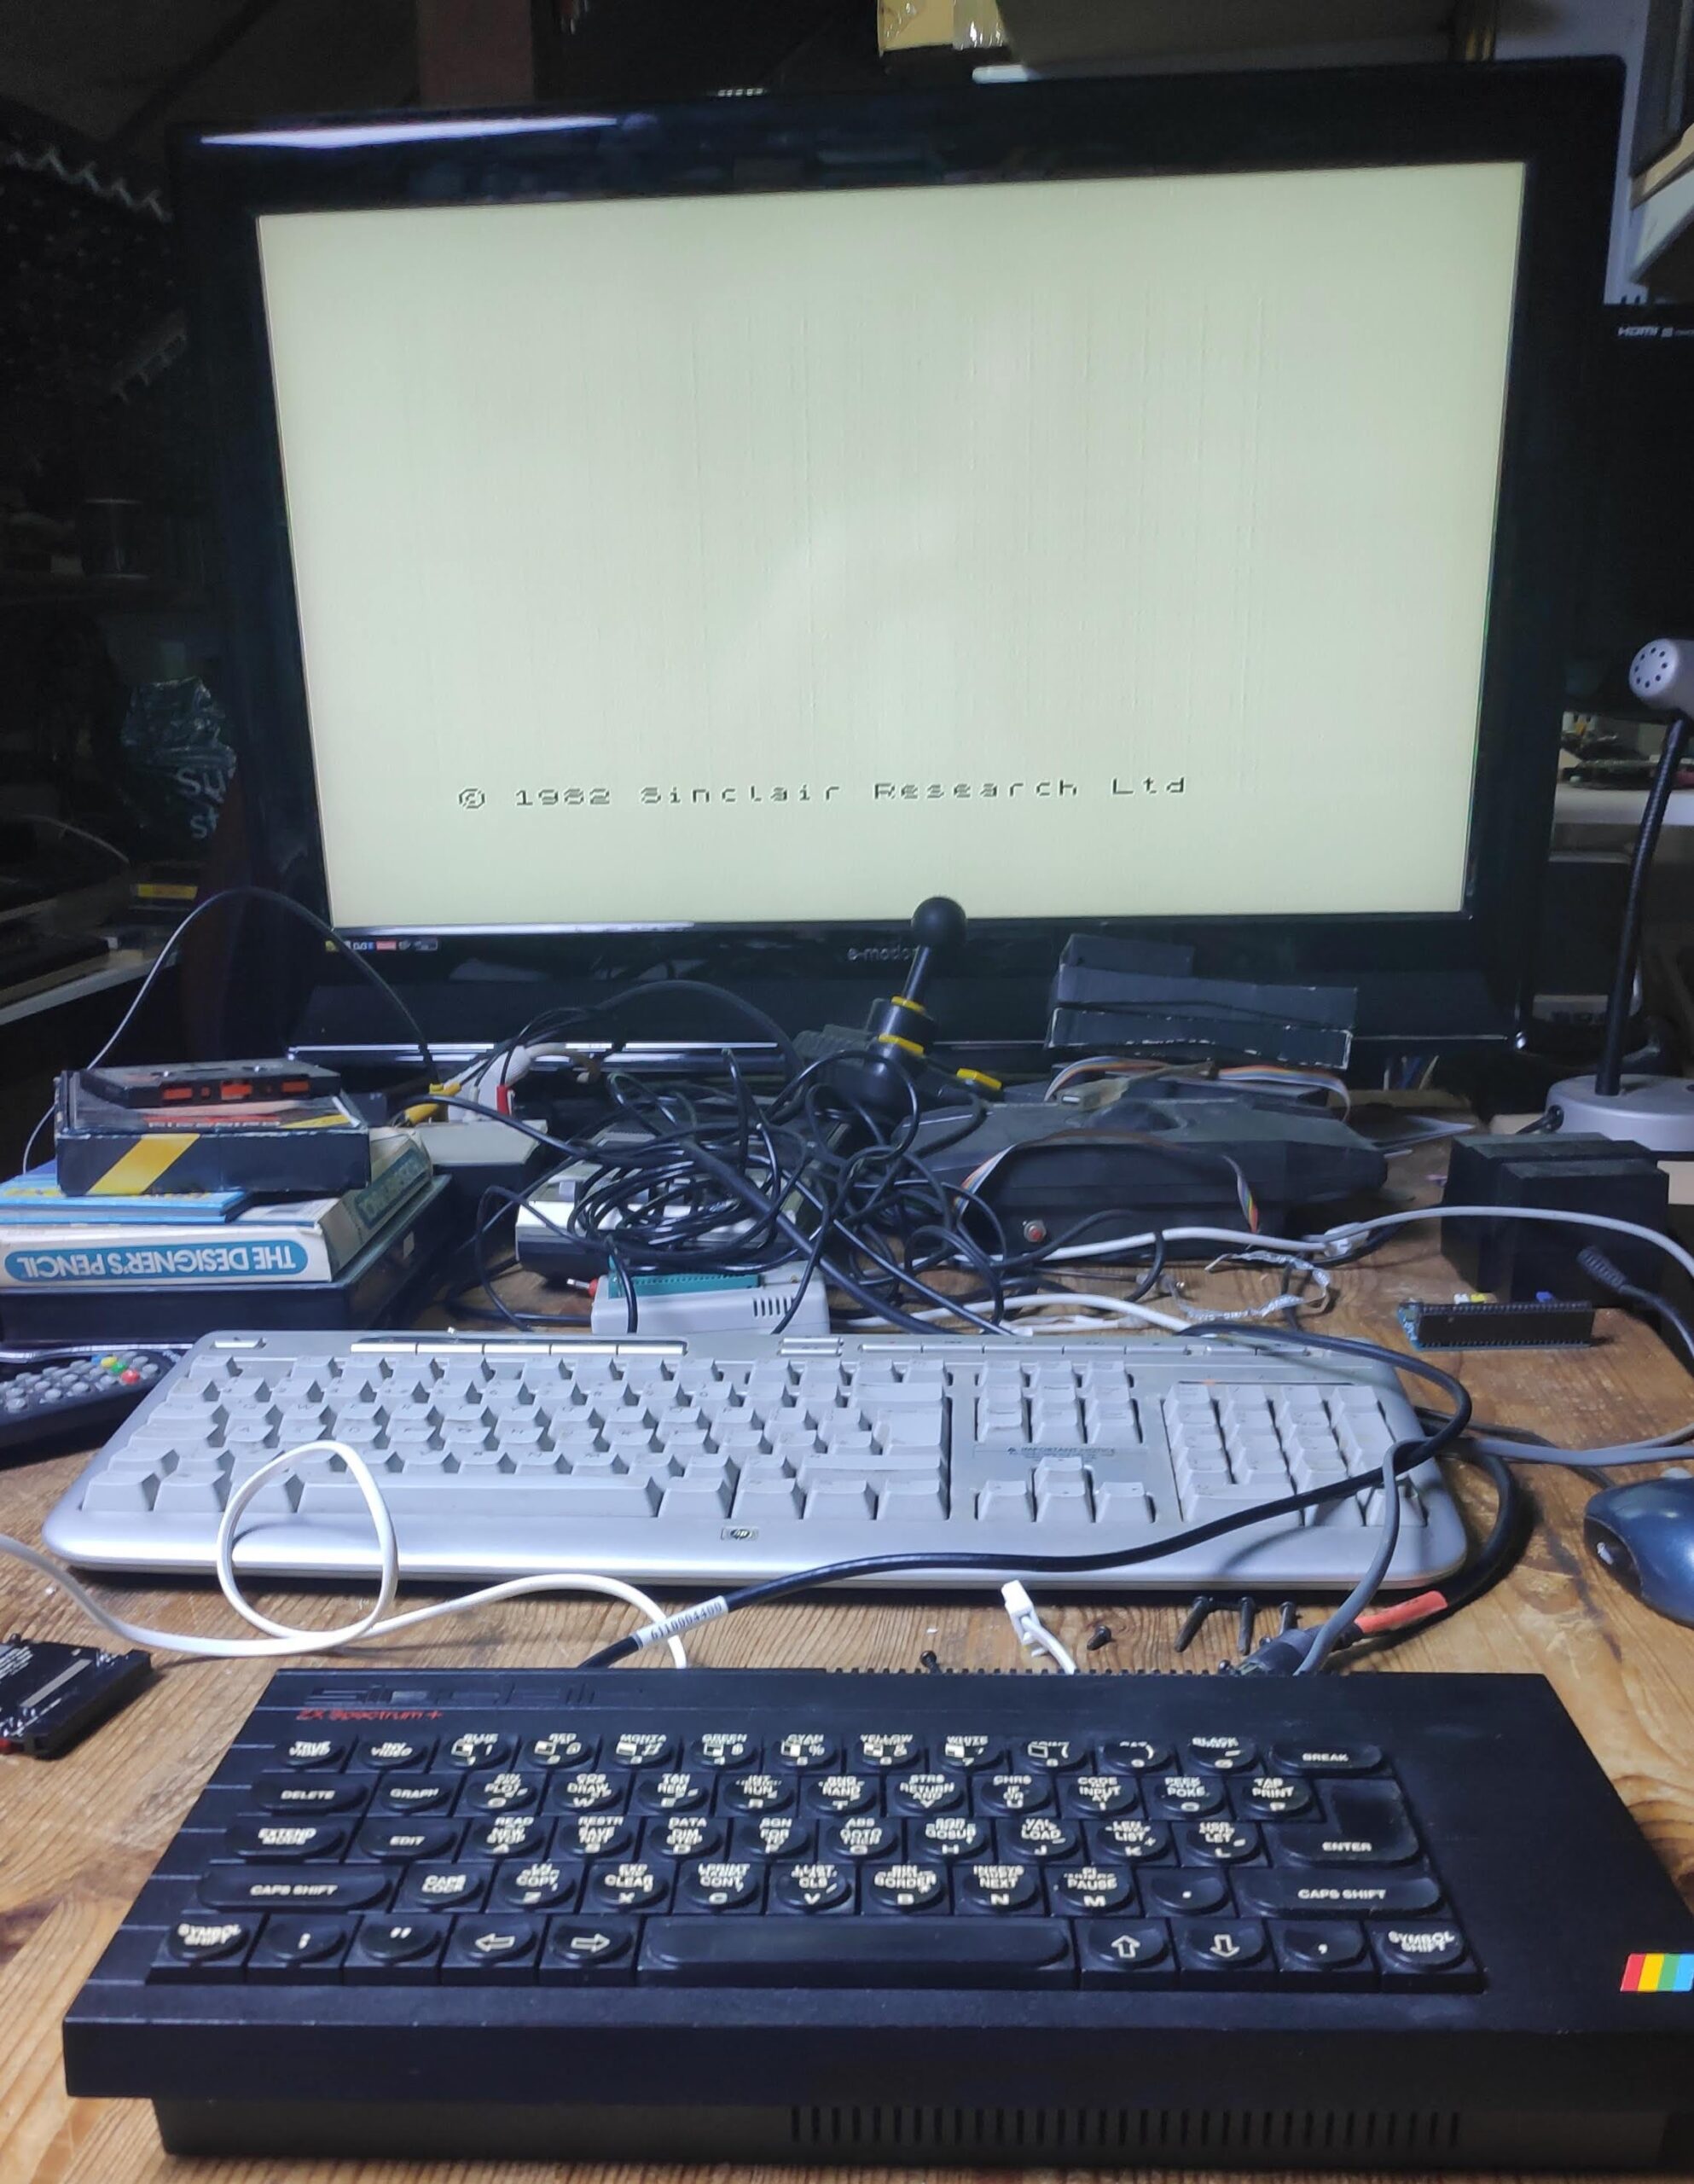
A few years later with a bit more retro knowledge and I finally got round to tackling this Spectrum. Checking the voltages showed the regulator was working but just a blank screen was showing. Replacing TR4, TR5 and it sprung to life. Happy with my achievements and with success on my side I moved on to repair some of my other retros. Some time later I tried actually playing a game on this spectrum but the earlier wallowing in my own crapulance of successful repair was quickly flushed as video signal was dropping out and sometimes wouldn’t even display anything. The (c) 1982 Sinclair Research Ltd was being displayed only momentarily and the speaker was clicking when I pressed a key so that ruled out many issues such as processor, rom, ram etc.
I decided to do a composite mod to see if it improved things however the same video drop out was still there.
I checked the voltage regulator input (+ve side of C50) and got 9V and 5V from the regulator output (+ve side of C34). Still I replaced the regulator with a cool running TRACO TSR1-2450 just to be sure and to give some extended life.
Next I checked the on-board power supply outputs. IC6 pin 9 gave +5V DC , pin 1 -5V DC, pin 8 gave +12V DC. Finally, checked the left side of C52 gave +12V DC. All voltages checkout so moving on.
I know that TR1, TR2 are within the video circuitry so and can be soldered upside down to potential improve the video. I tried this but inverting TR2 gave a blank video out so I left this in its correct position as per the mask on the motherboard. Inverting TR1 made no difference and the video would still drop out. I didn’t have the ZX313 replacements so tried MPS2369 in TR1 and a BC183 in TR2 the video was stable but blurred.
Replaced all the electrolytic caps but still the same. I ordered some ZX313 and waited for them to arrive.
Few days later and the trannies arrived. I eagerly put them in and…
Got a nice clear picture but the drop was back. Damn!.
Then a breakthrough while holding the motherboard in a certain way the screen remained stable. Progress!
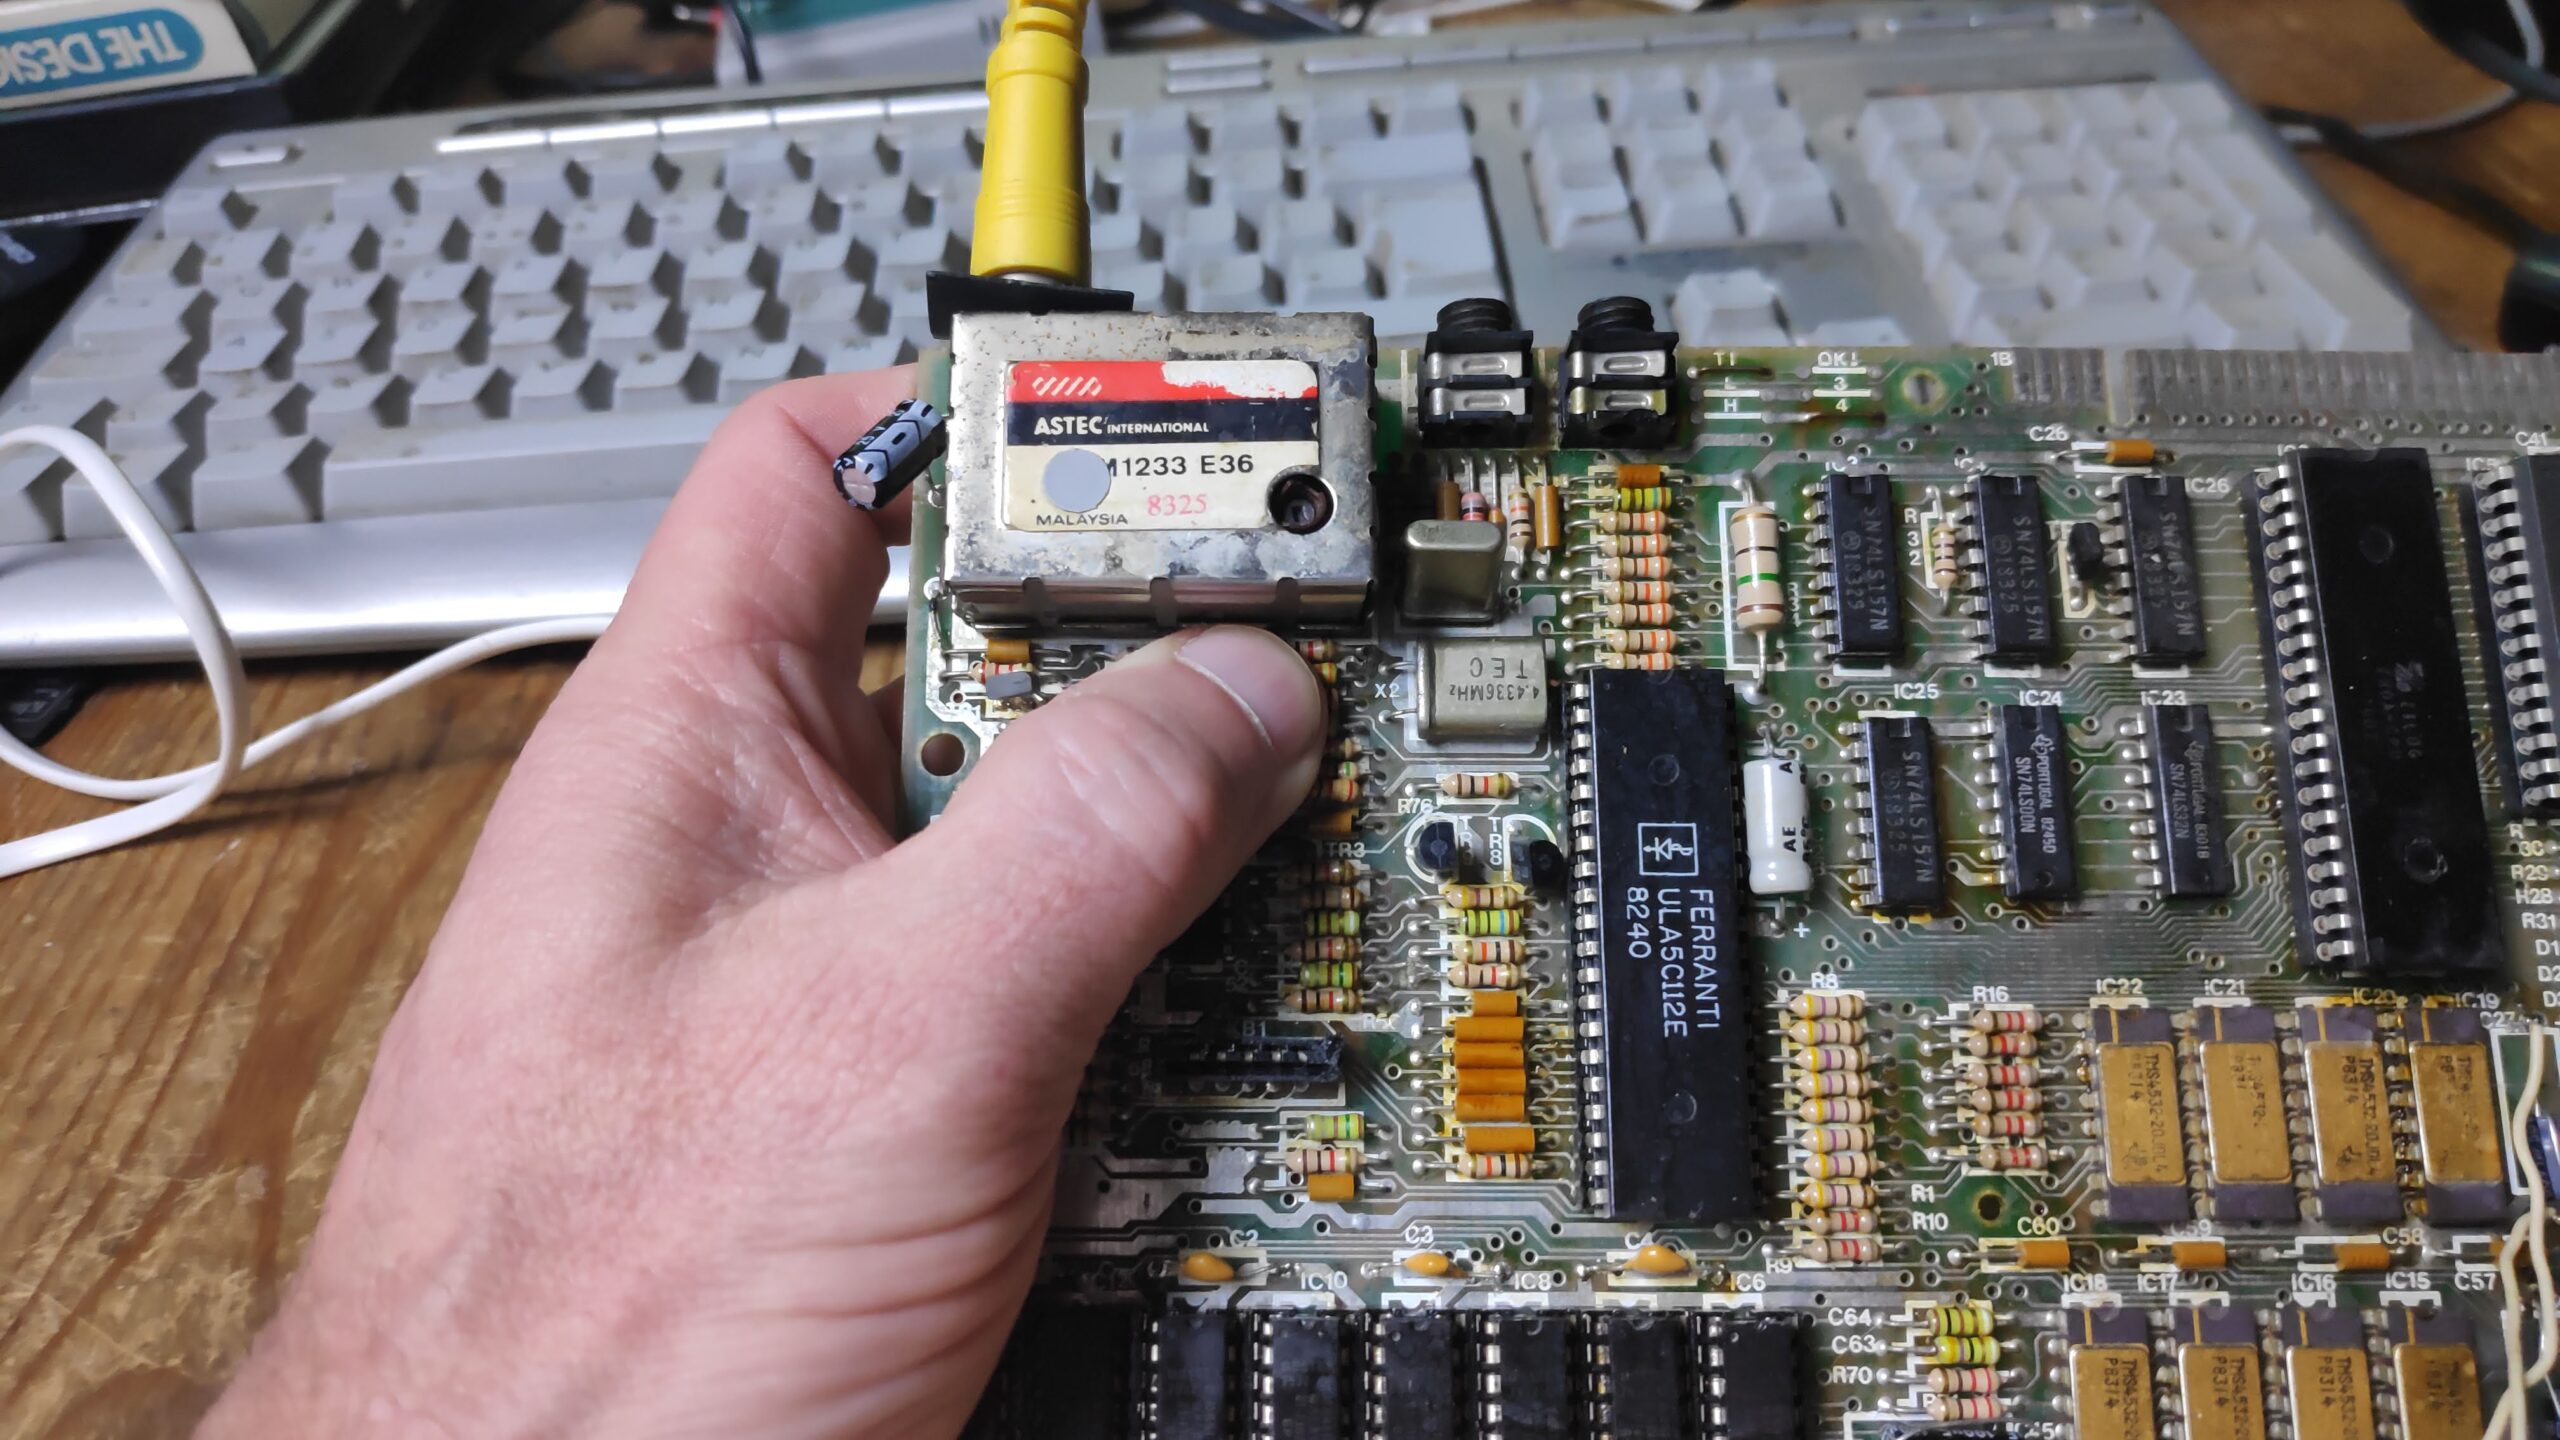
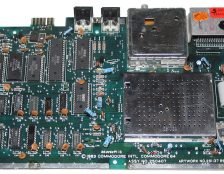
It turned out if I removed my thumb the drop out would reoccur. Broken trace maybe?. Checked continuity and reflowed all the solder all around this area. Still the same dropout. I eventually touched my finger to each of resistors and Identified R43(3K) as the culprit. I disconnected one leg and it tested fine at 3K ohms which was strange. So I left this resistor disconnected and powered up and the video was perfectly stable!.
Eureka! What a strange fix but satisfying. There were many weeks to get to this point with many cycles of solder reflow, replacing parts, frustration, leaving the room before I invoked my scorched earth protocol, returning days later with restored enthusiasm and repeating the process over again.
So should I remove this resistor entirely or leave it in place disconnected?
I decided to leave it in place with some tape on just in case the video quality deteriorates over time and I need to troubleshoot again.
Fingers crossed!
But wait. Not so fast speed racer. This resistor R43 connects the Chroma signal so although the initial boot copyright message appears fine there is no colour. Back to square one.
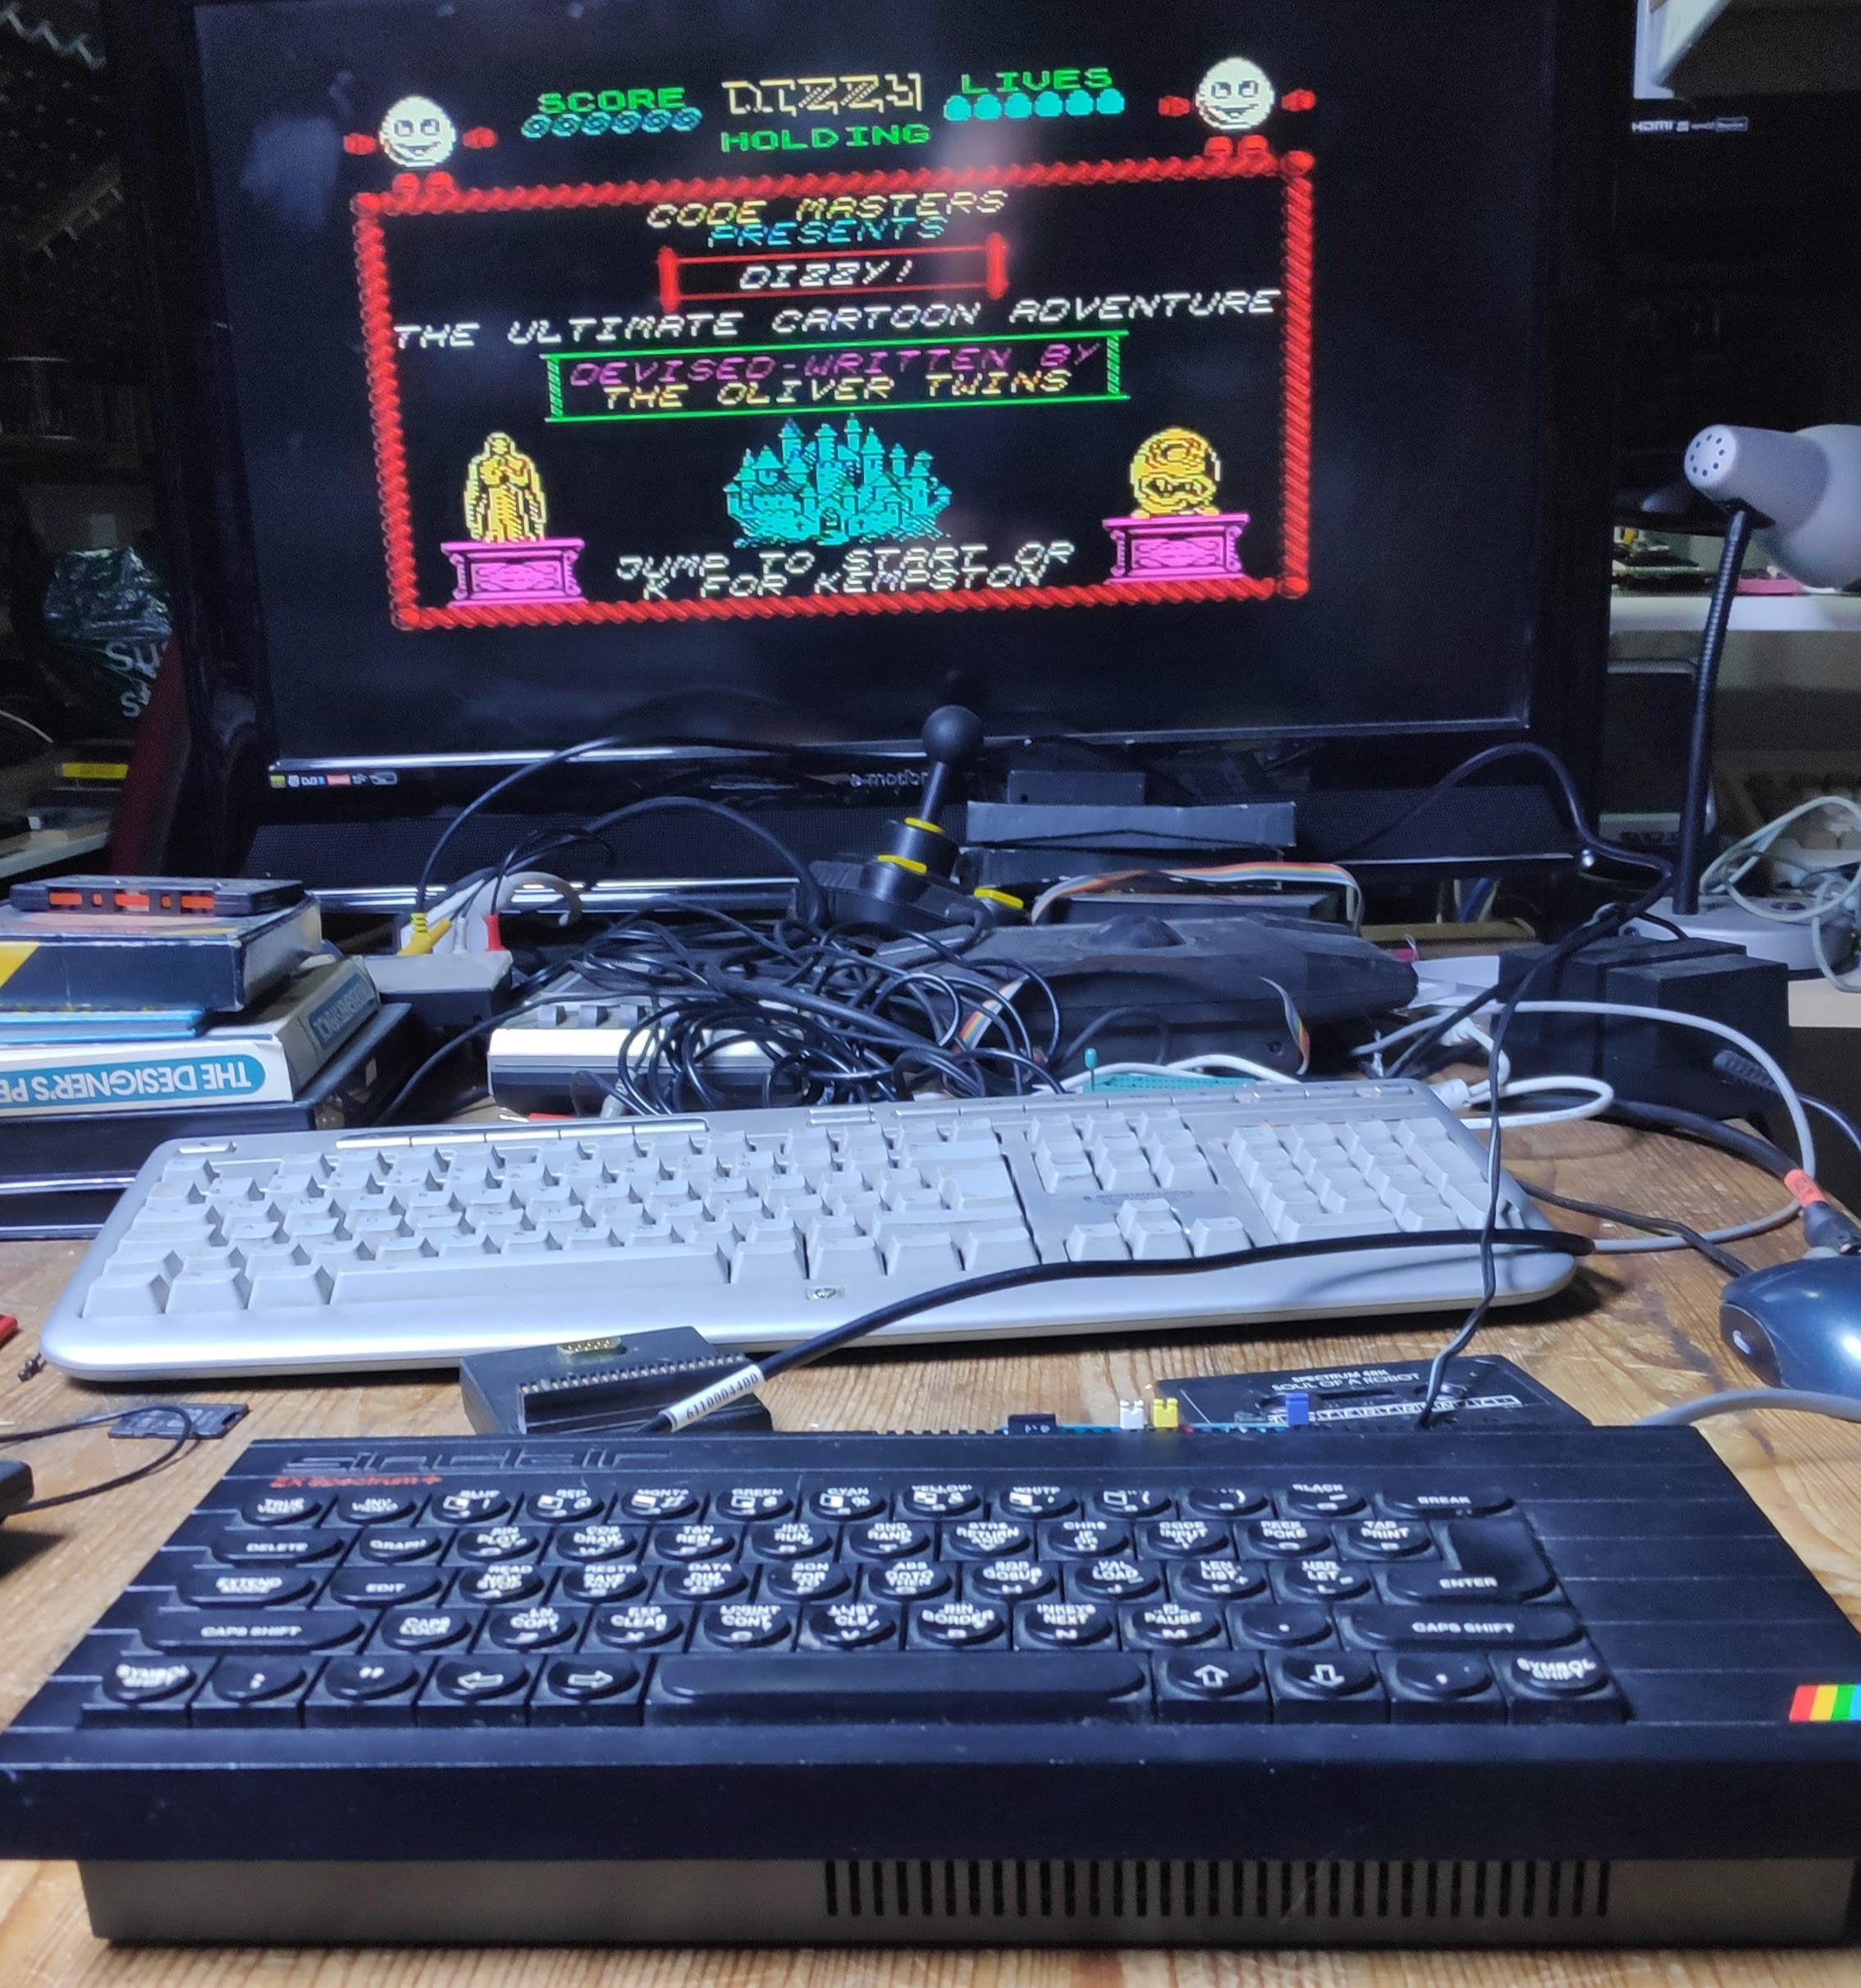
Decided to reseat ula and Z80 and guess what I found was a pin bent underneath on the Z80. Replaced R43 and voila all fixed. Woohoo! but should have tried the reseating earlier but got there in the end.
Dizzy anyone? I know I am 🙂