


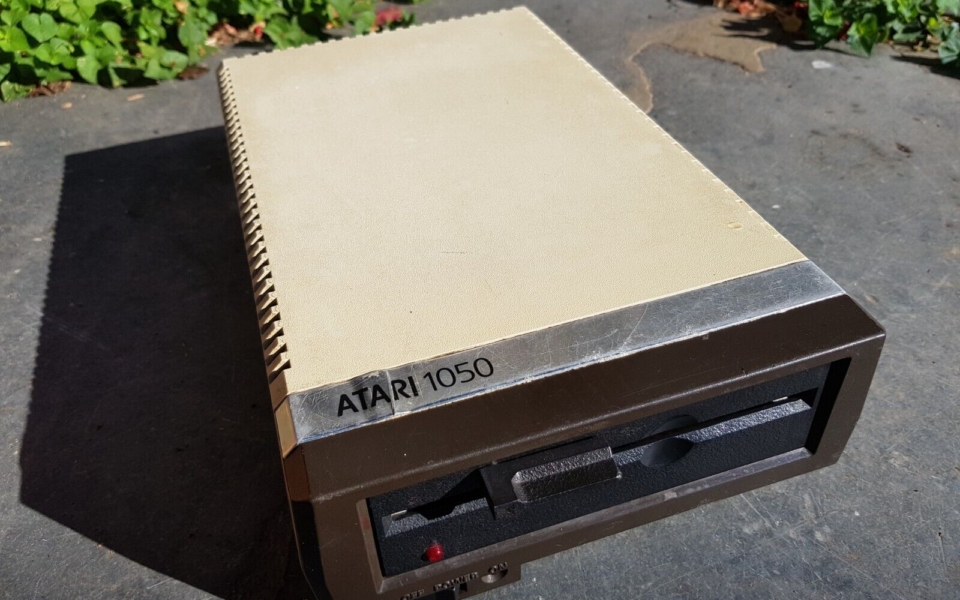
Took a gamble on this Atari 1050 drive sold as seen untested. I have a few Atari computers but no 5.25″ drive for them so it might well be a non working show piece to go with my other Atari’s.

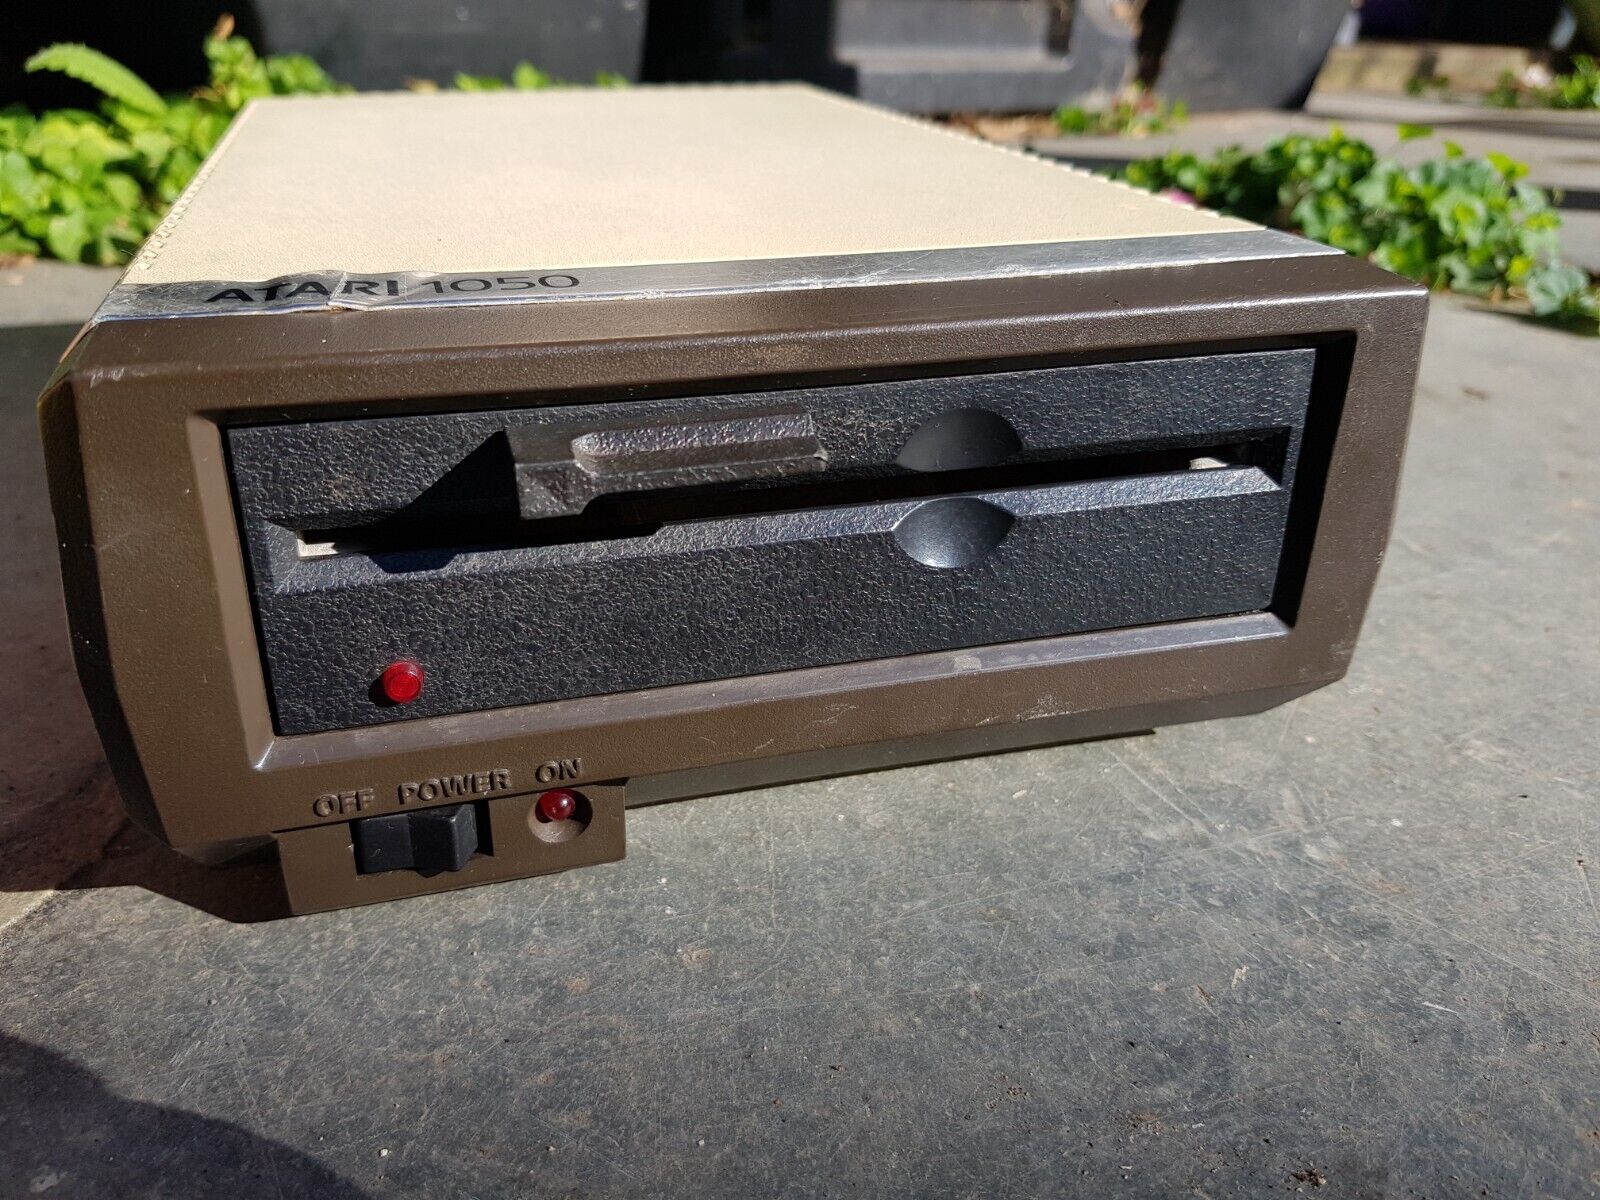
I never had one of these back in the day so was a complete rookie as regards how to use it. It didn’t come with any cables or a power supply and I didn’t even have any disks for it but I have made a few SDrive’s so I was confident that if I did get it working that I could transfer files to it.
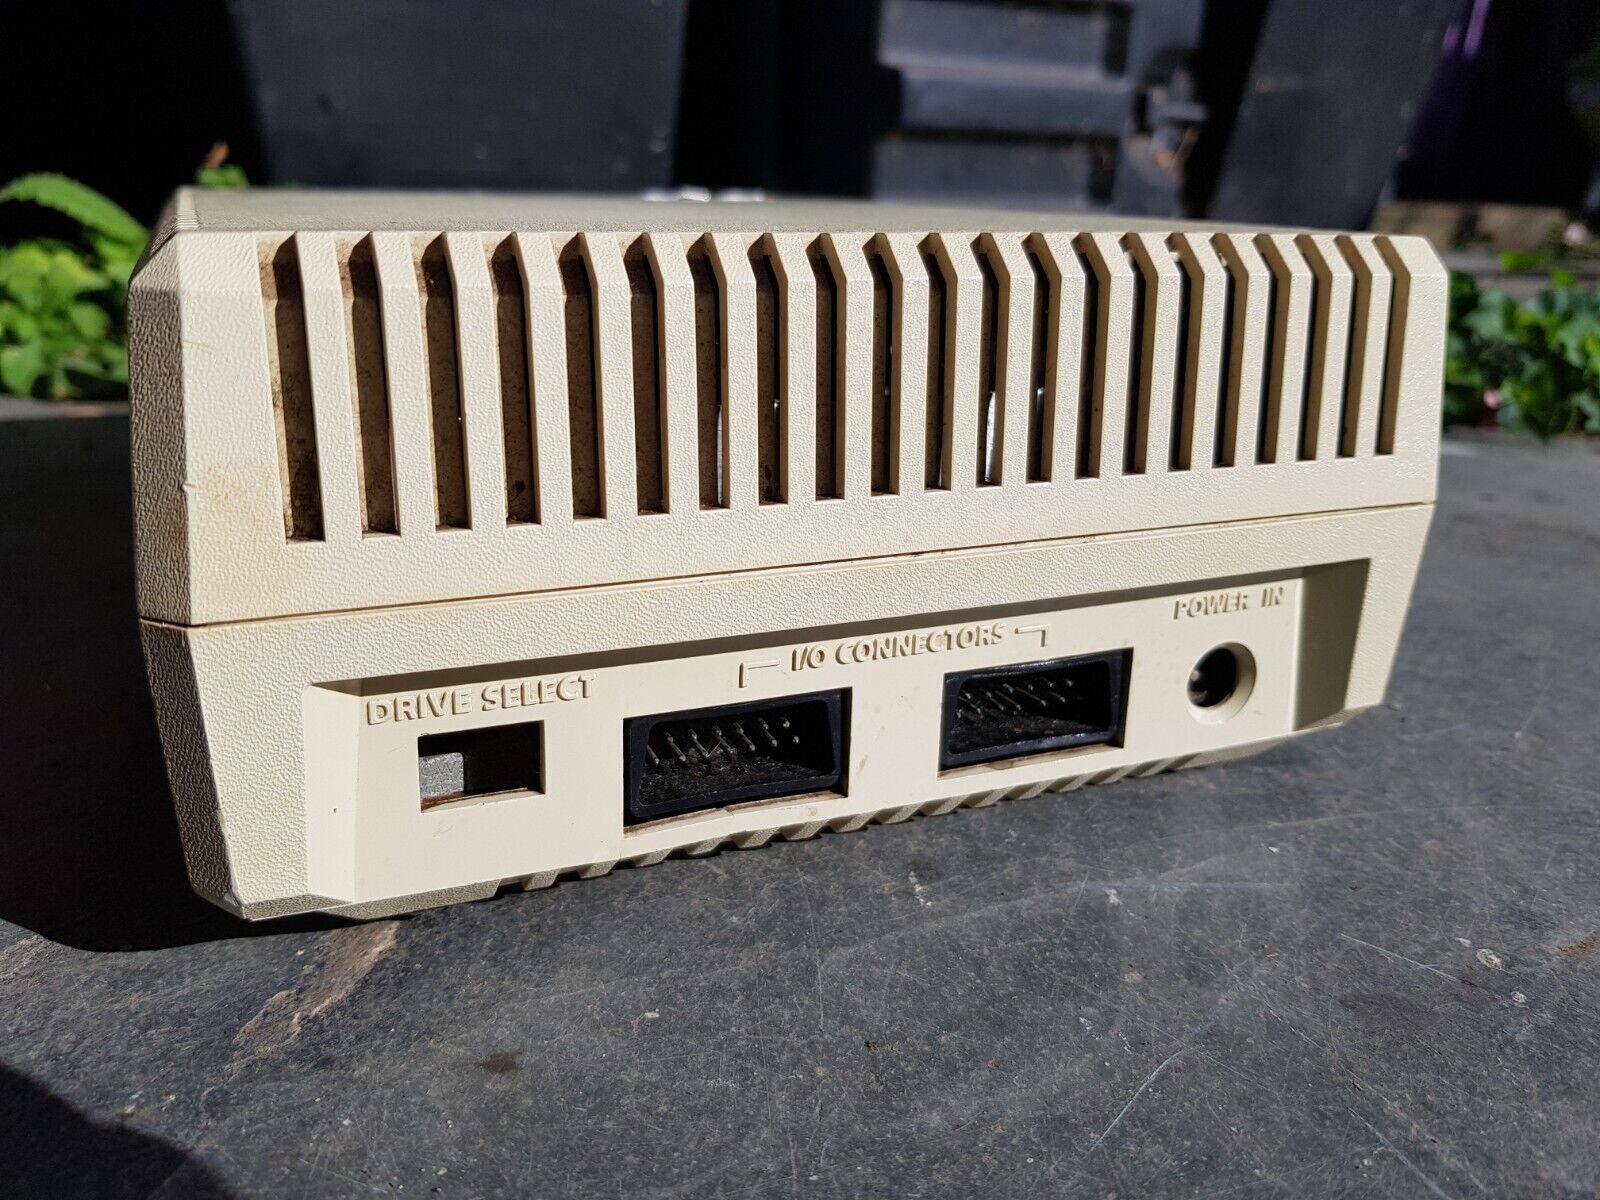
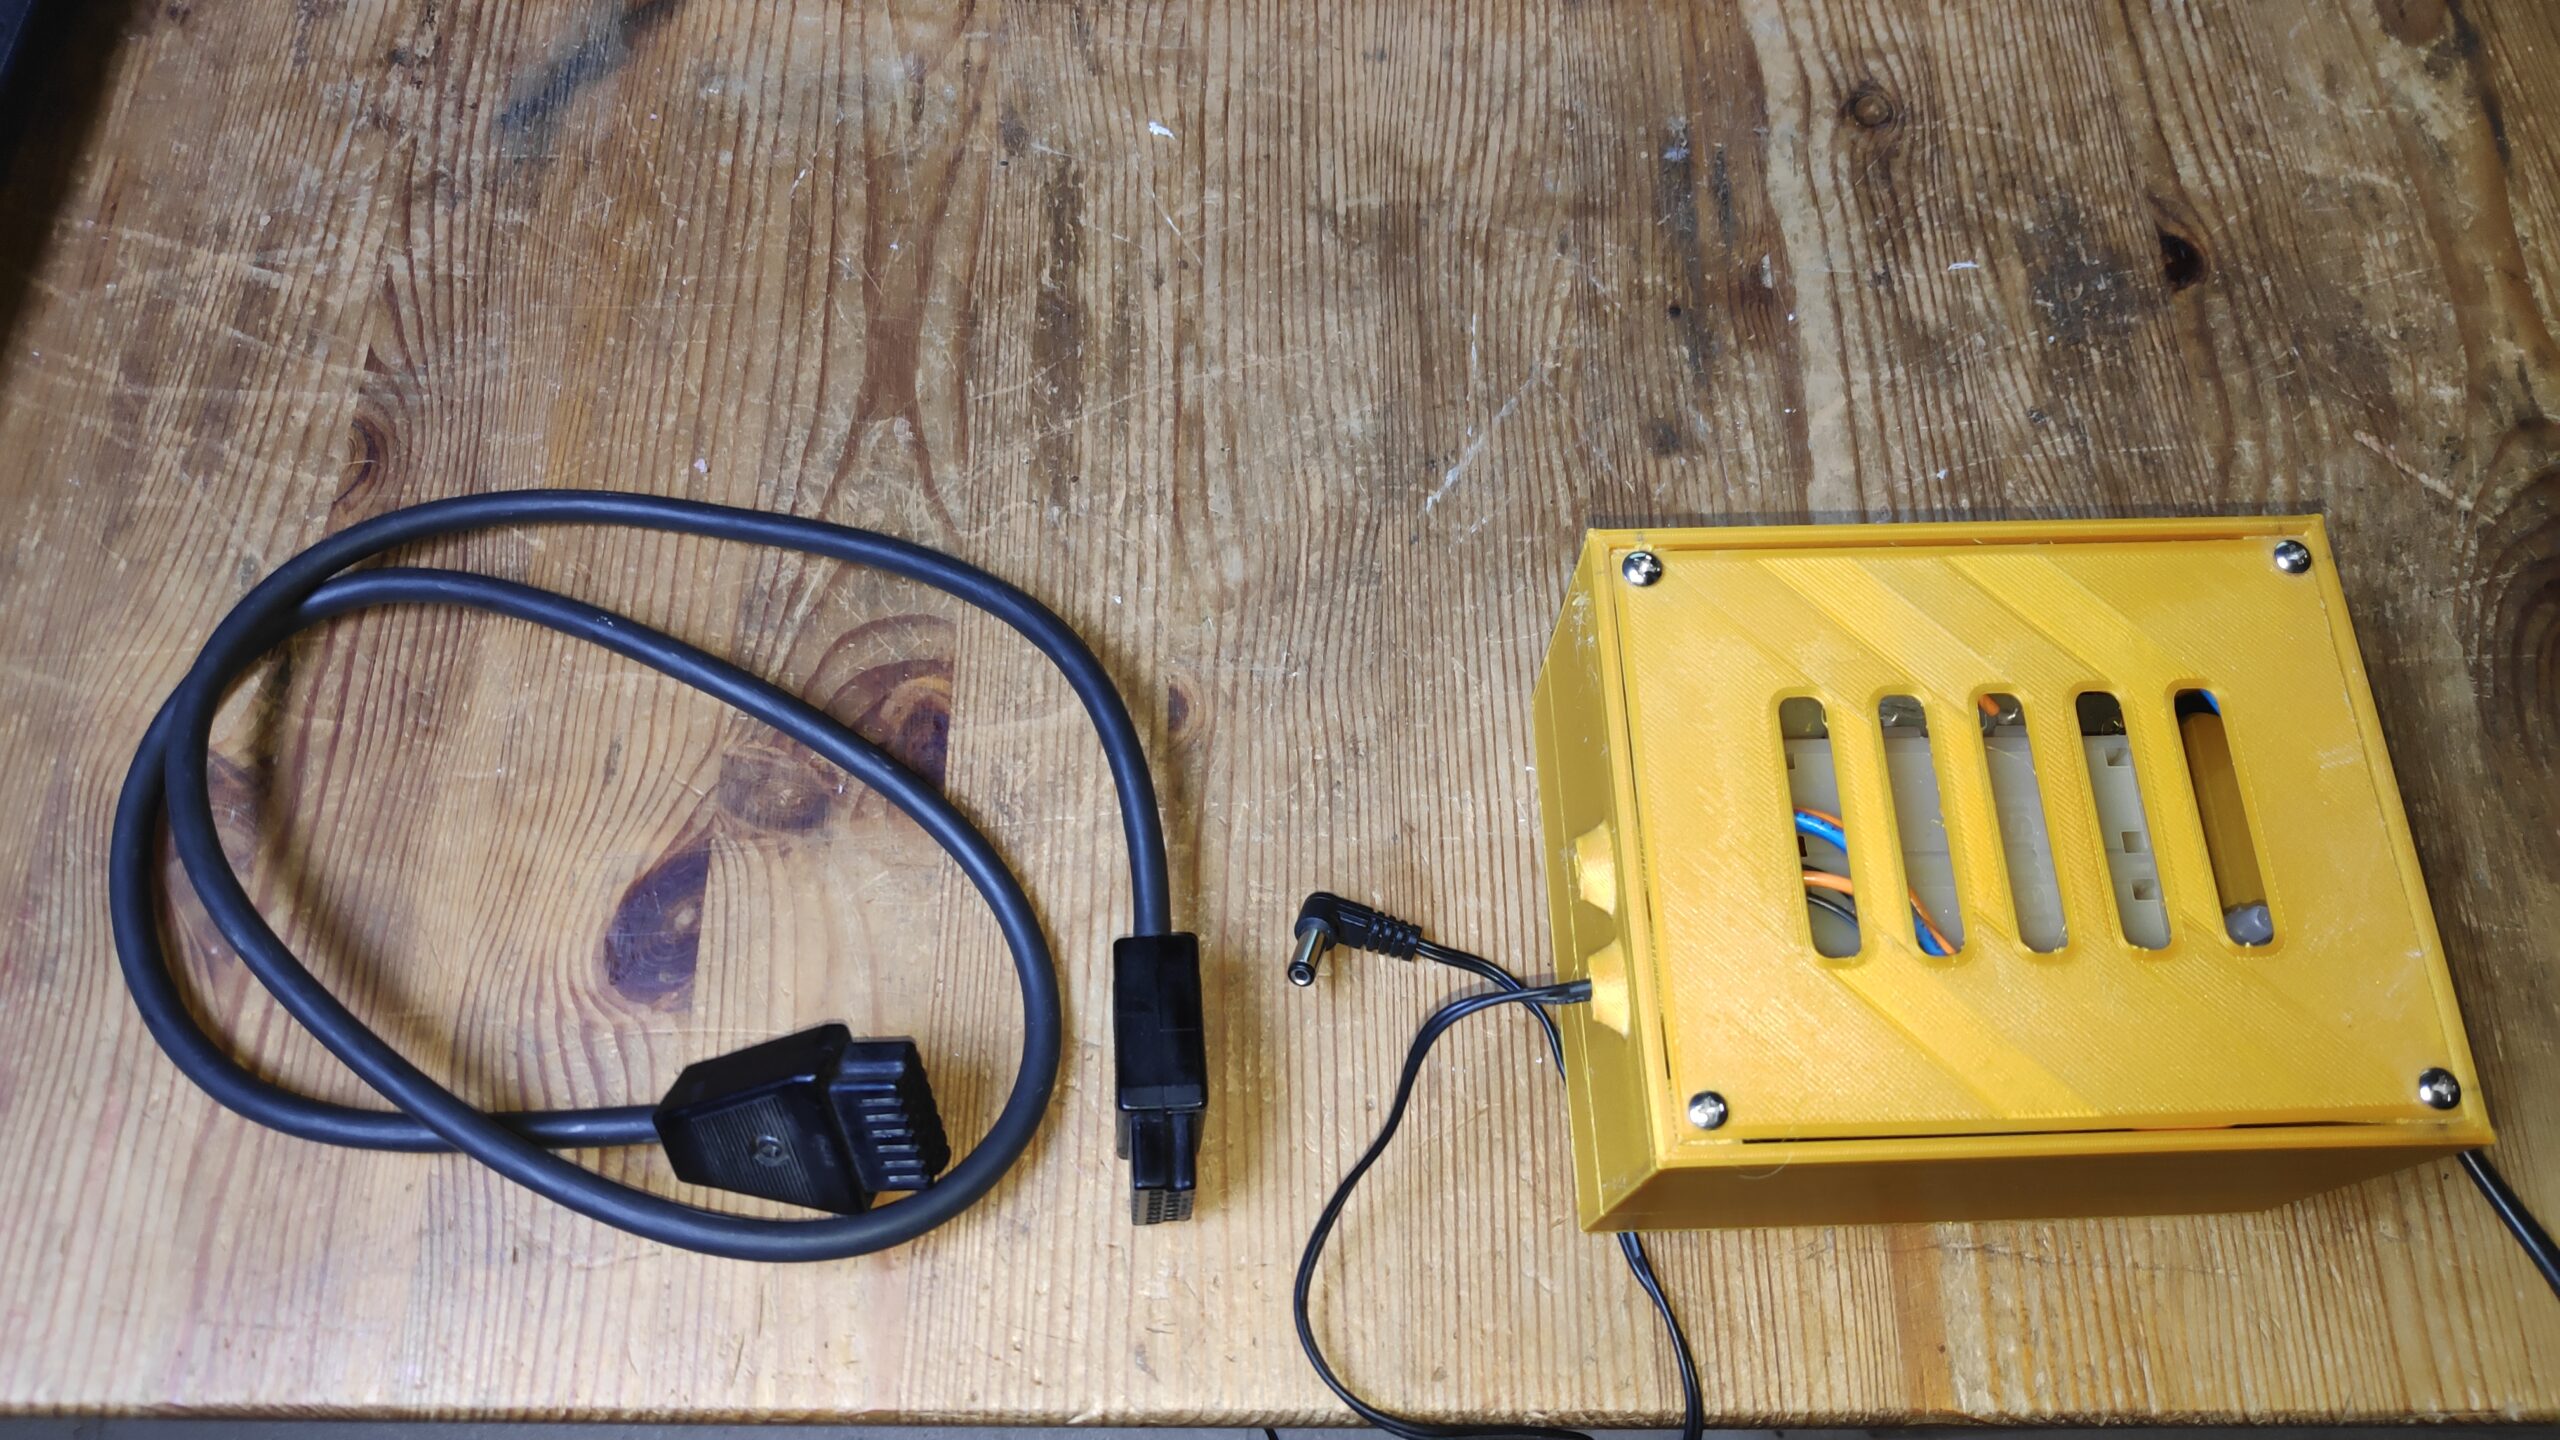
Turns out the power supply for one of these is the same as the old Atari 400 which is 9vac. I had converted a old Commodore 1541 drive to work from a newer efficient supply , this resulted in a surplus 9vac transformer which is perfect for use on old Atari’s so I made a case for it and added a mains cable and a barrel plug. I also had a SIO cable which was supplied with a 800XL but no drive came with it so that was all the cables sorted.
The next issue was the general cleanliness of the drive which was going to need some work.
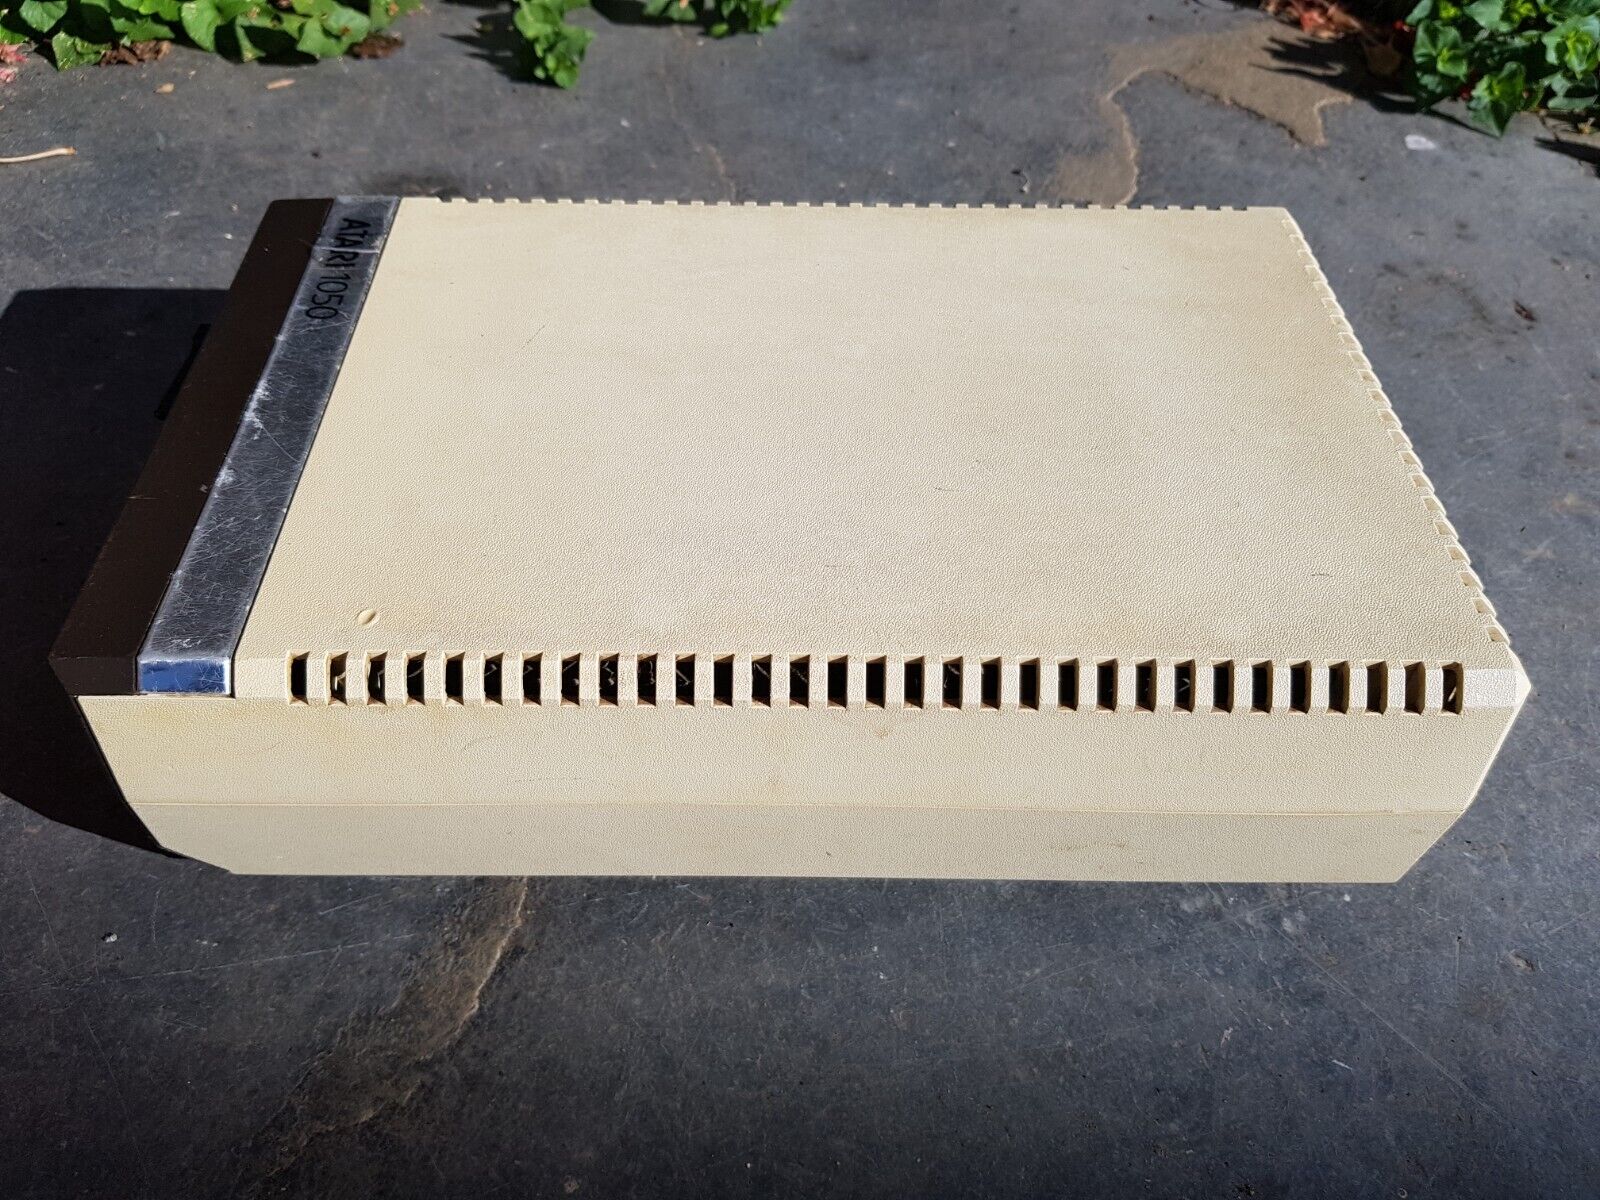
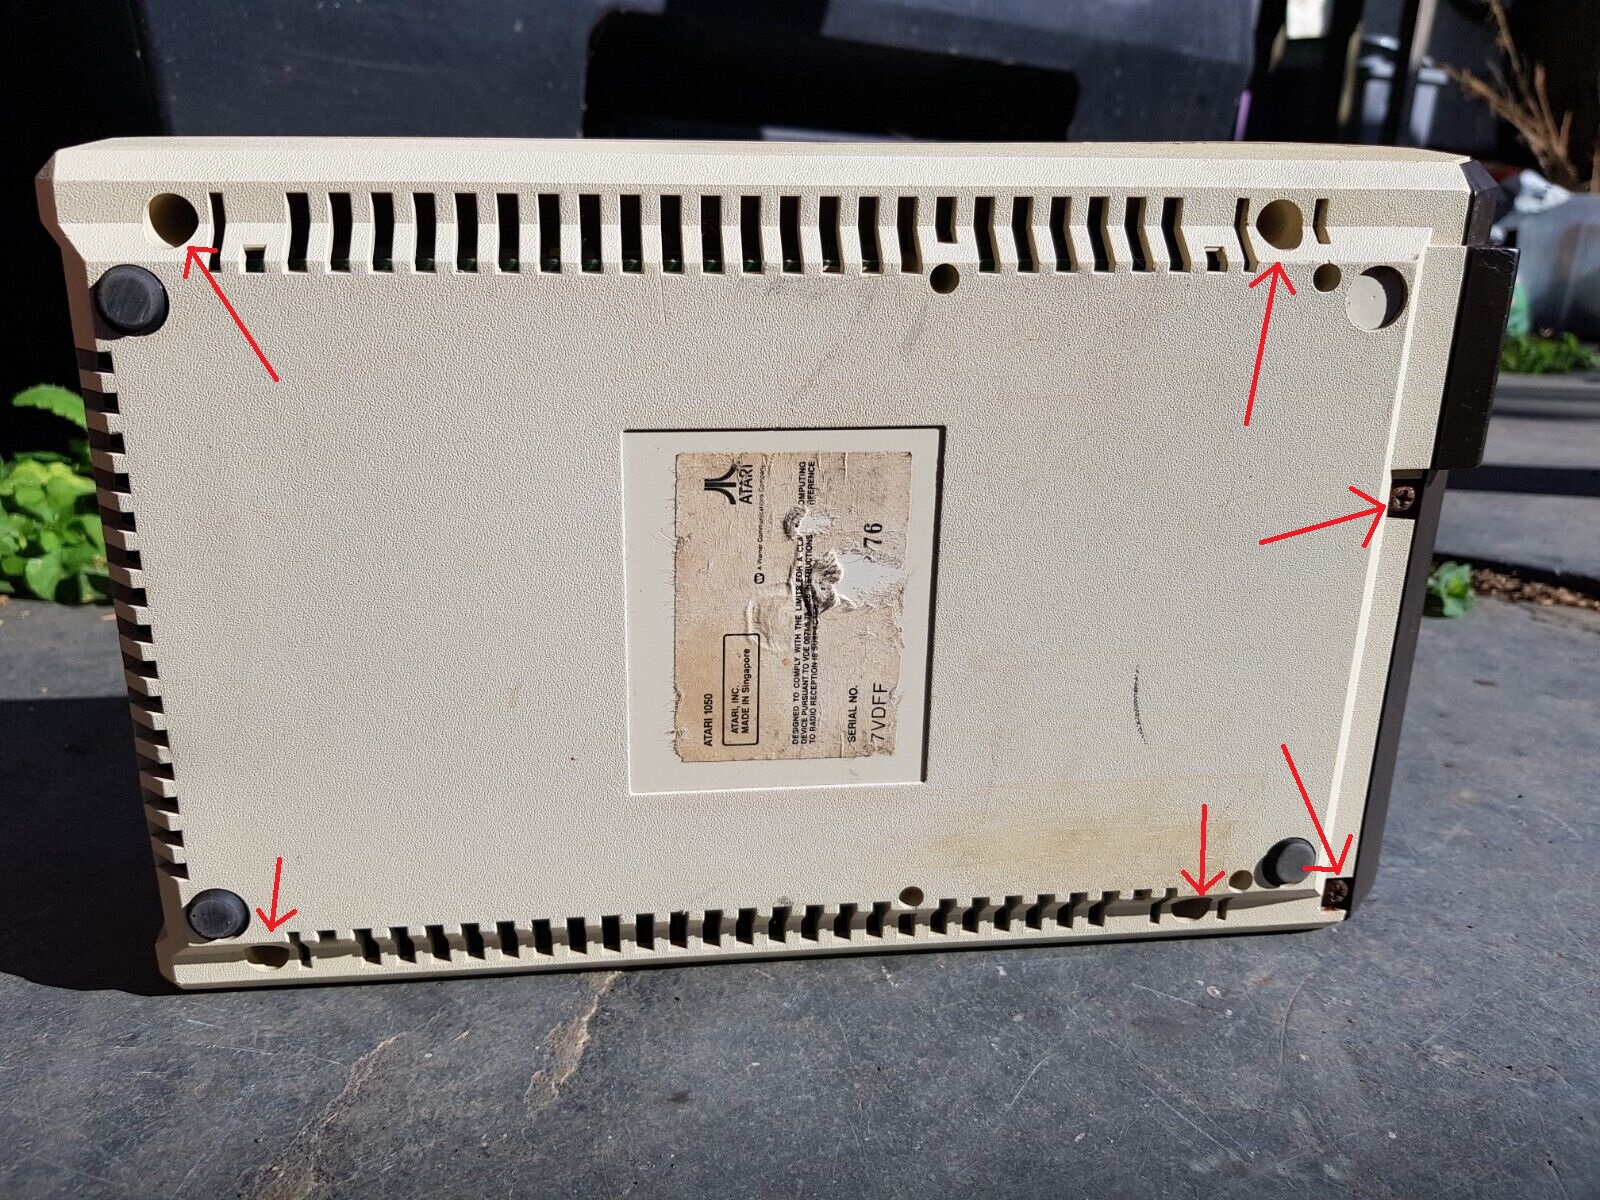
Taking the drive apart was easy with just 6 philips screws holding the top and bottom case together. Noticed a rubber foot missing so to be resolved also.
As expected it was quite dirty inside
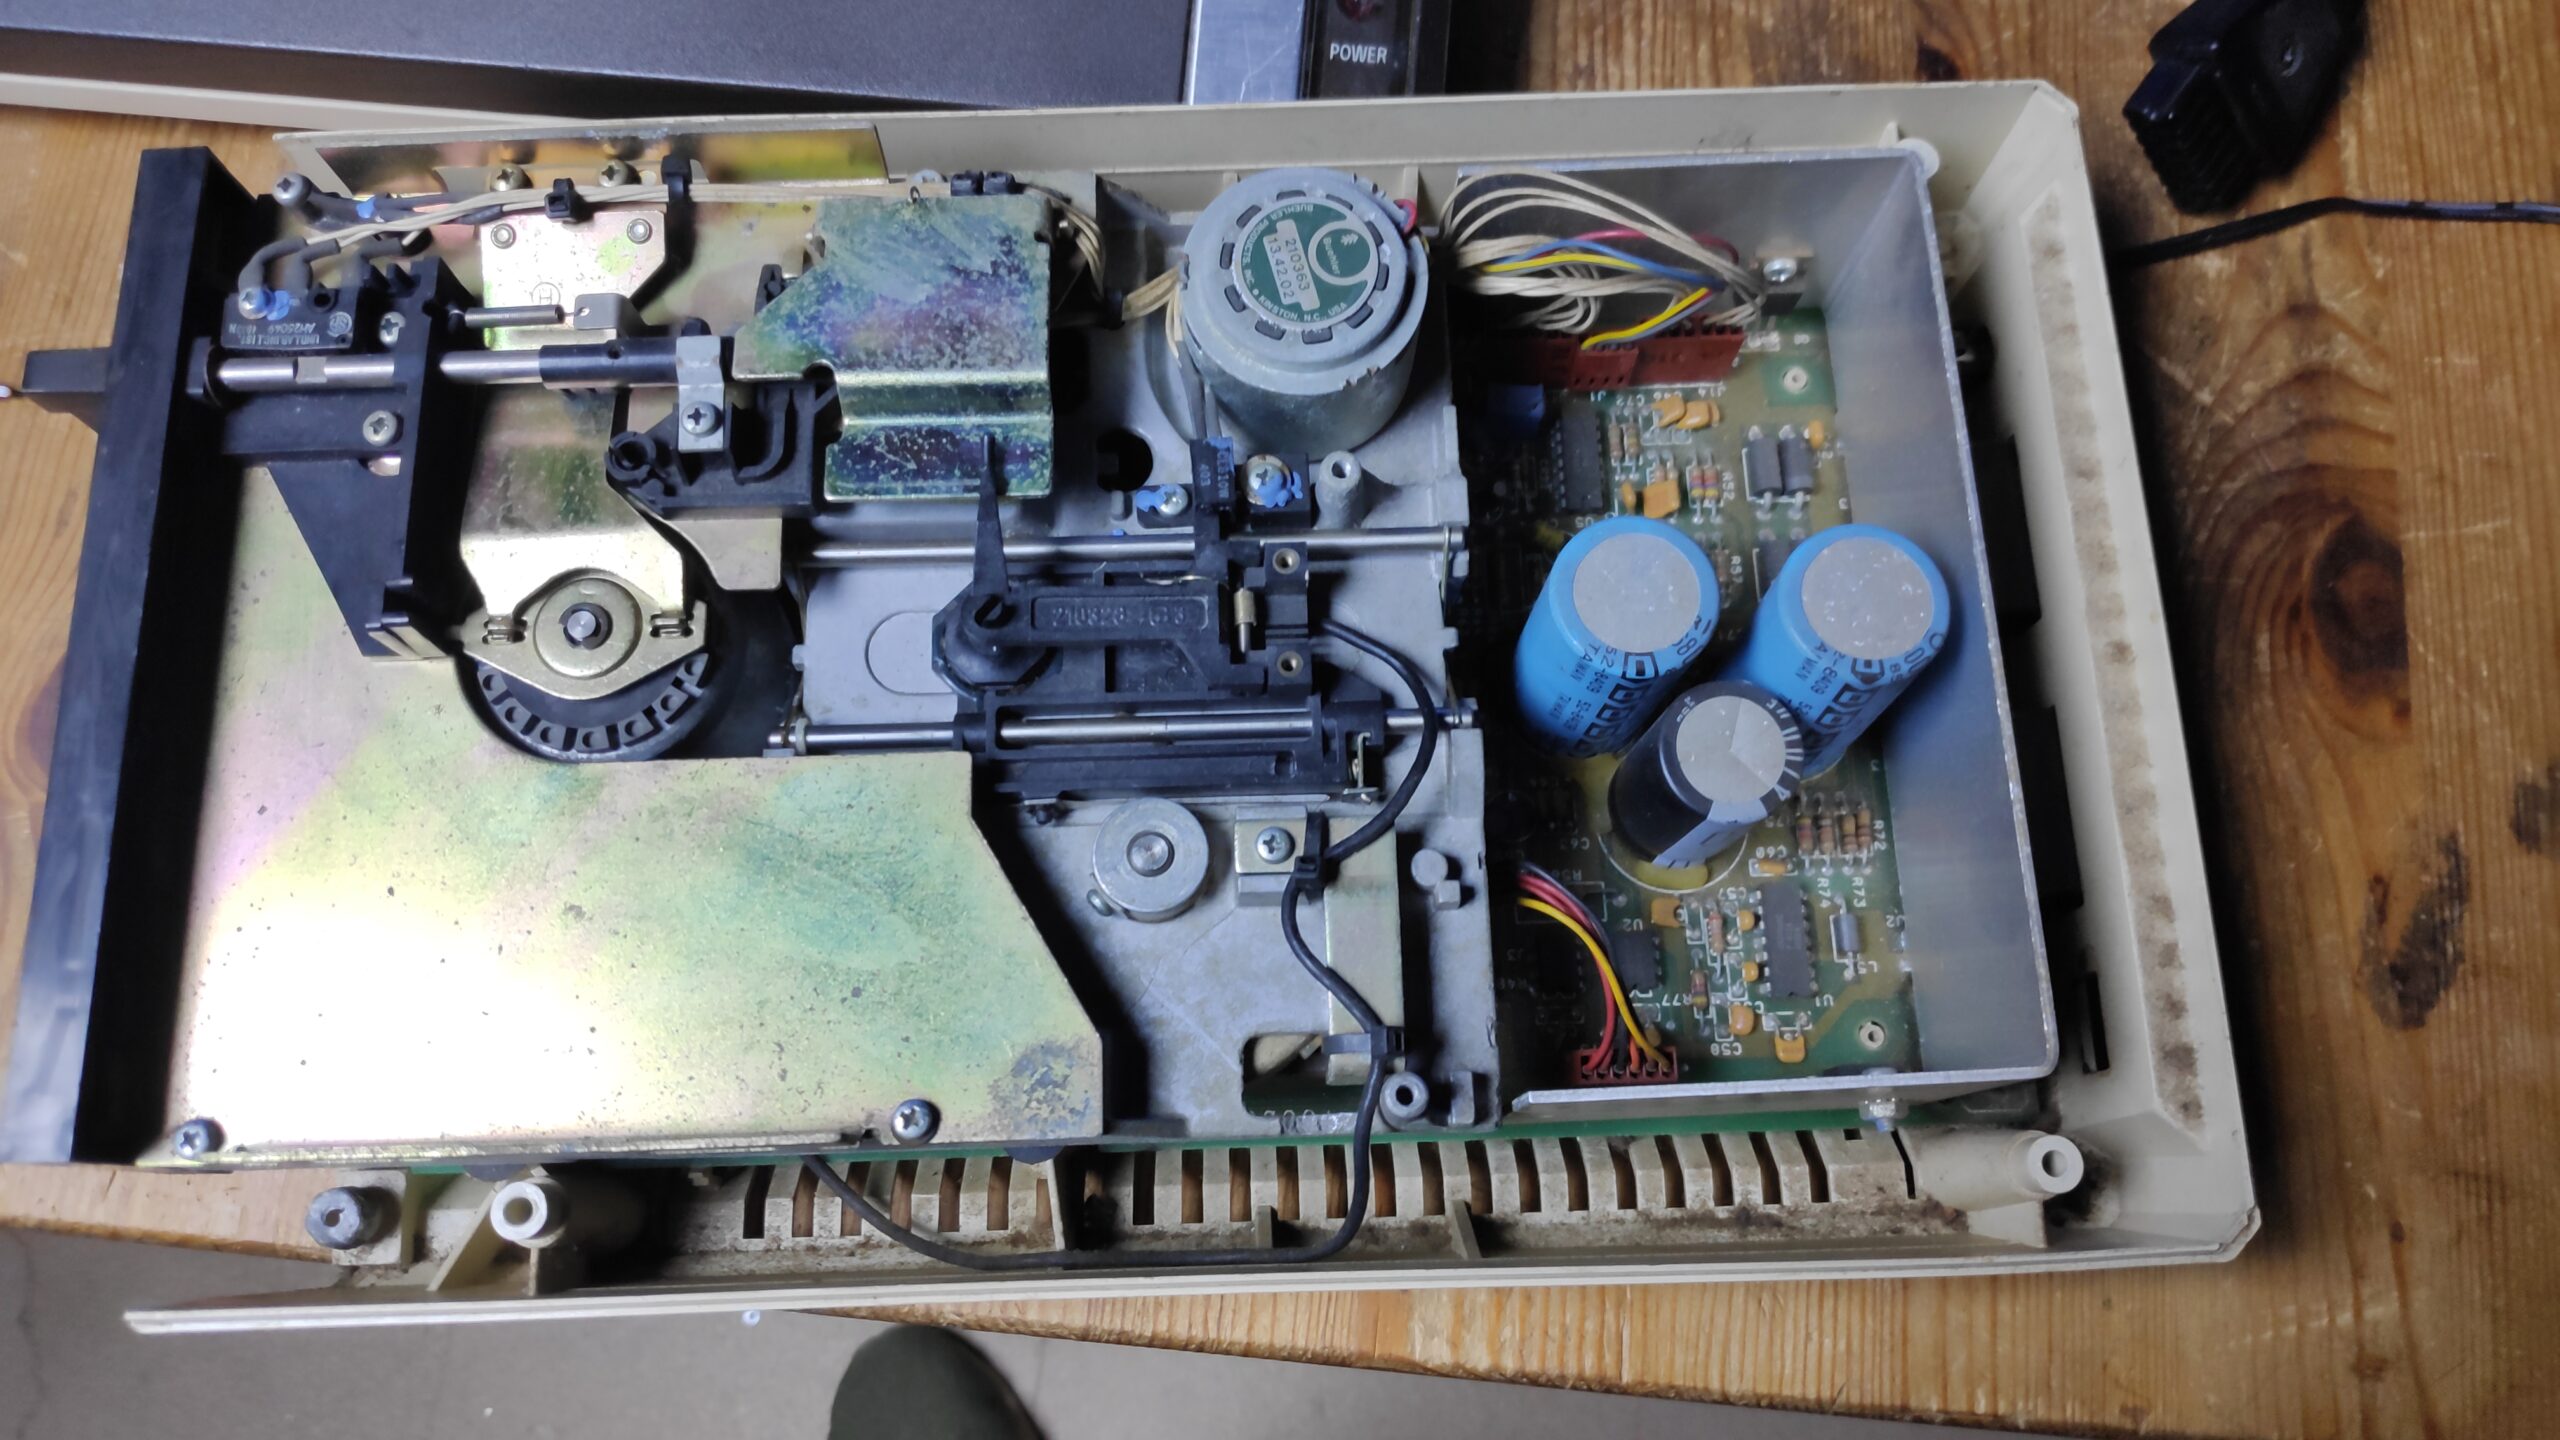
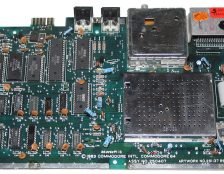
So a dismantle and cleanup was next. The motherboard and mechanics are all removable by carefully prying the clips on the base and sliding it out. The picture shows the mechanics removed but the whole thing come out in one piece mechanics included.
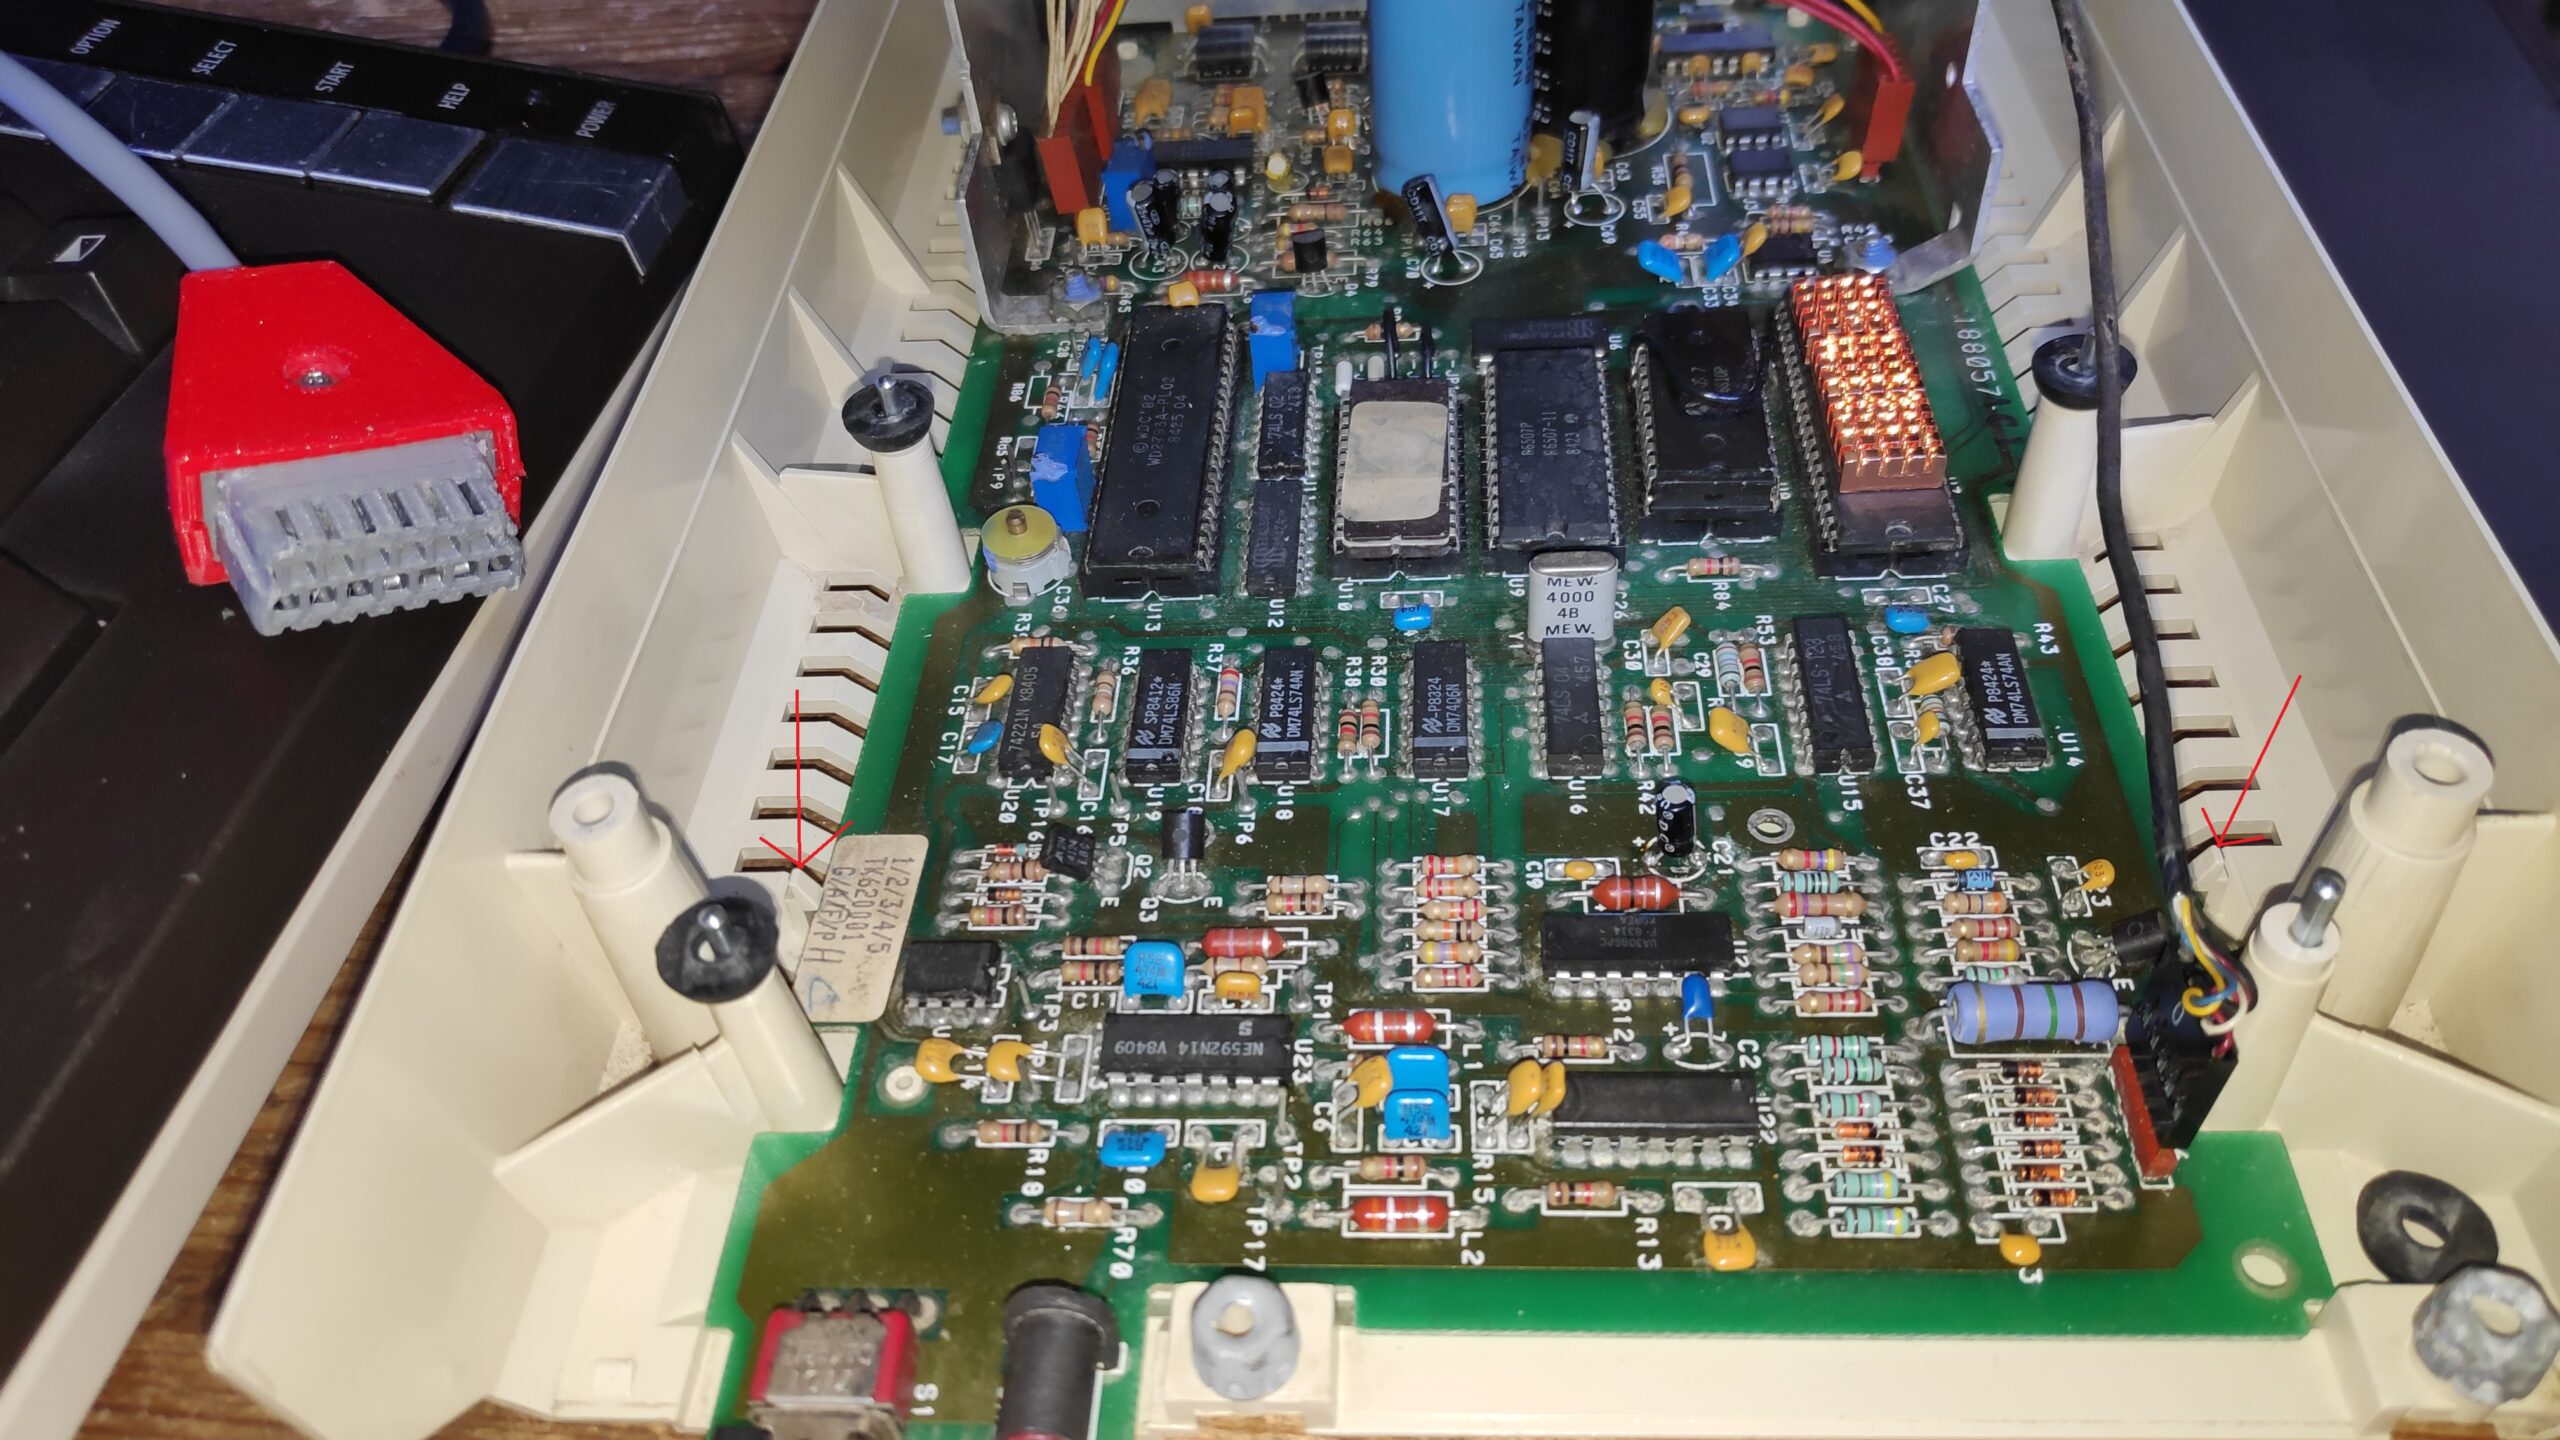
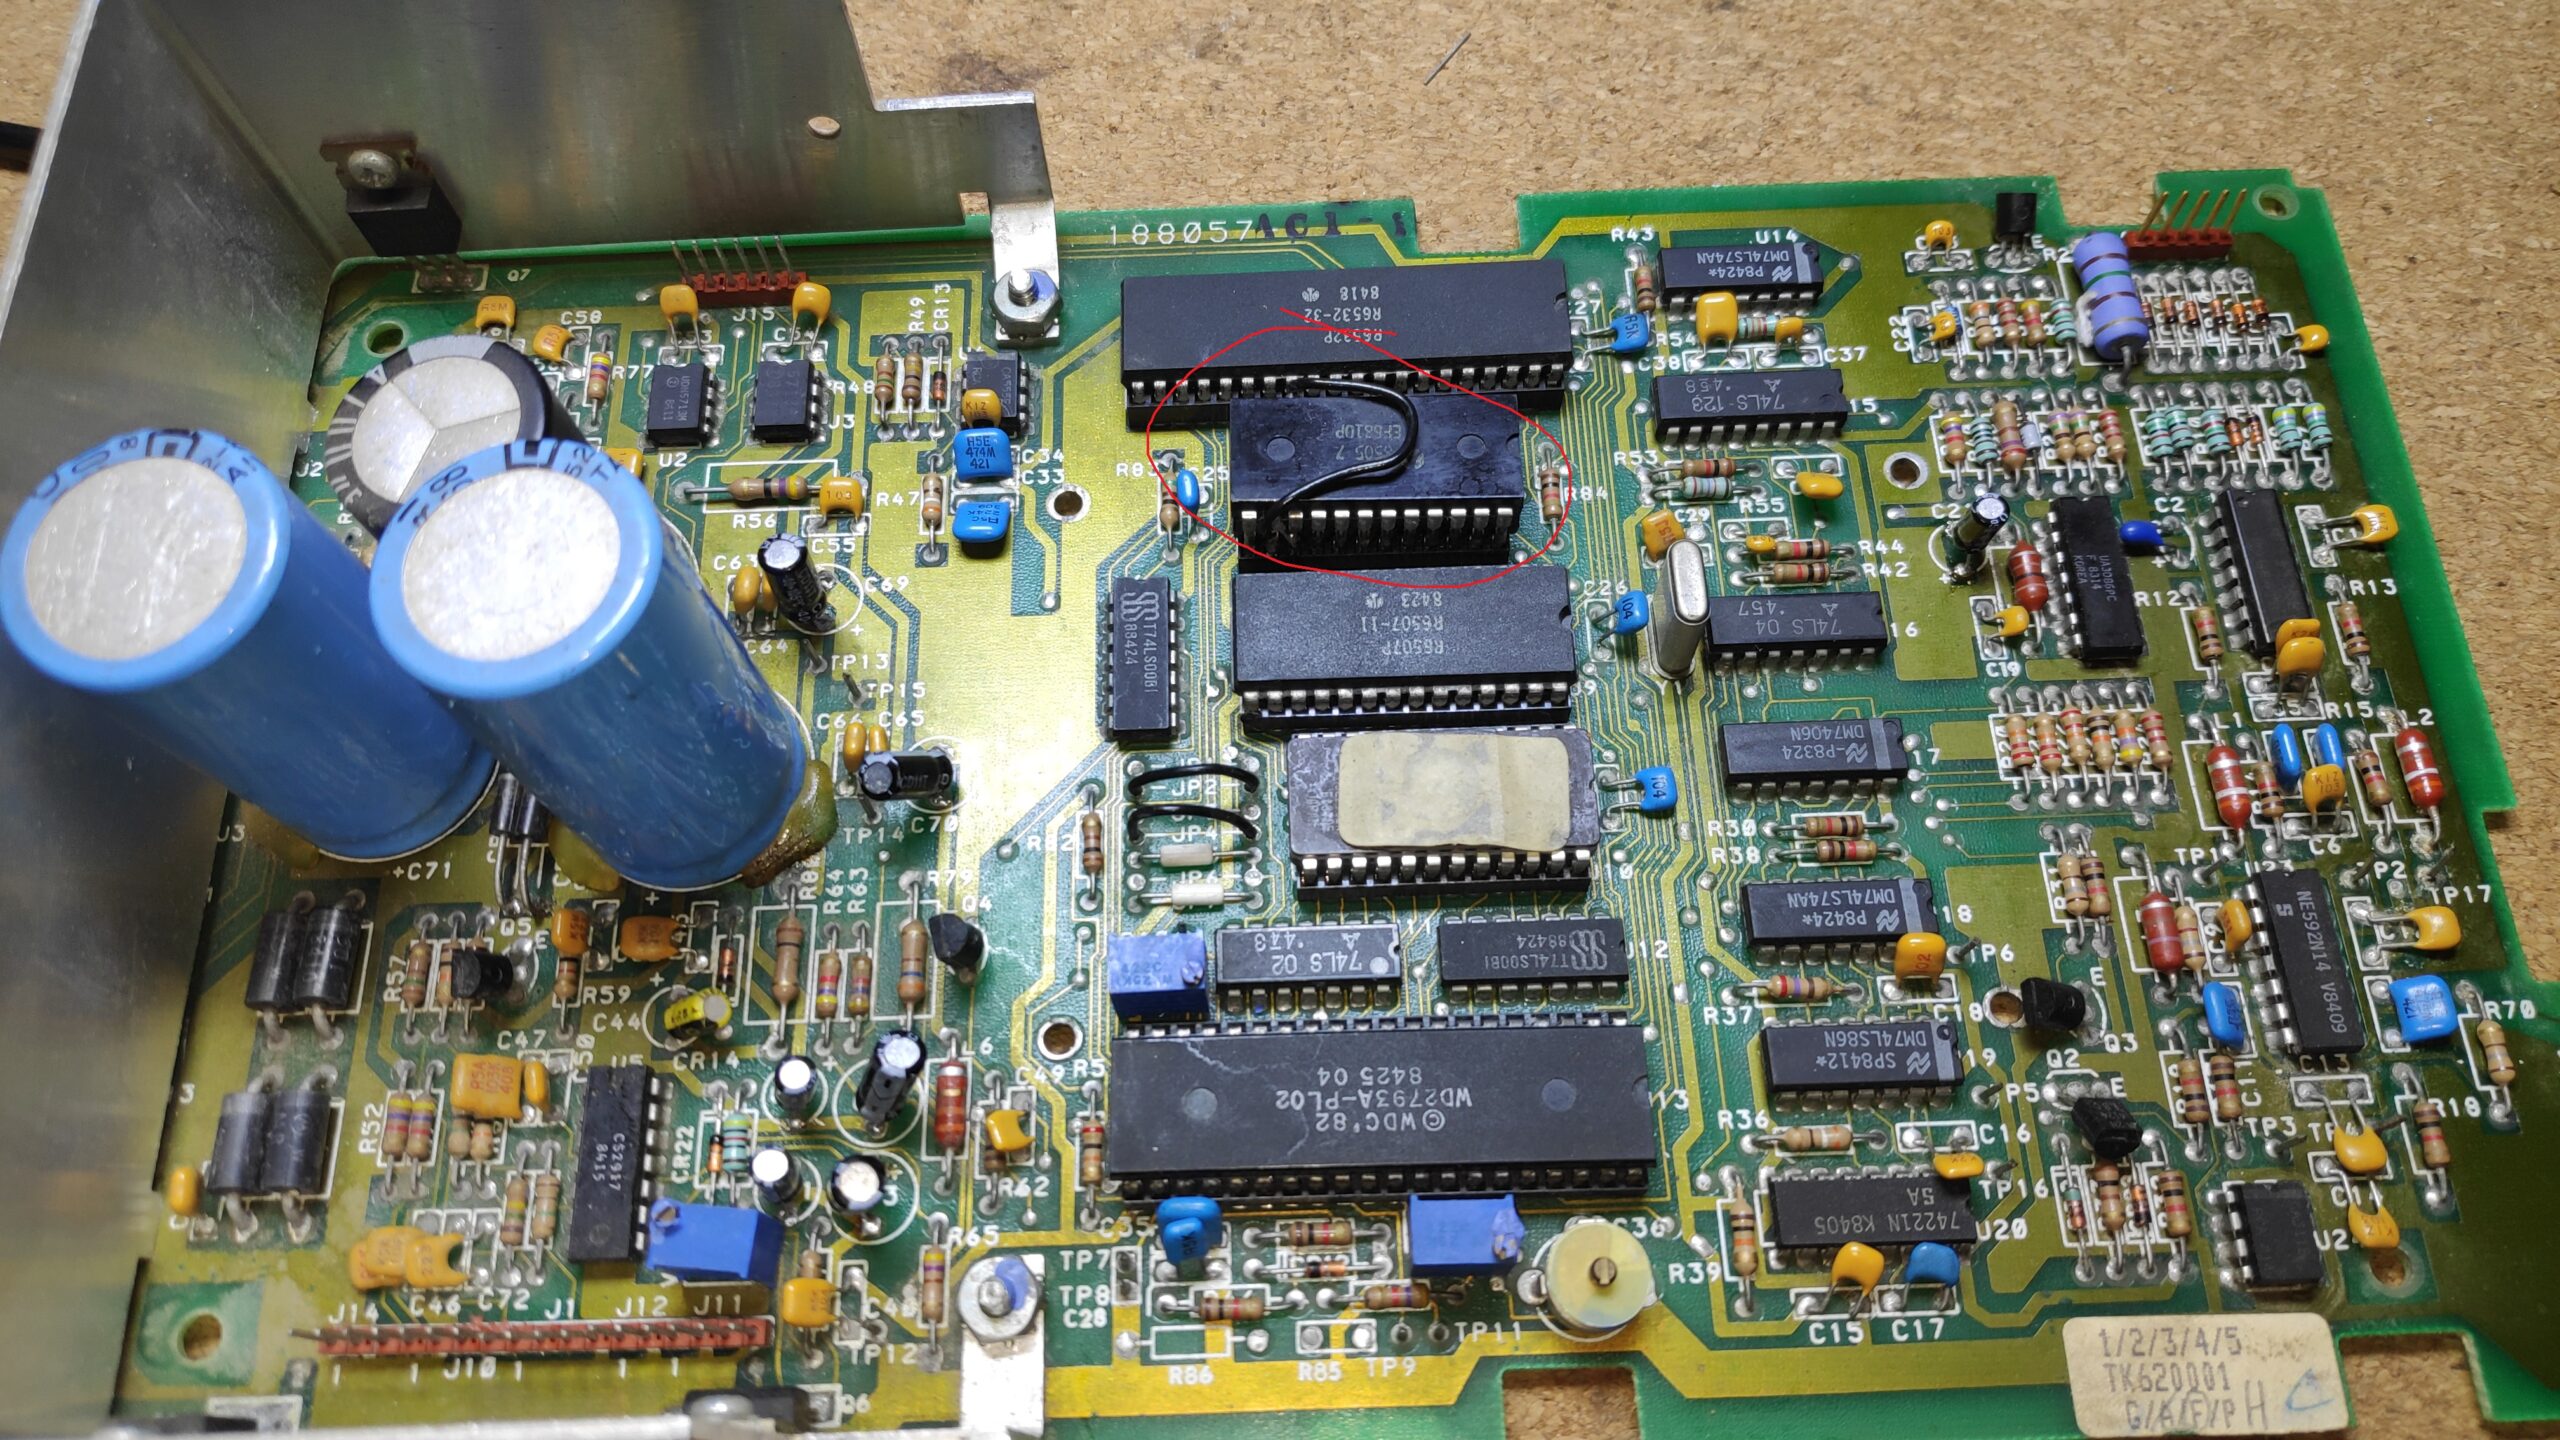
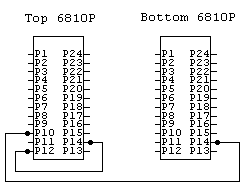
Something which did look strange was the extra wire and height on one of the roms. I assumed this was a mod but for what? More on this later.

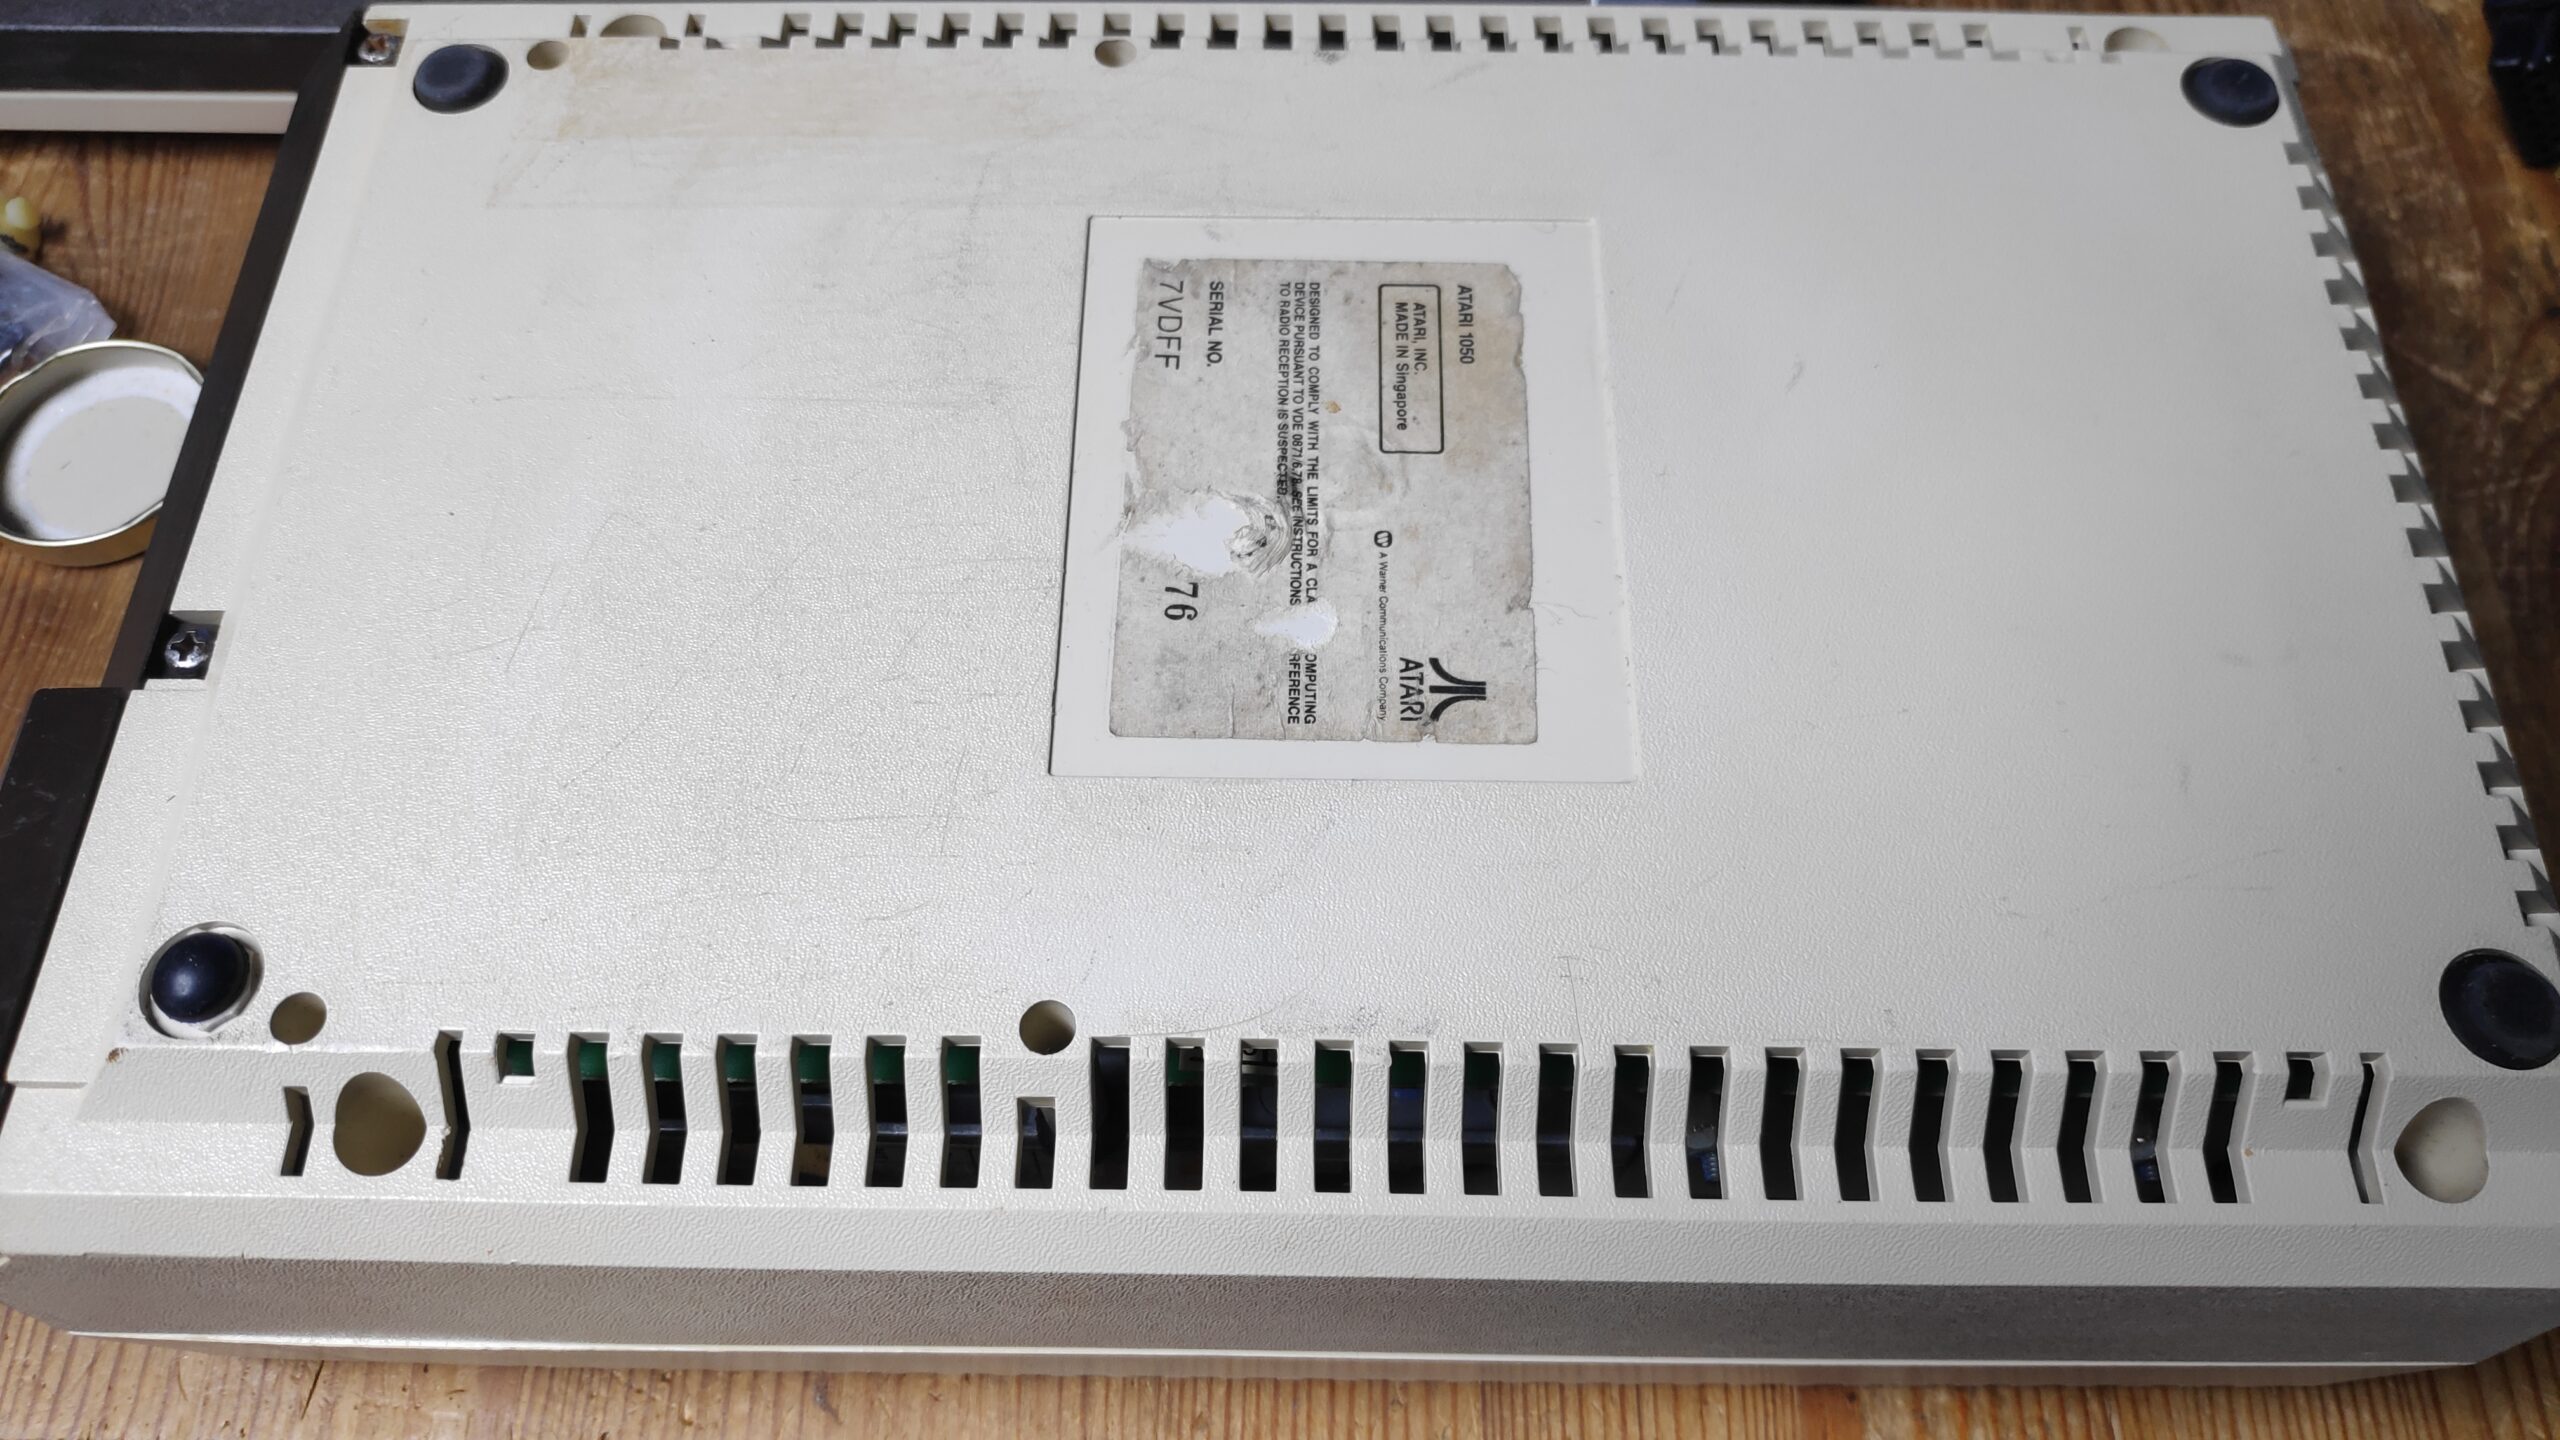
With the case and contents separated I set about cleaning. Take good photos of all the connectors before doing this as note J1 is fitted the wrong way round but it turns out this is correct!.
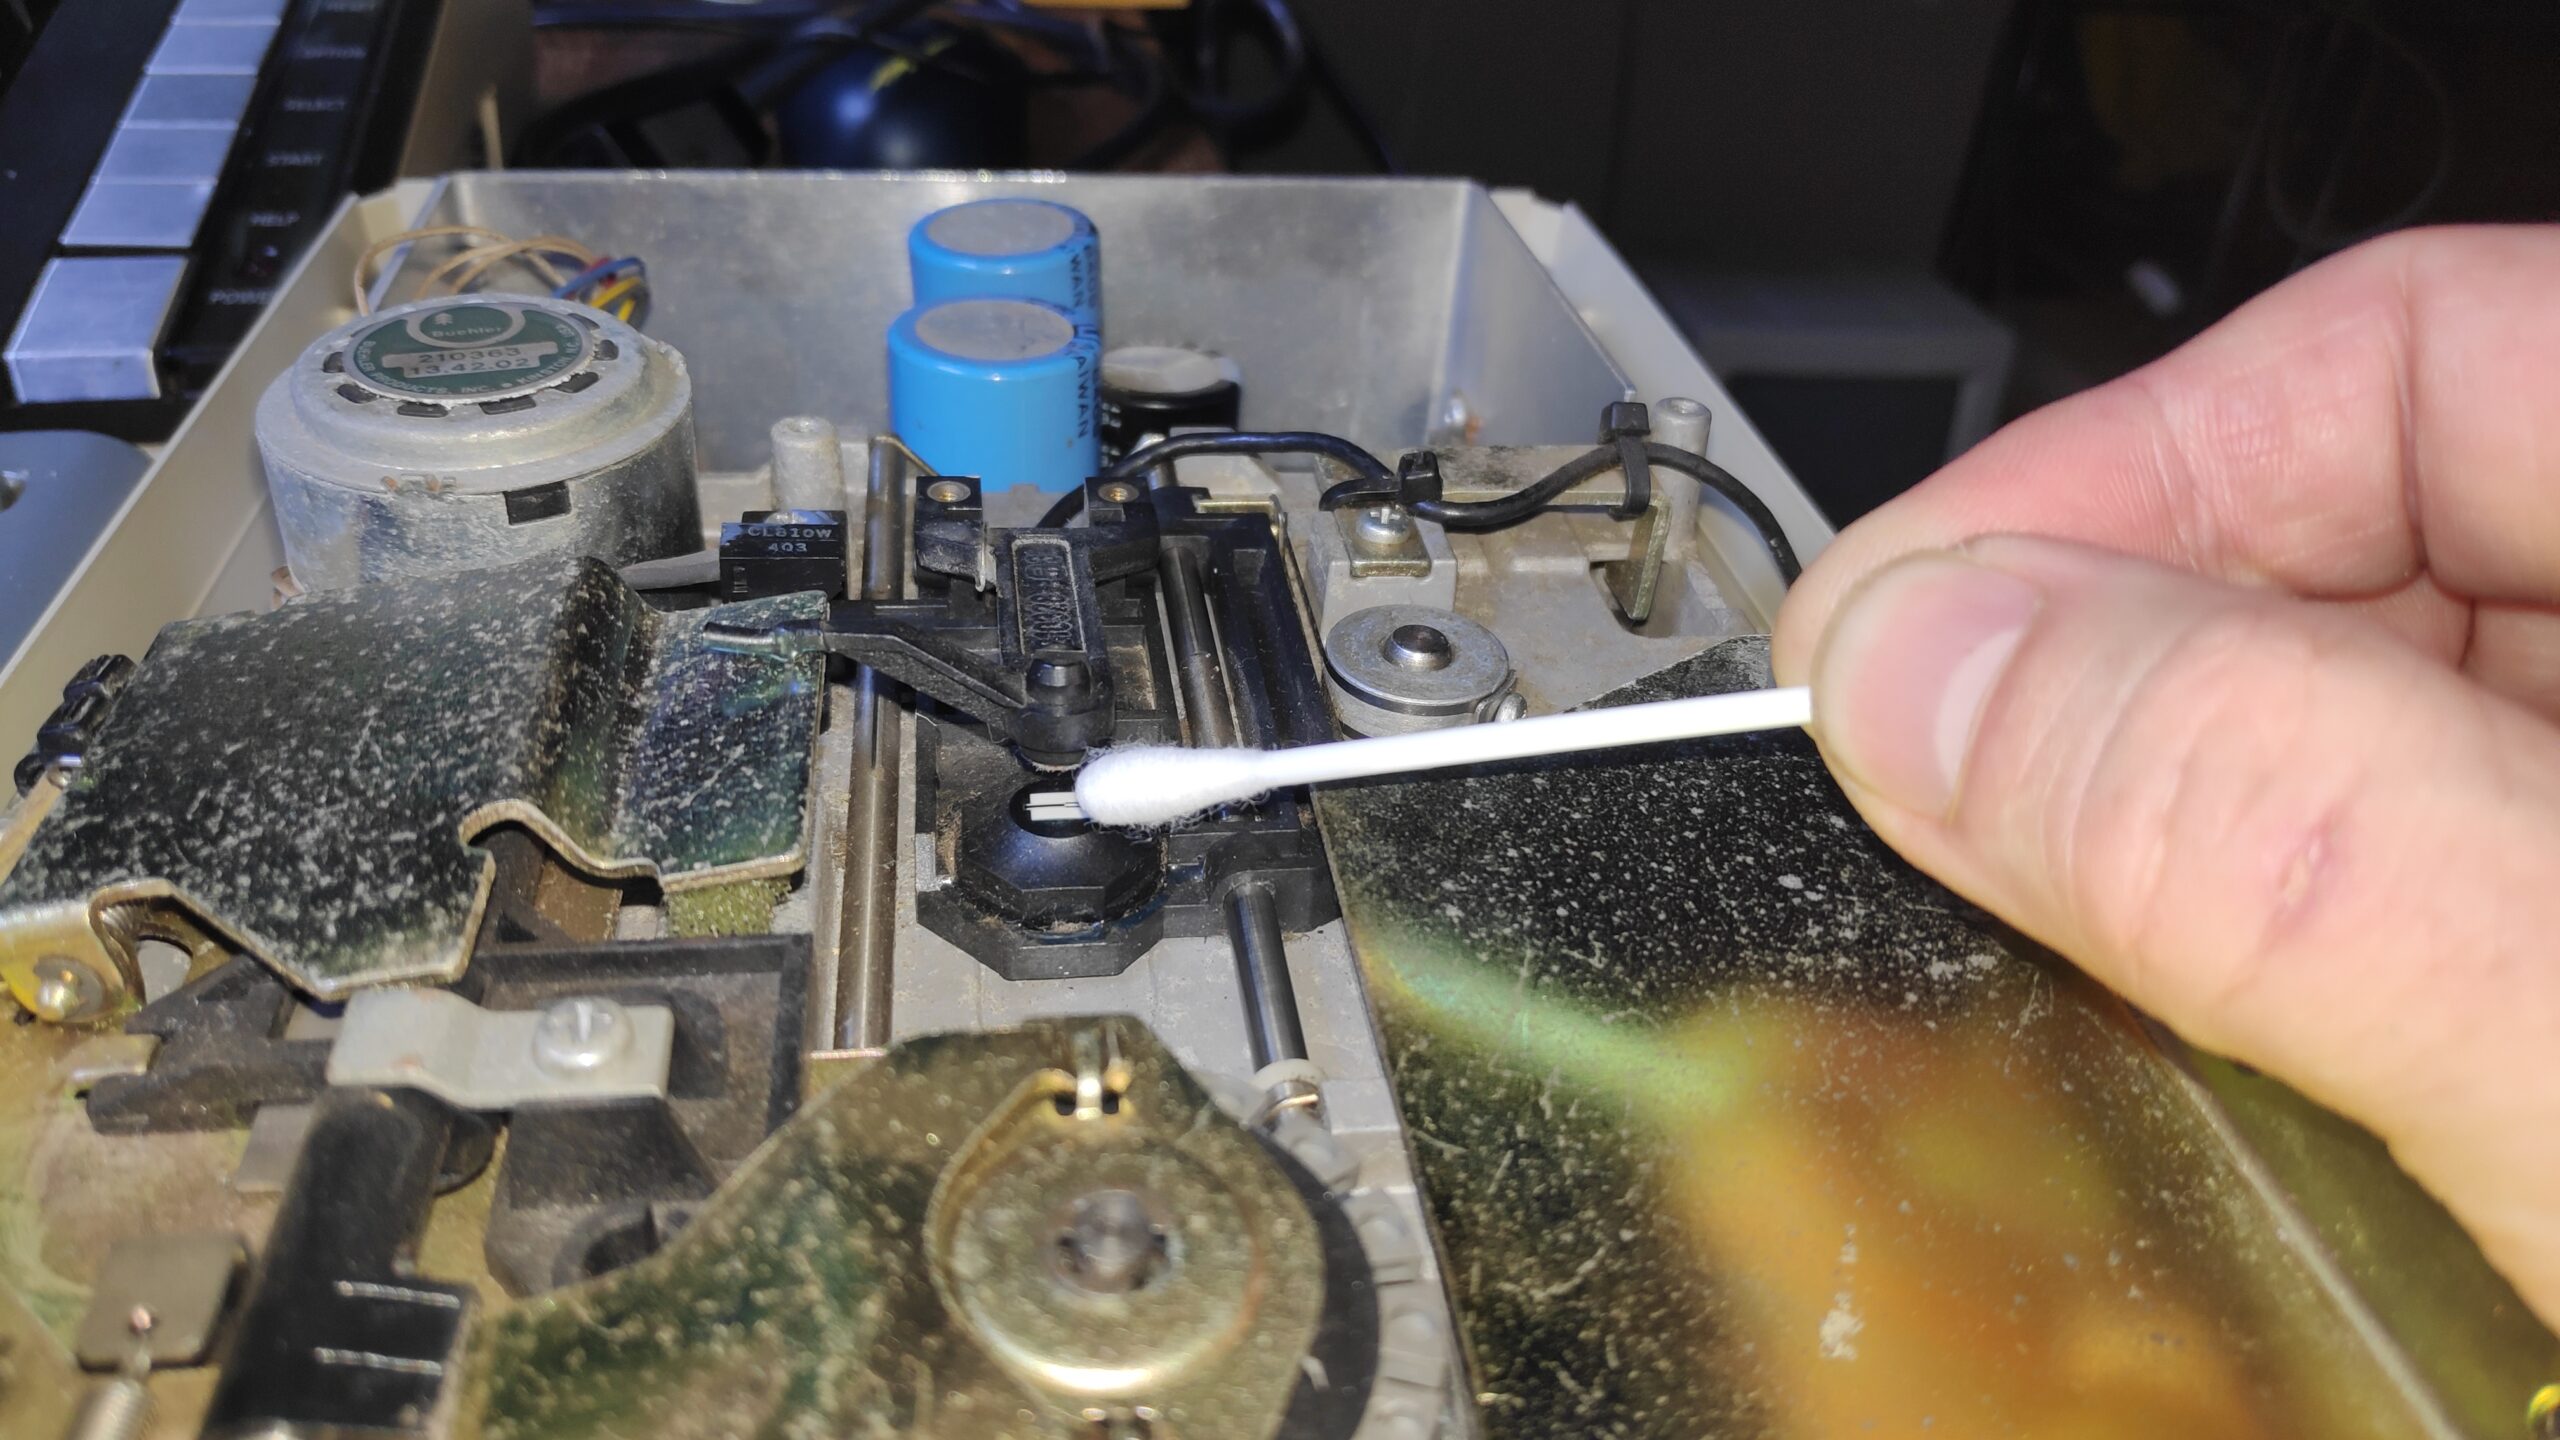
The case got a good scrubbing with soapy water and a brush. The motherboard was cleaned with isopropyl alcohol and a brush. The mechanics were cleaned with alcohol and many cotton buds and then lubricated with some silicon grease and silicon spray. The drive belt was removed and carefully cleaned with a moist cotton bud but don’t use isopropyl on rubber belts as it will eat them. The belt spindles were cleaned with moist cotton buds and thoroughly dried before re-applying the belt. The disk head was also cleaned with some isopropyl. This is hard work, notice the soldering iron burn on the thumb, ouch!
After cleaning I decided to power the mother board and give it a temp test by spraying isopropyl over the chips and checking for any super quick evaporation. The RIOT chip was getting extremely hot so I turned things off and inspected further.

I also took the opportunity to swap out the smaller capacitors as I had replacements on hand but the larger caps will have to wait however these tested ok. I also reseated all the socketed chips. Should have done this before powering on. I also reflowed the solder on the chip sockets, the SIO sockets and the barrel plug power socket.
After recapping I tried another power on. This time the RIOT chip remained just warm as did all the chips which was a good sign. I also took the opportunity to put some heat sinks on that RIOT chip just in case.
I connected the mechanics back up and turned on. The power LED came on the disk spindle turned and the head moved which was good.
I turned off and then moved the head manually and carefully with my finger towards the center of the disk position. Then turned on and the head moved back to its zero index position. This proved the end stop detector was working ok and drive control chips were looking good.
So how to test this drive without a disk?
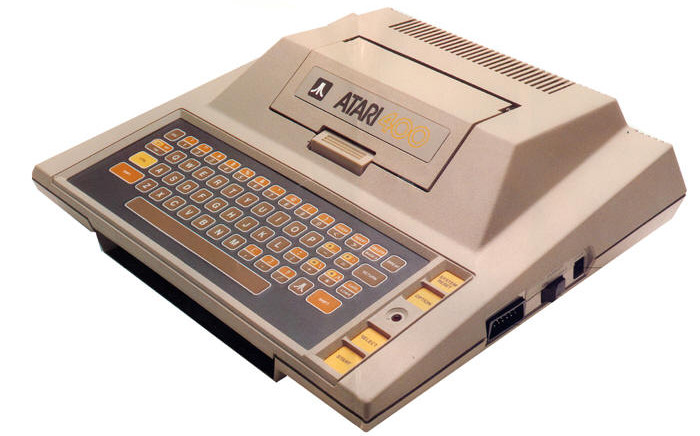
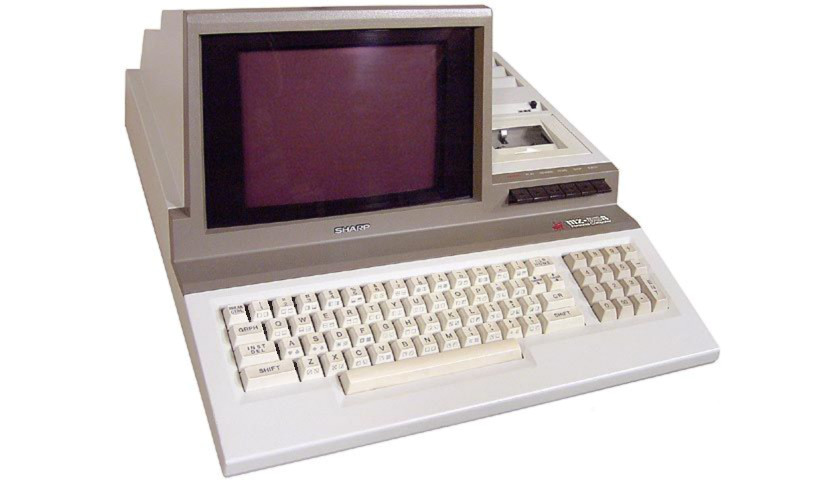
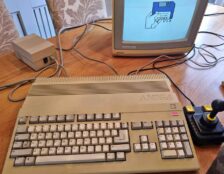
I first plugged it into a 800XL and turned it on and got this
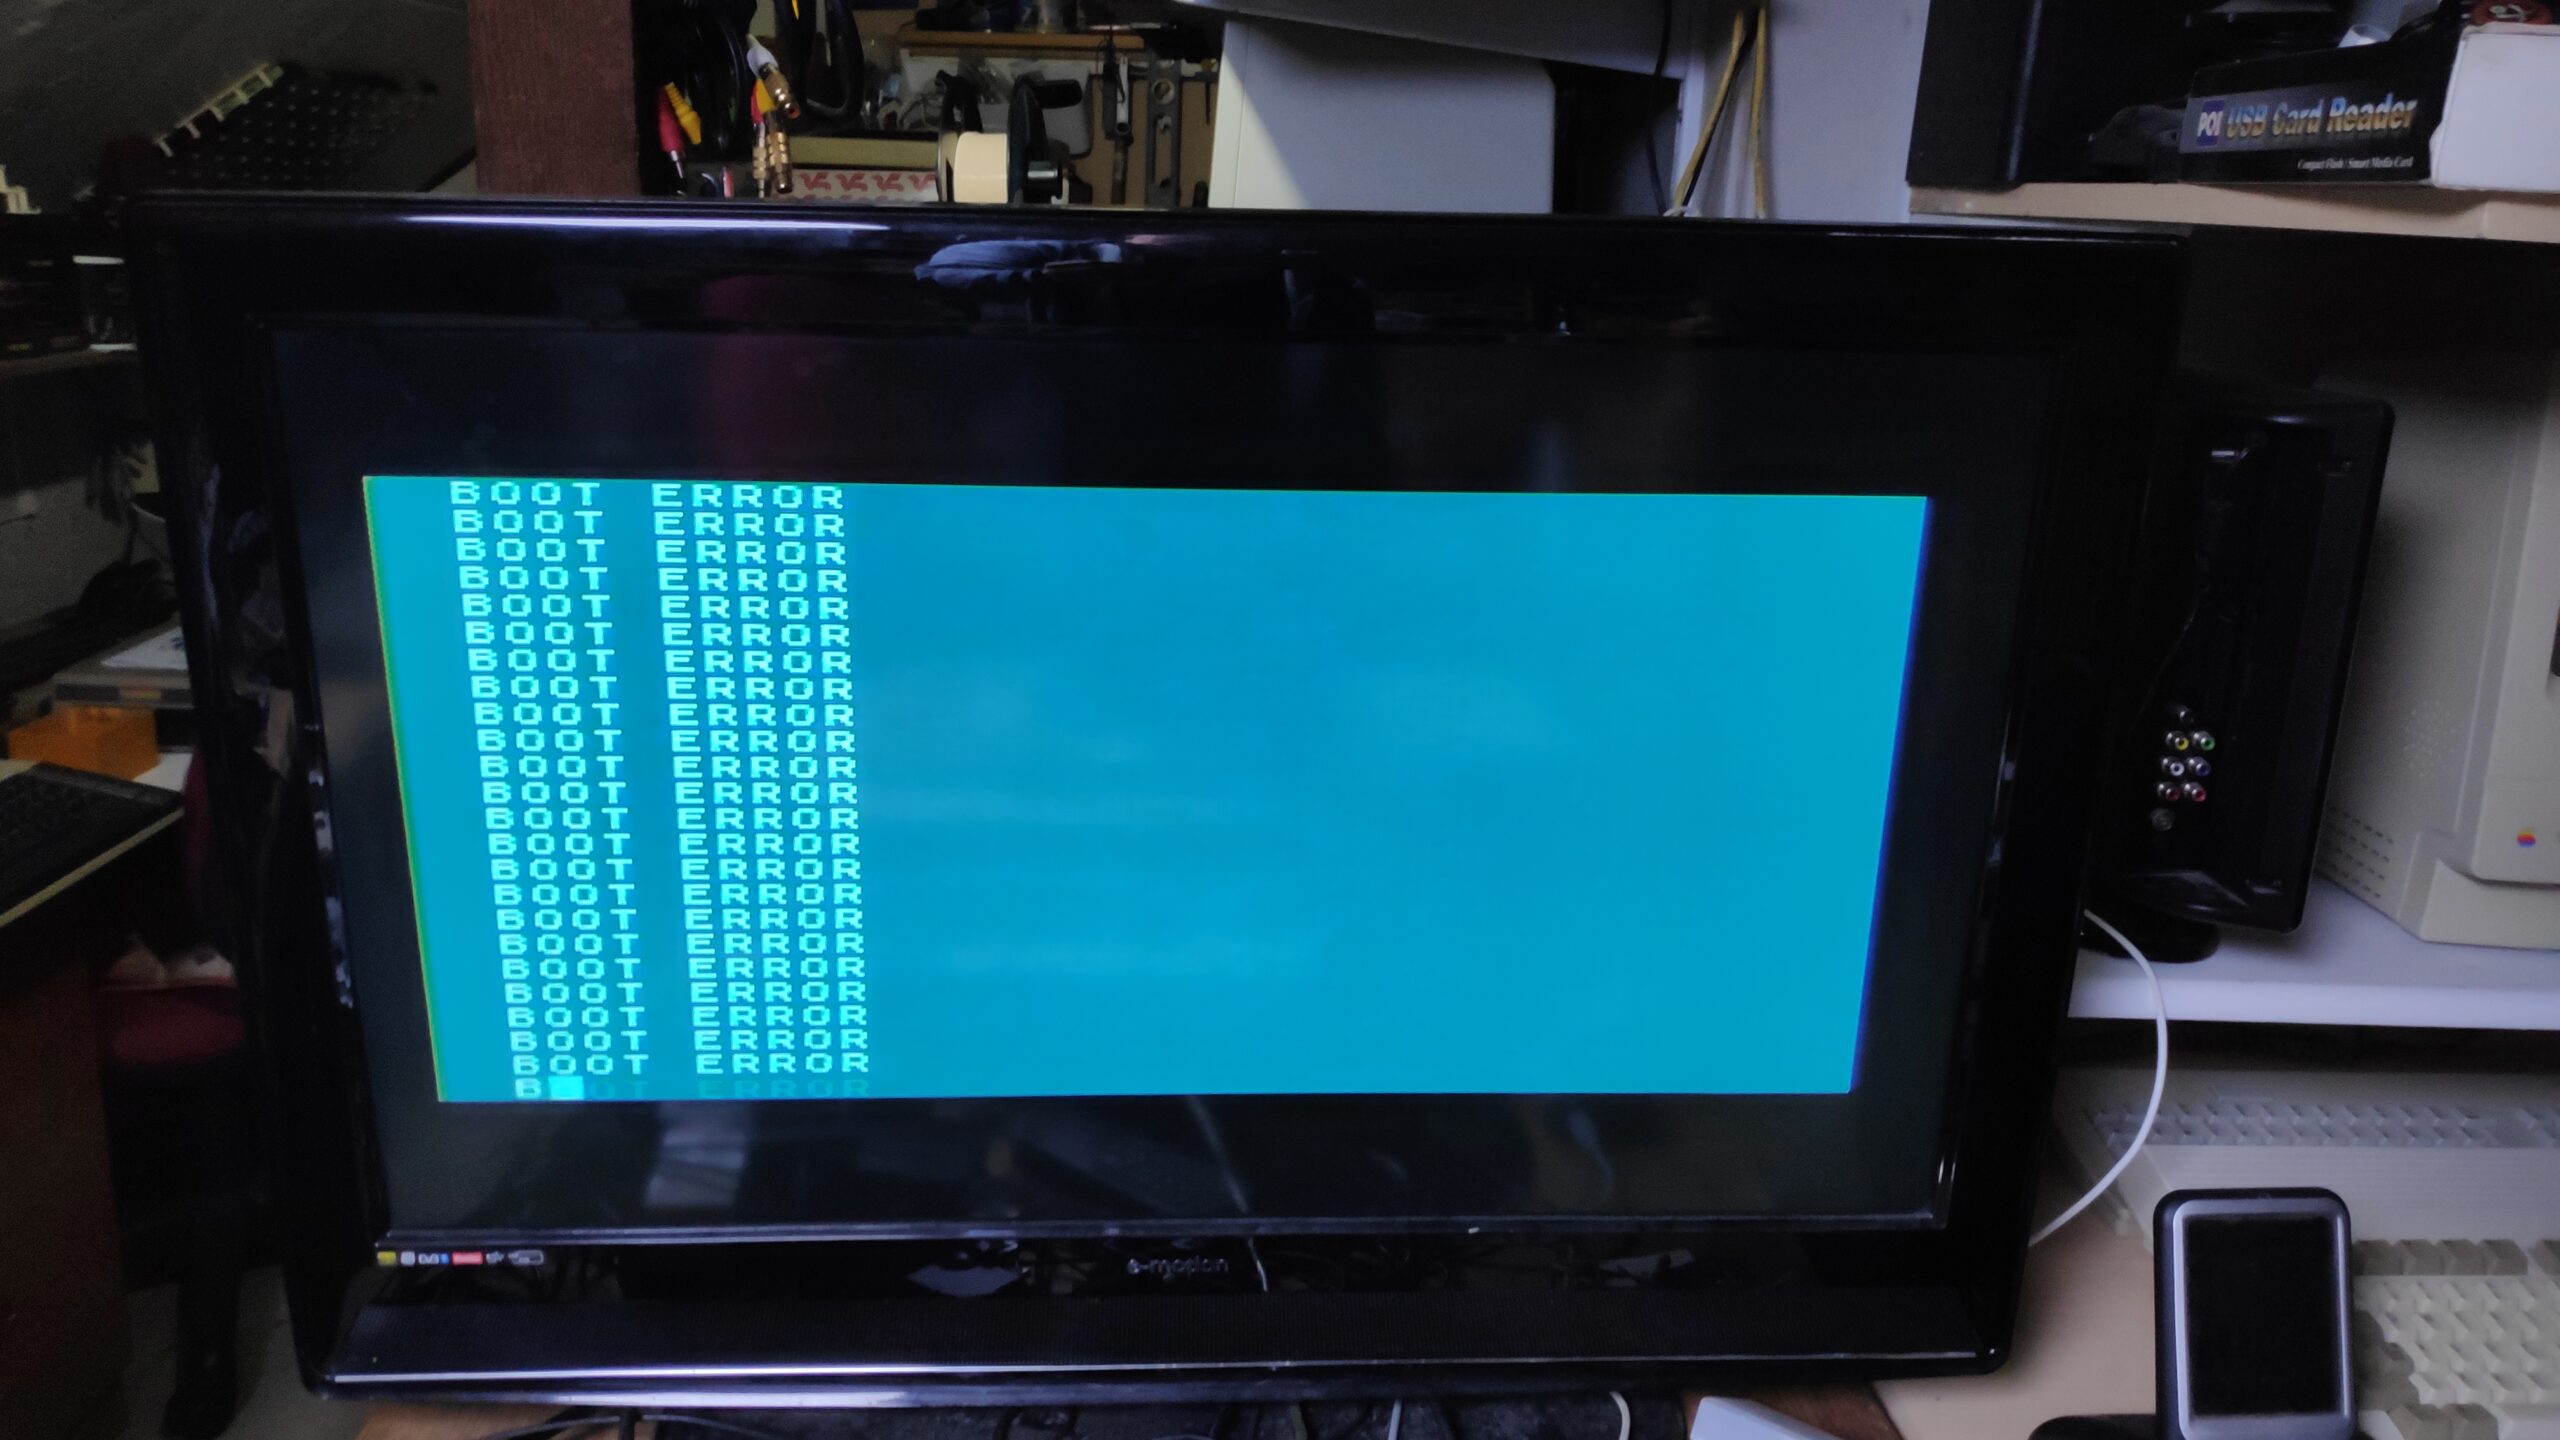
I though oh no the drive is dead but after a bit of research it turns out this is normal, phew!
Thought I’d better find out what that mod was. A bit of research revealed it was one of these
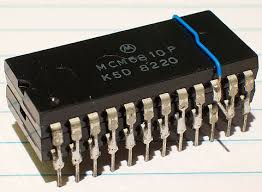
Its a US Doubler. I had no idea what this was but it turns out it improves disk capacity and the speed of reading and writing disks. However you have to load a specific DOS to use it such as Spartados and I did find some US Doubler specific utilities so thought I would start there.
The utility looks like this.

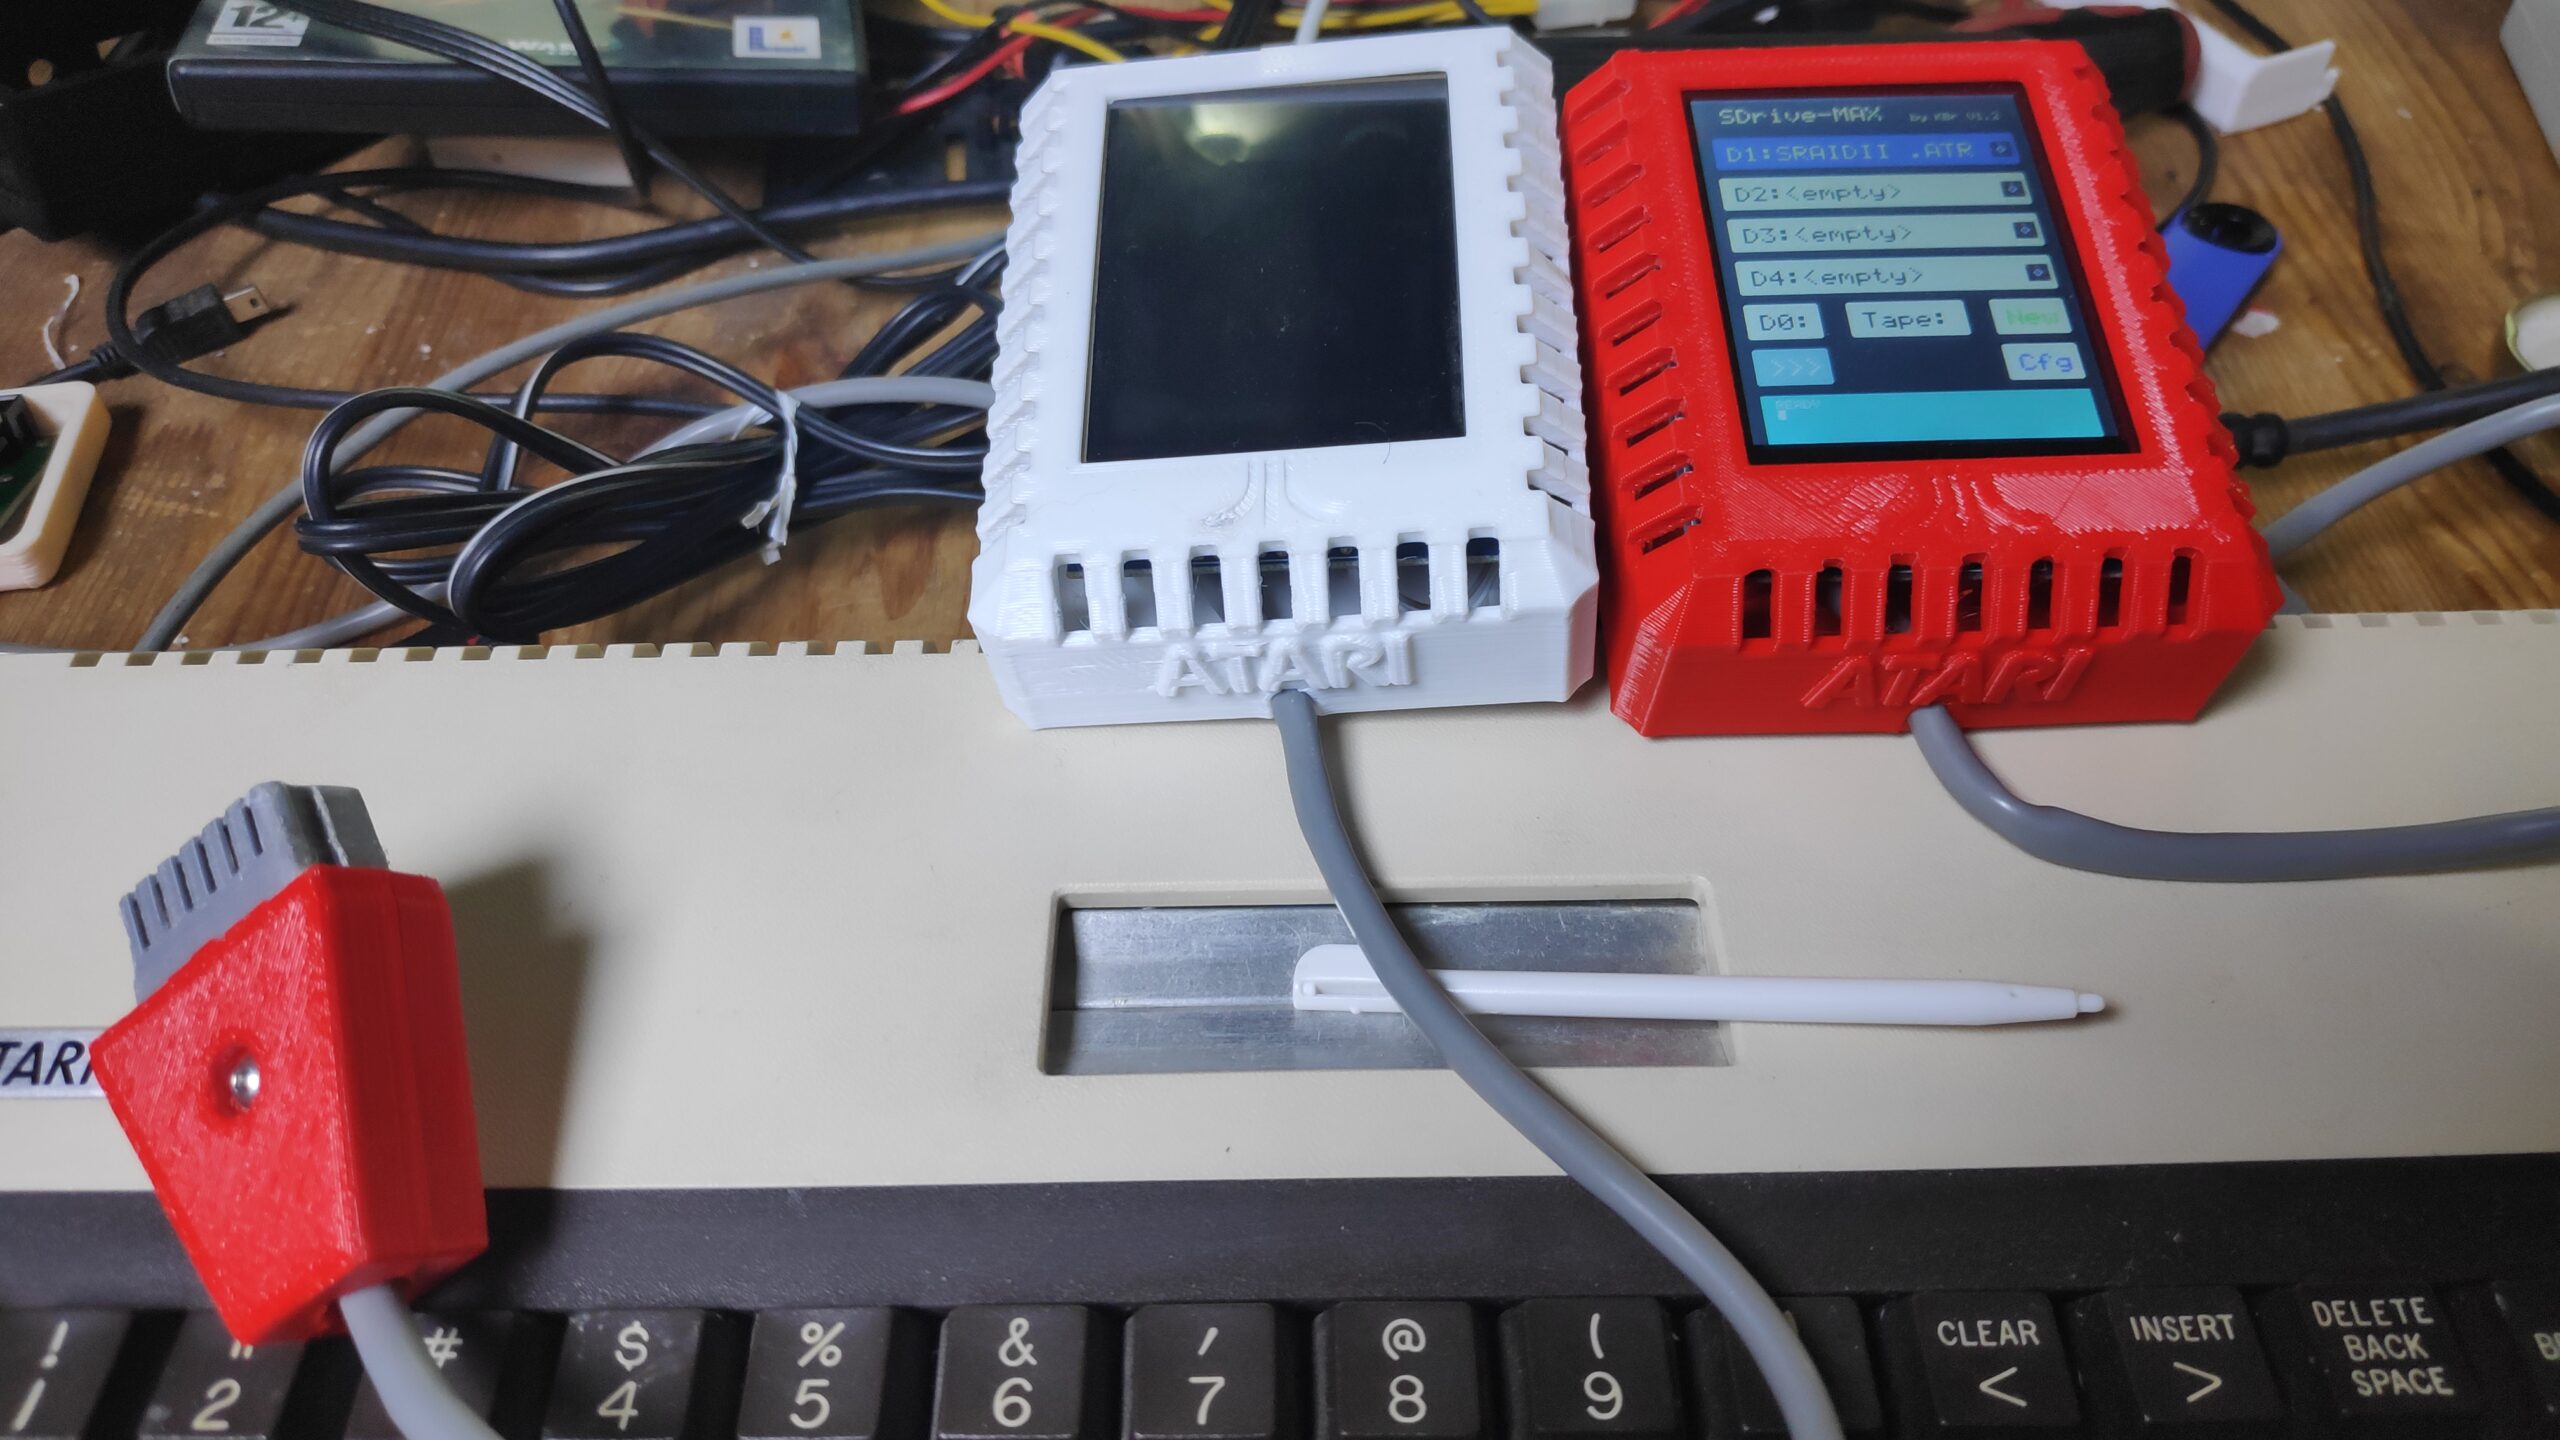
The SDrive max has all the utilities I need on it and you can daisy chain drives together like this.
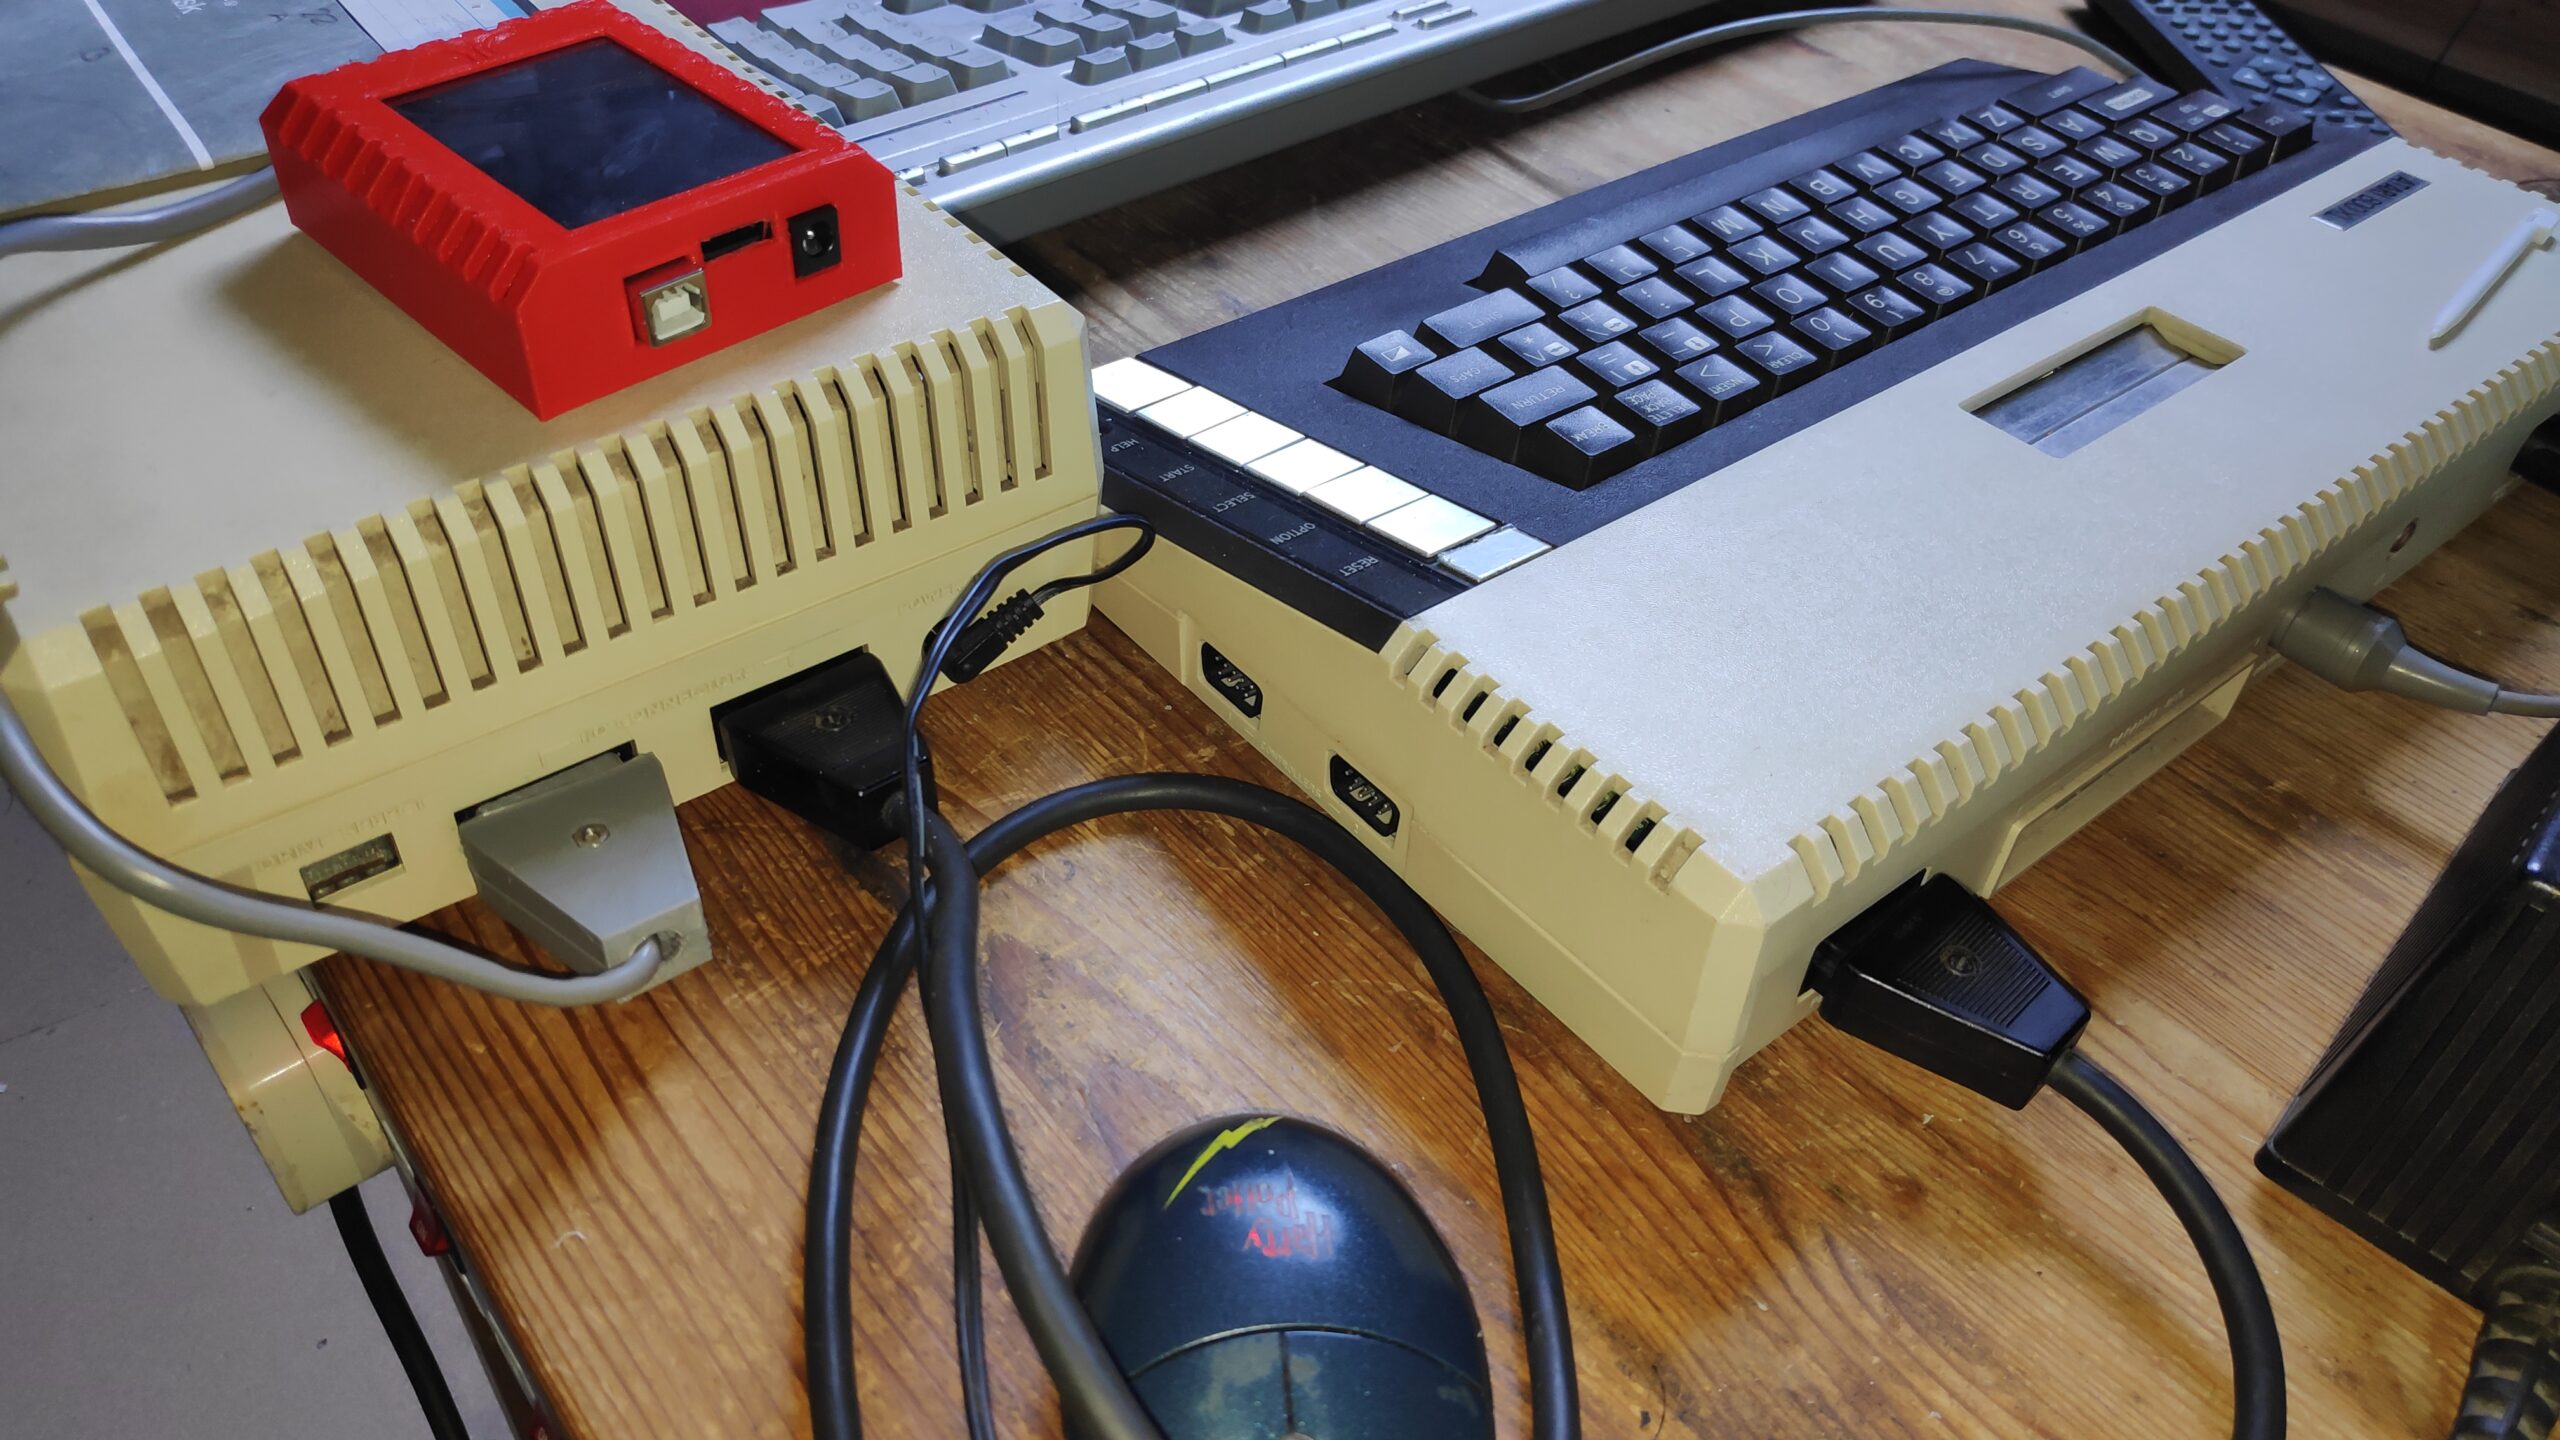
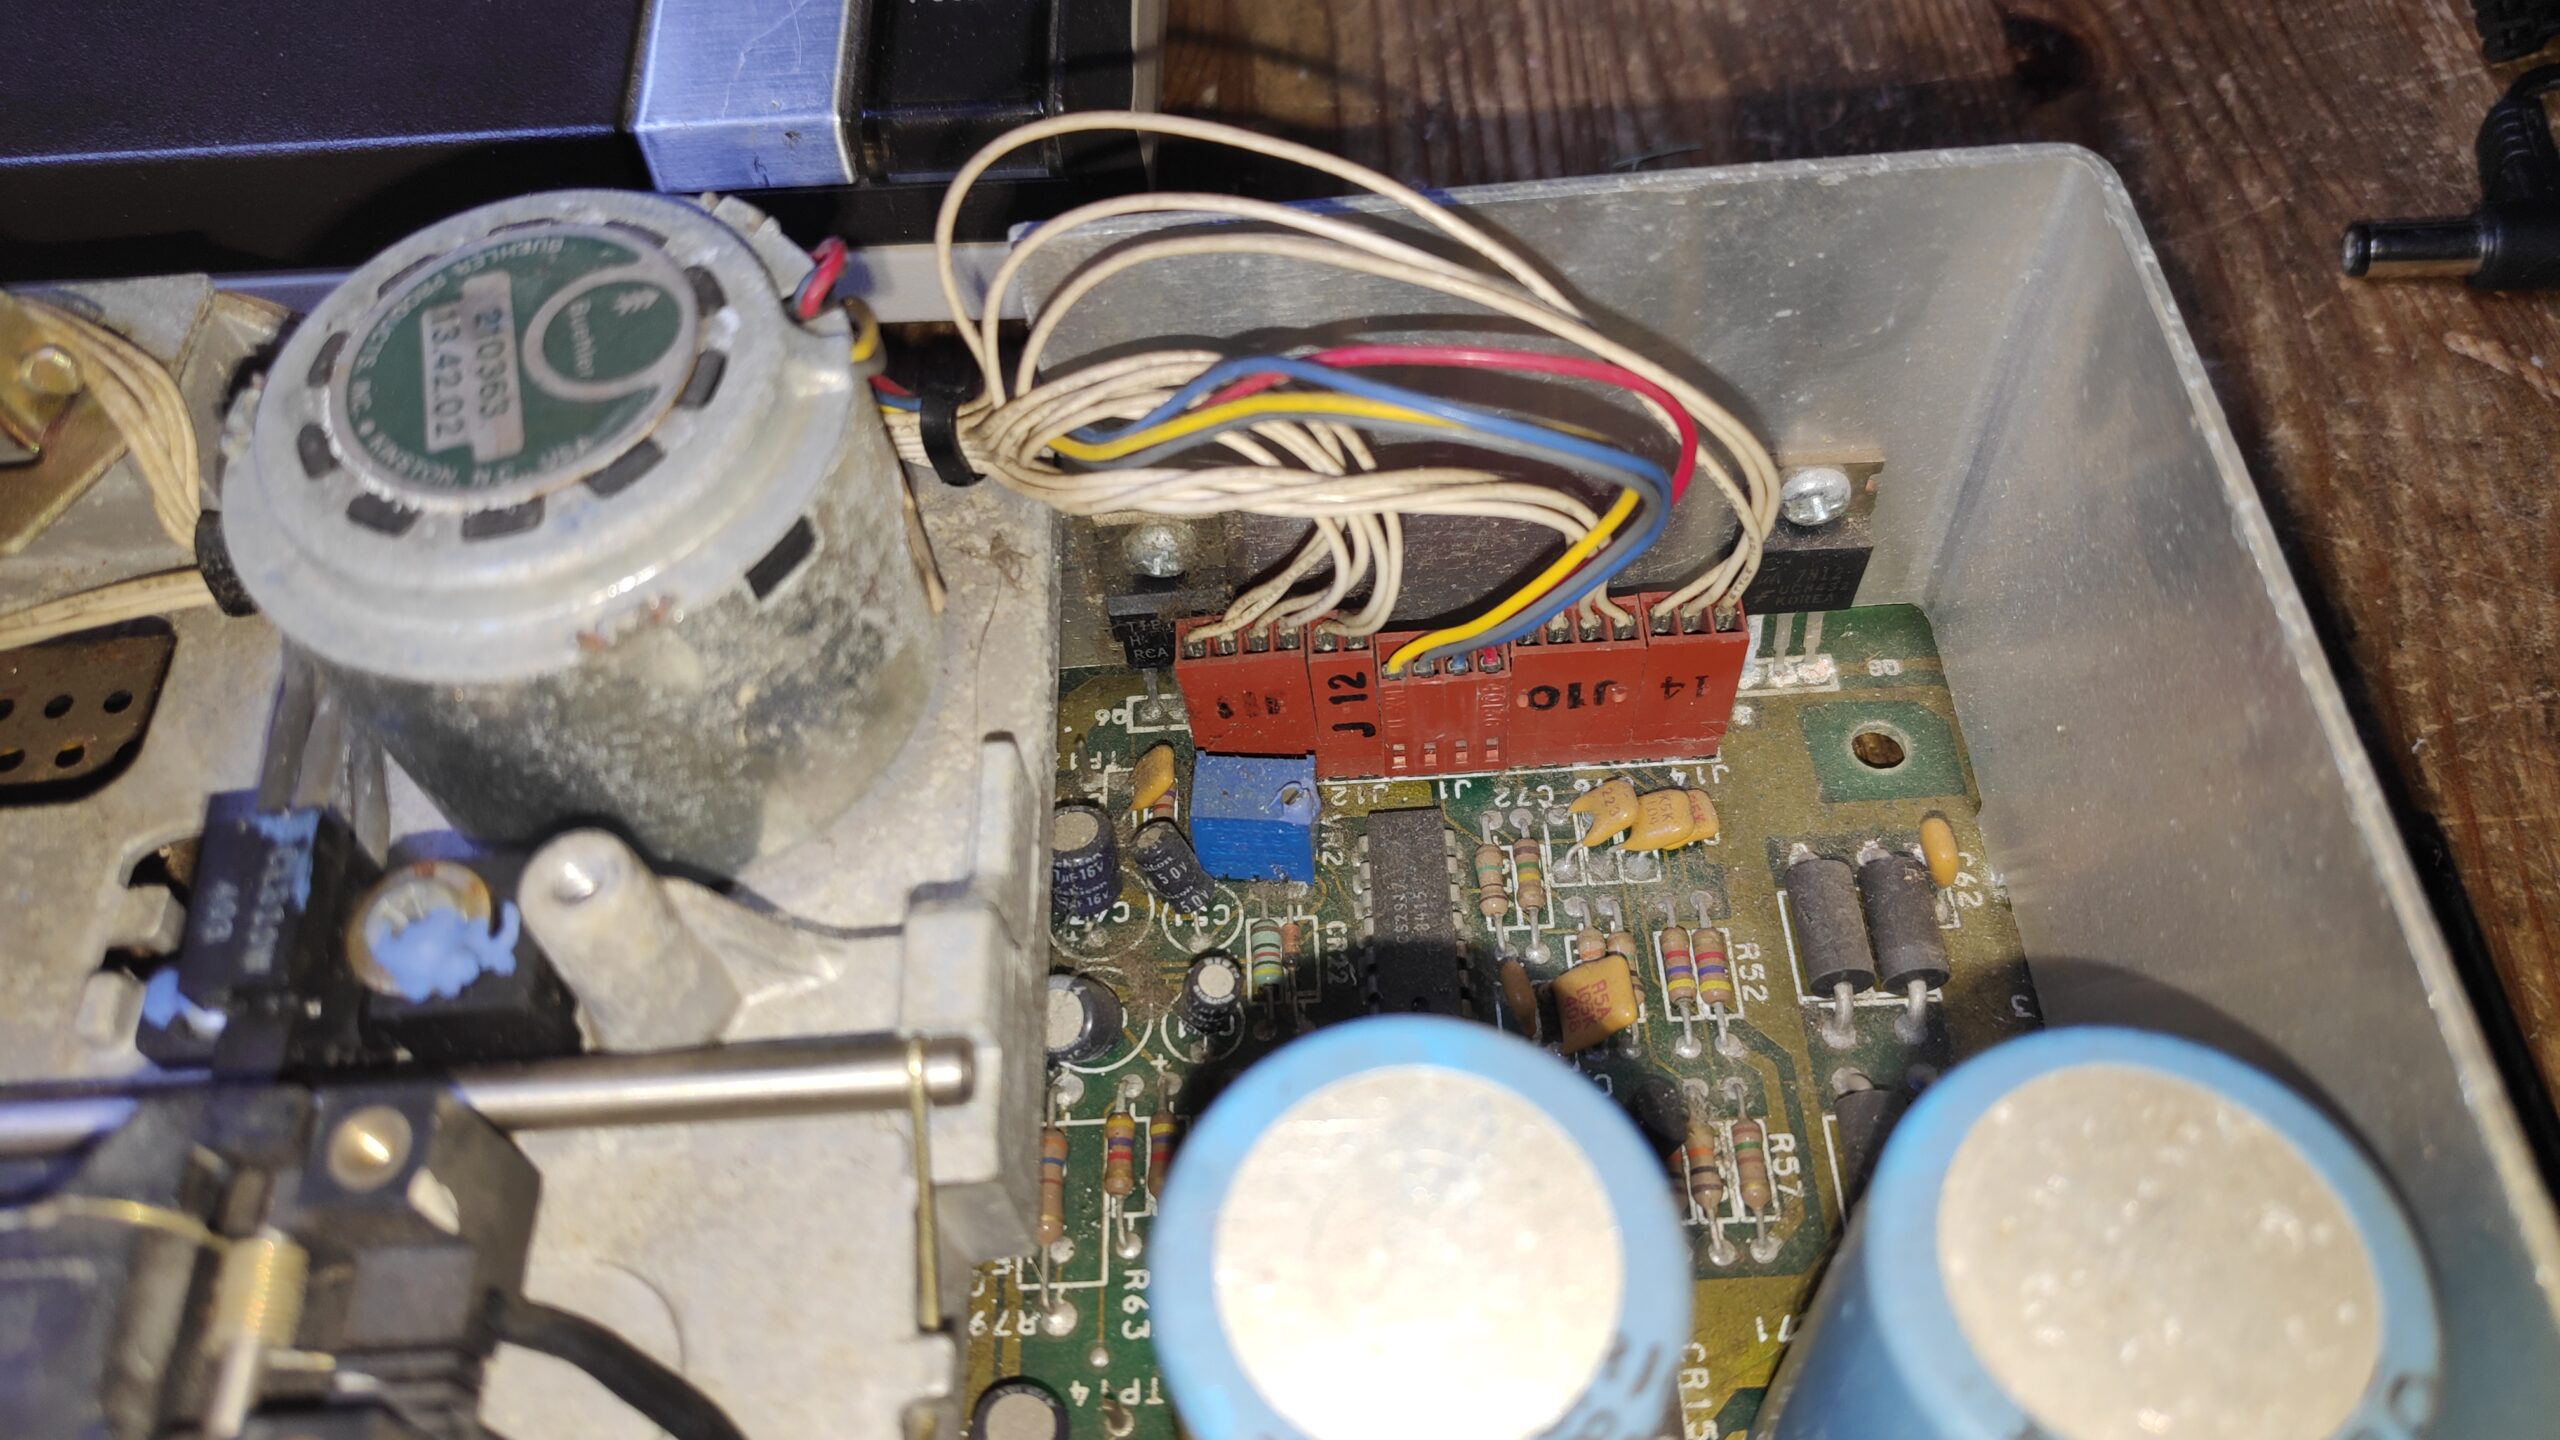
However the SDrive max will not boot with the 1050 drive turned on as there is a device conflict as they are both set to device 1. You can set the 1050 to device 2 using the switches tucked away in the hole at the back of the drive but I found the best way for me was to leave the 1050 as drive 1 and turn it off.
Then boot the SDrive max with the US Doubler utility.

While leaving the computer on I cleared drive 1 on the SDrive and turn on the 1050.
You can now use the US doubler utility to format a disk on the 1050 drive in US Doubler format.
The upshot of all this is that the drive appeared to format the disk perfectly. To truly test it I needed to copy something onto the disk and boot from it.
To do this I used a utility called Copymate 4.4
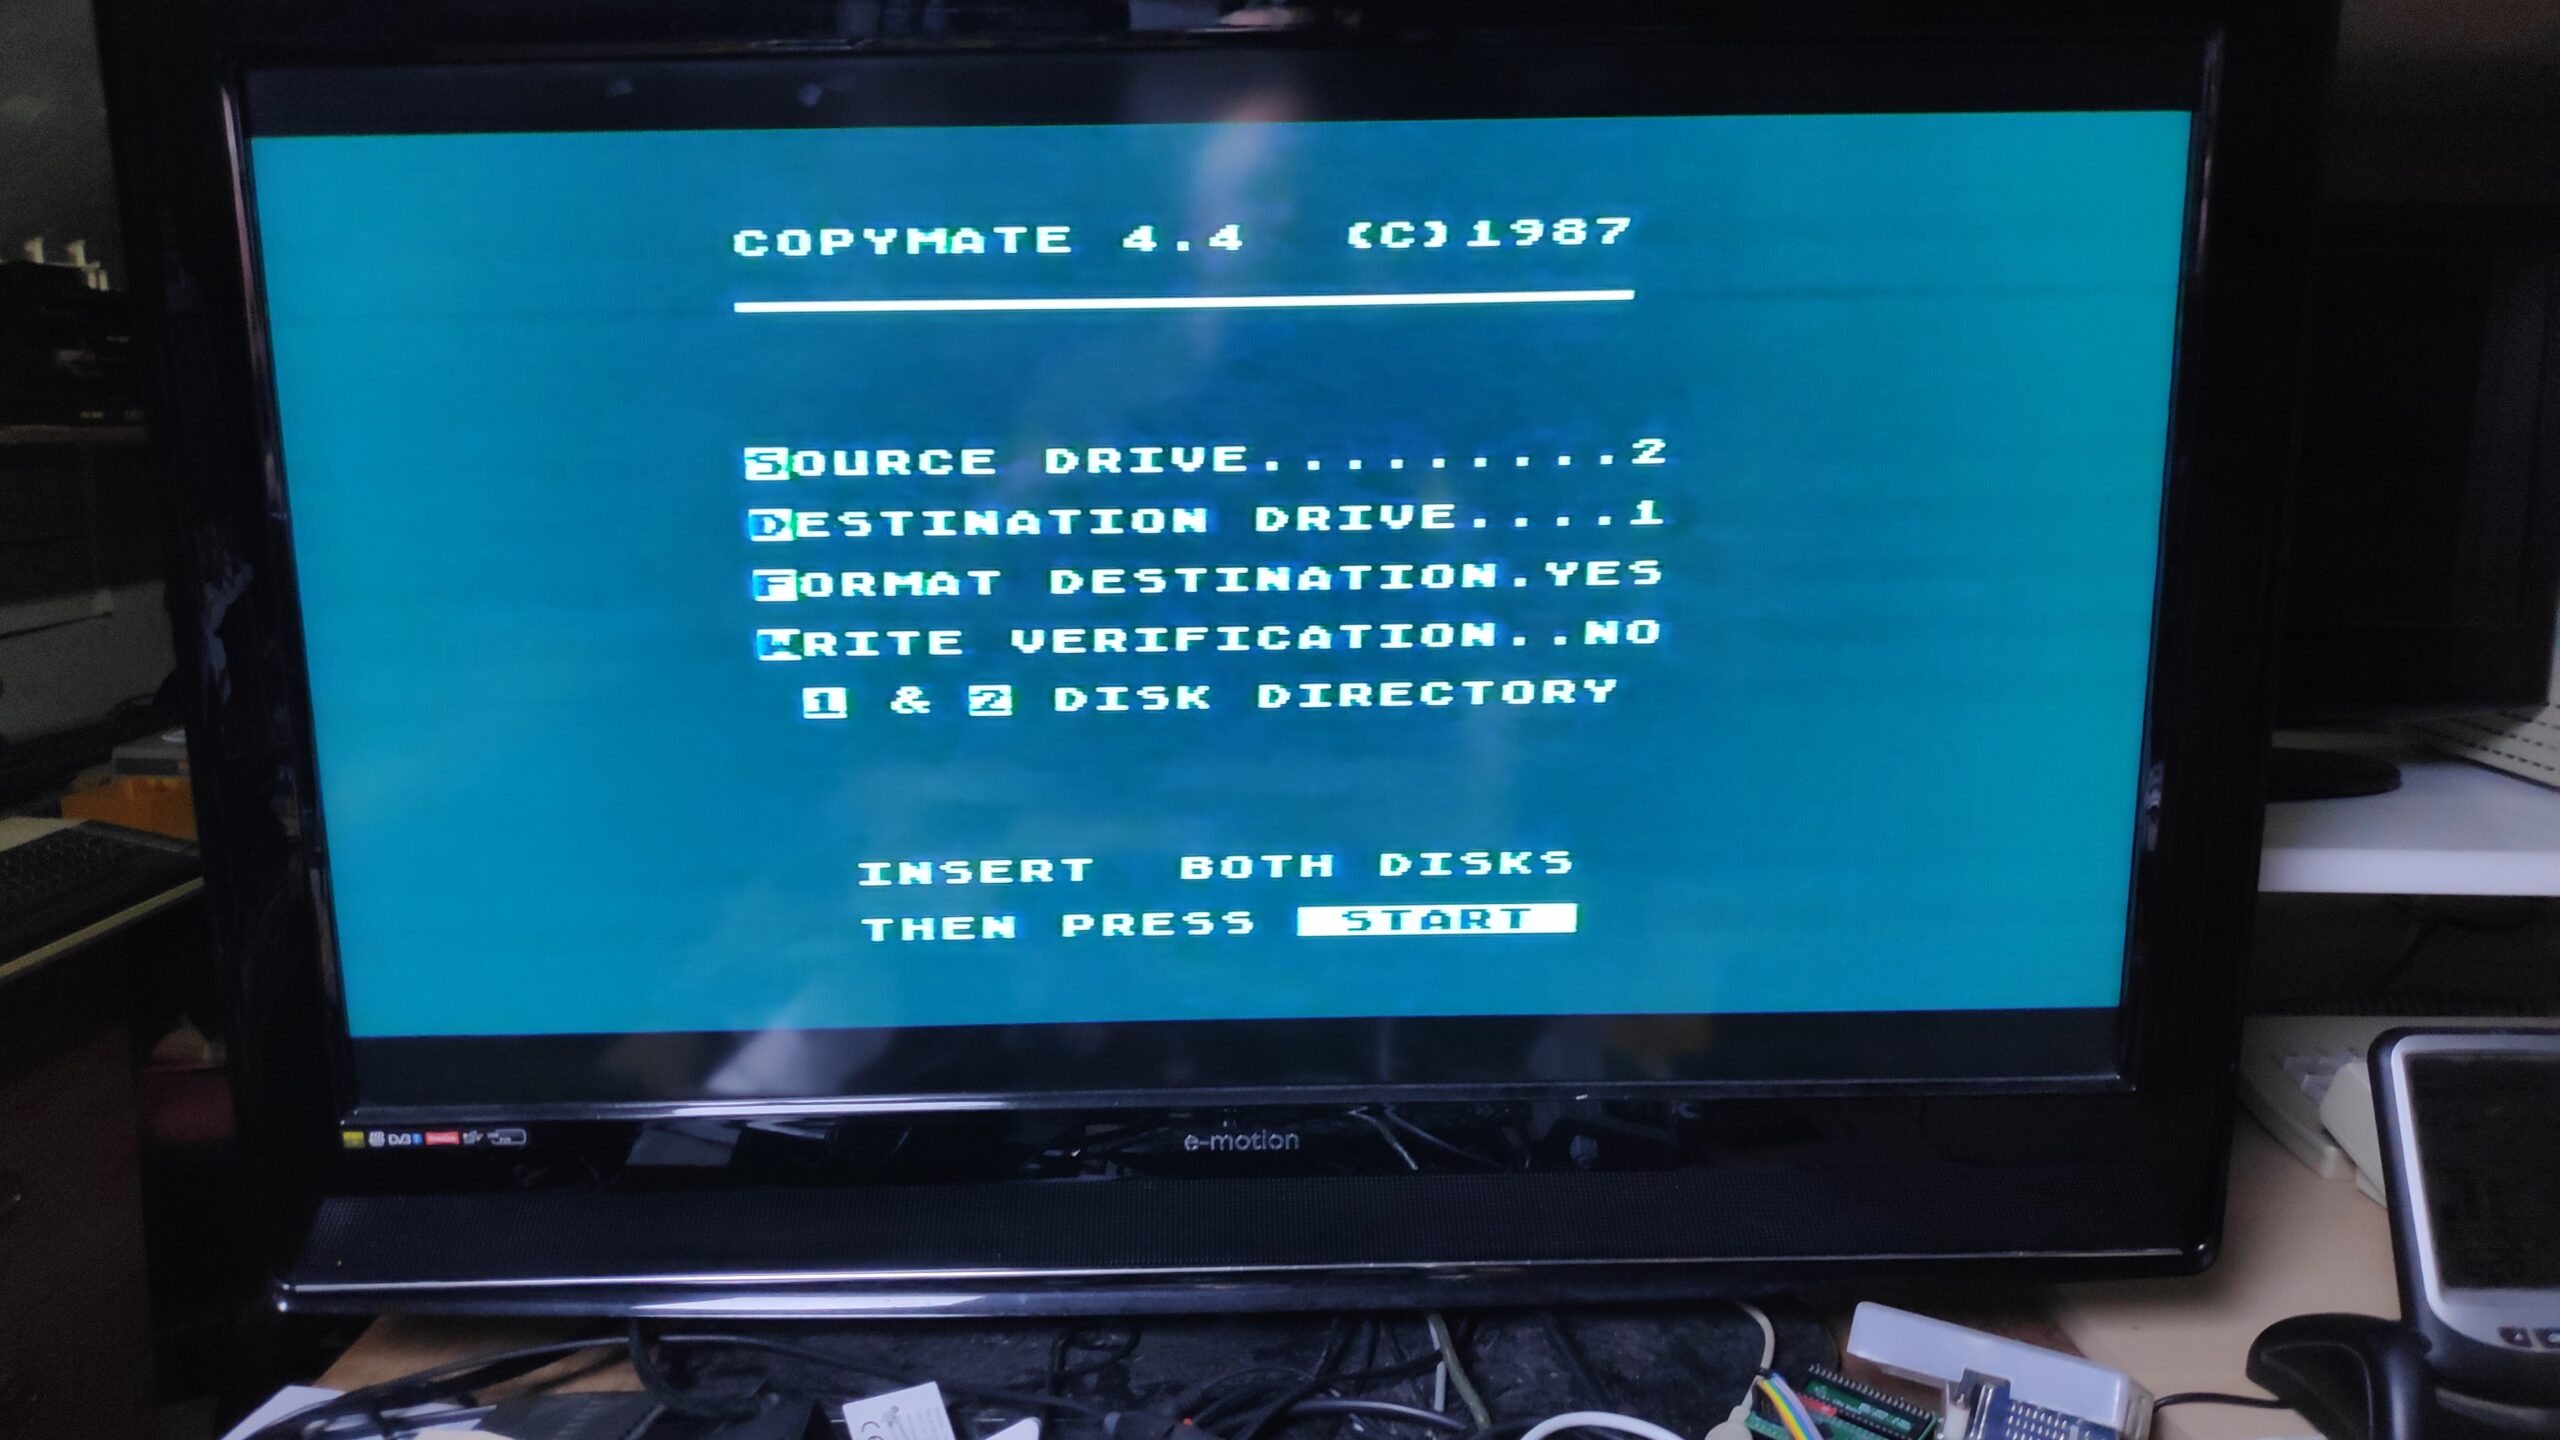
I set the source drive to 2 and left the destination as 1. I also turned off format as this was already done.
I then set drive 2 on the SDrive max to the US Doubler utility and pressed start.
Hey presto the US Doubler utility copied and booted from the drive no problem.
Job done that’ll do!


